

In this exercise we will learn how to create contact saving application in Phonegap where we can enter the contact details and save the contacts in mobile.
- To create contact saving application in phonegap follow the steps given below :
- First of all download and install Xampp server and gitbash in your machine.
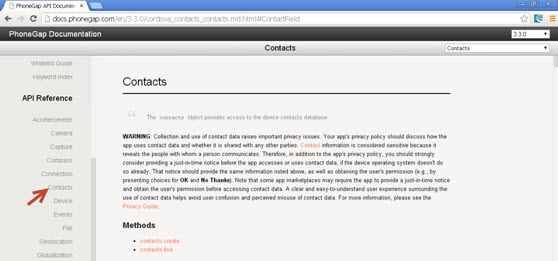
- Go to docs.phonegap.com and you will get the following screen as shown below :
- Click on the Contacts in the list of API Reference as shown in the above figure in left hand side by the arrow.
- Here you will find the methods which we are going to implement in our app.
- Go to Xampp -> htdocs folder.
- In htdocs folder create a new folder and name it as Contact .
- Create a new html document in this Contact folder and name it as index.html
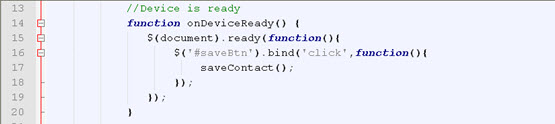
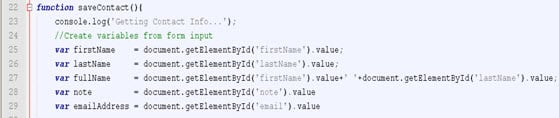
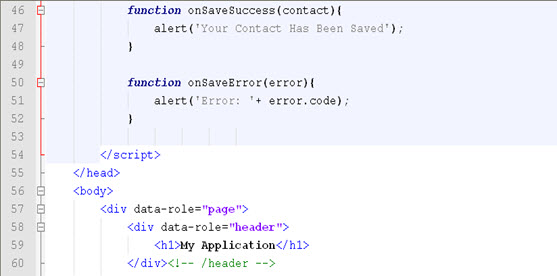
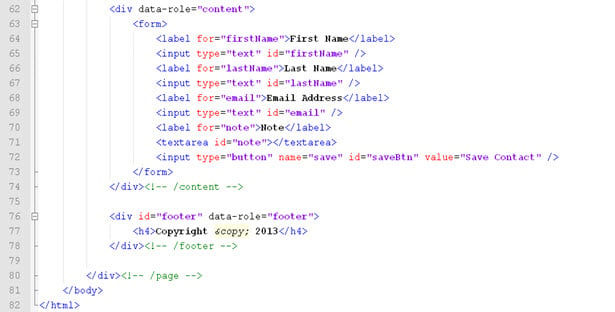
- Now open the index.html file with Notepad++ and write the following code in it
- Here are the screen shots for the code :
- Now you can style your document as you want using css code and including java scripts for mobile.
- Here in our code we have included javascripts and css code for mobile .
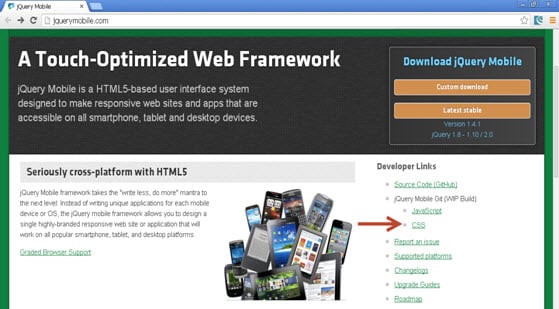
- Thus go to http://jquerymobile.com and click on the css tab as shown by the arrow :
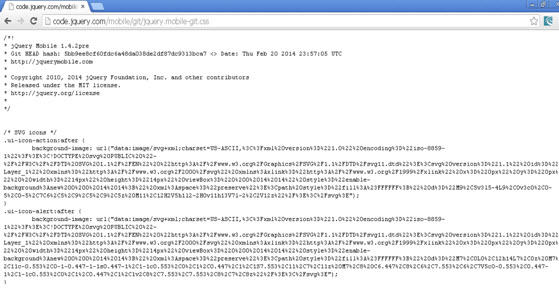
- After clicking on the css tab you will get the following css code as shown below :
- Now select this all code and copy and paste it in the new text document and name the document for example as jquery.mobile-1.3.2.css
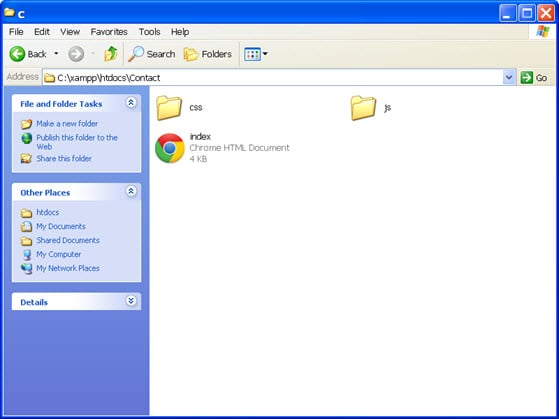
- Now create a new folder in your Contact folder called as css and paste this css code file into it.
- Similarly download the javascript for respective versions as mentioned in the code and create a new folder in contact folder called as js and save the text files into it with .js extensions.
- So now you will have the following folders in your Contact folder as shown below.
- Go to Xampp control pannel and start the apache and Mysql modules .
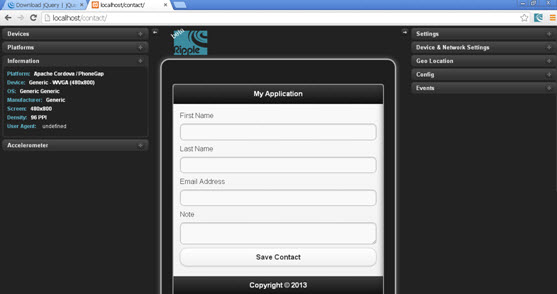
- Enter the following url localhost/Contact and you will have the following output on your ripple emulator :
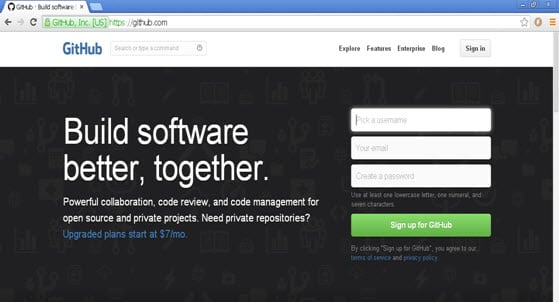
- Hence after writing the code save your document and now sign in into your Github account by visiting github.com :
- So now enter a username ,your email id and password in the respective tabs and click on the Sign up for GitHub button .
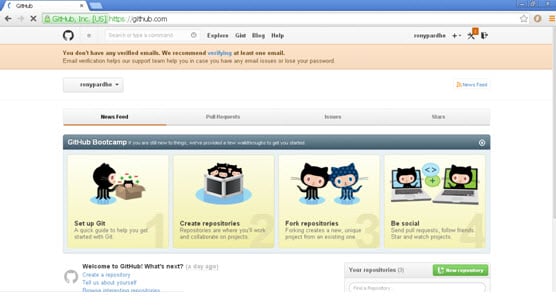
- After you click on the signup button you will get the following window :
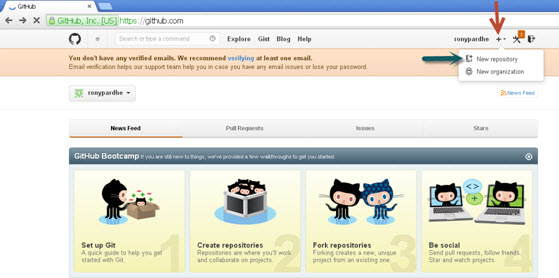
- Now click on the ‘+’ icon on the right hand side as indicated by the red arrow and then click on the “ New repository ” as indicated by the blue arrow .
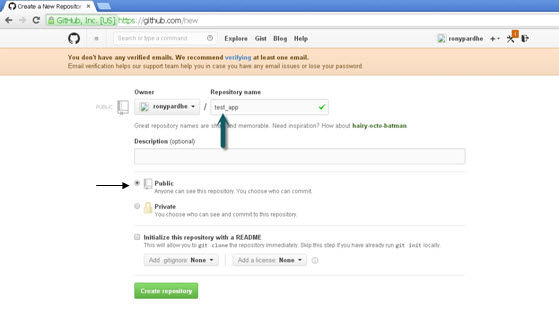
- After clicking on the New repository you will be navigated to the next window ,specify a Repository name ,select a public radio button and click on the Create repository button as shown in the image below :
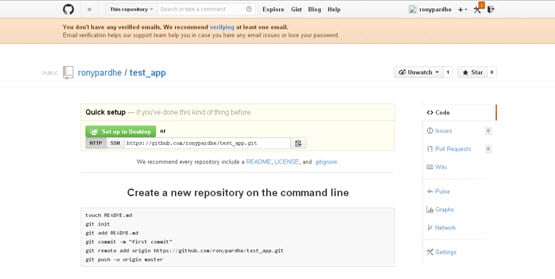
- So after clicking on the Create repository button you have the following window :
- Go to xampp -> htdocs .
- In htdocs you have your Contact folder created .
- Now go to your start menu -> GitBash -> right click on it -> Send To -> Desktop (create a shortcut) of GitBash on Desktop as shown below :
- So now on Desktop you will have a GitBash icon .
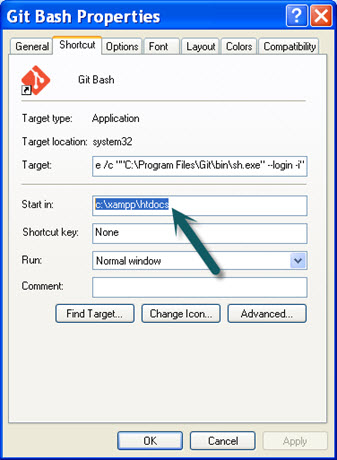
- Now Right Click on the GitBash icon on the desktop and go to properties and in the Start in edit box set the path as : c:xampphtdocs as shown in the image.
- Now Click on Apply and OK button .
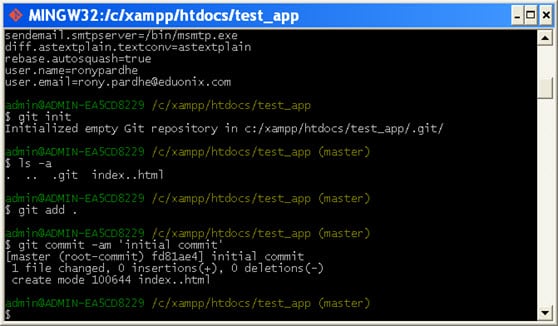
- Now start the GitBash application from the desktop and you will have the following screen :
- Now insert the following command as shown below in the gitbash command prompt window..
- Thus after inserting the commands you will have the following view of your window :
- After you get this , insert further commands in the same command prompt window as given below :
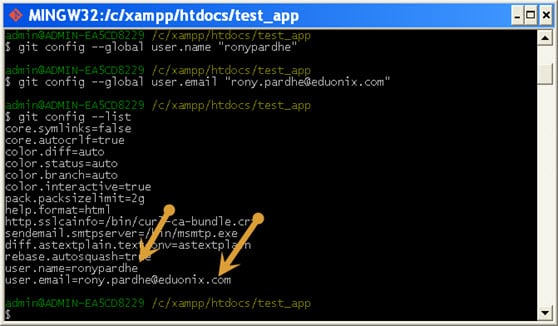
- After inserting this command your gitbash command prompt window will have the following look , check whether your username and email you entered has been generated in the list :
- After this insert the following commands :
- You will have the following window :
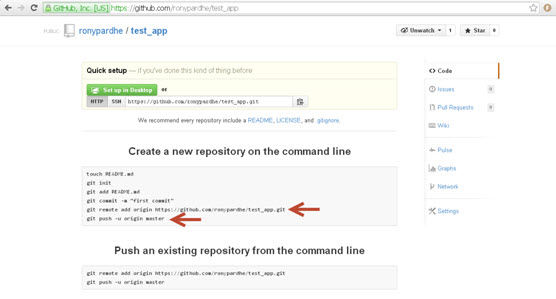
- Now go to your github account where you had created the Contact repository and copy the add origin command and push command and paste it in the gitbash command prompt respectively.
- So after adding the commands you will be asked for your github username and password ,so you will have the following window :
- Thus now the push operation is complete, so now we are ready to build our application .
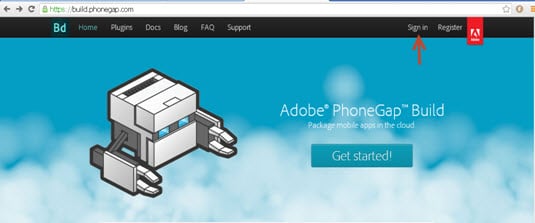
- Now go to www.build.phonegap.com and click on Sign in tab present at the right.
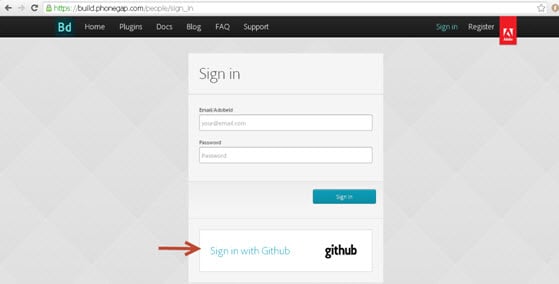
- After clicking on the Sign in button you will get the next page where you have to click on the Sign in with GitHub button as shown by the arrow head ..
- After that you will be navigated to the next page where you have to click on the new app button as shown by the red arrow head.
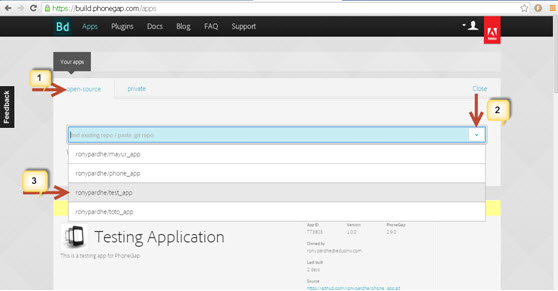
- After clicking on the new app button ,you will get the following window where you have to select the open-source tab and click on the dropdown pointer and select your app as shown in the image :
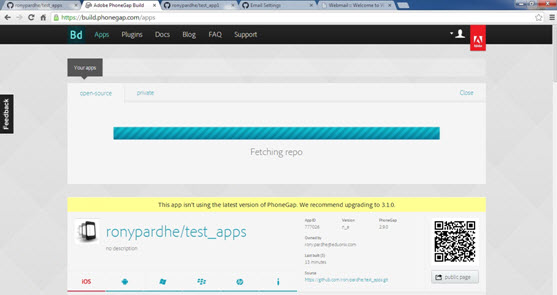
- When you select your app the fetching process will start as shown in the figure :
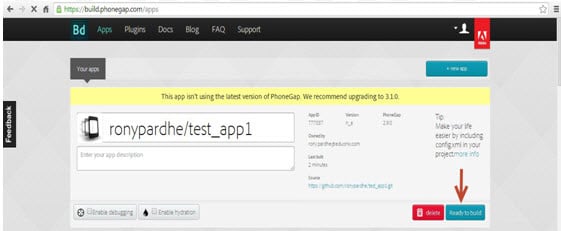
- After the fetching is complete you will get the following window :
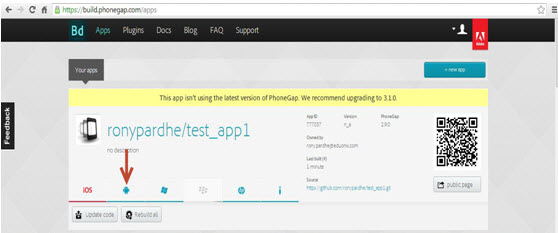
- Now click on the Ready to Build button as shown by the red arrow in the image and you will get the following screen :
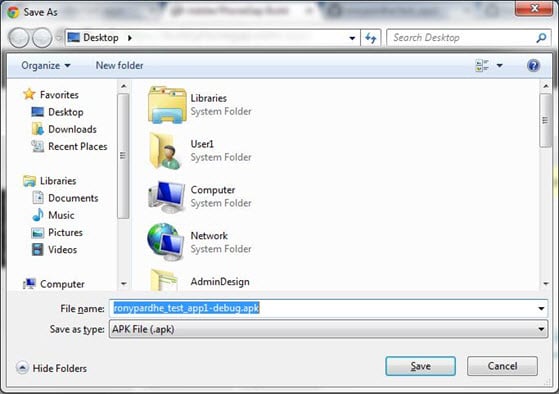
- Click on the android icon and you will have the following window popping up to save the apk file.
- Now save your apk file and insert it in your android mobile phone and install it ,you will have the application running on your mobile phone
- Thus now we are ready to save contacts on our mobile phone.
- Thus we have successfully understood how to create contact saving application in phonegap .
<!DOCTYPE html>
<html>
<head>
<title>PhoneGap Application</title>
<link rel="stylesheet" href="css/jquery.mobile-1.3.2.css" />
<script src="js/jquery-1.10.2.min.js"></script>
<script src="js/jquery.mobile-1.3.2.min.js"></script>
<script src="cordova.js"></script>
<script type="text/javascript">
//Add event listener to run when the device is ready
document.addEventListener("deviceready", onDeviceReady, false);
//Device is ready
function onDeviceReady() {
$(document).ready(function(){
$('#saveBtn').bind('click',function(){
saveContact();
});
});
}
function saveContact(){
console.log('Getting Contact Info...');
//Create variables from form input
var firstName = document.getElementById('firstName').value;
var lastName = document.getElementById('lastName').value;
var fullName = document.getElementById('firstName').value+' '+document.getElementById('lastName').value;
var note = document.getElementById('note').value
var emailAddress = document.getElementById('email').value
//Create contact object
var theContact = navigator.contacts.create({"displayName" : fullName});
//Note Field
theContact.note = note;
//Email Field
var emails = [];
emails[0] = new ContactField('email', emailAddress, false);
theContact.emails = emails;
//Save contact info
theContact.save(onSaveSuccess,onSaveError);
}
function onSaveSuccess(contact){
alert('Your Contact Has Been Saved');
}
function onSaveError(error){
alert('Error: '+ error.code);
}
</script>
</head>
<body>
<div data-role="page">
<div data-role="header">
<h1>My Application</h1>
</div><!-- /header -->
<div data-role="content">
<form>
<label for="firstName">First Name</label>
<input type="text" id="firstName" />
<label for="lastName">Last Name</label>
<input type="text" id="lastName" />
<label for="email">Email Address</label>
<input type="text" id="email" />
<label for="note">Note</label>
<textarea id="note"></textarea>
<input type="button" name="save" id="saveBtn" value="Save Contact" />
</form>
</div><!-- /content -->
<div id="footer" data-role="footer">
<h4>Copyright © 2014</h4>
</div><!-- /footer -->
</div><!-- /page -->
</body>
</html>


ls
cd Contact(that is your folder name in htdocs folder)
ls

git config --global user.name “username of your github account”

git config --global user.email “email of your github account”

git config --list
git init

ls –a

git add .

git commit –am ‘initial commit’


NOTE : Here you will have your own application name that is the name given by you while creating the repository.


Awesome app
Thanks,, Very useful tutorial