

In this exercise today we will be implementing camera API in Phonegap where we will create two buttons namely Take Photo and Get Photo which will access the camera and the photogallery.
- So to start working with the camera api follow the steps given below :
- Install the Xampp server in your machine and if it is already installed then go to Xampp->htdocs folder.
- In htdocs folder create a new folder called as Camera .
- In this Camera folder create an html document called as index.html
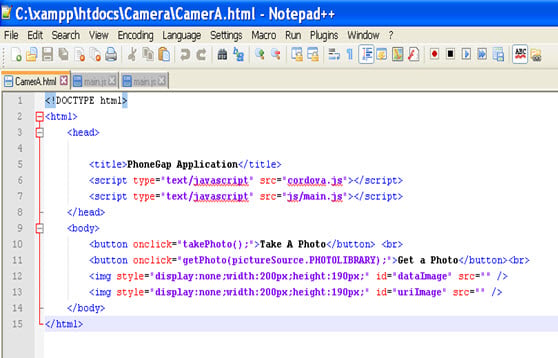
- Now open your index.html file in any text editor and write the following html code in it :
- So after writing the code you will have the following look out of your text editor :
- Now in the Camera folder create a new folder called as js .
- In this js folder create a new text document called as main.js i.e save it with type as js .
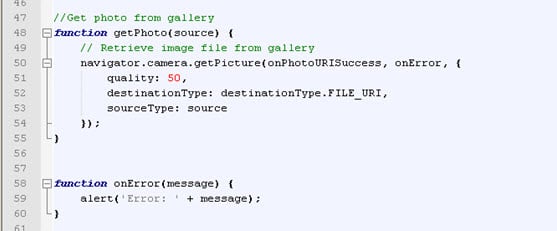
- Now open this main.js file with any text editor window and write the following code in it :
- Here is the screen shot of your Notepad++ window :
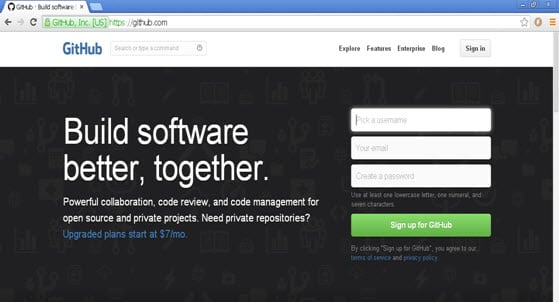
- Hence after writing the code save your document and now sign in into your Github account by visiting github.com :
- So now enter a username ,your email id and password in the respective tabs and click on the Sign up for GitHub button .
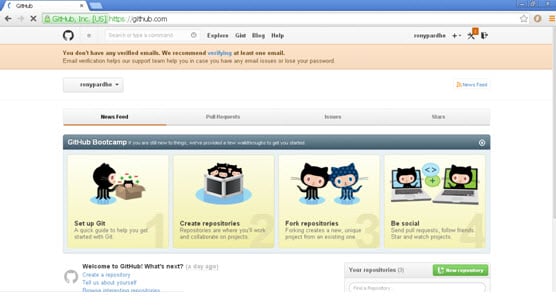
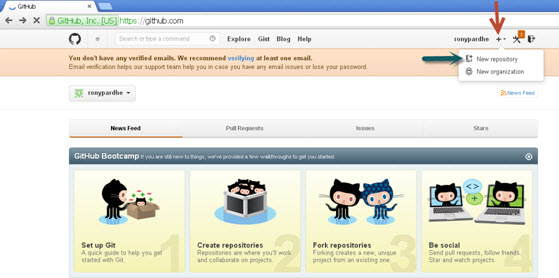
- After you click on the signup button you will get the following window :
- Now click on the ‘+’ icon on the right hand side as indicated by the red arrow and then click on the “ New repository ” as indicated by the blue arrow .
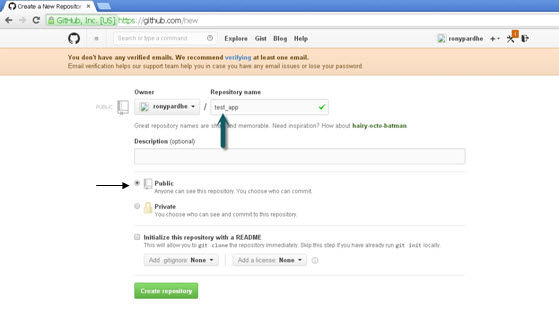
- After clicking on the New repository you will be navigated to the next window ,specify a Repository name ,select a public radio button and click on the Create repository button as shown in the image below :
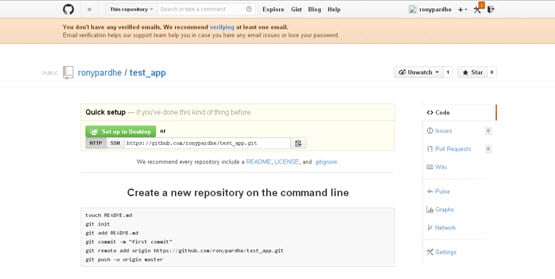
- So after clicking on the Create repository button you have the following window :
- Go to xampp -> htdocs .
- In htdocs you have your Camera folder created .
- Now go to your start menu -> GitBash -> right click on it -> Send To -> Desktop (create a shortcut) of GitBash on Desktop as shown below :
- So now on Desktop you will have a GitBash icon .
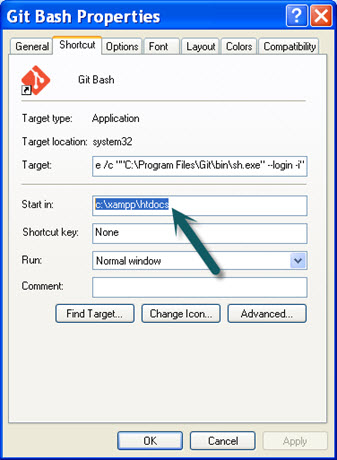
- Now Right Click on the GitBash icon on the desktop and go to properties and in the Start in edit box set the path as : c:xampphtdocs as shown in the image.
- Now Click on Apply and OK button .
- Now start the GitBash application from the desktop and you will have the following screen :
- Now insert the following command as shown below in the gitbash command prompt window..
- Thus after inserting the commands you will have the following view of your window :
- After you get this , insert further commands in the same command prompt window as given below :
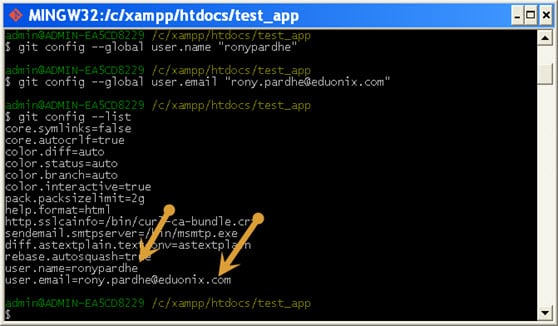
- After inserting this command your gitbash command prompt window will have the following look , check whether your username and email you entered has been generated in the list :
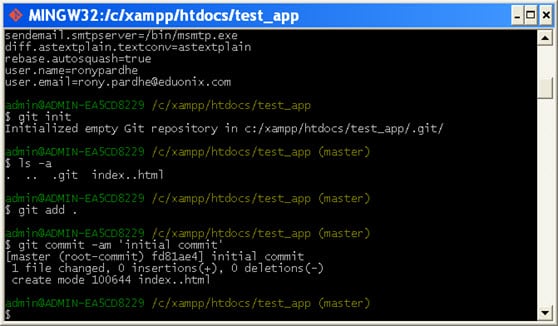
- After this insert the following commands :
- You will have the following window :
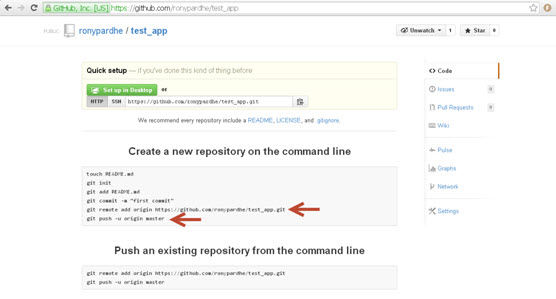
- Now go to your github account where you had created the Camera repository and copy the add origin command and push command and paste it in the gitbash command prompt respectively.
- So after adding the commands you will be asked for your github username and password ,so you will have the following window :
- Thus now the push operation is complete, so now we are ready to build our application .
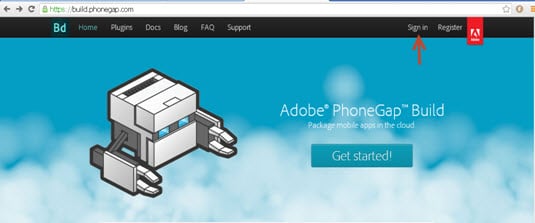
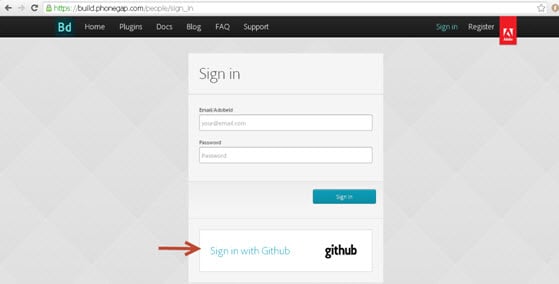
- Now go to www.build.phonegap.com and click on Sign in tab present at the right.
- After clicking on the Sign in button you will get the next page where you have to click on the Sign in with GitHub button as shown by the arrow head ..
- After that you will be navigated to the next page where you have to click on the new app button as shown by the red arrow head.
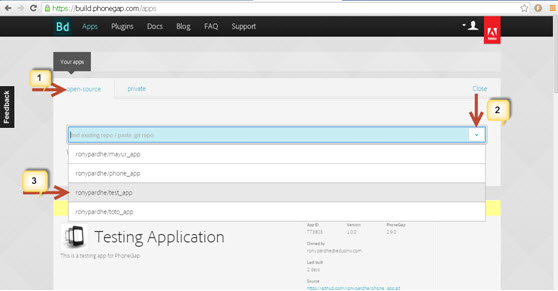
- After clicking on the new app button ,you will get the following window where you have to select the open-source tab and click on the dropdown pointer and select your app as shown in the image :
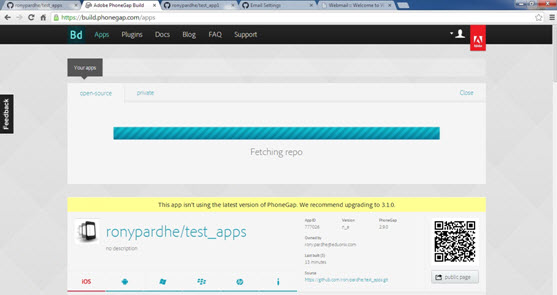
- When you select your app the fetching process will start as shown in the figure :
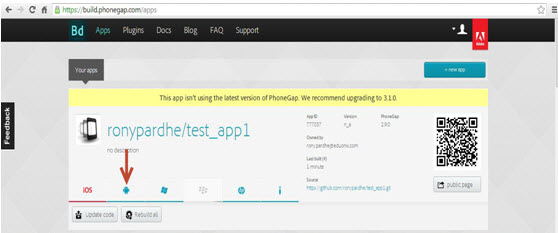
- After the fetching is complete you will get the following window :
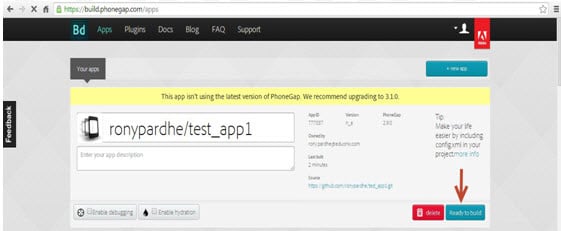
- Now click on the Ready to Build button as shown by the red arrow in the image and you will get the following screen :
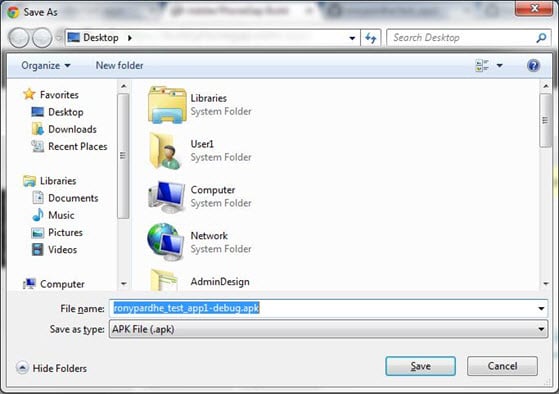
- Click on the android icon and you will have the following window popping up to save the apk file.
- Now save your apk file and insert it in your android mobile phone and install it ,you will have the application running on your mobile phone
- Thus now test it on your android mobile phones .
- Hence we have successfully learnt implementing Camera API in Phonegap .
<!DOCTYPE html>
<html>
    <head>

        <title>PhoneGap Application</title>
        <script type="text/javascript" src="cordova.js"></script>
        <script type="text/javascript" src="js/main.js"></script>

    </head>
    <body>

        <!--button for capturing a photo-- >
        <button onclick="takePhoto();">Take A Photo</button> <br>
        <!--button for accessing the  photo library-- >
        <button onclick="getPhoto(pictureSource.PHOTOLIBRARY);">Get a Photo</button><br>
         <!--Displaying the image captured to put to data-->
        <img style="display:none;width:200px;height:190px;" id="dataImage" src="" />
        <!--Displaying the image to be accessed from the source file-->
        <img style="display:none;width:200px;height:190px;" id="uriImage" src="" />

    </body>
</html>
var pictureSource;    //Source var
var destinationType;  //Destination var

//Add event listener to run when the device is ready
document.addEventListener("deviceready", onDeviceReady, false);

//Device is ready
function onDeviceReady() {
    pictureSource=navigator.camera.PictureSourceType;
    destinationType=navigator.camera.DestinationType;
}

//Will run if data photo is taken
function onPhotoDataSuccess(imageData) {
    //Set image handler
    var dataImage = document.getElementById('dataImage');

    //Unhide
    dataImage.style.display = 'block';

    // Show photo from data
    dataImage.src = "data:image/jpeg;base64," + imageData;
}

//Will run if url photo is taken
function onPhotoURISuccess(imageURI) {
    //Set image handler
    var uriImage = document.getElementById('uriImage');

    // Unhide image elements
    uriImage.style.display = 'block';

    //Show photo from uri
    uriImage.src = imageURI;
}

//Capture picture
function takePhoto() {
    // Take picture using device camera and retrieve image as base64-encoded string
    navigator.camera.getPicture(onPhotoDataSuccess, onError, {
        quality: 50,
        destinationType: destinationType.DATA_URL
    });
}


//Get photo from gallery
function getPhoto(source) {
    // Retrieve image file from gallery
        navigator.camera.getPicture(onPhotoURISuccess, onError, {
        quality: 50,
        destinationType: destinationType.FILE_URI,
        sourceType: source
    });
}


function onError(message) {
    alert('Error: ' + message);
}


ls
cd Camera(that is your folder name in htdocs folder)
ls

git config --global user.name “username of your github account”

git config --global user.email “email of your github account”

git config --list
git init

ls –a

git add .

git commit –am ‘initial commit’


NOTE : Here you will have your own application name that is the name given by you while creating the repository.

