• Steps For Installing Android SDK:
- Open up the browser
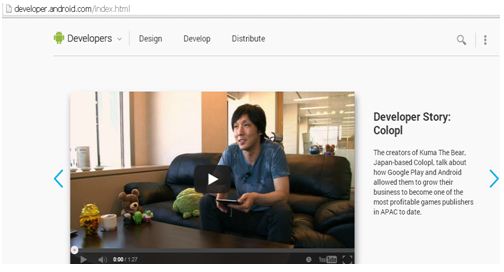
- Specify the address “ android.developer.com “
- You will get the below screen….
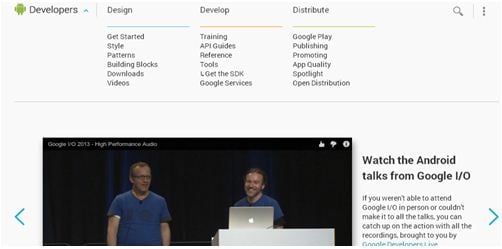
- Now click on the Developers arrow shown
- You will get the following screen……
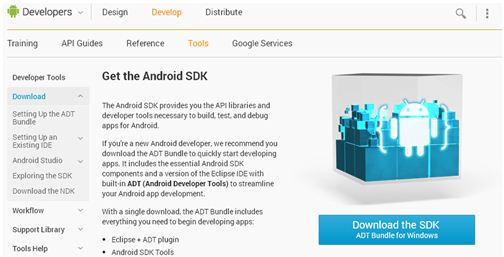
- In the Develop column ,you will see Tools ,in that select “Get the SDK”.
- You will get the following window
- Now we have to download the Software Development Toolkit ( SDK ) android developer tools to develop your android applications.
- Click on the download button placed at the right side.
- After clicking on “Download the SDK”, your download will get started.
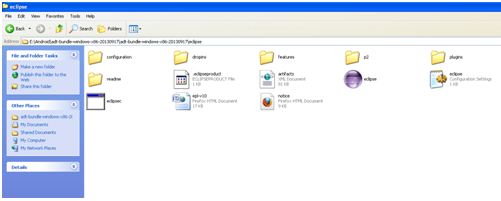
- Once the download is complete , open up the download folder and copy and paste the downloaded “adt bundle” to any where you want.
- The adt bundle consists of “Eclipse and SDK” folders respectively.
- Now download “JDK” and install it.
- Now open up the eclipse folder you will see the following …..
- Now double click on the application file of eclipse.
- You will get the following window…..
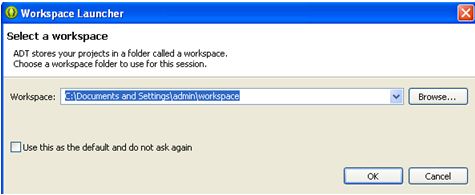
- Here you can browse and set your workspace where ever you want and click OK.
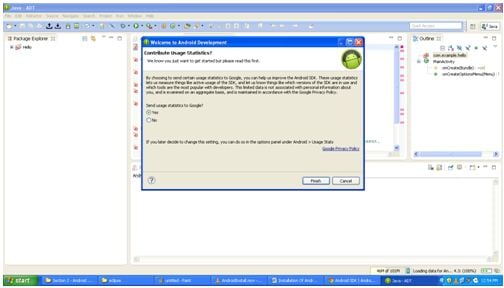
- Eclipse will get open..
- You will get a welcome screen as shown in above figure . Click on cancel button.
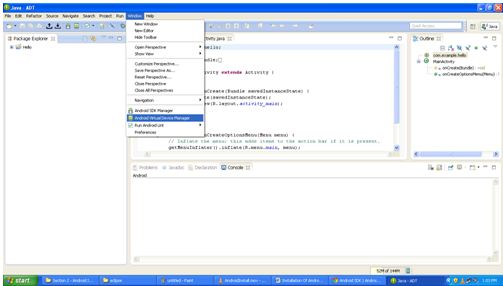
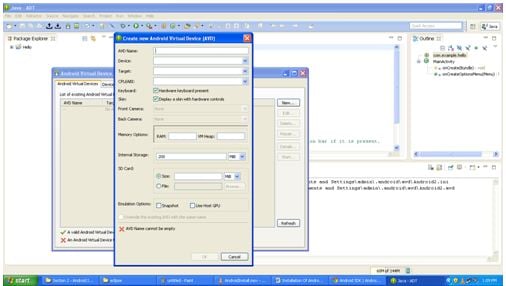
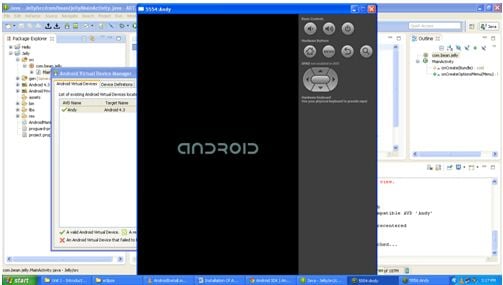
- Now go to window and select Android virtual Device Manager as shown below…
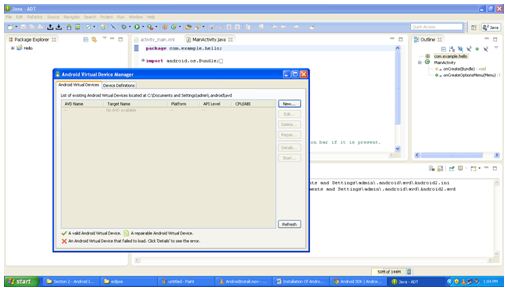
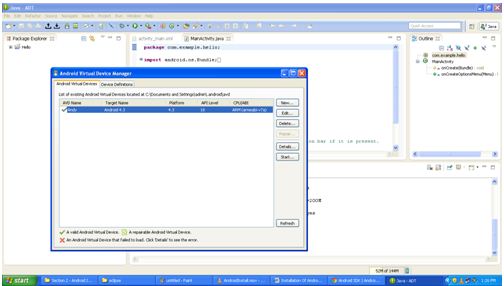
- After selecting it the Android Virtual Device Manager window will appear…..
- Now there is no any AVD created , so we have to create a new avd.
- To create new avd click on “New”. Generates window….
- Give a name for AVD and then select a device from the drop down list.
- After selecting the device you can enable or disable the keyboard or skin.
- You can also set the memory size.
- As shown in the figure..
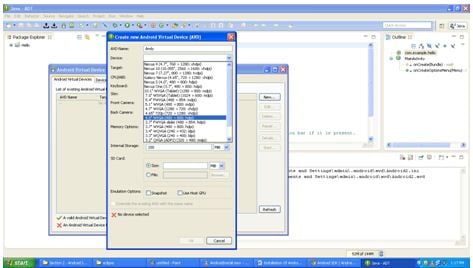
- Then Click OK , You will have a new “avd”.
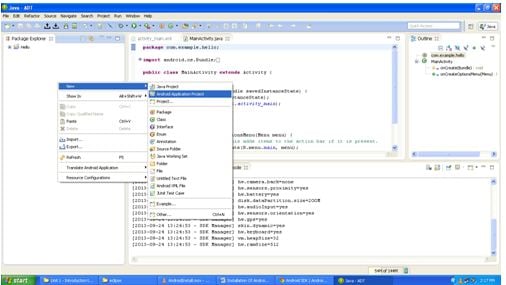
- The next step is to create a small application to see whether everything is working properly.
- Now go to File ->New->Android Application Project.
- After clicking Android Application Project a “New Android Application Window ” will appear.
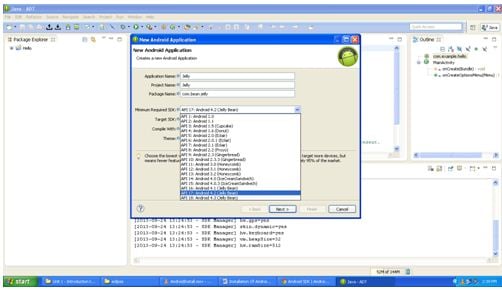
- Here we have to specify the Application Name.
- Also mention the Package name (Any name) example: com.bean.Application Name .
- Select the Minimum Required SDK from the drop down list , also select the Target SDK
- The window will look like….
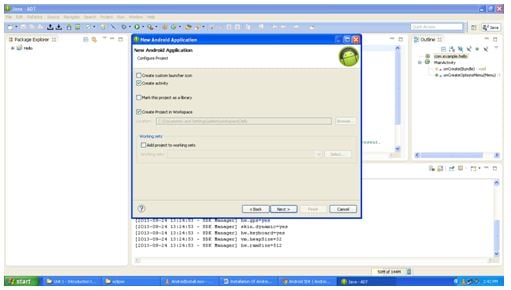
- After clicking next a window will appear in which uncheck the create custom launcher icon and click on next.
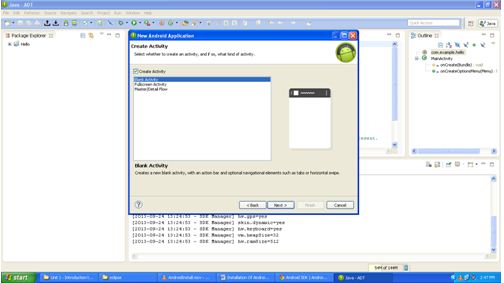
- Create activity window will appear which consists of three activities like Blank Activity ,Fullscreen Activity, Master/Detail Flow.
- Select the Blank Activity and click on next button.
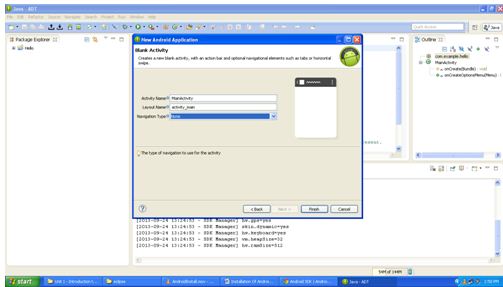
- Now Blank Activity Window will appear which consists of the Activity Name of the workspace , Layout Name and Navigation is to be kept none.
- Main Activity is the name of the Workspace.
- The window will look as shown in the figure below.
- Then click finish.
- The Layout of Hello World application will get open up which will look like below..
- Now when you run the application for first time nothing will happen.
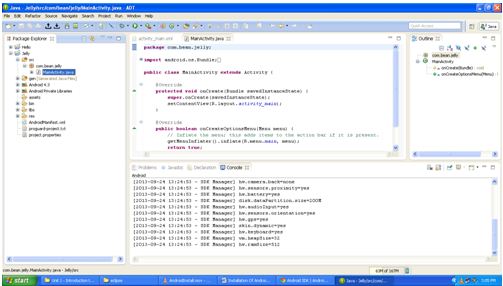
- So we need a runnable code to run the application, which will be in the left side of the workspace in the “src”
Menu-> Package name->MainActivity.java. - Now when you run this application a Run As window will appear.
- This window consists of Five Options.
- From that select the Android Application and click OK.
- The window will look like below..
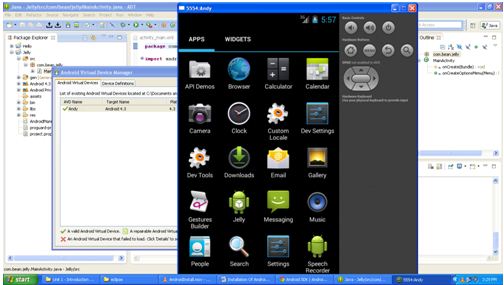
- A Home Screen for Android will appear.
- The home screen come up after few seconds.
- After clicking on the applications we will see various applications,which consists the application we developed.
- For example : Jelly
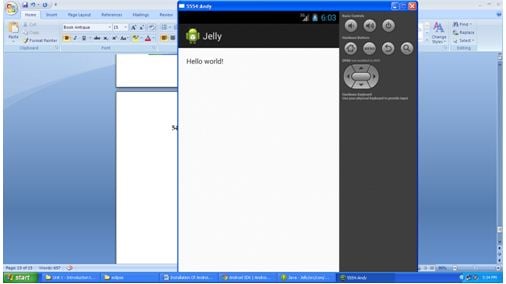
- When you click on the application you get your application run displaying “Hello World”.
- This confirms that you are done with the Installation Successfully.