

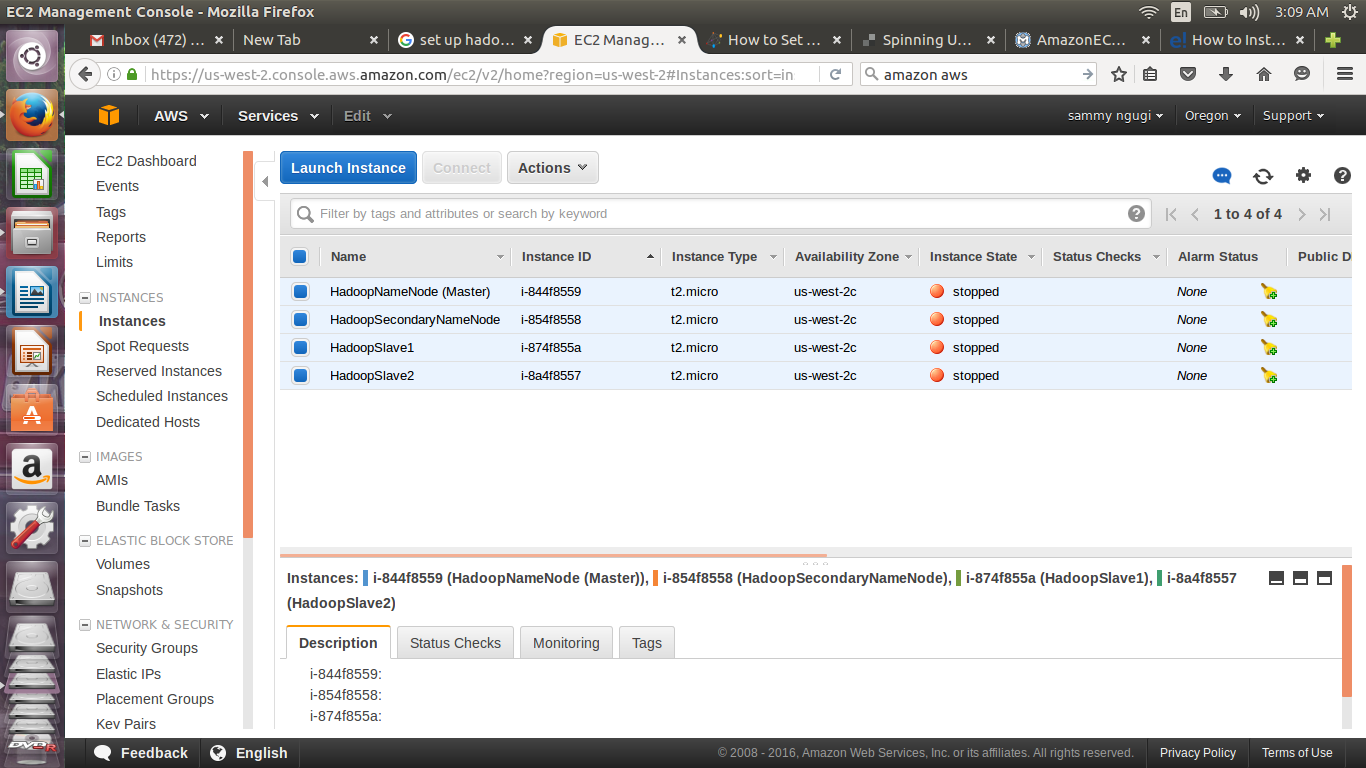
In the first part of this tutorial provisioning a cluster with four instances on Amazon ec2 was demonstrated. Connecting to the instances using SSH was also explained. The second part of this tutorial will pick up from there and explain how to set up a Hadoop cluster with two data nodes, one primary name node and one secondary name node. Login to your Amazon management console and start your instances.
To start your cluster, select all instances, click on Actions then start as shown below
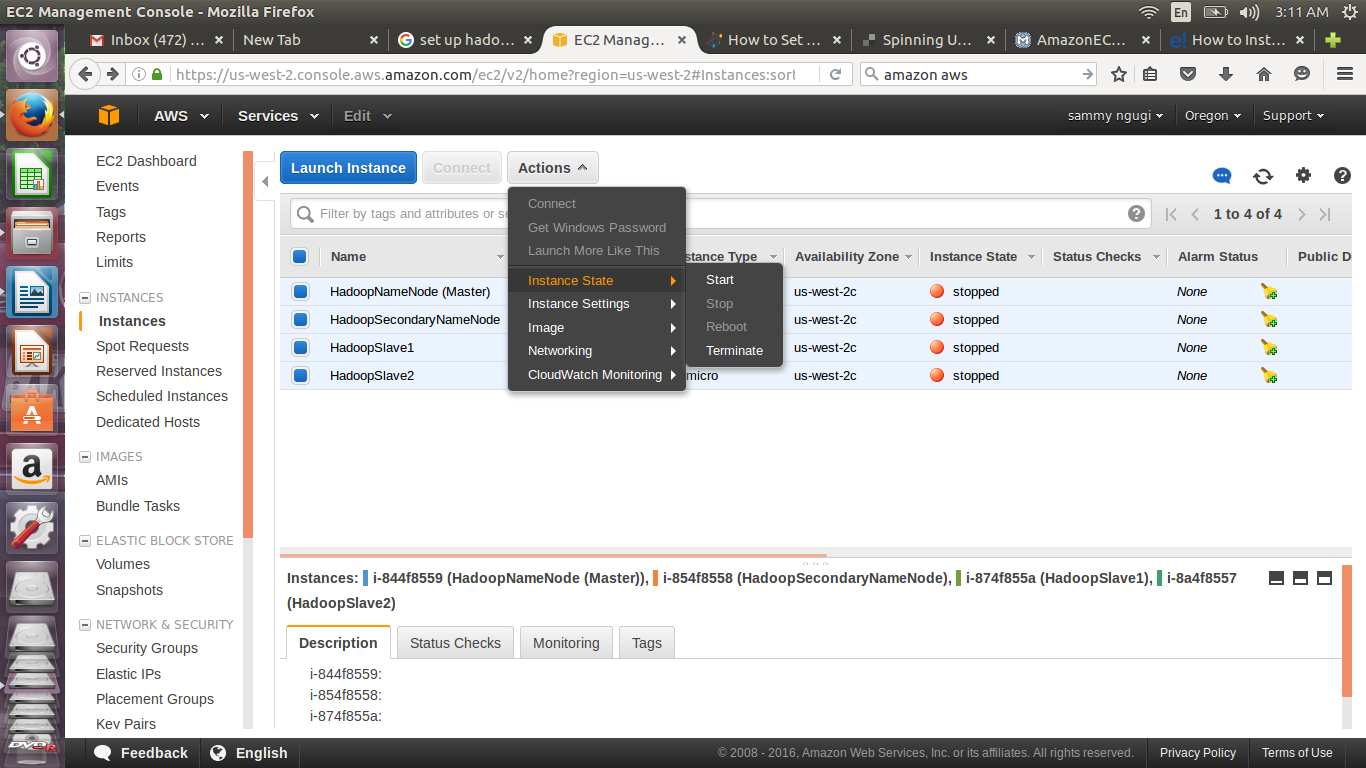
Confirm instance state of each instance is indicated as running

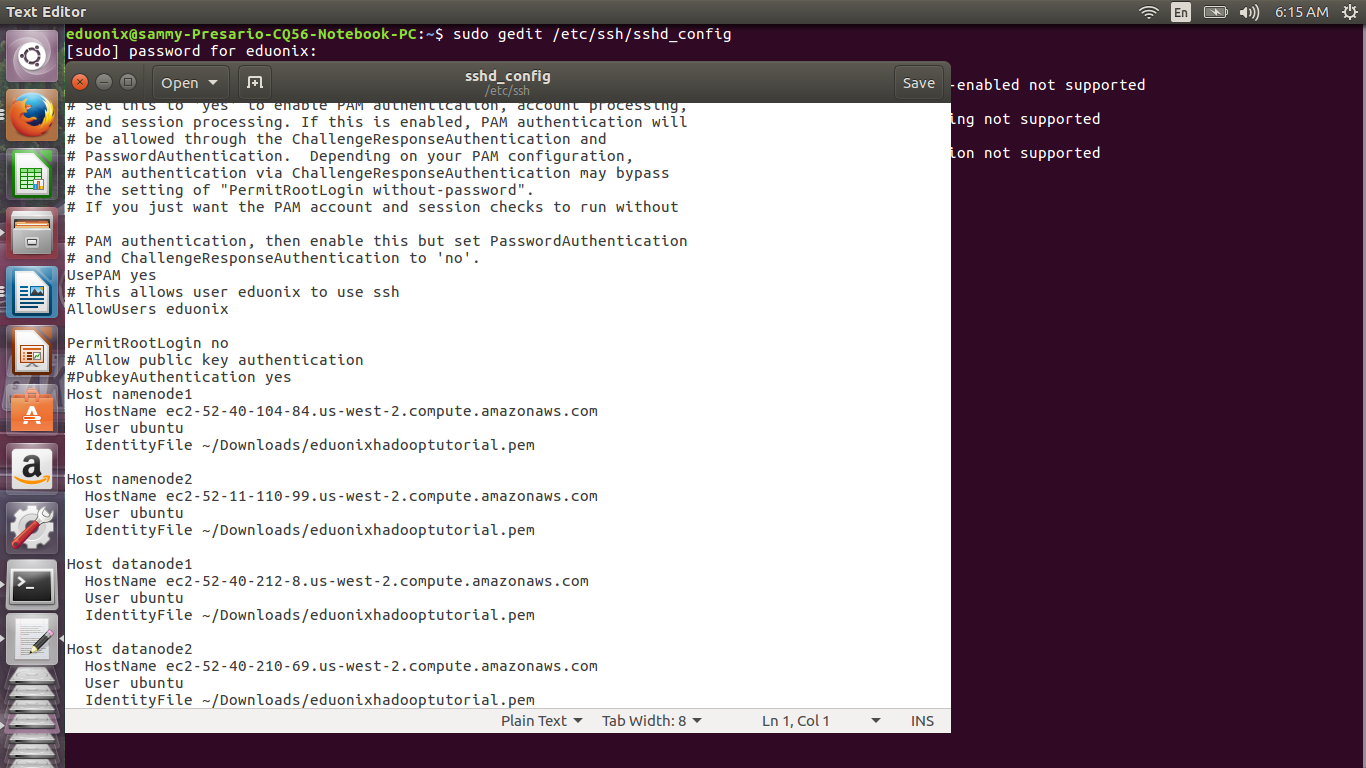
To connect to a remote server when using SSH we need to specify the path to our .pem key file, the user name and public DNS. To avoid typing all this information we can add it in sshd_config file and just type an easy to remember name that resolves to our instance. Open sshd_config by navigating to the directory where it is stored and opening it in a text editor like gedit and add the lines highlighted in green.
sudo gedit /etc/ssh/sshd_config
Host  namenode1
HostName ec2-52-40-18-74.us-west-2.compute.amazonaws.com
User ubuntu
IdentityFile  ~/Downloads/eduonixhadooptutorial.pem
Host  namenode2
HostName  ec2-52-32-85-4.us-west-2.compute.amazonaws.com
User  ubuntu
IdentityFile  ~/Downloads/eduonixhadooptutorial.pem
Host  datanode1
HostName  ec2-52-37-140-215.us-west-2.compute.amazonaws.com
User  ubuntu
IdentityFile  ~/Downloads/eduonixhadooptutorial.pem
Host  datanode2
HostName  ec2-52-40-57-130.us-west-2.compute.amazonaws.com
User  ubuntu
IdentityFile  ~/Downloads/eduonixhadooptutorial.pem
Save sshd_config and restart SSH by running sudo restart ssh at the terminal
If you get an error “unable to connect to upstart” use the command below
sudo systemctl restart ssh
In a Hadoop cluster the name node needs to communicate with the data nodes. To enable this we need to set up SSH. First we upload the .pem key file from the local machine to the primary name node. To copy files to remote servers we use scp utility. Run scp at the terminal to check it is installed. You should get output similar to that shown below.

To copy a file using scp you need to specify the path to .pem key, the file to be copied, user and public DNS of the remote server.
scp -i ~/Downloads/eduonixhadooptutorial.pem eduonixhadooptutorial.pem [email protected]
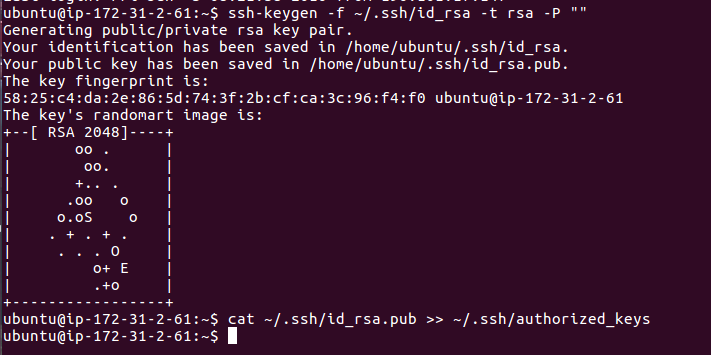
 After the .pem key has been uploaded SSH into primary node to create an authorization key and add the fingerprint to authorized_keys on name node and the data nodes.
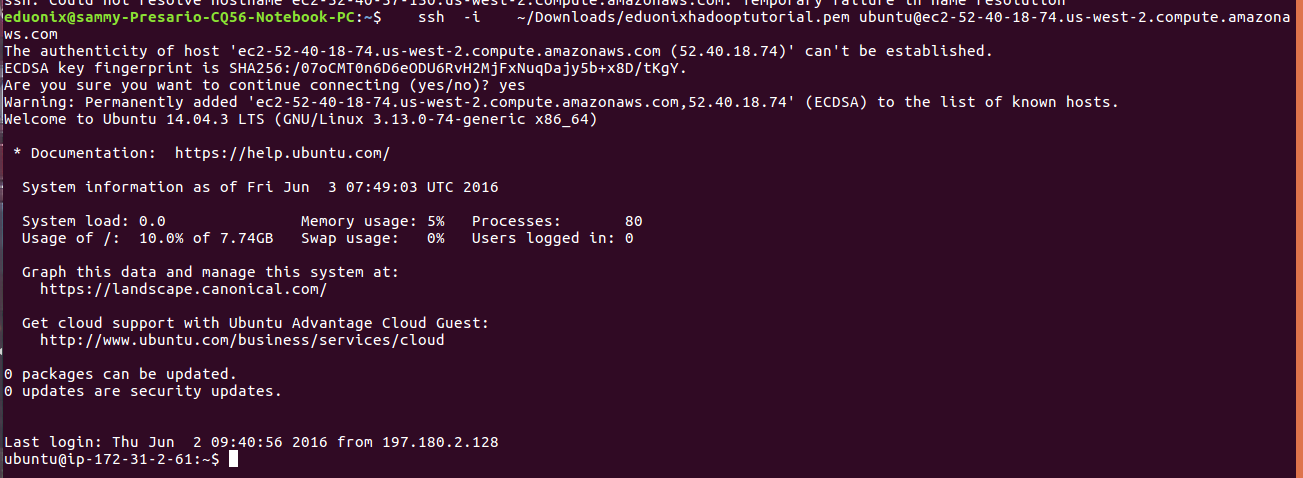
ssh -i ~/Downloads/eduonixhadooptutorial.pem [email protected]
Alternatively you can use the host we specified in sshd_config like this ssh -i namenode1
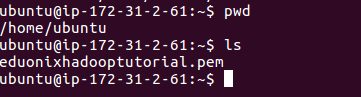
Files are uploaded to the working directory on remote server. Check which is the working directory using the command pwd and list the contents using ls to confirm .pem key file was correctly uploaded.
Move the private key to .ssh directory and rename it to id_rsa
mv eduonixhadooptutorial.pem ./.ssh/id_rsa

To create a public fingerprint and add it to list of authorized keys use the commands below.
ssh-keygen -f ~/.ssh/id_rsa -t rsa -P ""
cat ~/.ssh/id_rsa.pub >> ~/.ssh/authorized_keys
The fingerprint we have created above has to be added to authorized_keys of each of the other nodes in the cluster. The commands below will implement that
cat ~/.ssh/id_rsa.pub | ssh eduonixhadooptutorial.pem [email protected] 'cat >> ~/.ssh/authorized_keys'
cat ~/.ssh/id_rsa.pub | ssh eduonixhadooptutorial.pem [email protected] 'cat >> ~/.ssh/authorized_keys'
cat ~/.ssh/id_rsa.pub | ssh eduonixhadooptutorial.pem [email protected] 'cat >> ~/.ssh/authorized_keys'
cat ~/.ssh/id_rsa.pub | ssh eduonixhadooptutorial.pem [email protected] 'cat >> ~/.ssh/authorized_keys'
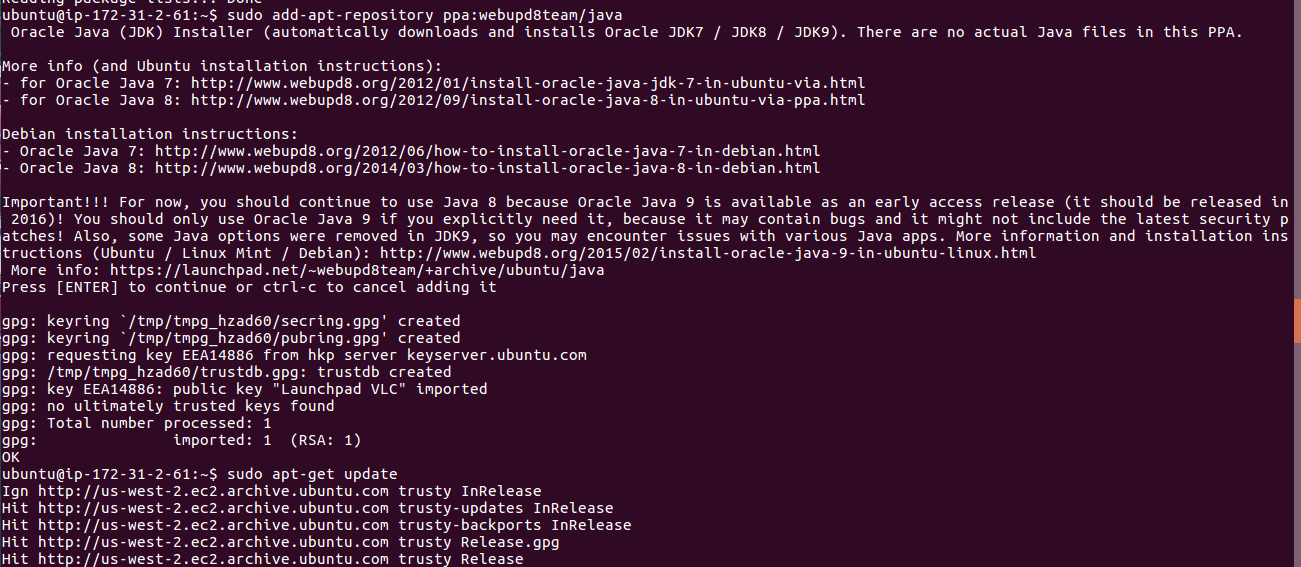
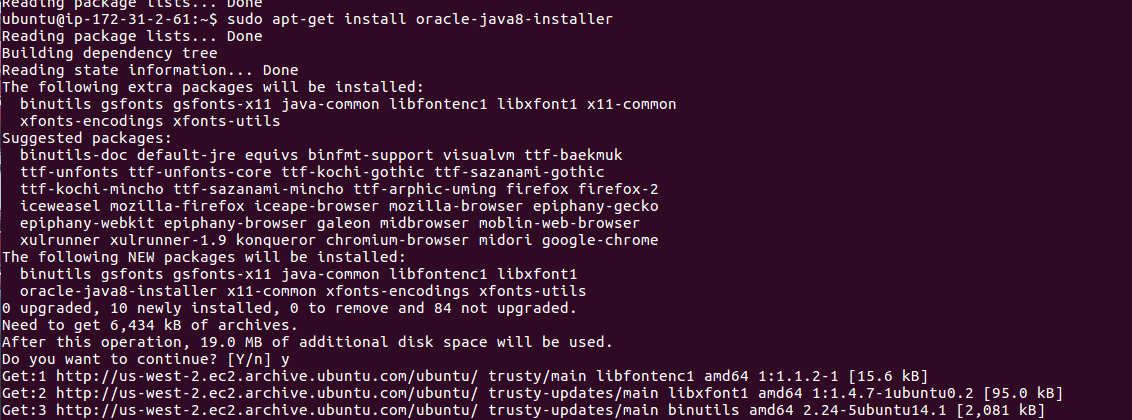
After setting up SSH so that the nodes are able to communicate we can begin installing hadoop. Open 4 terminals and connect to each of the instances. Java is a prerequisite for installation of Hadoop so we begin by installing Java on each node. Use the commands below on each terminal to install and check Java has been properly installed.
sudo add-apt-repository ppa:webupd8team/java
sudo apt-get update
sudo apt-get install oracle-java8-installer

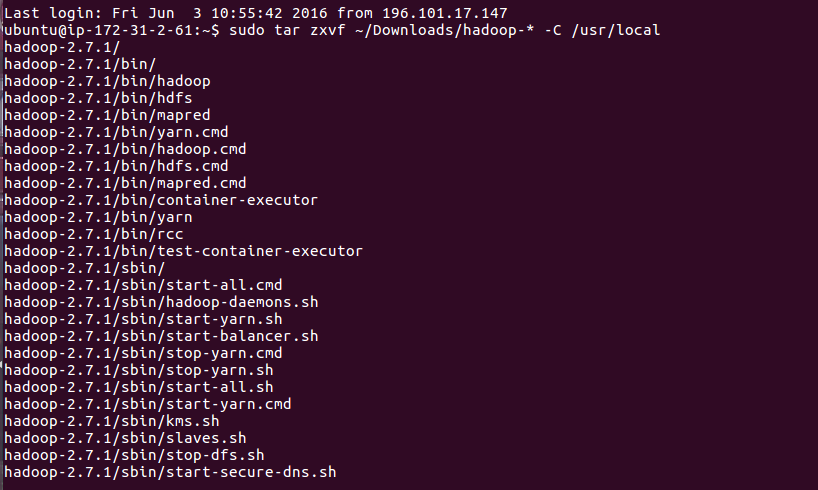
After Java has been properly set up, download Hadoop to /Downloads directory, extract it and move to to its installation directory.
wget -P ~/Downloads

sudo tar zxvf ~/Downloads/hadoop-* -C /usr/local
Move extracted content to installation folder using the command below.
sudo mv /usr/local/hadoop-* /usr/local/hadoop
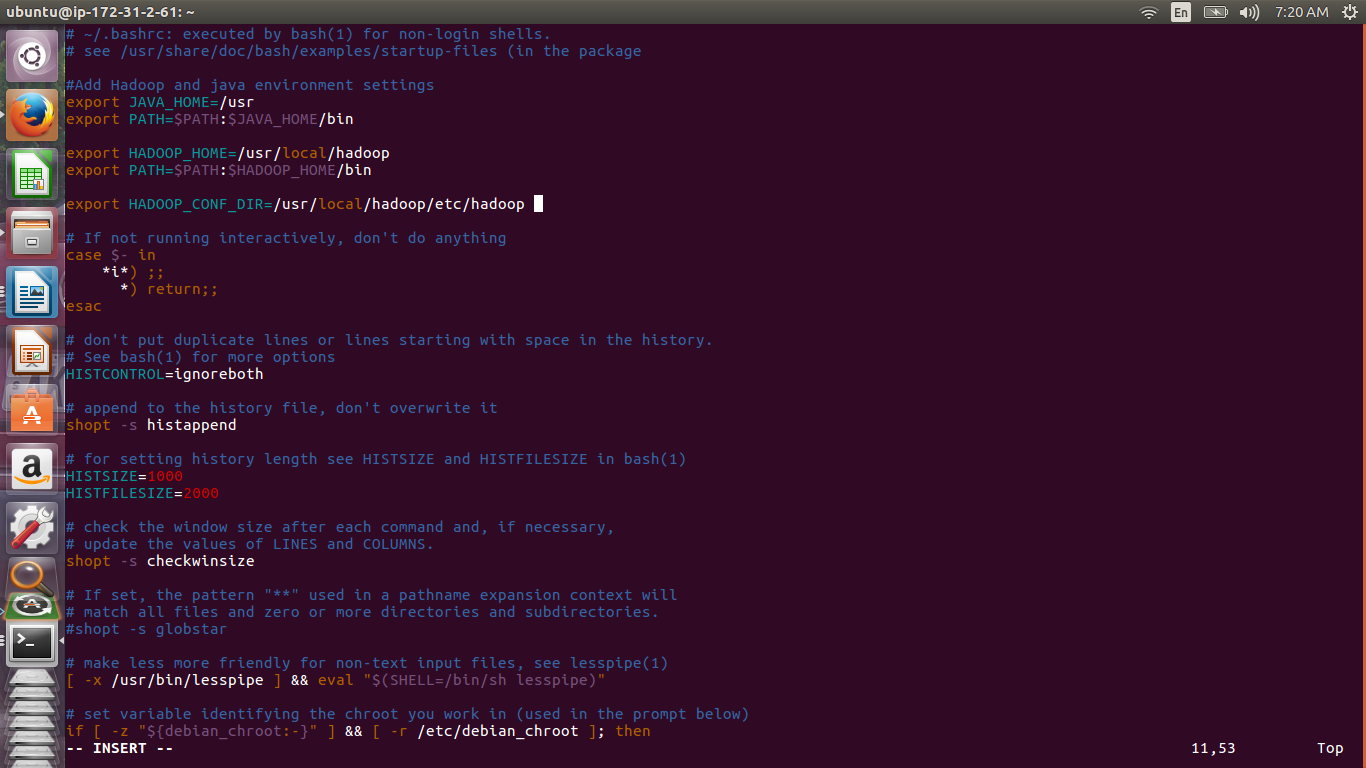
Open .bashrc by running this command sudo vi .bashrc and add the lines below. Editing files with vim may be tricky at the beginning but there is a tutorial online. To insert text press ior a. To move the cursor use arrow keys. To exit vim without saving changes press q. To exit vim while saving your changes press escape then shift+zz.
a export JAVA_HOME=/usr
export PATH=$PATH:$JAVA_HOME/bin
export HADOOP_HOME=/usr/local/hadoop
export PATH=$PATH:$HADOOP_HOME/bin
export HADOOP_CONF_DIR=/usr/local/hadoop/etc/hadoop
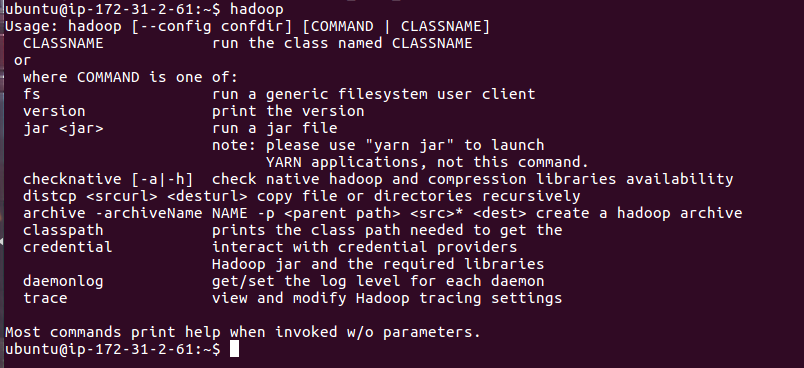
Reload .bashrc by running source .bashrc
Type hadoop at the terminal to confirm hadoop commands are available. You should get output as shown below.
There are configurations that are applied only to the name node and there are configurations that are applied to all nodes in the cluster. We will begin with settings that are applied to all the nodes. We need to edit hadoop-env.sh on each node and add the path to the correct java installations
sudo vim $HADOOP_CONF_DIR/hadoop-env.sh
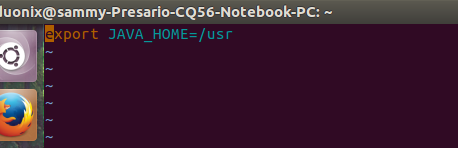
export JAVA_HOME=/usr
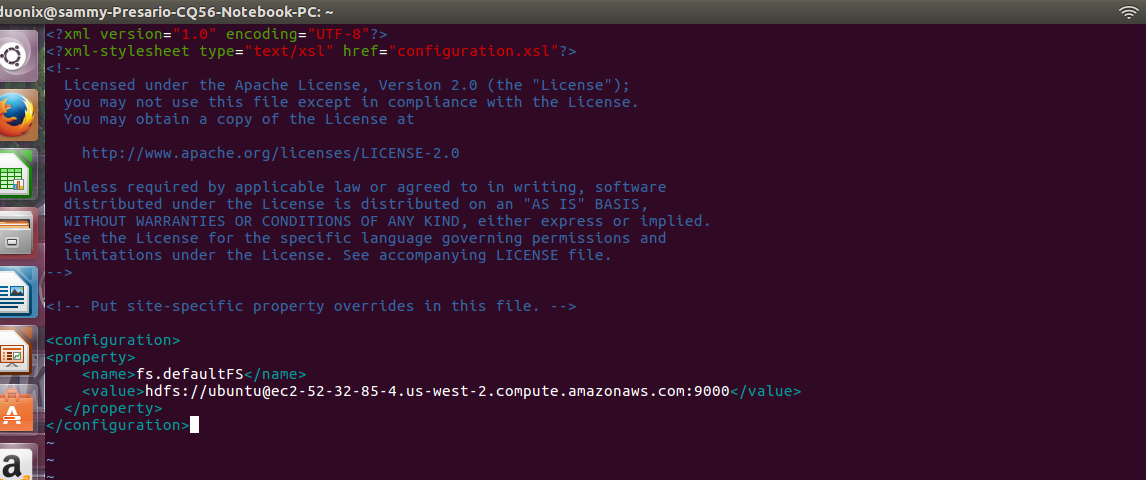
Next we edit core-site.xml, here we will declare the default hadoop file system using the public dns of the node instead of localhost. You need to substitute the value with public DNS that points to your instance.
sudo vim $HADOOP_CONF_DIR/core-site.xml
<property>
<name>fs.defaultFS</name>
<value>hdfs://[email protected]:9000</value>
</property>
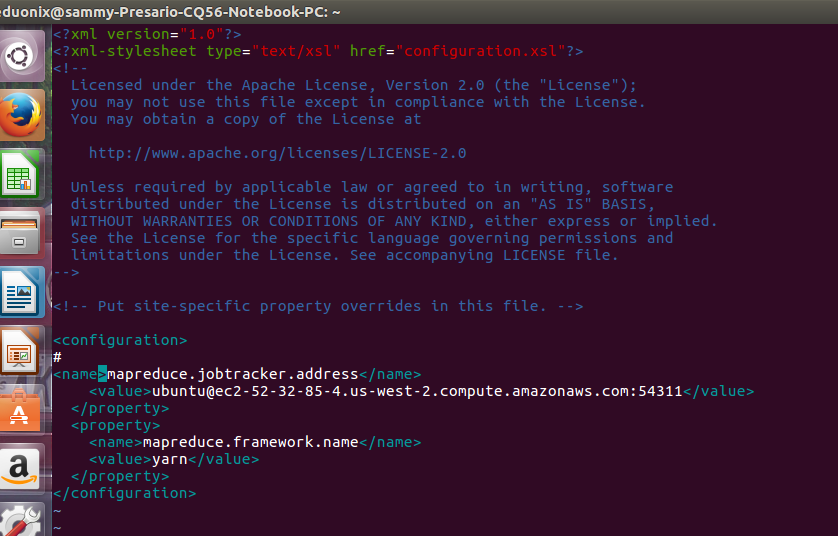
The other file to be edited is yarn-site.xml. Add the lines below to the file. In this file you will need to replace the value of yarn.resourcemanager.hostname with public DNS that points to your instance
sudo vim $HADOOP_CONF_DIR/yarn-site.xml
<property>
<name>yarn.nodemanager.aux-services</name>
<value>mapreduce_shuffle</value>
</property>
<property>
<name>yarn.nodemanager.aux-services.mapreduce.shuffle.class</name>
<value>org.apache.hadoop.mapred.ShuffleHandler</value>
</property>
<property>
<name>yarn.resourcemanager.hostname</name>
<value>[email protected]</value>
</property>
The last file to be edited is mapred-site.xml. A template is provided so we first need to use it to make the file. The commands below will copy the template and rename it.
sudo cp $HADOOP_CONF_DIR/mapred-site.xml.template $HADOOP_CONF_DIR/mapred-site.xml
sudo vim $HADOOP_CONF_DIR/mapred-site.xml
<property>
<name>mapreduce.jobtracker.address</name>
<value>[email protected]:54311</value>
</property>
<property>
<name>mapreduce.framework.name</name>
<value>yarn</value>
</property>
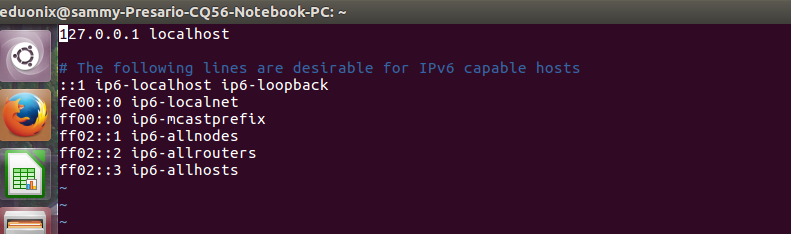
Once we are done with common configurations on all nodes we can move on and add configurations that are specific to the name node. First we need to add the public DNS and host name of each of the nodes to /etc/hosts. The public DNS is obtained by typing this command echo $(hostname) at the terminal. You can also get the host name from the first part of the private DNS (this is the first part that is composed of numbers). Open the file in a text editor and add the public DNS and host name.
sudo vim /etc/hosts
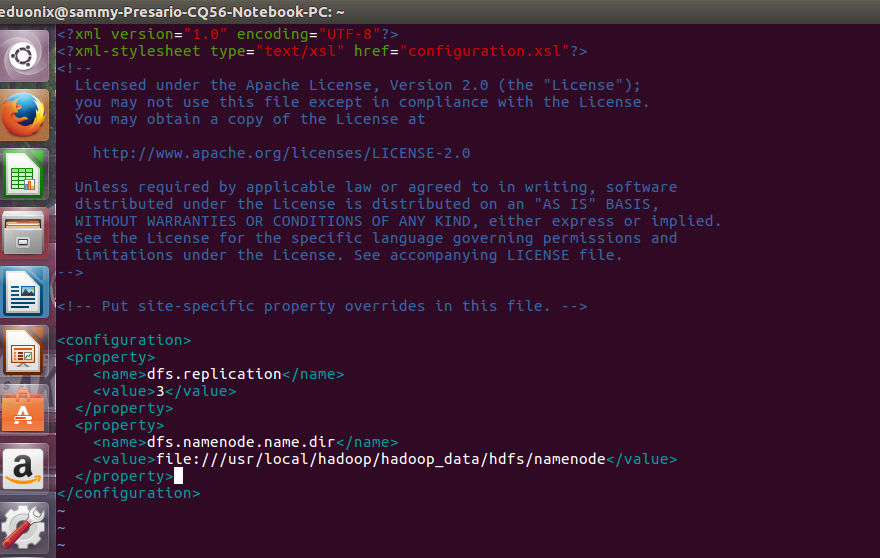
Next we edit hdfs-site.xml to specify a replication factor of 3 will be used and specify the directory where name node will store its data. Create a directory on the namenode for storing data.
sudo mkdir -p $HADOOP_HOME/hadoop_data/hdfs/namenode
<property>
<name>dfs.replication</name>
<value>3</value>
</property>
<property>
<name>dfs.namenode.name.dir</name>
<value>file:///usr/local/hadoop/hadoop_data/hdfs/namenode</value>
</property>
Add the lines above
sudo vim $HADOOP_CONF_DIR/hdfs-site.xml
we need to create a masters file in hadoop conf directory and add the host name of name node.
sudo touch $HADOOP_CONF_DIR/masters
sudo vim $HADOOP_CONF_DIR/masters
Edit slaves file found in hadoop conf directory and add the host names of slave nodes.
sudo vim $HADOOP_CONF_DIR/slaves
At this point the name node configuration is complete. The last thing we need to do is change ownwership of $HADOOP_HOME directory to ubuntu user
sudo chown -R ubuntu $HADOOP_HOME
Before starting our cluster we need to add a directory in each of the data nodes that will be used to store blocks. Create the directory and add the path in hdfs-site.xml
sudo mkdir -p $HADOOP_HOME/hadoop_data/hdfs/datanode
<property>
<name>dfs.replication</name>
<value>3</value>
</property>
<property>
<name>dfs.datanode.data.dir</name>
<value>file:///usr/local/hadoop/hadoop_data/hdfs/datanode</value>
</property>
Finally change the ownership of $HADOOP_HOME of each of the data nodes to the ubuntu user.
sudo chown -R ubuntu $HADOOP_HOME
from the name node we format the hdfs file system and start the cluster.
hdfs namenode -format
$HADOOP_HOME/sbin/start-dfs.sh

