

This tutorial will be divided into two parts. In the first part we will demonstrate how to set up instances on Amazon Web Services (AWS). AWS is a cloud computing platform that enables us to quickly provision virtual servers. In the second part we will demonstrate how to install Hadoop in the four node cluster we created.
Hadoop was designed to use many machines to process data that is beyond the processing power of a single machine. The true power of Hadoop can only be realized when using a cluster. In the distributed mode we have machines that are configured to operate as name node or data node. The name node stores the structure of the files in the file system and keeps track of where data is stored in the cluster. In a Hadoop cluster there is one machine configured as a namenode which makes it a single point of failure. To mitigate this one can set up a secondary name node to be used in case the primary name node fails. The secondary name node is optional when setting up a cluster. Storage of data in the cluster is done in the data nodes. In this tutorial we will create a 4 node cluster with a namenode, a secondary namenode and two data nodes.
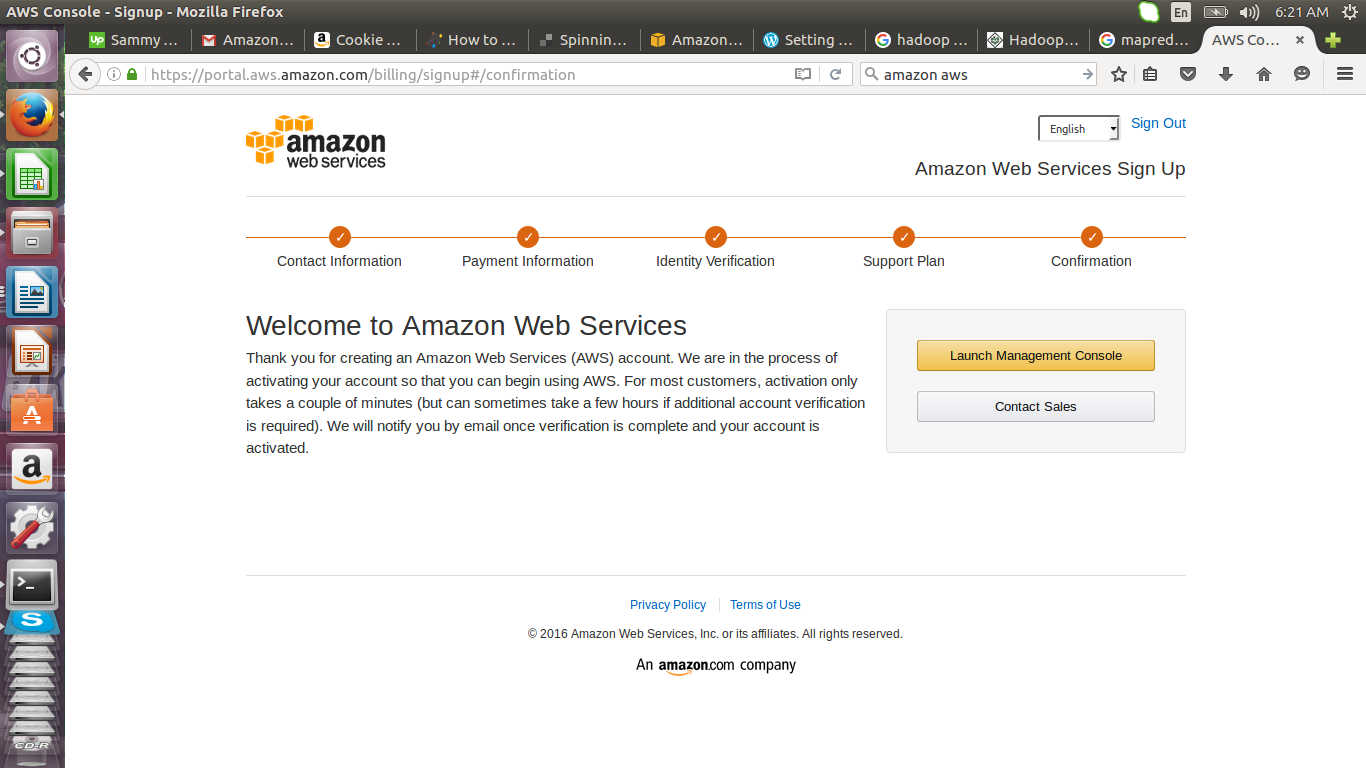
Login to Amazon Web Services (AWS) with your account details. If you do not have an Amazon account you need to register one. In this tutorial we will use the free tier offered. Although this is free you will need to provide valid billing details. After logging in click on launch management console.
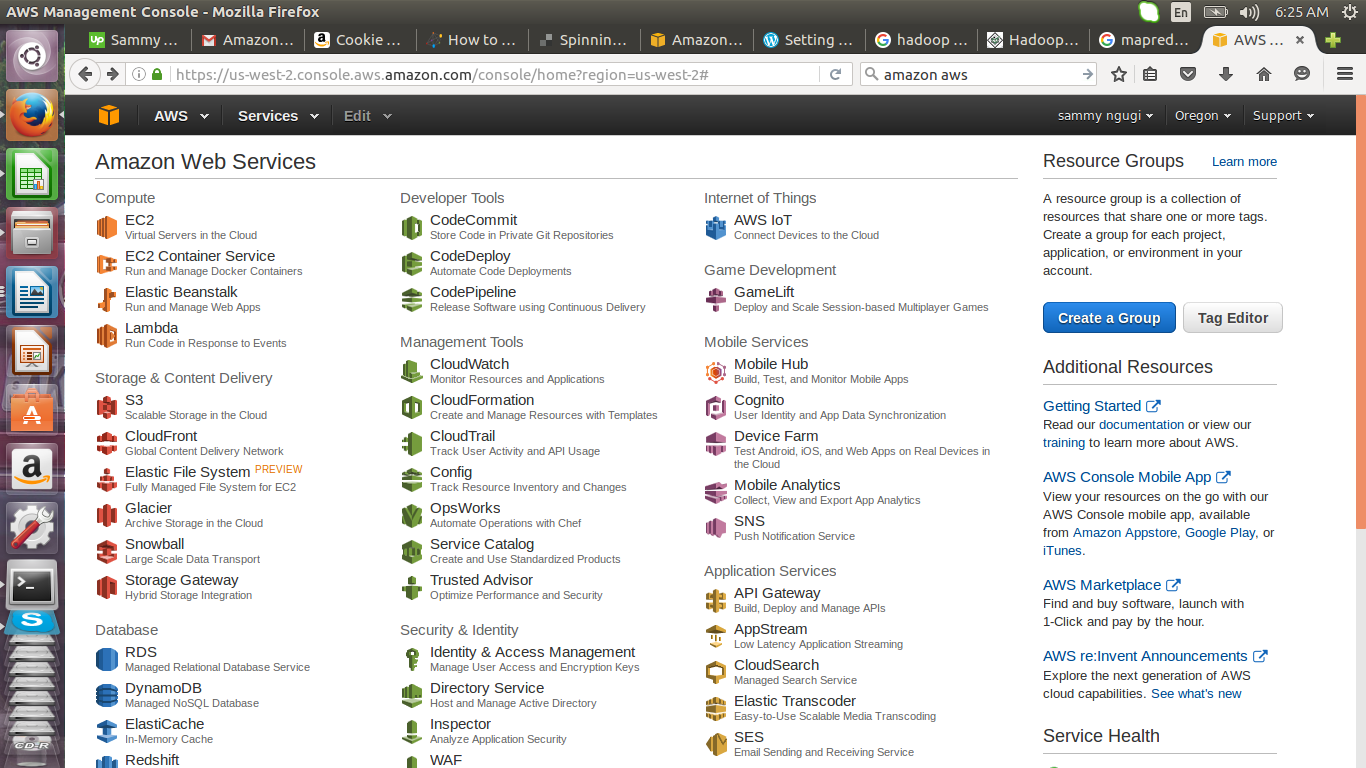
Under compute click on EC2 to create virtual severs.
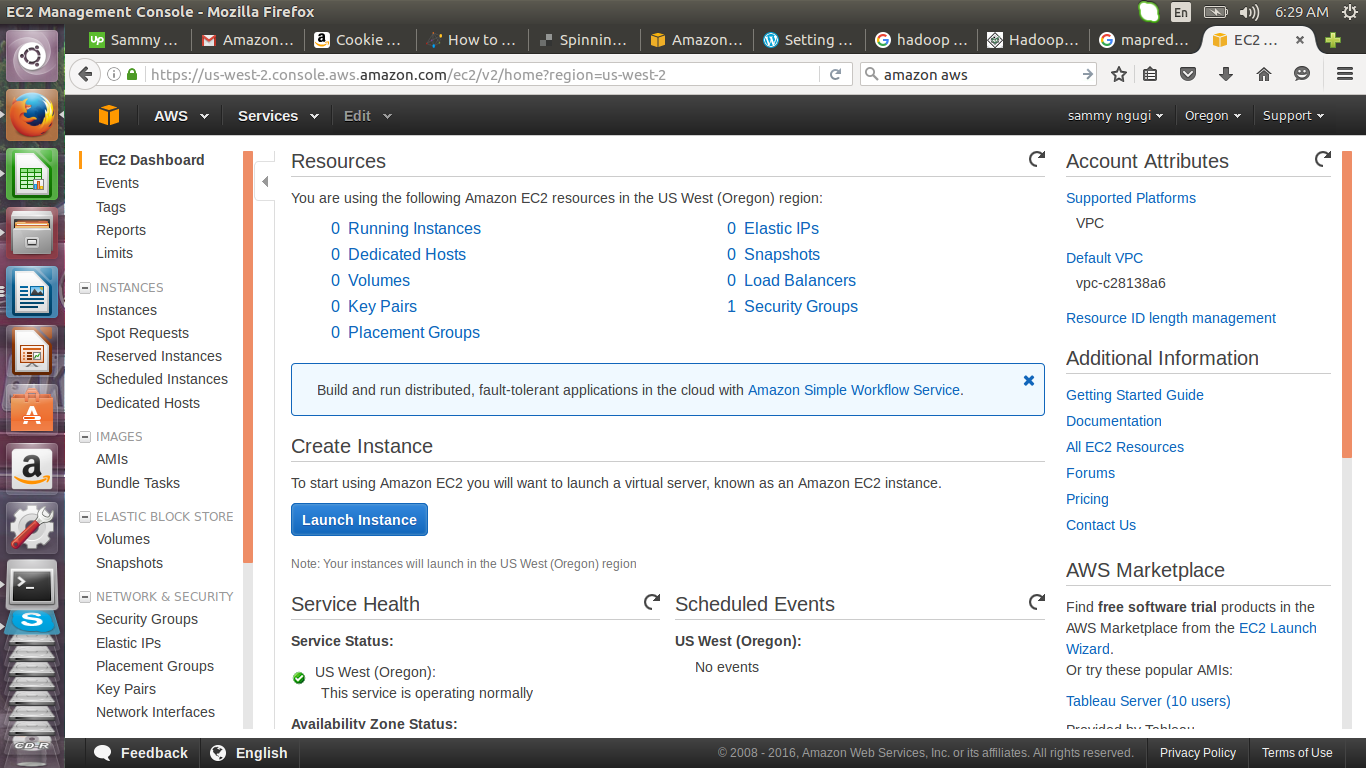
In the page that appears click on launch instance to create a virtual server.
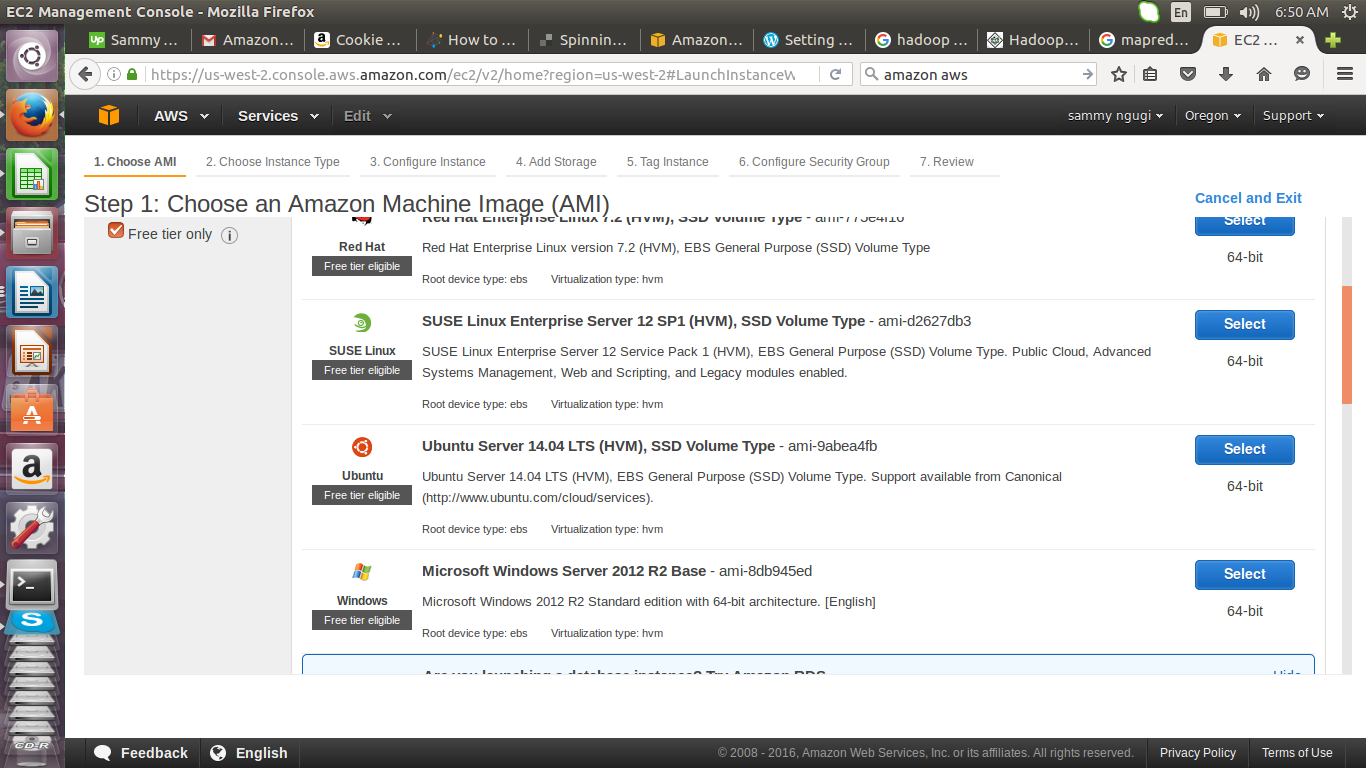
In the page that appears you will be able to select the Amazon Machine Image that you will use. Select the Free tier only filter so that you will only choose a AMI that is eligible for free usage. Scroll down and select Ubuntu AMI. This will take you to a page where you can select an instance type. An AMI contains information that is used to launch a virtual server. This information includes the operating system, the region where the instance will be available, the architecture to be used 64/32 bit and storage volumes to be attached.
Click on all instance types and select the micro instance.
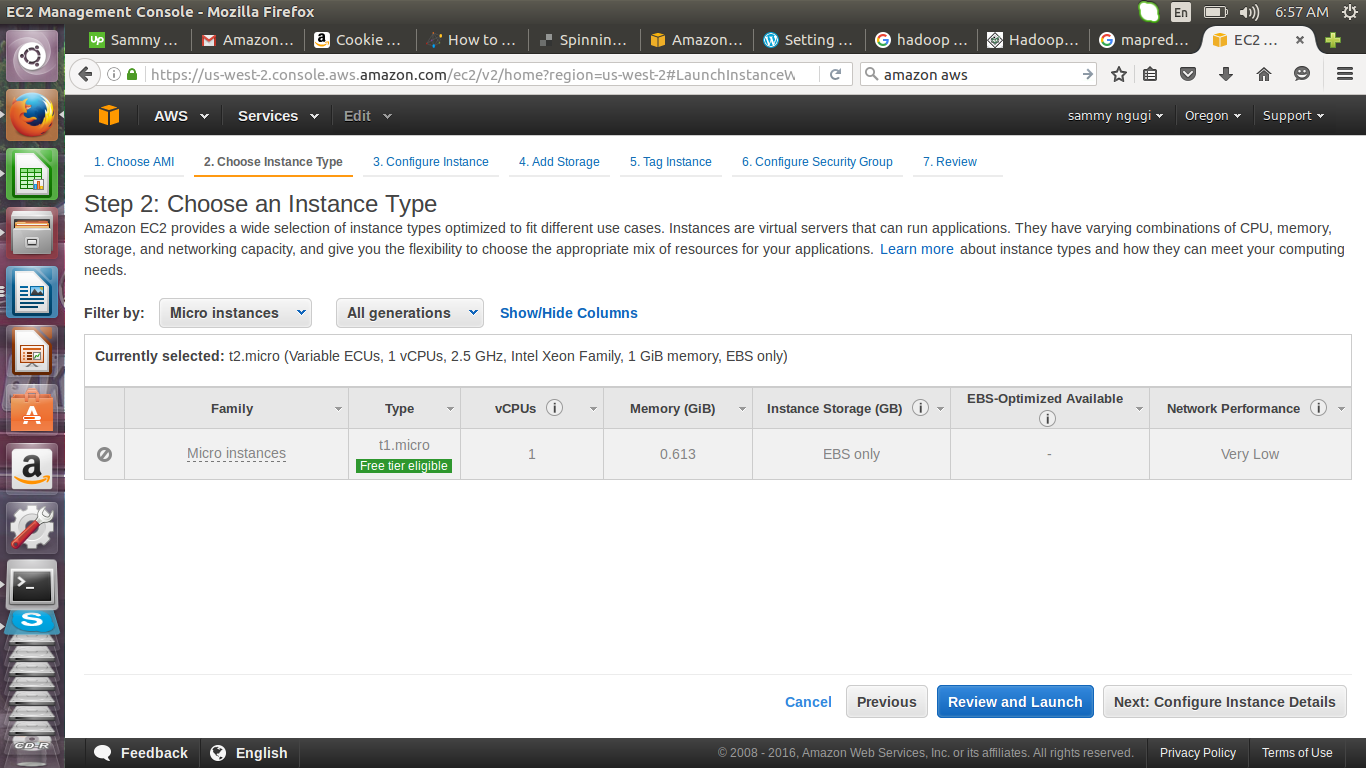
Click on Next: Configure instance details. When adding details it is important to understand what resources can be used without billing.
The Amazon free tier imposes limits on resource usage which if violated you will be billed. In the first 12 months after you sign up you can use 750 hours of Linux t1.micro or t2.micro instances per month. You have an additional 750 hours of Windows t1.micro or t2.micro instances per month. The smallest unit of measuring time is an hour. If you run an instance for a time less than an hour that will be taken to be an hour.
On Amazon S3 which is a data storage infrastructure you get 5GB of storage. You also get 20,000 get requests and 2000 put requests which expire after 12 months. Amazon Relational Database (RDS) avails relational databases in the cloud. Database engines provided are Mysql, Oracle, SQL server, MariaDB, Amazon Aurora and Postrgresql. Here you get 750 hours of Amazon RDS Single-AZ db.t2.micro Instance usage, 20GB of DB storage, 20GB for backup and 10,000,000 I/Os.
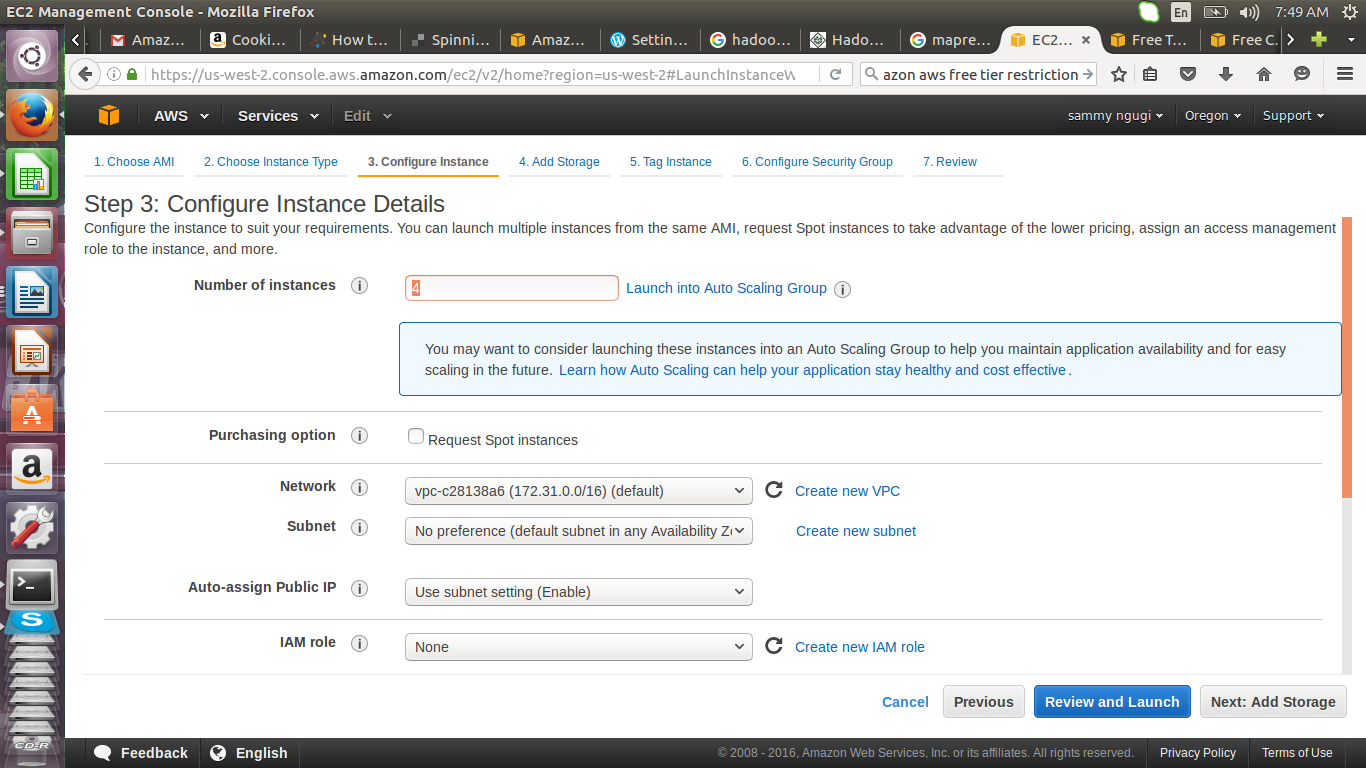
On configure instance details page we choose to launch 4 instances. After selecting number of instances click on Next: Add Storage
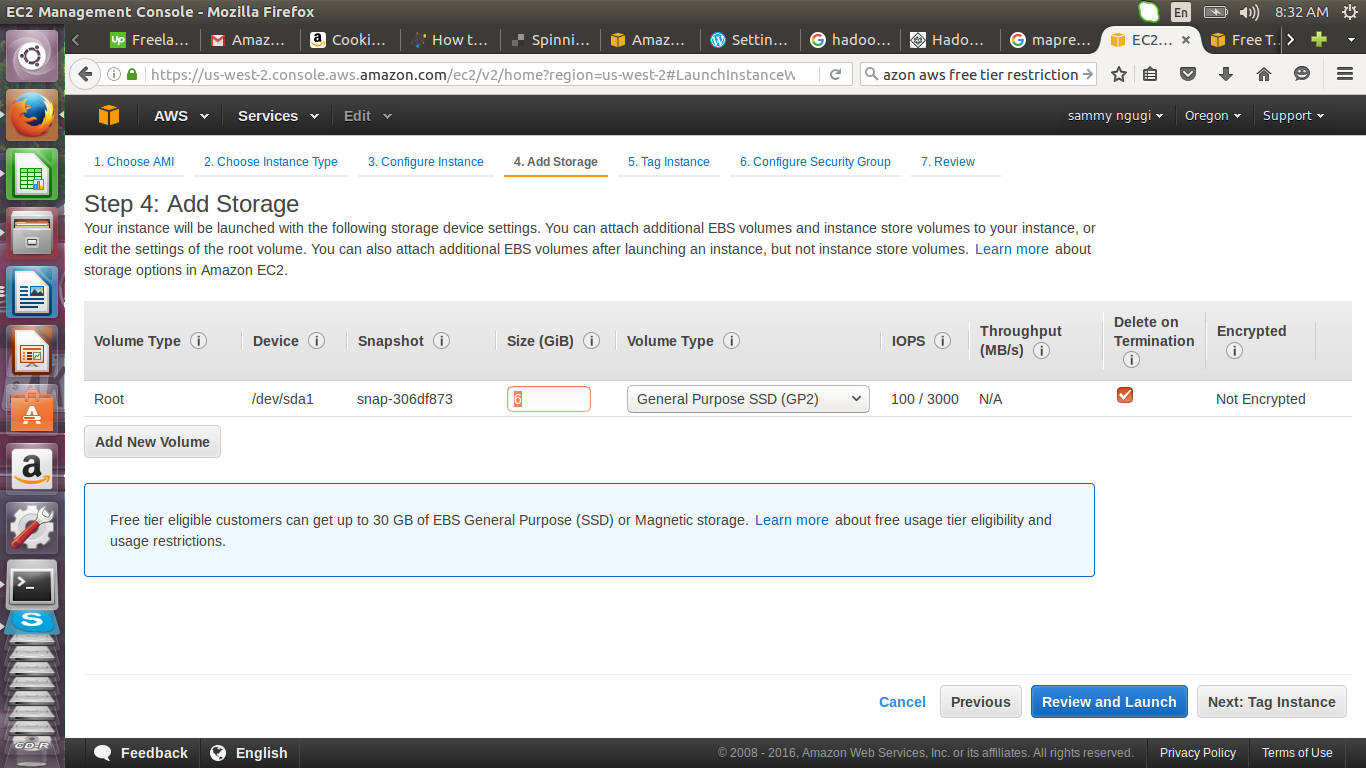
Add the storage and and click on Next: Tag instance. The minimum storage is 8GB.
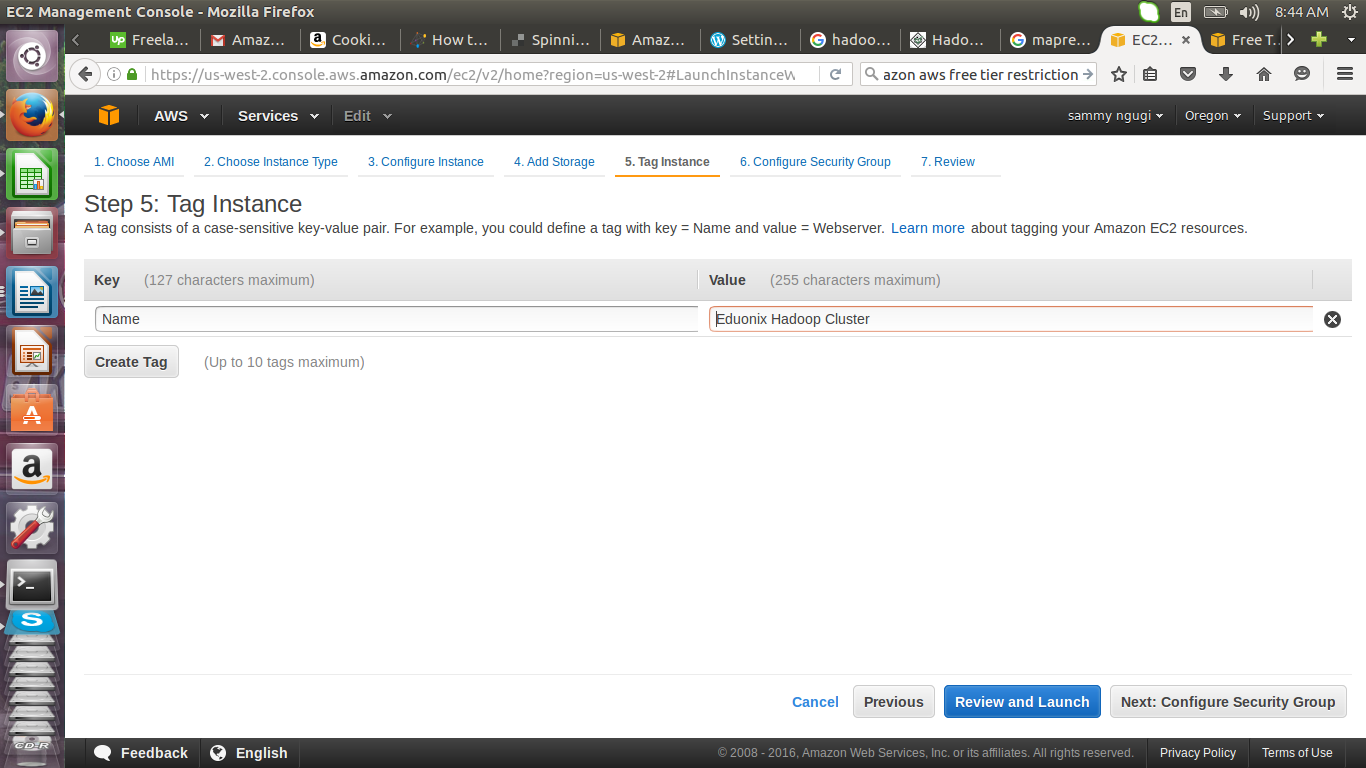
Add a description for the instance, we will use Eduonix Hadoop Cluster as our name.
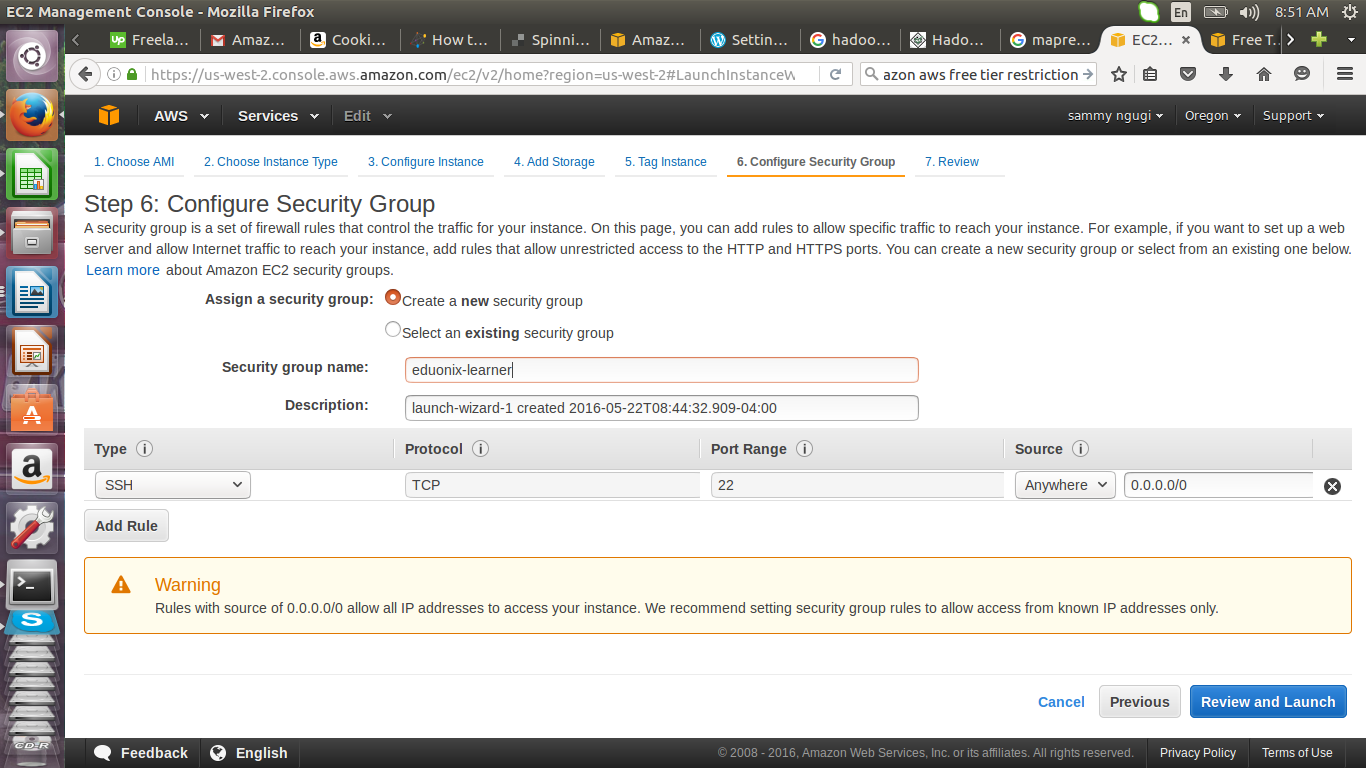
Here we create a security group called eduonix-learner, using SSH, port 22 and accepts connection from any IP address. In a production environment such a set up would be unacceptable because of the security risks. In such an environment you specify an ip address or range of ip addresses that can connect to your instance.
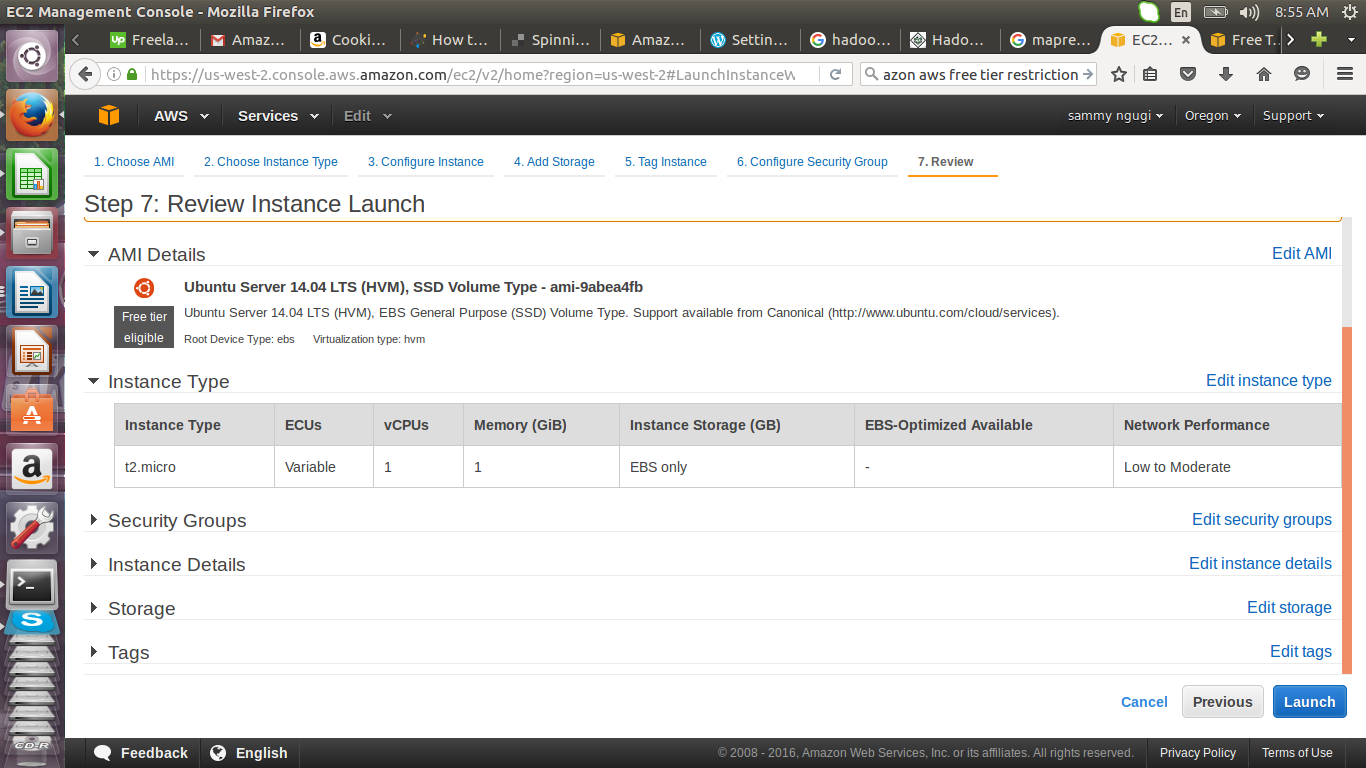
Review the settings that will be used to run the instance and if they are satisfactory click on launch to start the instance.
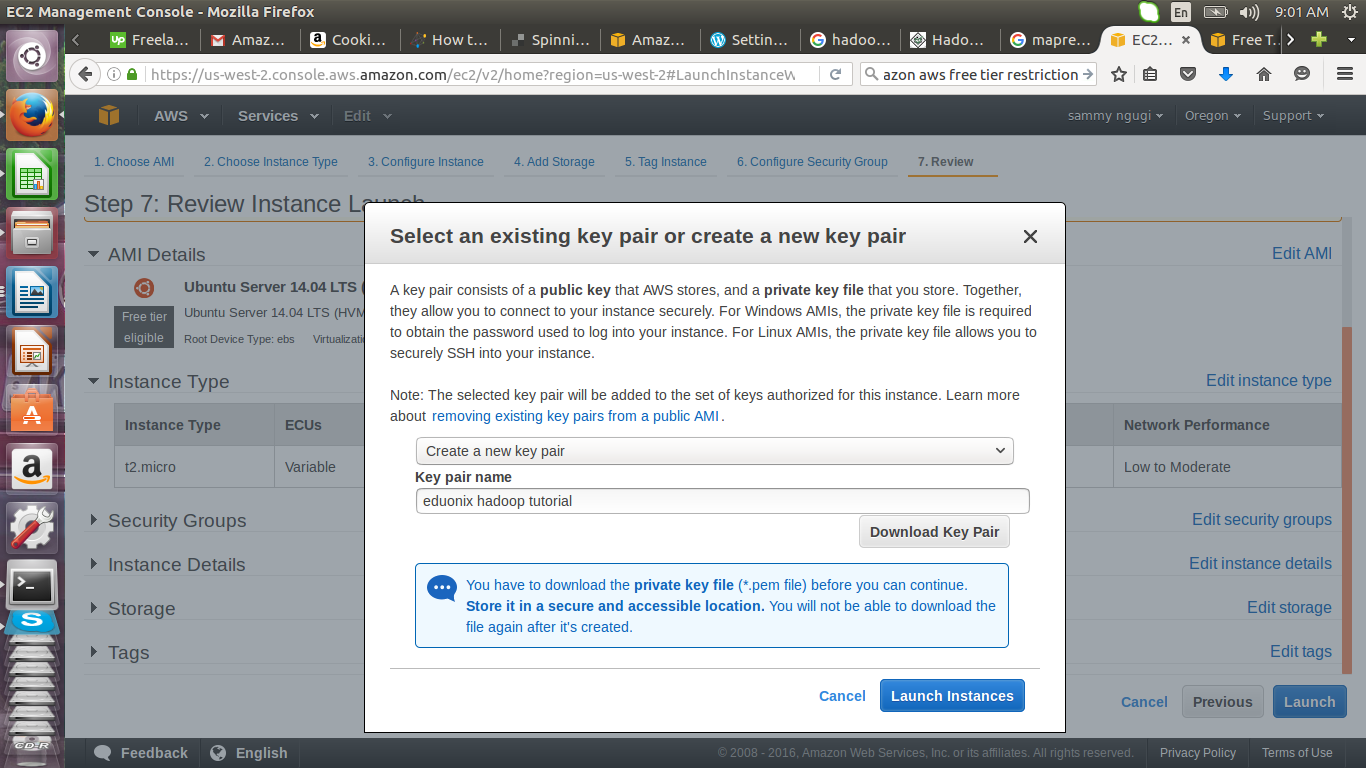
Create a new key pair, give it a name eduonix and download the key pair. Store the key pair as it will be used to connect to the instances. The key pair can only be downloaded once and if lost you will never get access to that instance.
 Once you have launched the instance you can view the instances
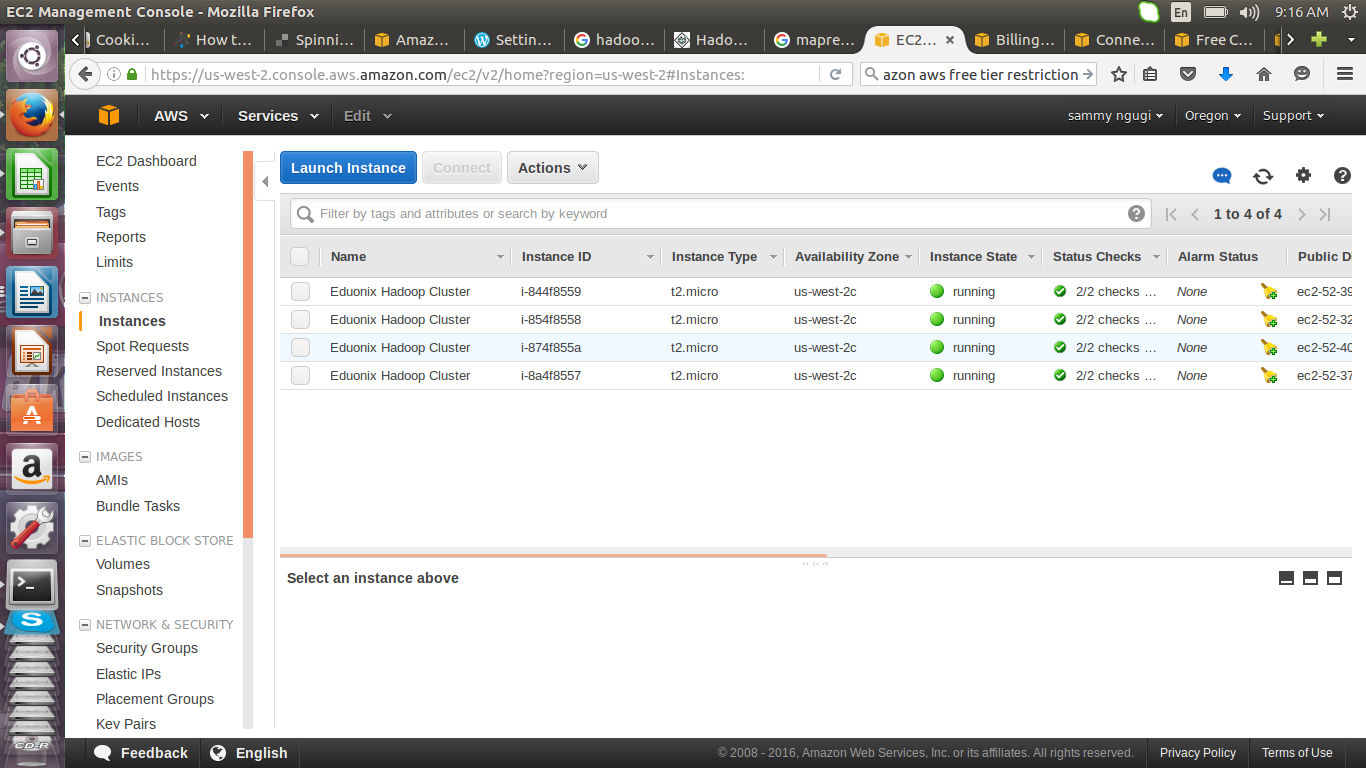 W rename the instances to HadoopNameNode (Master), HadoopSecondaryNameNode, HadoopSlave1 and HadoopSlave2. HadoopSlave1 and HadoopSlave2 are the data nodes that will store our data.
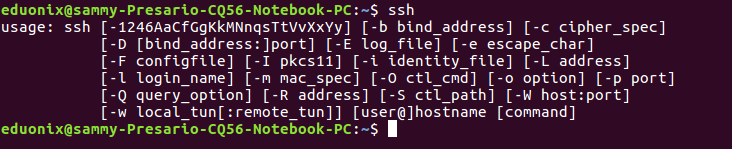
To connect to the instances we have created we will use SSH. Installation and configuring of SSH was demonstrated in the setting up Hadoop tutorial so we will not repeat it here. Type ssh at the terminal to confirm ssh is installed.
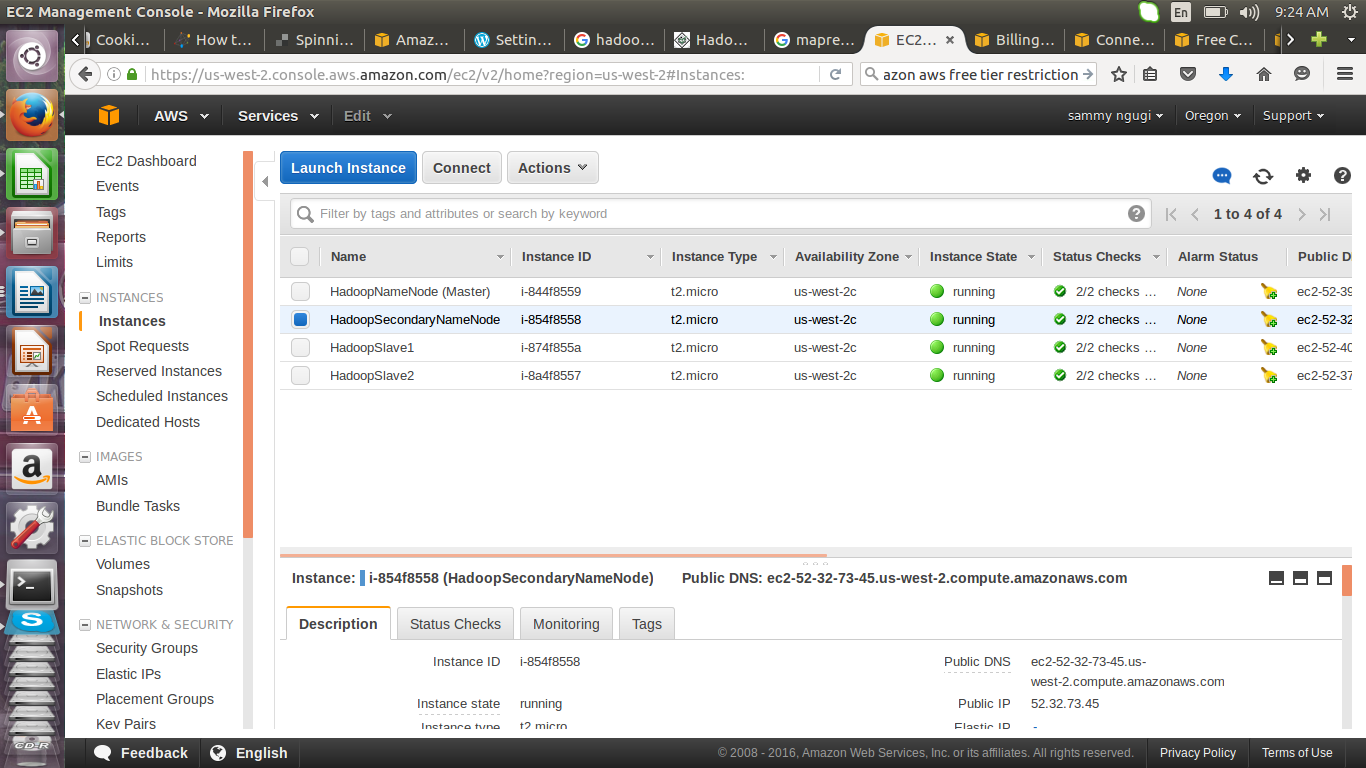
To connect to an instance you need the public DNS name of that instance. This is obtained by selecting an instance and clicking on description tab. Identify the location of the key-value .pem file that was downloaded.
Navigate to the directory where the key-value pair was downloaded. It is important you consider moving your .pem file from the downloads directory to a different directory. Use this command chmod 400 ~/Downloads/eduonixhadooptutorial.pem to make your .pem file not publicly viewable.
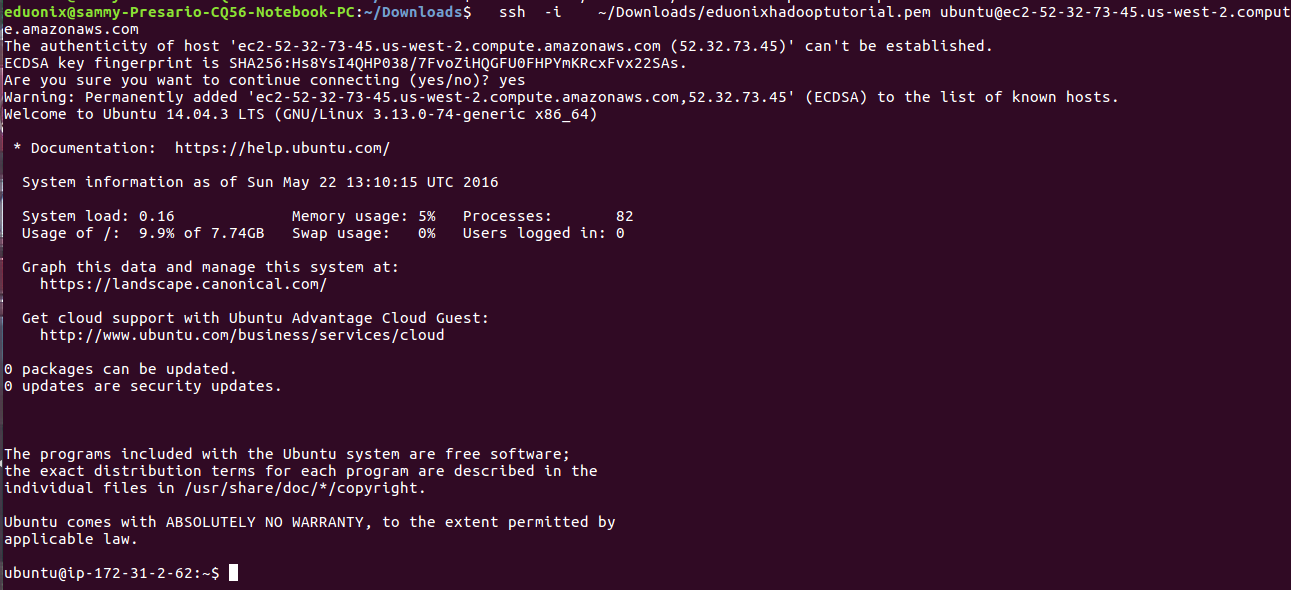
 The ssh command is used to connect to the instance. You specify the path to the .pem file and user_name@public_dns_name. For ubuntu instances the user_name is ubuntu. Here we will connect to HadoopSecondaryNameNode instance. So get it’s public DNS
ssh -i ~/Downloads/eduonixhadooptutorial.pem [email protected]
Once we are connected to the instance we can transfer files using Secure Copy (SCP) or SSH.
This tutorial has introduced Amazon Web Services as a platform that enables one to quickly provision virtual servers. The steps taken and options used to set up an instance have been explained. Connecting to an instance using SSH has been demonstrated. In the second part ot this tutorial we will demonatrate how set up a Hadoop cluster using the four instances we created.


Thank you very much. Please pass on my thanks to the writer too. It really helped me understanding the topic and grab my ideas on how to write my own.