

Adobe Illustrator is a premiere program in creating vector shapes and graphics. Unlike Adobe Photoshop, it produces clean and smooth graphics called “vectors” that you can scale to any size without worrying over quality loss.
Adobe Photoshop may be easier to get your hands on, but the value of mastering the steep learning curve of Illustrator will make you thank yourself later.
What Can You Do With Adobe Illustrator?
Anything really! From logos, brochures, vector art of your favorite cartoon character, illustrations, graphs and even infographics.
This is why it’s an integral part of any designer’s toolbox.
It isn’t enough to only have Photoshop in your arsenal. You can get by without Illustrator, sure. But sooner or later, if you are a serious designer, you will find yourself encountering projects that call for Adobe Illustrator.
This is why it’s important for you to have these 7 Illustrator tips & tricks you need to master now.
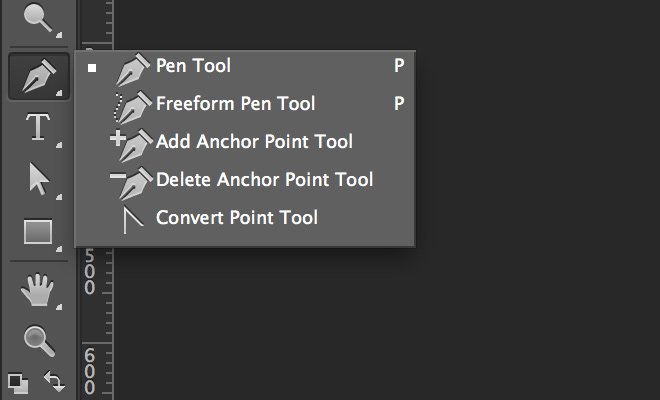
1. Pen Tool Is Your Best Friend
• Beginners who are starting to use Illustrator will scratch their heads when confronted by the Pen Tool
• But if you have prior experience to Adobe Photoshop, this shouldn’t be a problem
• The only thing you need to remember is that Pen Tool is kinda like a dough of bread. You need to learn how to “knead” it the right way
• Most of the activities that will revolve around your work whether it is logo design, print design or other vector-based art, will need the Pen Tool so it certainly comes in handy
• Know your Bézier points and curves and you will be on your path to being pro
Recommended tutorial: – Learning The Basis of the Illustrator Pen Tool
2. Get Organized With Layers
Here’s one thing most newbie designers mess up : layers.
You’re happily creating your masterpiece and then when it comes to the final phase, your client (or you, for this matter) is confused as to how it all came up to be.
“Where do I find this graphic? And how do I change this, that, etc.?”
You see, part of being a professional designer (even if you aren’t one yet) is being organized.
By having a proper layering technique, you increase productivity with your workflow.
Here are my recommendations: –
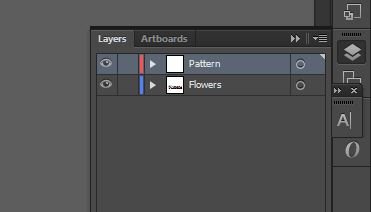
• Place on separate layers for different components as this will be easier to track and it is much more organized
• However, you can place components on the same layer if they are only a handful (no more than 5 graphics) and if they are for the same function (say, a layer for the eyes – pupil, eyelashes, eyebrow)
• Name your layers well. Don’t just let it be Layer 1, Layer 2, etc
• Use visibility (the eye icon next to the layer) to hide/unhide layers. This comes in handy when checking your work
3. Clipping Masks And Opacity Masks Will Save You Time (And They’re Really Cool Too!)
• Other essential tools in the Adobe Illustrator interface are Clipping Masks and Opacity Masks
• Clipping Masks create a boundary for which a certain pattern, graphic, shapes or path will follow. This is perfect for combining two layers or paths to create one graphic
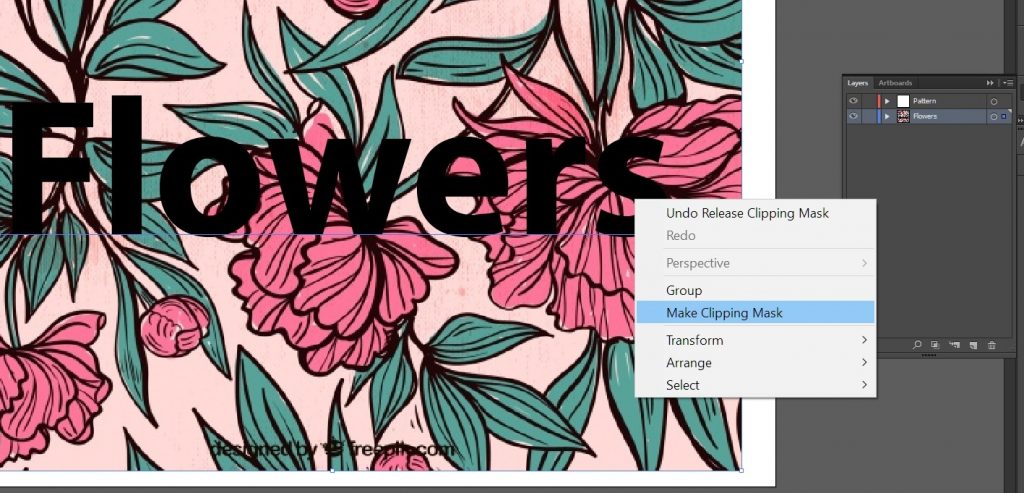
• Here you can see I made a graphic that overlaid the text “Flowers” with a floral pattern
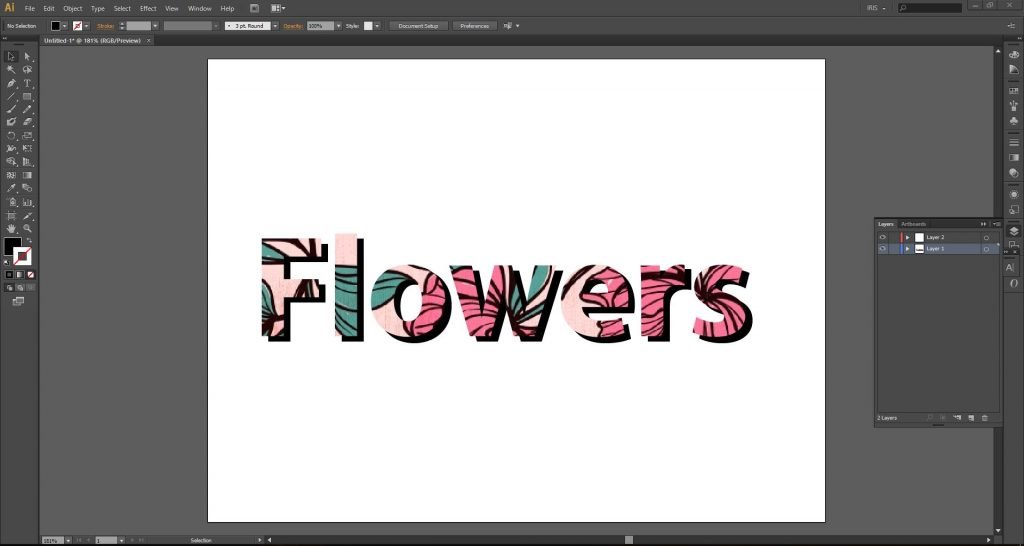
• This is how Clipping Mask works
• To make this, here’s what you need to do: –
1. Place two graphics on a layer or on two separate layers. (Hint: See Tip #2 on Layers)
2. Click both of them.
3. Make sure that the graphic whose form you want to follow is on top of the other graphic.
4. Right click on the Make Clipping Mask function as shown below or hit the keyboard shortcut Ctrl+7 (Windows) or Command+7 (Mac).
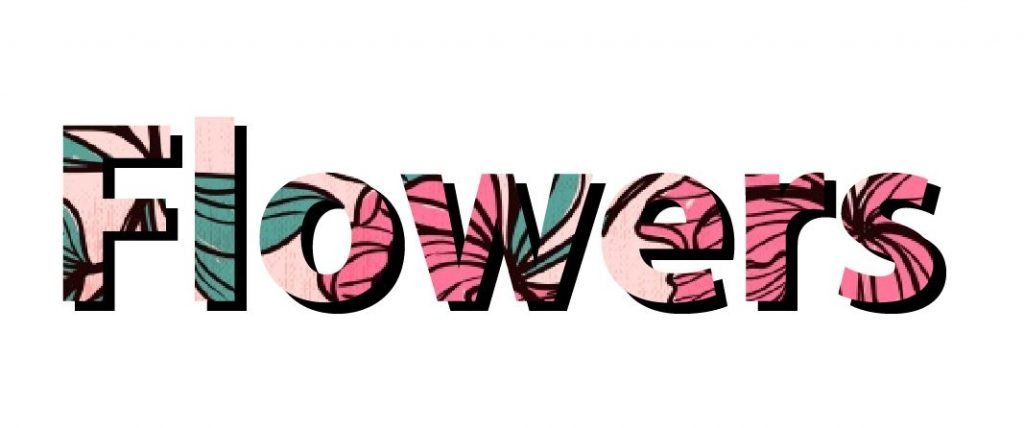
Et voila! You now have the flower graphic as I have done above! Awesome, right?
PS: If you did not get the “black shadow” thing on your artwork, don’t worry. I added that effect by copying the “Flowers” text and putting it at way back behind the first text layer.
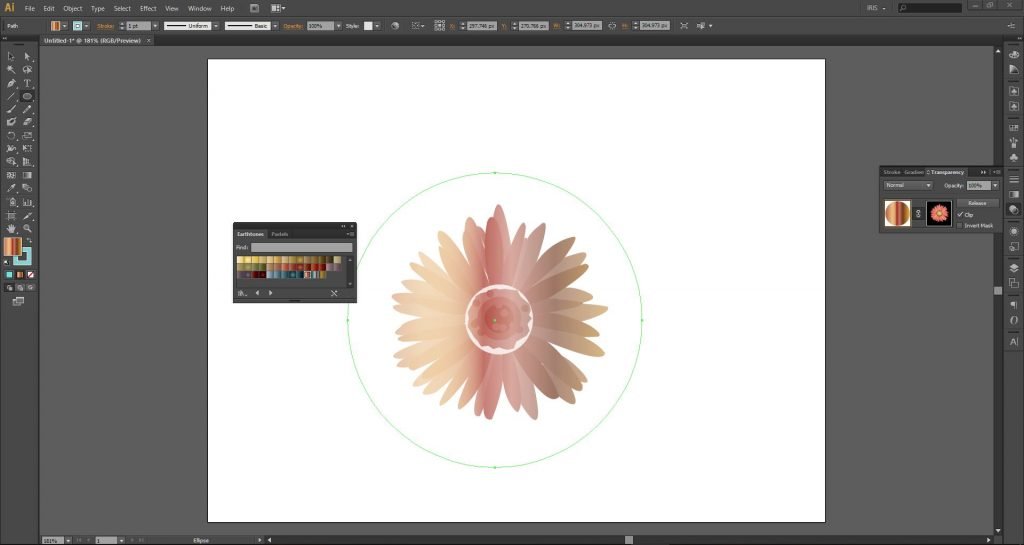
On the contrary, as the name implies, Opacity Masks perform a similar function but with opacity and gradients instead of overlays and clipping boundaries. You can use this for almost any effect you wish. See my example below.
The thing to remember with Opacity Masks is that it uses the greyscale of the object (such as a gradient) as its source.
Blacks become transparent, greys translucent and white will be opaque.
To make this effect, you can follow this direction: –
1. Open the Transparency panel.
2. Set your Blend Mode to Normal. This is a drop-down option.
3. Same as Clipping Mask, place two graphics on a layer or on two separate layers. One of which is a gradient.
4. Click both of them.
5. Make sure that the graphic whose greyscale you want to follow is on top of the other one. In my example, I’ve applied an earthtone gradient to a circle and the topmost graphic is the flower.
6. Once you have secured that and clicked them both, click Make Mask.
Here’s another example:

Recommended tutorial: – Day 26: Masking Using Clipping Path/Opacity Mask
4. Know Your Shortcuts
• As with any program, mastering the shortcuts will make your workflow more convenient.
• By now you already know some time-saving tips like using Clipping Masks and Opacity Masks, but using shortcuts will cut your performance at least by half.
• Recommended: – Default keyboard shortcuts | Illustrator CC
5. Strokes And Fills Will Change The Way You Design
• Whether you are a newbie to design programs or not, the way you work with graphics will get you down and dirty with Strokes and Fills
• If you have been using Adobe Photoshop prior to Illustrator, you’ll know what it’s like
• Yet still, you will be a beginner on this. The command is very different in Illustrator then in Photoshop
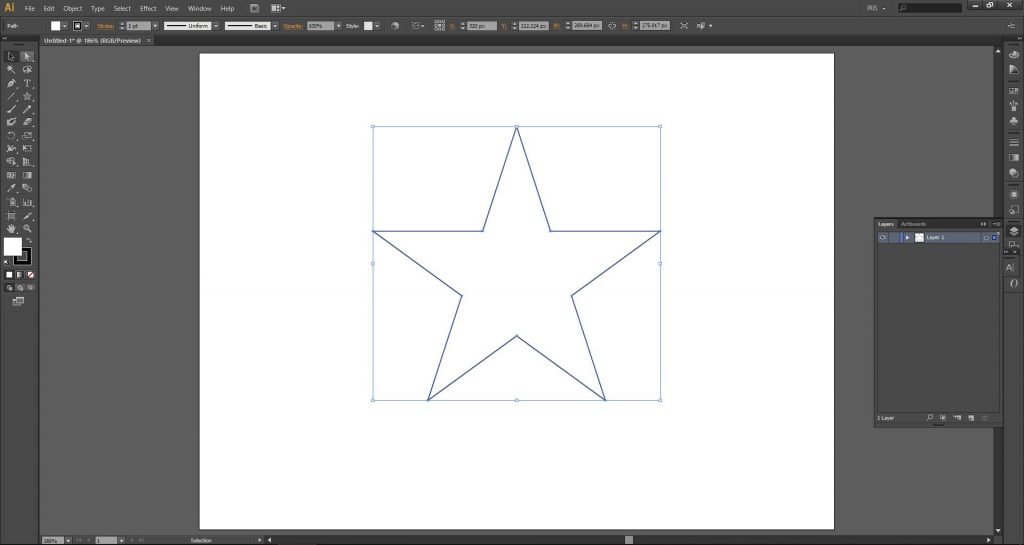
• By default, Illustrator gives your path a stroke of 1pt black and is filled with white if you create a fully enclosed graphic
• Knowing how to manipulate your paths and shapes through the Strokes and Fills will be essential to creating impressive work in Illustrator
6. Create Your Own Brushes
• Part of mastering these 7 Illustrator tips and tricks is creating your own brushes. Illustrator is not just all about solid shapes, gradients and other point-based path graphics
• You can actually create your own brushes too!
• With the Brushes panel, you can select from the variation of preset brushes or make your own.
• This is highly useful when you are making an artwork that requires repeated rendering. For example, fur or grass.
• Recommended tutorial: – How To Make A Custom Illustrator Brush
7. Thou Shall Not Be Intimidated By The Appearance Panel
• I know, I know
• At first glance, the Appearance panel seems like a whole load of complex features. But really, this is another time-saving tool in your arsenal
• Shortcut: Shift+F6 or go to Window > Appearance
• One of the coolest things you can do with it is that you can create a multiple-point looking graphic with just a few actual points or paths
• Mastering it gives you the power to change different features of your graphic – from opacity, stroke, fill and even blending mode
• Think of it as the master remote control
• Recommended tutorial: – How to Use The Appearance Panel in Adobe Illustrator
And there you have it. 7 Illustrator tips & tricks you need to master now.
If you have any questions or suggestions for our next topic, feel free to leave a comment below and we’ll see you in the next blog post!


Great Tips! I’ll try creating my own brush, I really liked the idea. This will add new dimension and creativity to the designs.
OMG!
I am now in the right place ????????????
I tried a lot to find illustrator tips but was unable to find out from google. But i got it.
Great thanks for sharing!
__Mira Edorra
Thanks. Your guidance and tips are important and we appreciate your efforts for sharing this great information.