

Storybook illustration is one of the most fun and creative career you can have in the publishing industry.
Imagine creating a world out of nothing but only from words and phrases weaved altogether into a world of its own?
Exciting, isn’t it?
But crafting the story is one step and designing the characters is another.
In this tutorial, we’re going to show you how to turn your drawings into a professional storybook illustration from scratch.

Why Make A Career In Storybook Illustration?
For those who are curious about storybook illustration, here are some fun facts on why you should consider making it a career choice:
You don’t need to concentrate on just being an illustrator all your life. You can make a career in ad agencies or as a freelancer. You can also create illustrations for packaging, branding and other forms of media.
Typically, illustrations are common in children’s books but this same art can also range to different genres from fiction to non-fiction down to biographies, movie guides and instructional books.
Book illustration can be a lucrative career for creative artists. You can be paid in fixed price for the copy of the book that has been sold out.
According to a February 2018 statistic from Indeed.com, an illustrator can earn as much as $46,714 per year on average salary. CareerTrend.com says that most publishing houses give an advance around $8,000 to $12,000 and it gets divided between the author and the illustrator. On top of this, both creators also get a higher percentage (usually called royalty fees) and will be given upon distribution phase of the books.
If you want to create a positive influence and better relationships in your career, this can be a good pick: A study from psychology states that illustrations affect parent-child story reading and a child’s memory recall.
In a nutshell, book illustrators can earn more as their years of experience grow. And not only that, it’s a pretty fulfilling and fun job to take on.
The Basics
Before creating any work on Adobe Illustrator, let’s set the foundation first and visualize the drawing that you want to do.
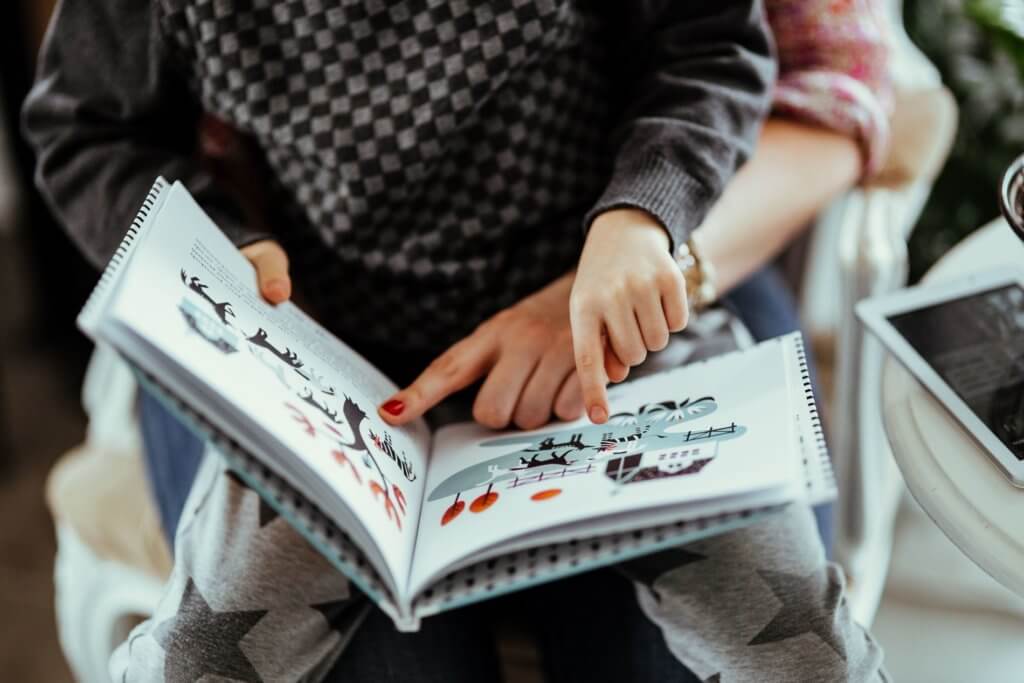
writing drawing sketch design notebook notepad hand guy man people work business

Step 1: Sketch
The first step is to get your drawing materialized. Whether you choose physical paper or digital paper, you can bring your characters to life by sketching it to have an idea of what your overall project is going to look like.
During the sketch phase, you can keep on improving your art as you go. It doesn’t matter if your drawing is complete or you’re still unsure of how it will be in the end.
The sketch phase is all about experimentation.
Step 2: Digitize
The next step is to transport your raw drawing into a workable digital file you can use in Adobe Illustrator. This process can go two ways:
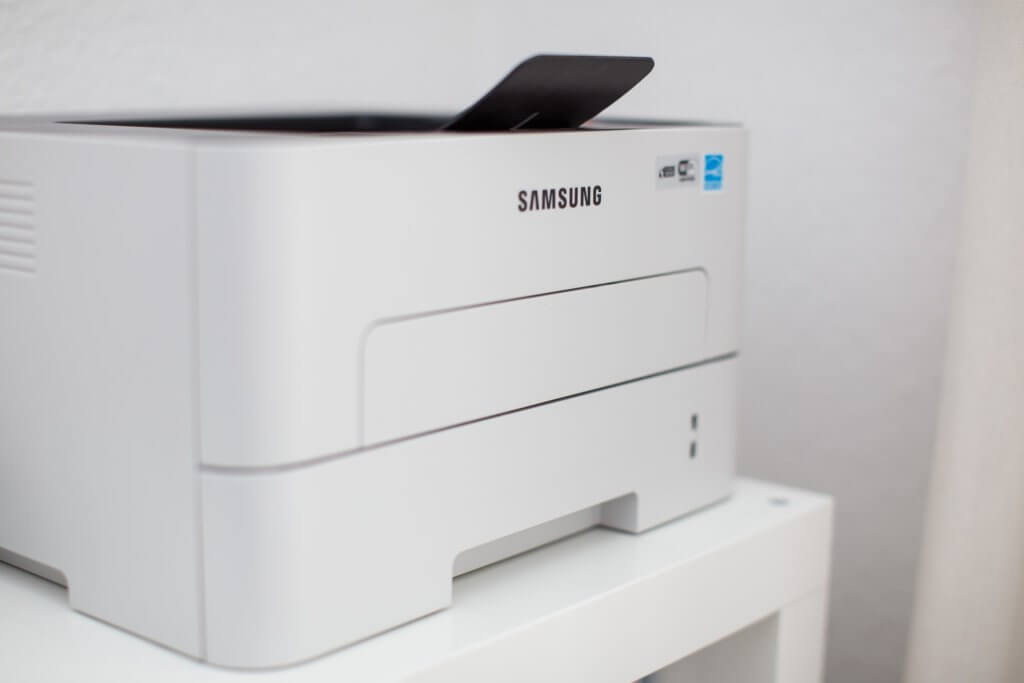
1) Scan via a printer-scanner
2)_Import file
Option 1: Scanning
If you work through traditional means, you can digitize your drawing by using a printer-scanner.
The device then scans it into a photo as a JPEG file or PNG.
Tip: JPEG is good if you want to compress your drawings and you just need to use the digitized file as a tracing reference. PNG, on the other hand, is better for scanning “finished” traditional drawings so there is no quality loss or compression.
Option 2: Importing
The other option is to import a previously made digital file into Adobe Illustrator and work on it as a reference (tracing) file.
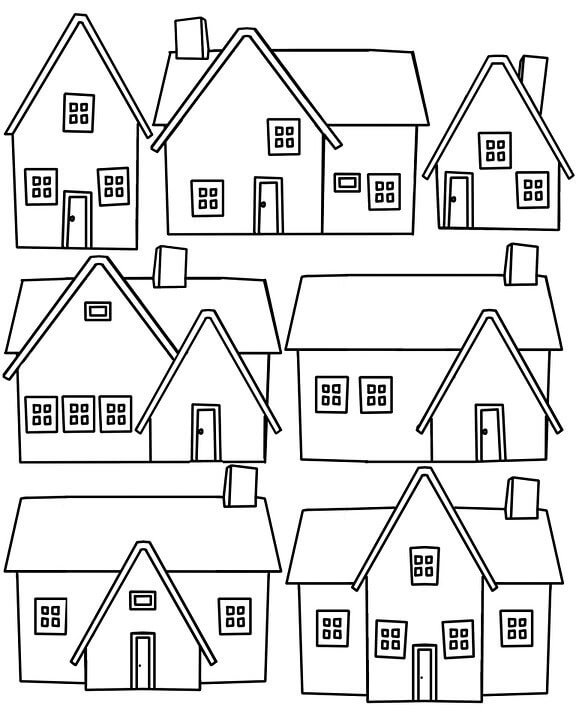
House, Home, Outline, Neighborhood, City, Move
Step 3: Outline
By far, you have now learned the process of conceptualizing your ideas into drawings and then importing them into the program.
This time we are going to focus on the outline.
Outlining an illustration is basically dealing with the boundaries or so-called “outlines”.
This is done so that we know the framing of our illustration and we can estimate the amount of coloring work to be done.
You can say creating outlines is also laying down the backbone of your storybook illustration.
There are two kinds of outlines you can do:
1) Rough outline
2) Polished outline
Rough outline will only deal with cleaning up the edges that you have on your drawing so you can color the boundaries within. This is only used as reference and will be erased after you finish coloring your storybook illustration.
Polished outline is more of a finished look. You create the outlines that are going to be part of your storybook illustration. Polished outlines are final outlines that can be retained . They are usually in bold format and support the color of your drawing.
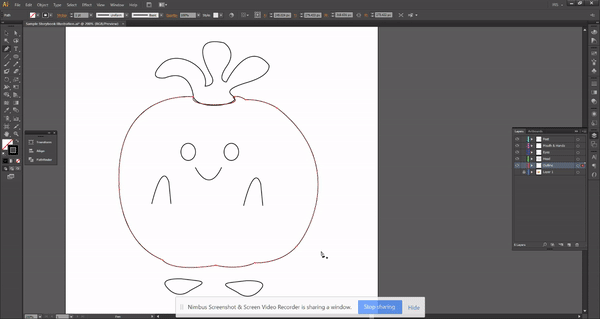
How To Create Outlines In Adobe Illustrator?
To create your outlines, you start by creating paths. Paths are made using the Pen Tool. Let’s begin with our cute example.
Rough Outline:
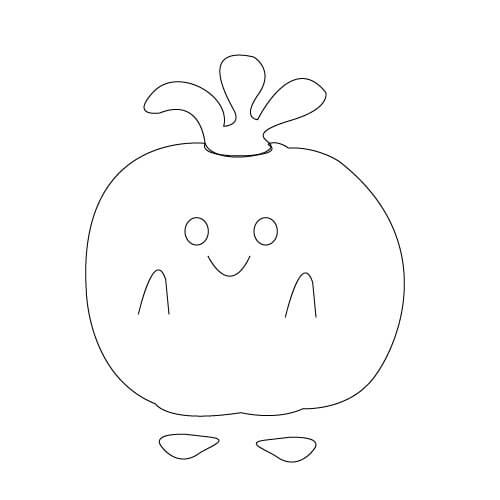
Rough outline uses thin lines to set the boundaries. Since we are going to remove them once the process of outlining is over, we’re not going to do much with these lines.
We’re using a setting of 1px solid black stroke for your storybook illustration.
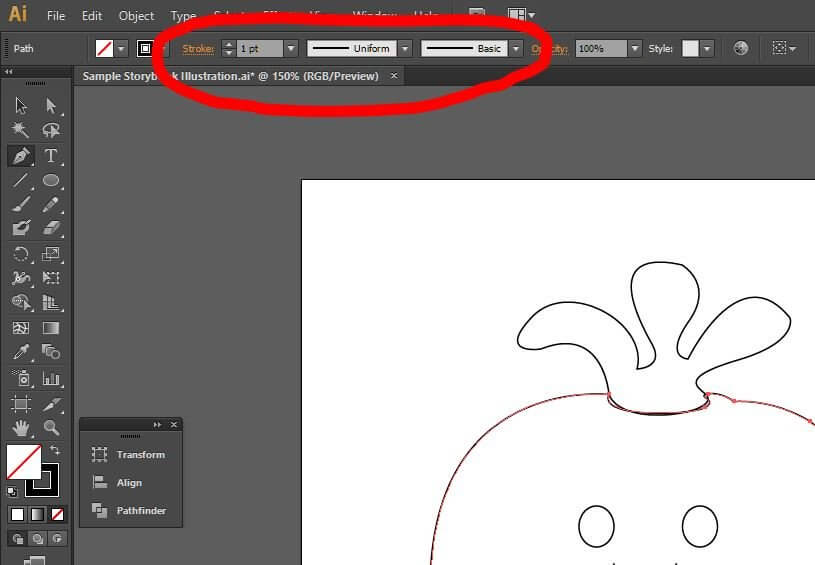
And as you can see, the outlines we’ve done are only showing us the shape of our storybook character.
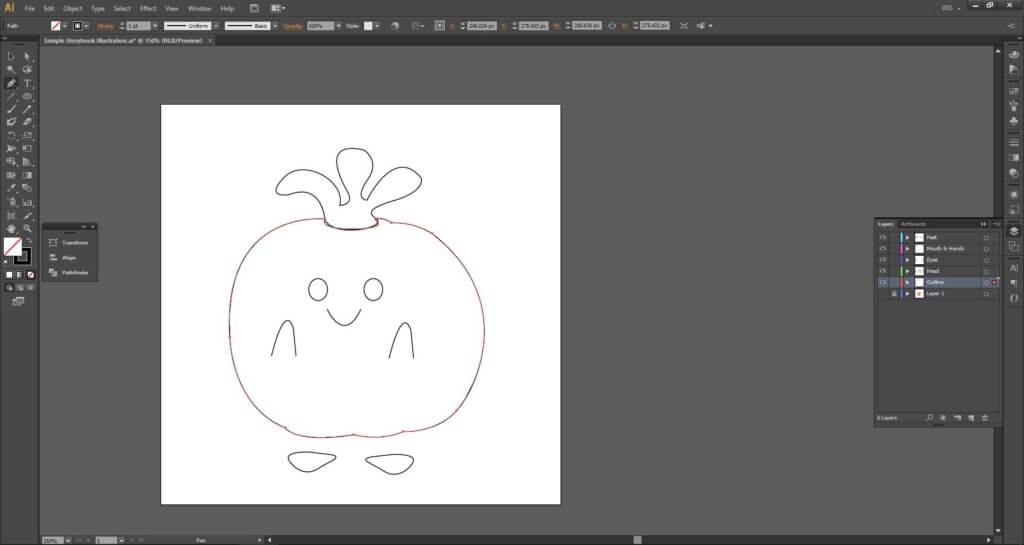
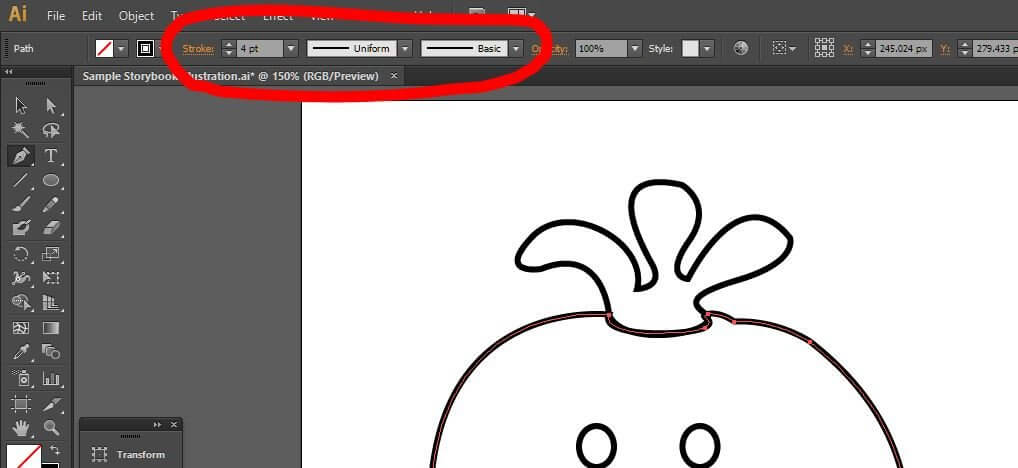
Polished outline:
For the polished outline, we’re using a thicker border.
We created this outline using the Pen Tool on a 4px black stroke. See the screenshot below.
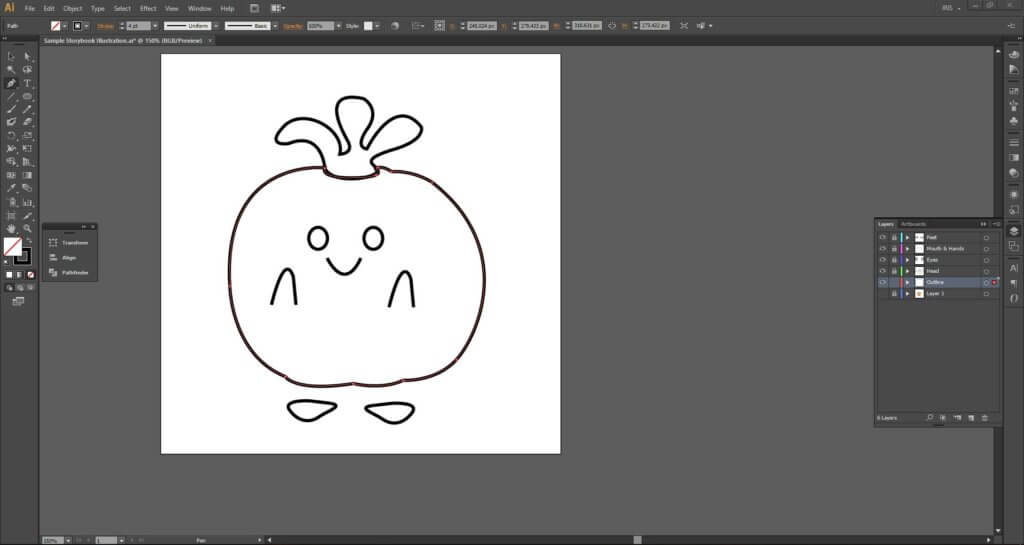
This is the setting we used:
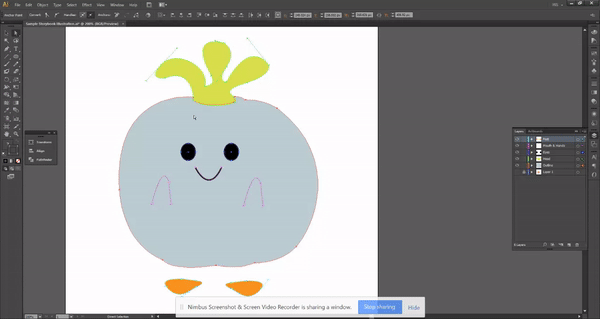
Step 4: Color!
After we are done with the outline, our next step would be to fill in those closed spaces. We’re gonna show you the two ways you can color your storybook illustration on rough and polished outline.
Rough Outline:

This is how it looks with the rough outlines deleted.
We colored the storybook character using Fill (Press X to alternate between Fill and Stroke). See screenshot below on how we did it.
These are the settings:
• We used the same outline paths and converted them to shapes. We did them using a colored fill and transparent stroke.
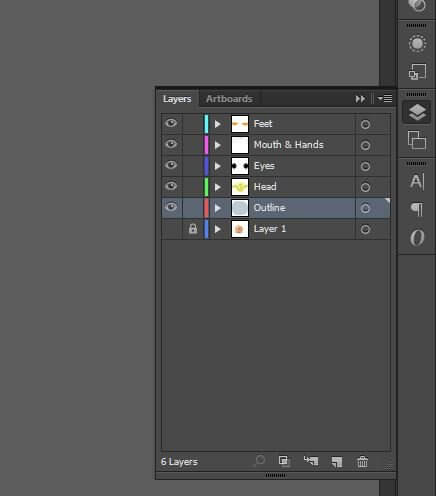
• It’s always a good idea to separate the layers according to your storybook character’s features.
As you can see, our storybook illustration from the rough outline doesn’t have any borders. This is just a sample of what you can do with Adobe Illustrator and your raw drawings.
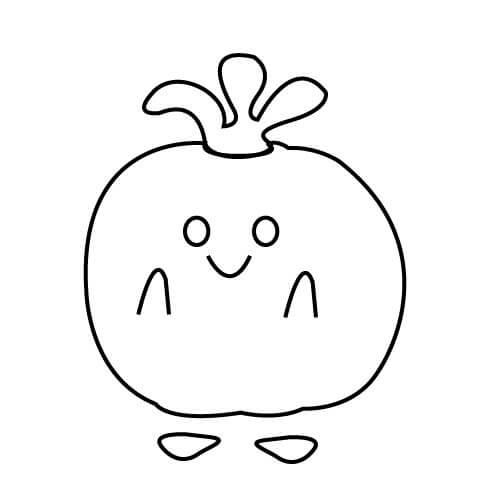
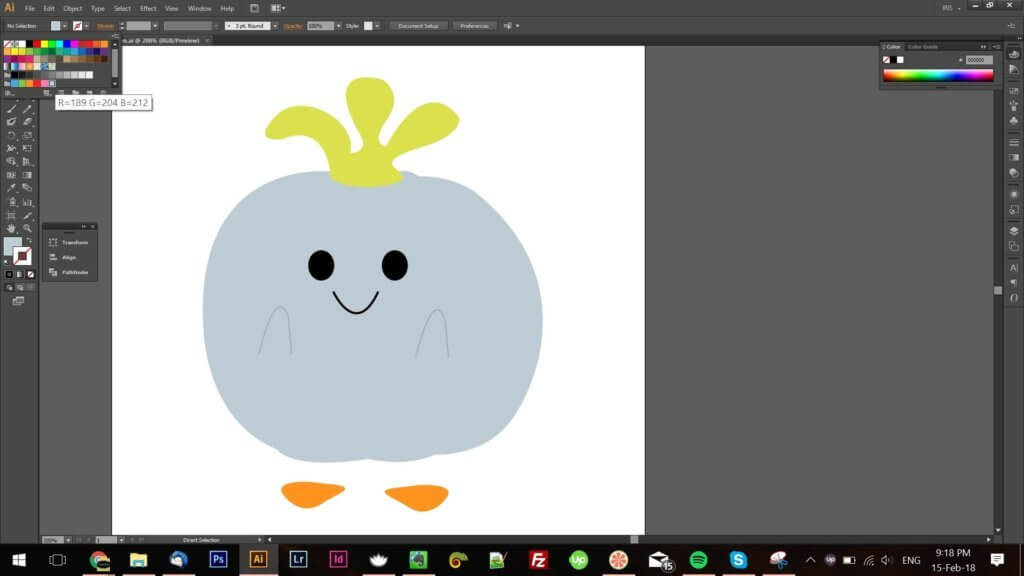
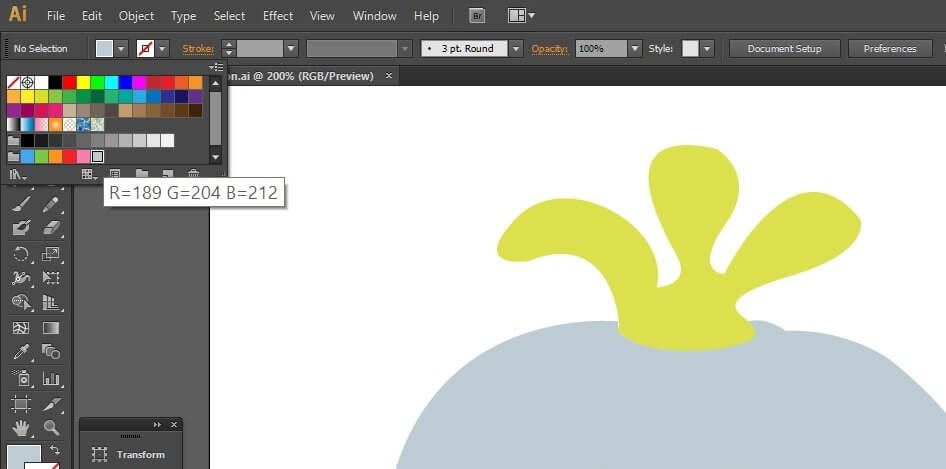
Polished Outline:

Now, when you keep your outlines, this is how it will look like.
What we do here is we use a 3px colored stroke for each layer (previously it was just border less shapes). So this time, we apply a thick colored border around the vector shapes.
And there you have it!
Your very own storybook illustration from idea to output.
As a takeaway, we’re giving you a FREE Adobe Illustrator file of this storybook character so you can practice and see how we made it.
<“Download your Story book AI File here“>
Liked this tutorial? Share it on your social!
If you have any comments, questions or suggestions, feel free to leave a note below this article.

