

Curious On How To Make Polygonal Graphic Designs in Adobe Illustrator? Here’s Your Guide.
There’s an ongoing trend these days. Guess what it is?
Low-poly.
Simply put, low-poly is a kind of graphic design technique used to convey visual graphics in the form of polygons.
There are many kinds of polygonal graphics you can do – from patterns, to self-portraits, to logos… the possibilities are vast.

Before we go to the tutorial itself, let me show you a couple of beautiful art that exemplify this style.
Here are some examples of polygonal graphic designs:

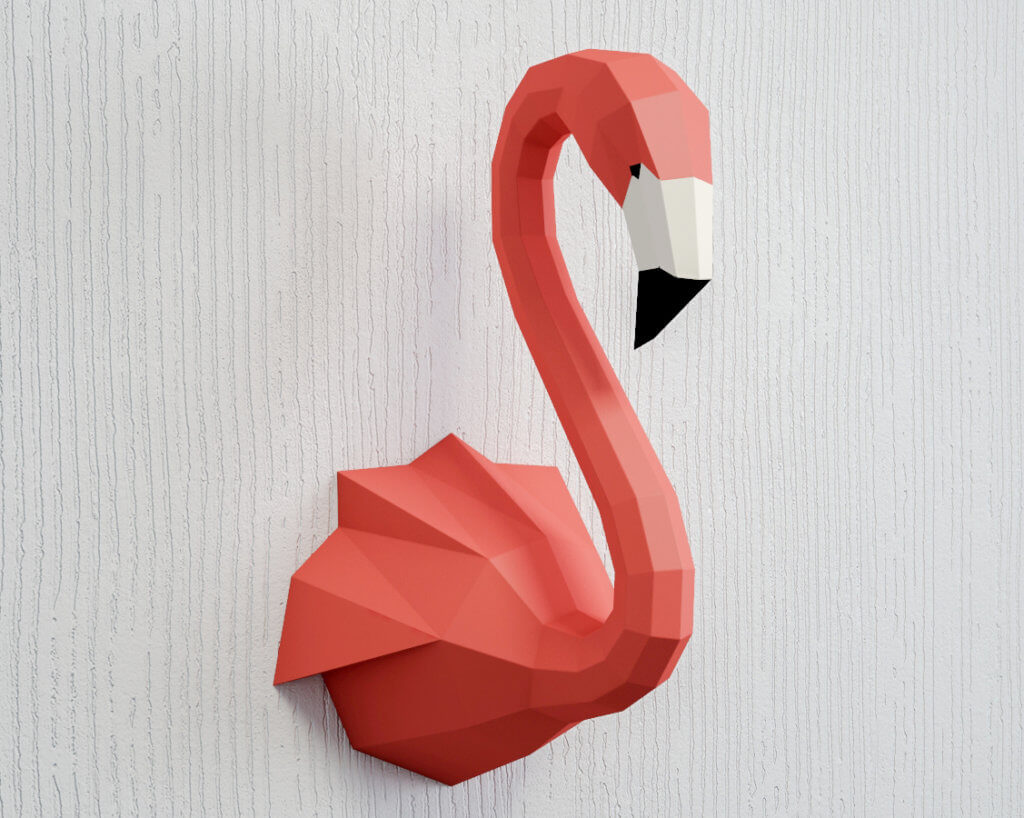
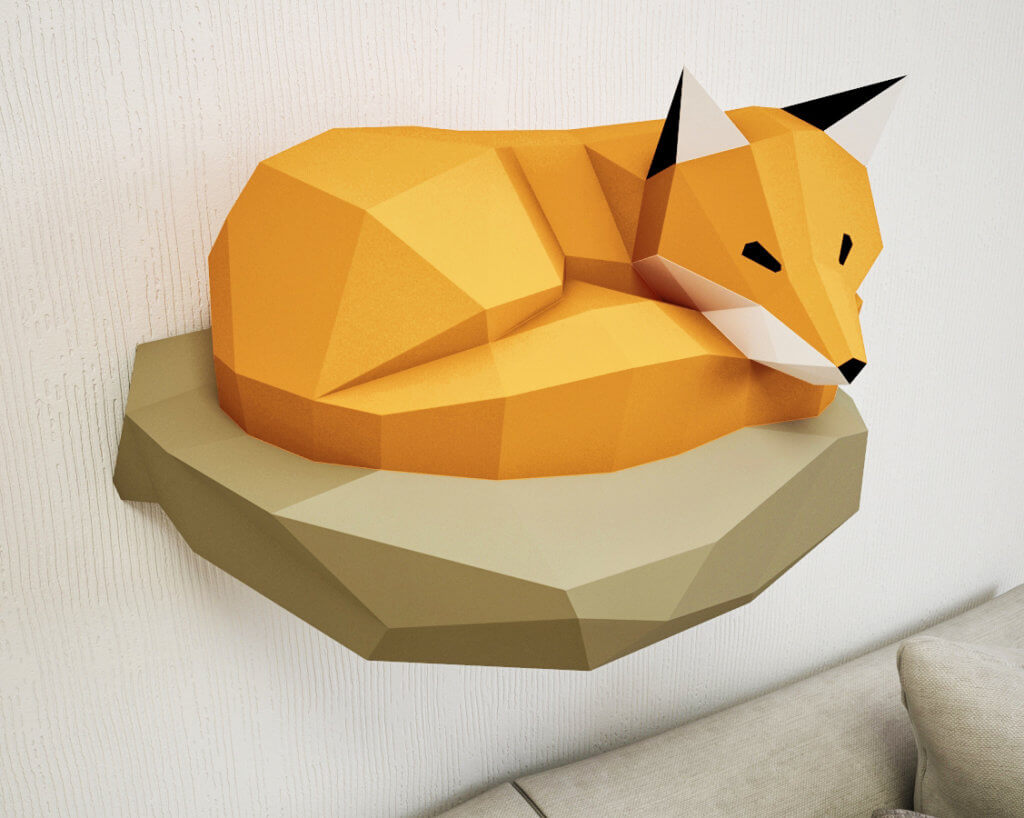
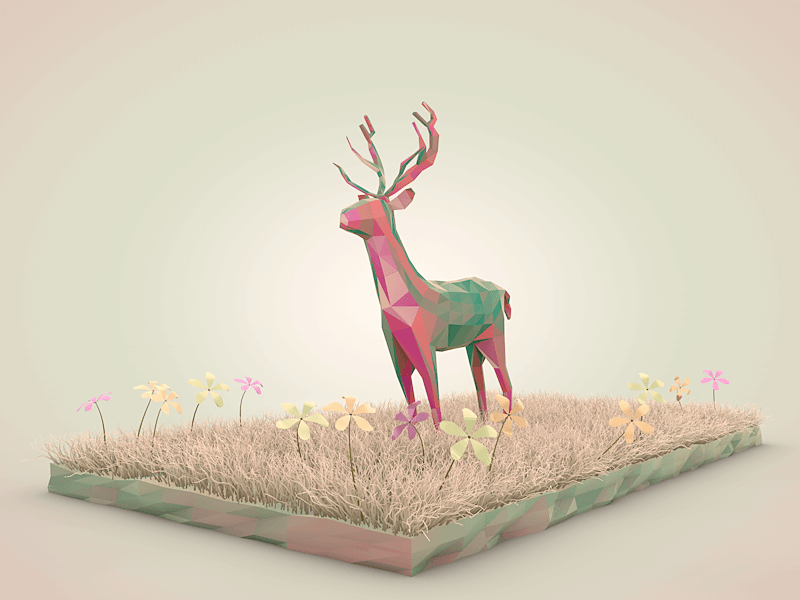
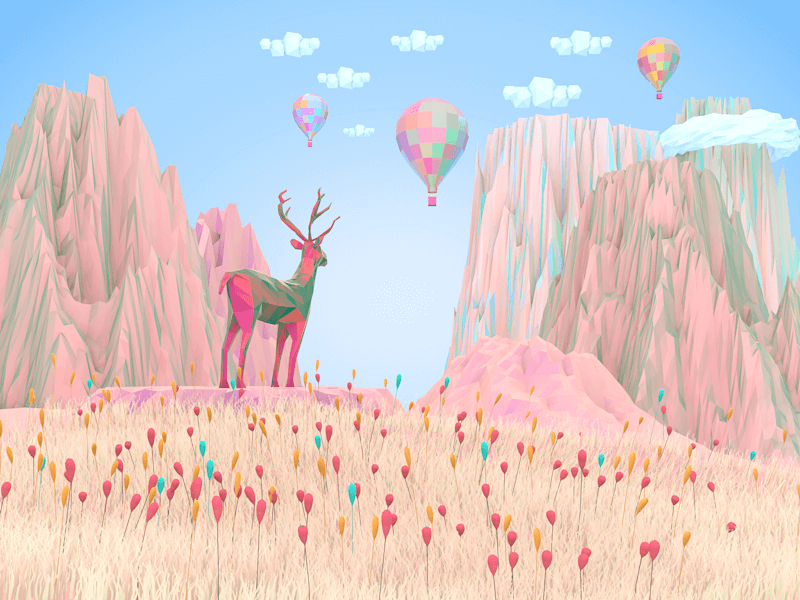

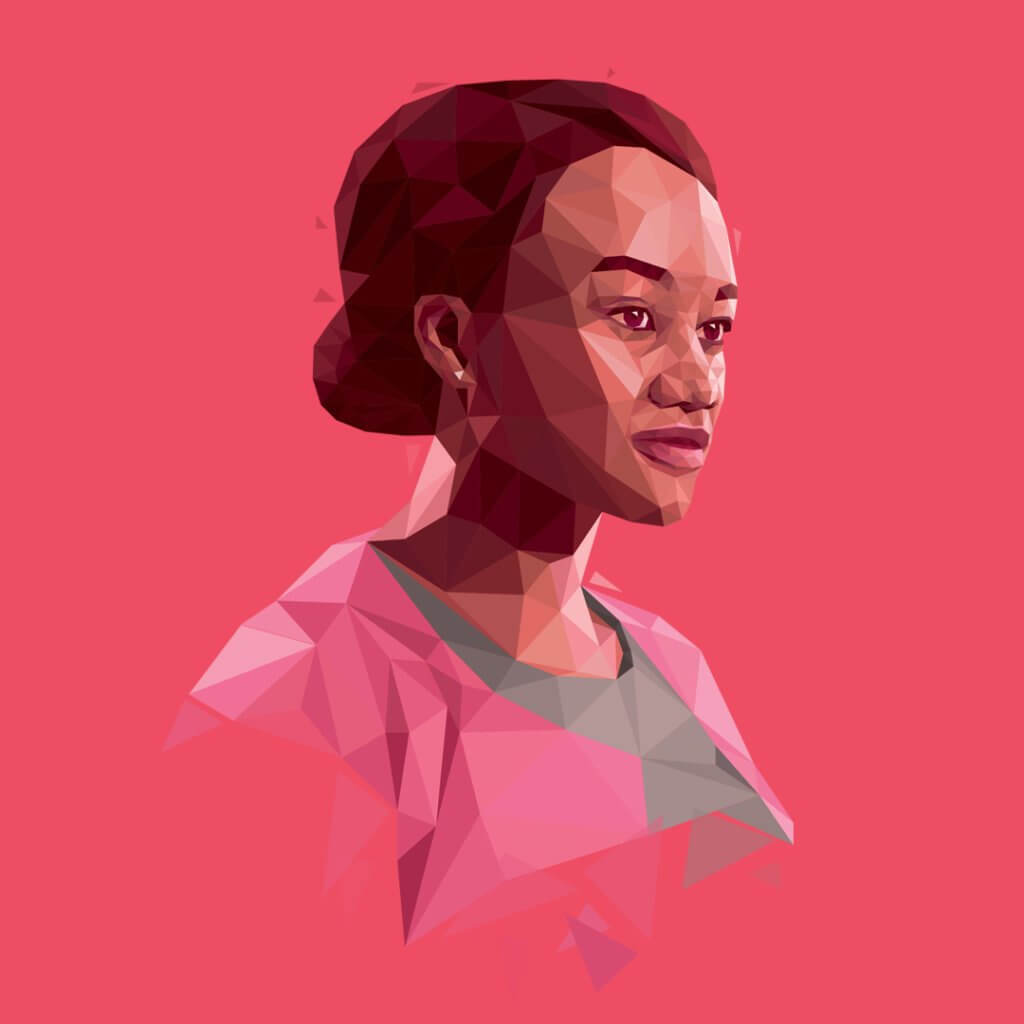
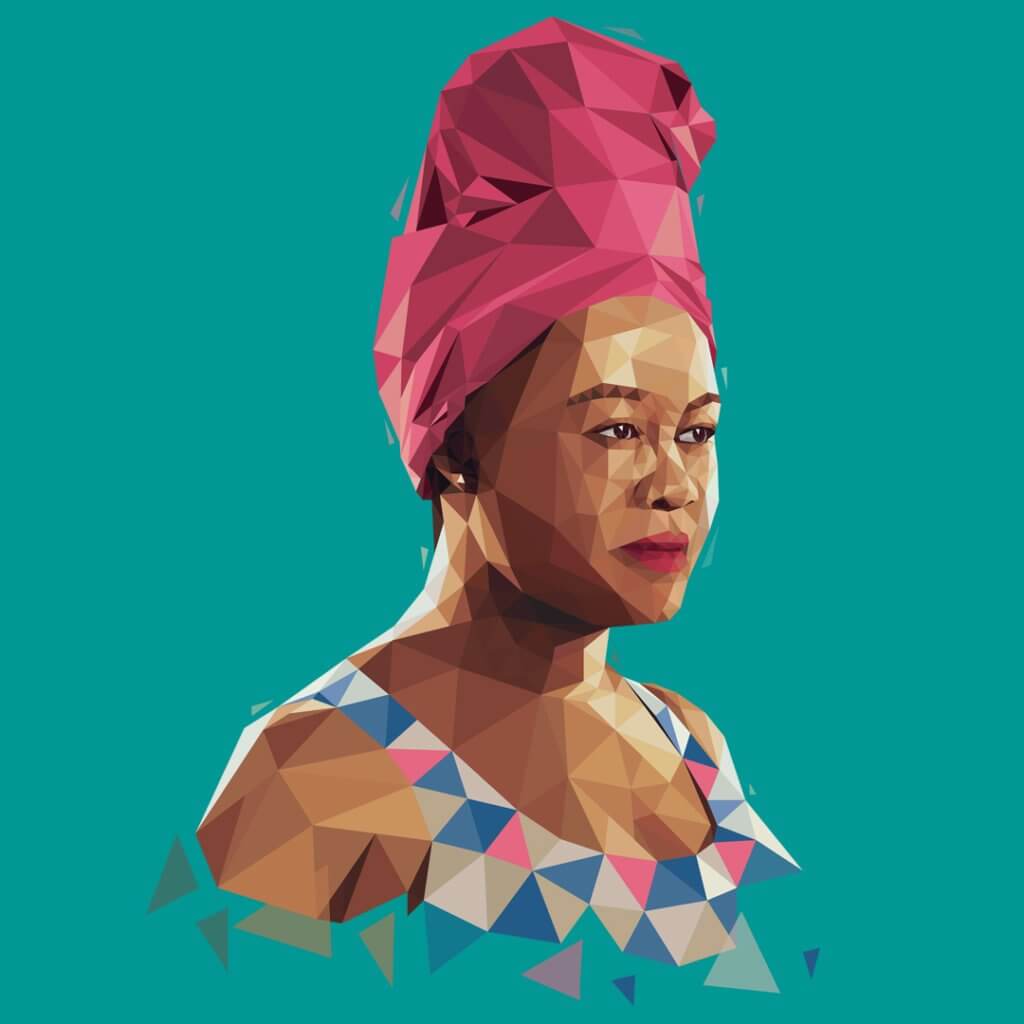
Now that you’ve seen all the polygonal graphic design examples, it’s time to bounce to our tutorial.
How To Make Polygonal Graphic Designs In Adobe Illustrator
Making polygonal graphic designs in Adobe Illustrator requires some smarts and patience. However, apart from Adobe Illustrator, there are other tools also available with several new features like Free Photo Editor by Adobe Spark.
For this tutorial, I’m going to teach you both on:
- How to make polygonal or geometric patterns and;
- How to create a low poly portrait

How To Make A Polygonal or Geometric Pattern In Adobe Illustrator
Step 1: First let’s fire up Adobe Illustrator
Let’s make a blank canvas with a size of 1024 (W) x 768 (H) pixels.
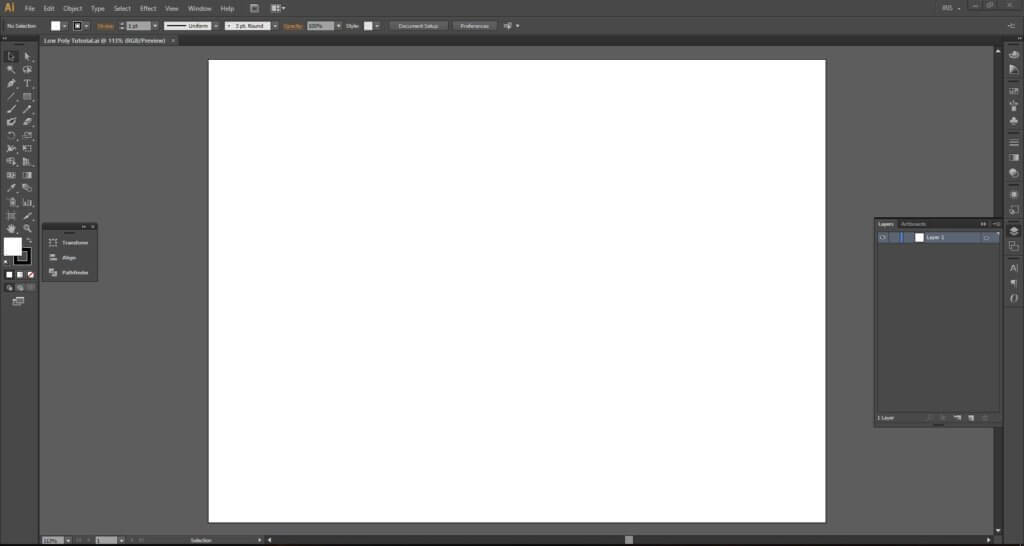
Once you have your blank document, you can now proceed to the next step.
Step 2: Get your inspiration
Step 2 is actually pretty easy if you know what to look for. Prior to creating the low poly pattern you want, you have to have some idea of what it will look like.
You can browse your inspiration from different photo sources such as Google Images, WeHeartIt or Pinterest. Even wallpaper sources will do.
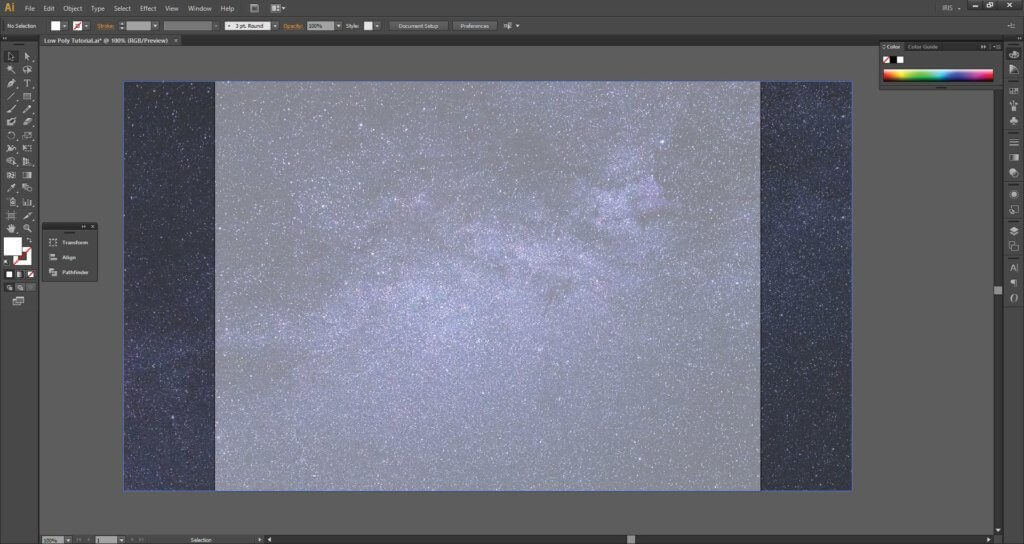
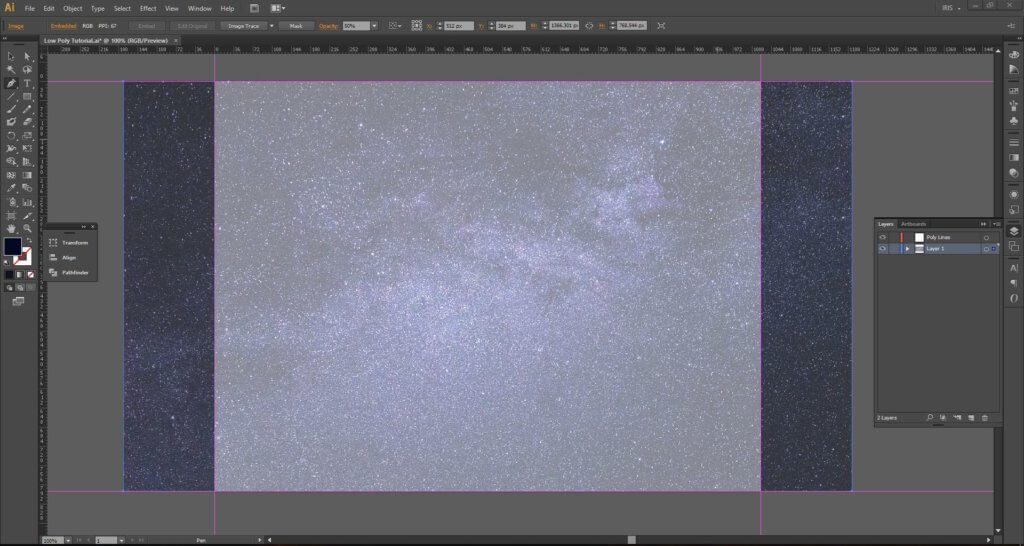
Our inspiration for this tutorial will be a galactic sky. I got this image from Pixabay.com.

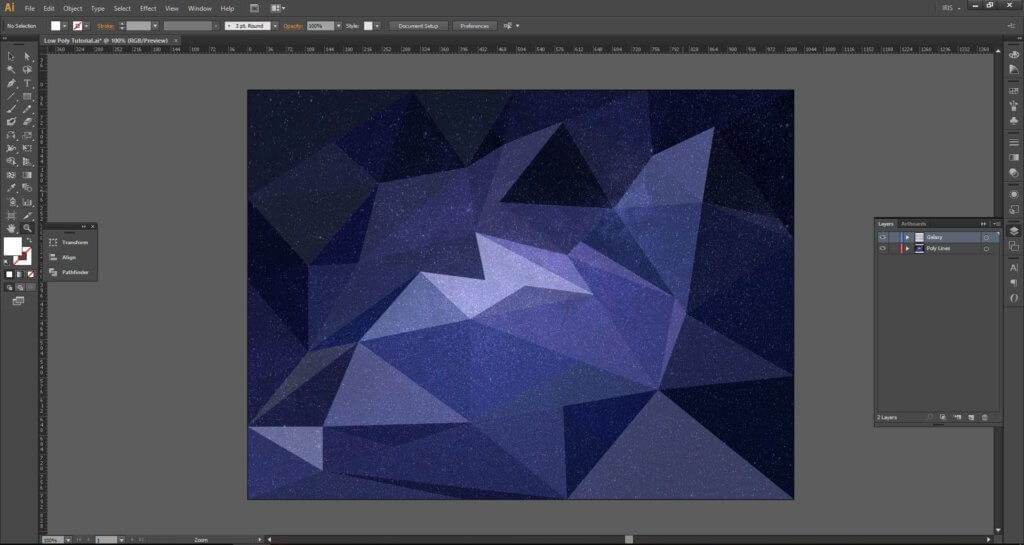
Once you have your image, you can load it up on Illustrator on top of your canvas. Set the galactic sky image’s opacity to 50% so you can see how it fits.
This is what it will look like:
Create a border around the canvas using the Ruler (Ctrl+R on Windows; Command + Option + R in Mac) by dragging the lines from the numbered guides on the left and at the top of your working area.
My ruler guide color is magenta. You can set your own ruler color guide with your preference using Edit > Preferences or hit Ctrl+K on Windows; Command + K on Mac.
TIP: For a full list of Adobe Illustrator default keyboard shortcuts, click here.
Return the opacity of the galaxy image to 100% so you can get the real colors for your low poly pattern.
Don’t forget to lock your background image (the galaxy) so you never have to worry if you accidentally drag it the wrong way.
Step 3: Create your low poly pattern outline
Using the Pen Tool (P), create triangular shapes in different sizes. Make sure that it fits the whole canvas and they are interconnected.
Triangles are easier to work with and will look very smart when you create your own low poly pattern in Adobe Illustrator.
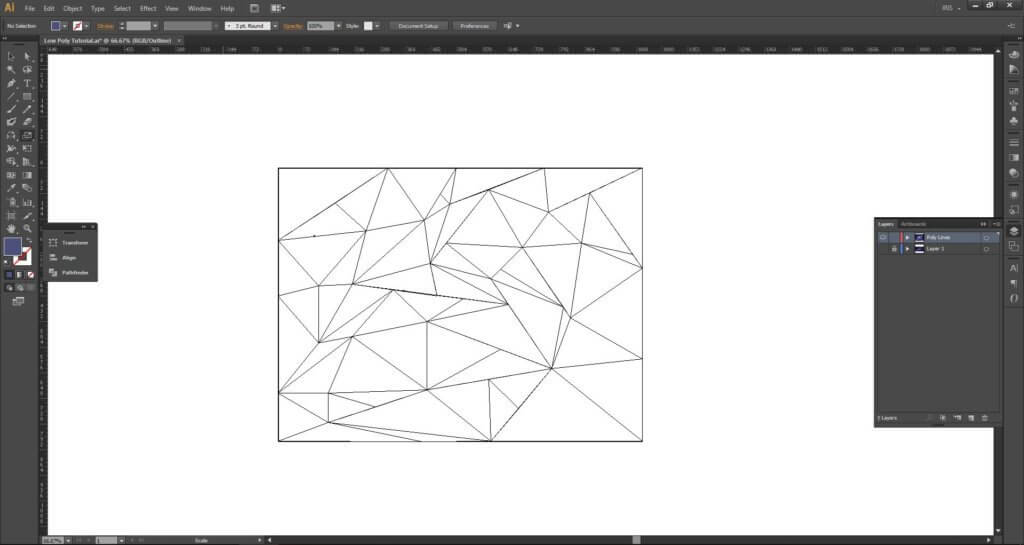
This is how your outline will look. To do an Outline View, go to View > Outline or press Ctrl+Y (Windows); Command+Y (Mac).
Step 4: Color the polygons
As you go through making the triangles one by one, you will have to use the Eyedropper Tool (I) to pick up the colors from your background image.
This is what you will have when you are done:
And here’s how it becomes from outline to color fill:
Step 5: Apply the starry galaxy as texture
Moving on… Do you remember our galaxy background? This one?
Right now it’s at the bottom. What we will do is to overlay it on top of our outline and filled shapes to apply the starry texture.
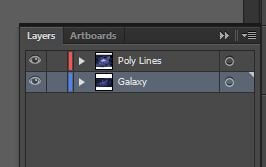
We will now drag this galaxy layer in Adobe Illustrator on top of our low poly outline.
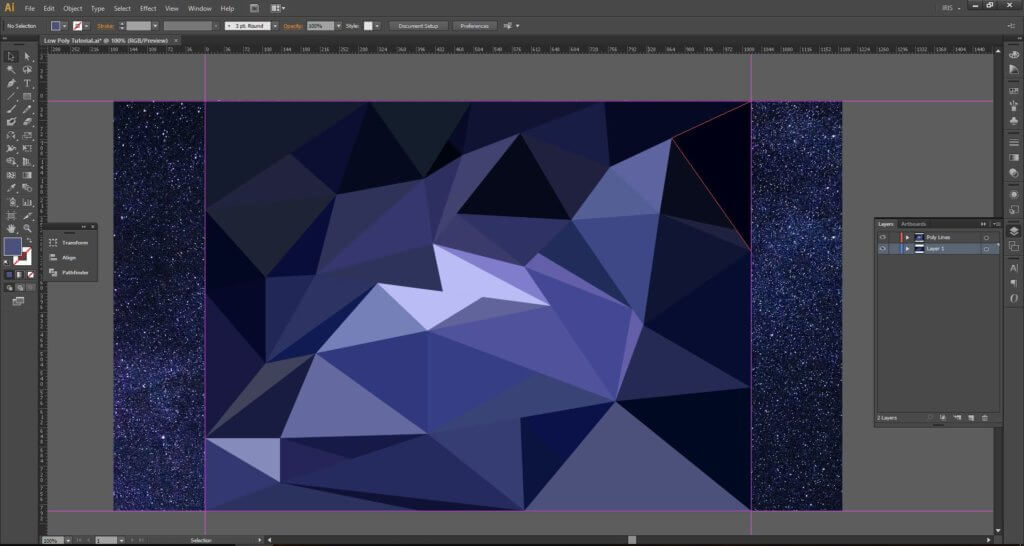
After you’ve placed it as the topmost layer, select the galaxy image by clicking it and set its opacity from 100% to 30%.
When you’re finished, you will have something similar to this:
Done! Now you have your very own low poly pattern!
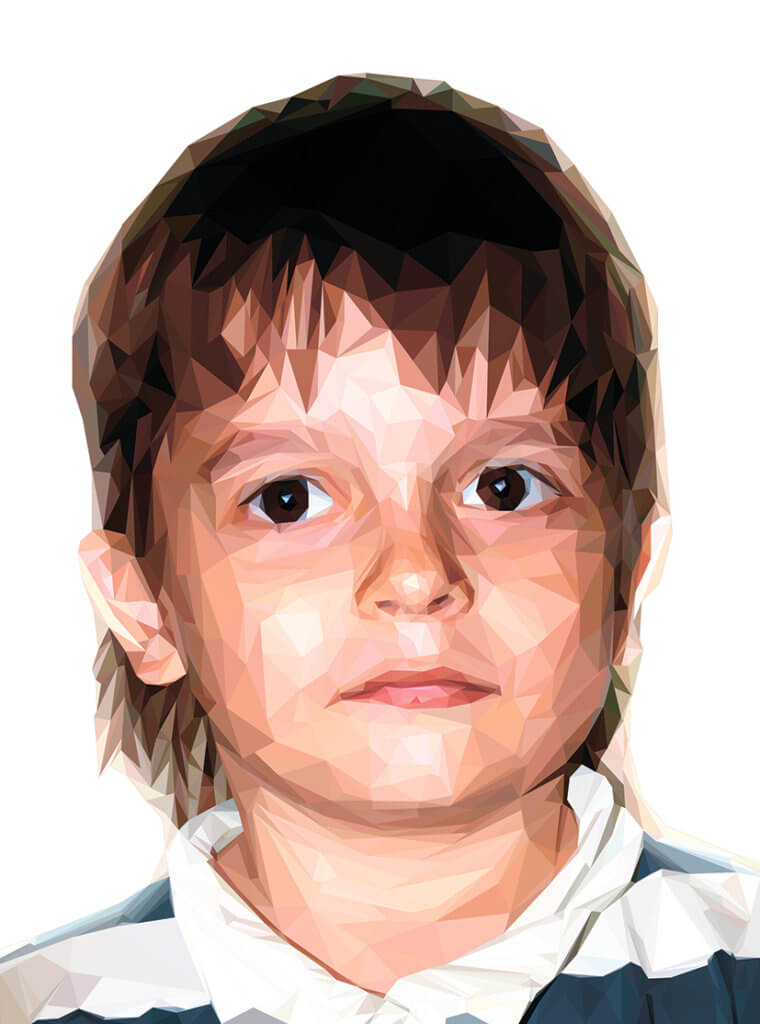
How to create a low poly portrait in Adobe Illustrator
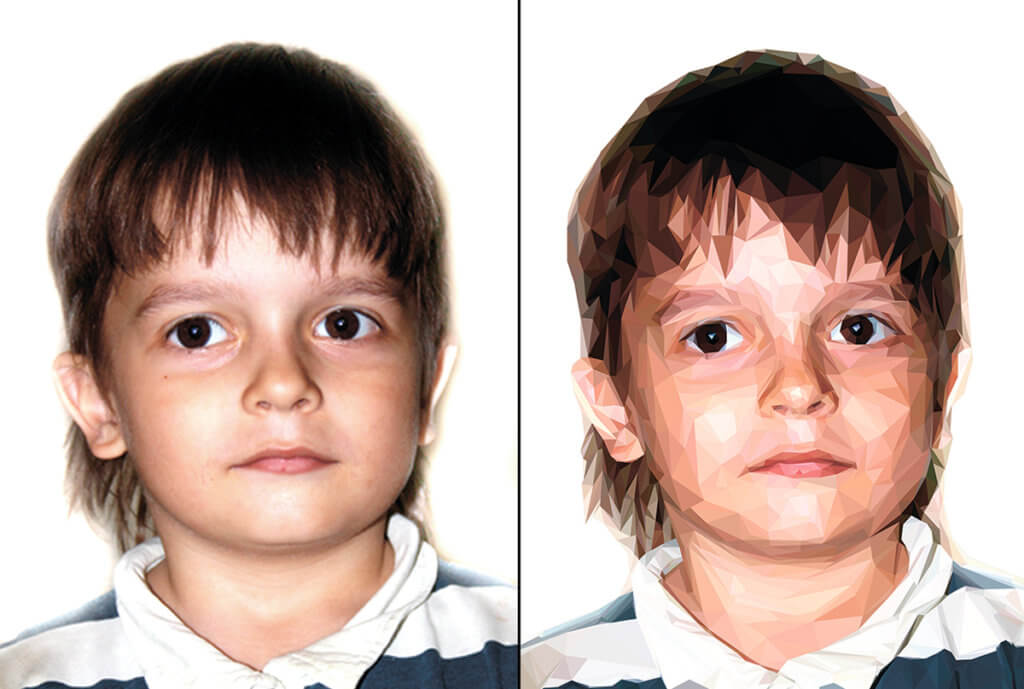
Step 1: Get a reference photo
Doing a low poly portrait in Adobe Illustrator is essentially the same as doing a low poly pattern – you start with a photo, outline then color fill. The only difference is that you’re referencing a person.
Get a clear picture of who you’re going to trace and use this as your base image.
Step 2: Pick your highlights and shadows
Note where you’re the highlights and shadows are.
This step is very important! Don’t skip it. It will determine the success of your art. Otherwise, your low poly portrait will look flat and scattered.
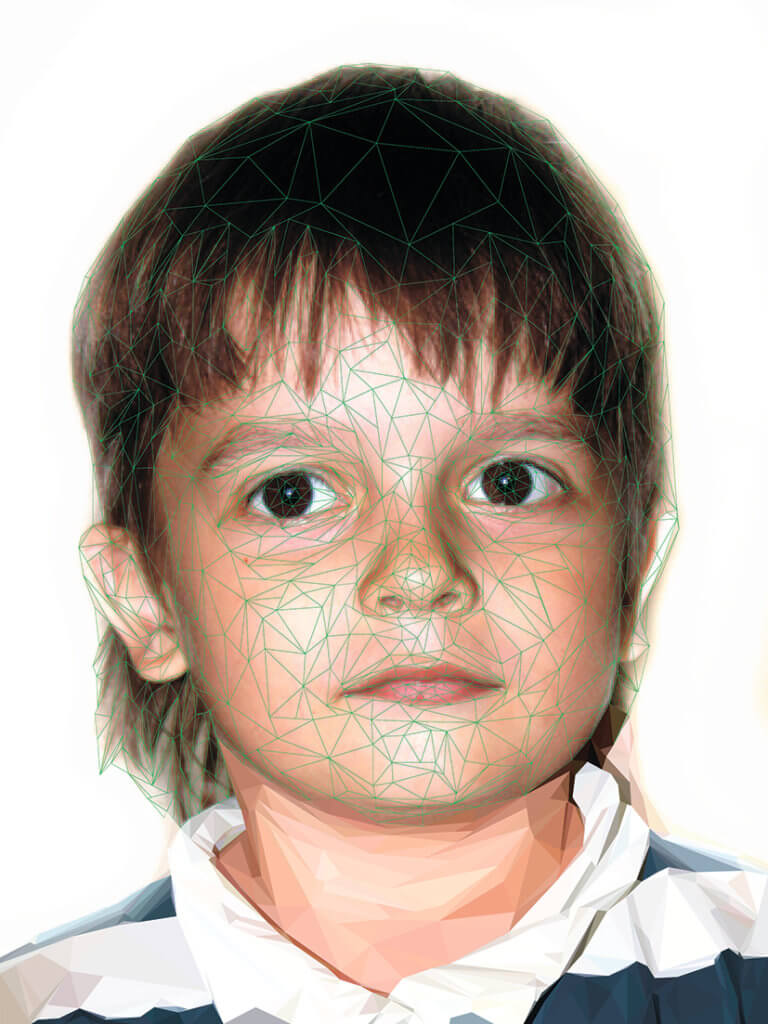
Step 3: Outline & Color
After you’ve noted where your highlights and shadows are, it is time to do the outline. As I have mentioned this is the most tedious task in the whole journey.
Fire up your Pen Tool (P) again and start creating those triangles.
Remember to keep your triangles close to each other and interlocked. No spaces in between.
To check if your outline is accurate, do an Outline View again by going to View > Outline or press Ctrl+Y (Windows); Command+Y (Mac).
Outlining and color filling can be done simultaneously.
This is because when you create those triangles, you are already creating closed triangular shapes with color fills as you go along.
TIP: Just remember your highlights and shadows during the process when coloring your work.
Applying the highlights and shadows will give your art that much-needed depth.
So in summary, the 3 basic steps you need to do a low poly pattern or portrait are the following:
- Outline
- Eyedropper Tool (I)
- Pen Tool (P)
Keep doing all these three steps in repetition and soon you are done with your artwork.
How did you find this tutorial? Do you have any questions?
[ Learn the process easily! Get our working .AI file for the low poly pattern here ]
Till next tutorial!


