

We had learned to use different form elements in last session. Today we will learn to use a new element called “canvas” element.
Have a look on “HTML5 Canvas” topic in w3schools html tutorials.
- The HTML5 “canvas” element is used to draw lines, shapes and graphics.
- The canvas element is only a container for graphics. A scripting language like javascript is used to actually draw the graphics.
- A canvas is a rectangular area on an HTML page and has no border and no content by default.
- Canvas is created using
<canvas>------</canvas>
tags.
- Canvas is not supported by old browsers, it requires new version like Internet Explore 9, Firefox, Crome, etc.
- You can draw various shapes like rectangle, circle etc. and even draw a text using different functions in javascript.
- Let’s learn “canvas” element by trying it practically.
- In this session we will learn how to draw a text.
- Follow the steps:
-
- Create a new folder/directory on the desktop and name it as “Canvas”.
- Open a new notepad++ document and save it as “index.html”. Choose “Save as type” as “Hyper Text Markup Language file”.
- Write the following code in the “index.html” file and save it using “Ctrl+S” again.
<!DOCTYPe html>
<html>
 <head>
  <script type="text/javascript" src="canvas.js"></script>
  <title>Canvas Playground</title>
  <style>
   body
   {
	background:#999999;
   }

   #canvas1,#canvas2,#canvas3,#canvas4,#canvas5
   {
	margin:10px;
	padding:10px;
	background:#ffffff;
	border:#000000 1px solid;
   }
  </style>
 <body onload="makeCanvas()">
	<canvas id="canvas1" width="400" height="300"></canvas>
	<br/>
	<canvas id="canvas2" width="400" height="300"></canvas>
	<br/>
	<canvas id="canvas3" width="400" height="300"></canvas>
	<br/>
	<canvas id="canvas4" width="400" height="300"></canvas>
	<br/>
	<canvas id="canvas5" width="400" height="300"></canvas>
 </body>
</html>
Explanation of the above code:
-
-
- This is a simple html code.
-
<title>Canvas Playground</title>
in the head section, gives title to the page which is shown on the title bar of the browser.
-
<script type="text/javascript" src="canvas.js"></script>
Here script tag is used to specify that a javascript file named “canvas.js” is attached to the “index.html” document.(.js) is the extension of a javascript file.
- Here, “type” attribute of script tag specifies the type of the document i.e. “text/javascript” and “src” attribute of script tag specifies the source path of the document (here since index.html and canvas.js will be in the same folder, only the name “canvas.js” is given in the “src” attribute).
- Body section of the html document contains 5 canvas elements.
- A canvas element is created using
<canvas>-----------</canvas>
tags.
- Each canvas is given an unique “id” to identify it, when used in javascript file.
- “width” and “height” are the attributes of the canvas tag. They provide the specified width and height to the canvas respectively.
- Here, all canvas’s are given width of 400 pixels and height of 300 pixels.
-
<body onload=”makeCanvas()”>
Here, “makeCanvas()” is a function which will be written in the “canvas.js” file and “onload” is an event which will call the makeCanvas() function as soon as the page “index.html” gets loaded on the browser. This statement is to just call the function as soon as the body of the page is loaded.
- Styling to the page “index.html” is done using
<style>----</style>
tags in the head section.
- Here, a grey background color is given to the whole body of the page by using the code:
-
   body
   {
	background:#999999;
   }
-
-
- Using id’s of the canvases, each canvas is given a top and bottom margin of 10 pixels, a padding of 10 pixels at top and bottom, a white background color and a black color solid border of 1 pixel. Code for it is shown below:
-
#canvas1,#canvas2,#canvas3,#canvas4,#canvas5
   {
	margin:10px;
	padding:10px;
	background:#ffffff;
	border:#000000 1px solid;
   }
-
-
- Let’s see how our index.html document looks on browser. It is shown in the figure below:
-

fig 1
-
-
- Such 5 white canvas are present in the browser. These are just the containers. Now, we will draw text in the first canvas using javascript language.
-
-
- Now, next step is to create another new file in notepad++. Save by naming it as “canvas.js” and choose “Save as type” as “JavaScript file(*.js)”. It is shown in the figure below:
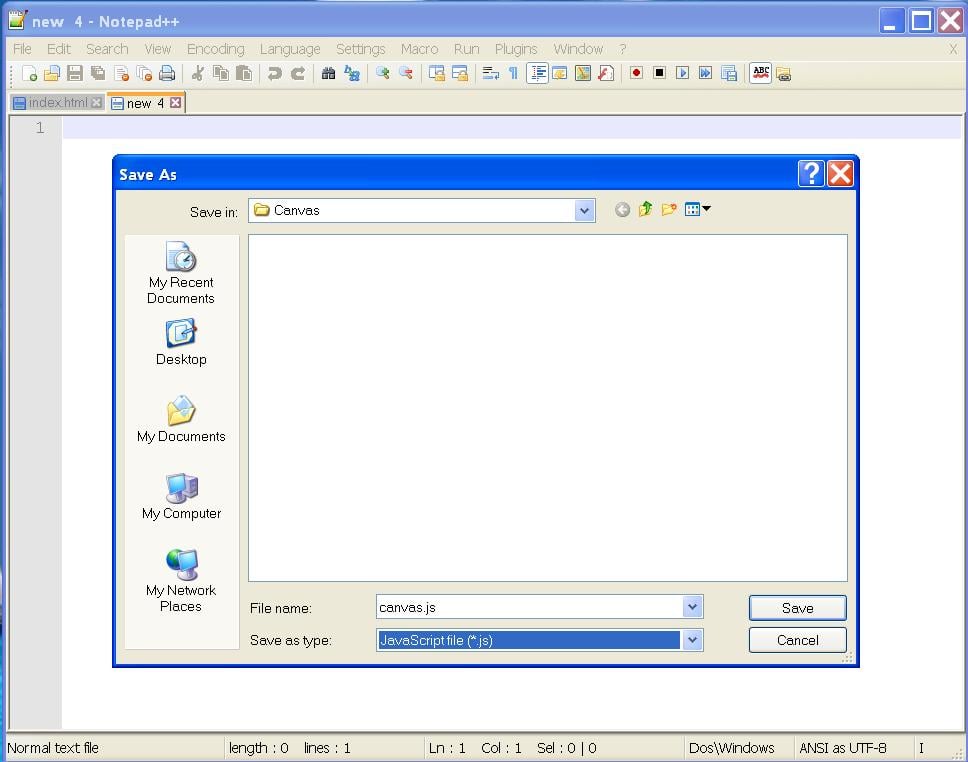
fig 2
-
- Now write the following code in “canvas.js” file:
alert('I am connected');
-
-
- This is just an alert box which gives an alert message.
- When you open “index.html” page in the browser, you will get the following output.
-
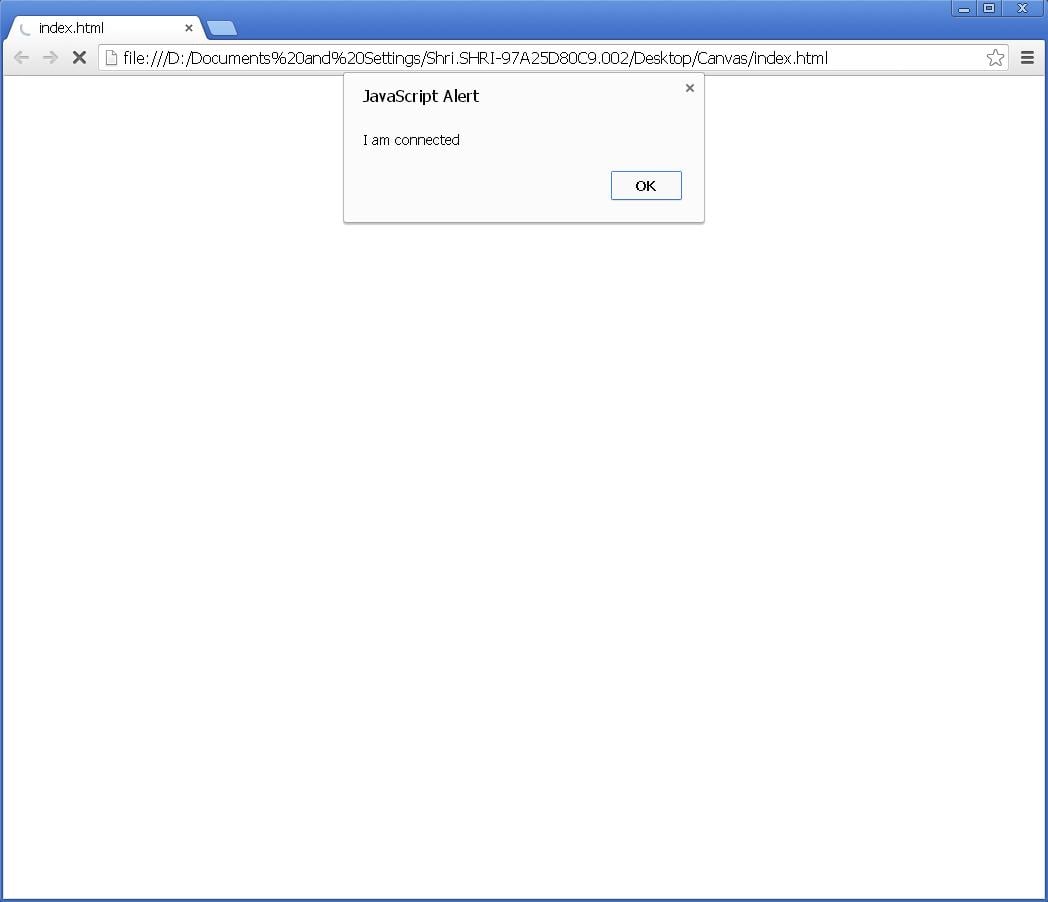
fig 3
-
-
- This output ensures you that your “index.html” and “canvas.js” files are linked to each other. This is because of the script tag in “index.html” page.
-
-
- Now after confirming the linking of two files, let’s turn to our project. Put a comment to “alert()” and write the following code in “canvas.js” file.
//alert('I am connected');
//1 - Get Object
//2 - Set Prarameters/Properties
//3 - Make Shapes,lines,text etc.

function makeCanvas()
{
	////First Canvas - Text ////

	//1 - Get Object
	var canvas1=document.getElementById("canvas1");
	var ctx1=canvas1.getContext('2d');

	//2 - Set Properties
	ctx1.font='35pt Arial';
	ctx1.fillStyle='DeepSkyBlue';
	ctx1.strokeStyle='DarkSlateGray';

	//3 - Make Shapes
	ctx1.fillText("I love HTML5",45,150);
	ctx1.strokeText("I love HTML5",45,150);
}
Explanation of the above code:
-
-
- In javascript, every function and property starts with a small letter and every consecutive word starts with capital letter. Eg: getElementById(), getContext(), fillStyle etc.
- Each statement ends with a semicolon.
- Here, in the above code you can see three comments,
-
//1 - Get Object
//2 - Set Prarameters/Properties
//3 – Action - Make Shapes,lines,text etc.
These are the steps to draw anything on the specified canvas.
-
-
-
- First step tells us to select an object i.e. a canvas to draw on.
- Second steps tells us to set some properties for the canvas context.
- Third step tells us to take an action i.e. to draw some shapes or text on the canvas.Without action step you will see nothing on the canvas.
- Function named makeCanvas() is defined in the file.
-
-
-
-
-
- To draw a text on the canvas first step contains the following code:
-
-
//1 - Get Object
	var canvas1=document.getElementById("canvas1");
	var ctx1=canvas1.getContext('2d');
-
-
- In javascript, variable is declared by statement
var variable_name;
- So in the above code snippet, a variable “canvas1” is assigned an object i.e. canvas having “id” as “canvas1” using the statement document.getElementById(“canvas1”);
- getElementById(“canvas1”) is an inbuild function which gets the element having id “canvas1” from the html document to which this javascript file is linked.
- Next we need the context of the canvas to set its properties.
- Another variable “ctx1” (stands for context1) is used.
- ctx1 is assigned canvas1.getContext(‘2d’); this indicates that the function getContext(‘2d’) is used to get the context of the element assigned to “canvas1” variable. “2d” is the parameter of getContext() function and it is compulsory.
- In javascript, variable is declared by statement
-
-
-
-
- Second step in code is as follows:
-
-
//2 - Set Properties
	ctx1.font='35pt Arial';
	ctx1.fillStyle='DeepSkyBlue';
	ctx1.strokeStyle='DarkSlateGray';
-
-
- Here we have just applied certain properties to the canvas context.
- “fillStyle” property is used for the colour style of the text.
- “strokeStyle” property is used for dark border.
-
Now if you run the page “index.html” in the browser after completing only 2 steps, you will get no output.
To get the output, the third step, action step is more important.
-
-
-
- So third step has the following code:
-
-
//3 - Make Shapes
   ctx1.fillText("I love HTML5",45,150);
   ctx1.strokeText("I love HTML5",45,150);
-
-
- In, ctx1.fillText(“I love HTML5”,45,150); fillText() is a function. This function has 3 parameters, first one is the string to be drawn on the canvas, second is the x-coordinate and third is the y- coordinate of the canvas to specify the location of the text.
- The output before writing the “strokeText()” function i.e. the output till statement
ctx1.fillText("I love HTML5",45,150);looks like this:
-
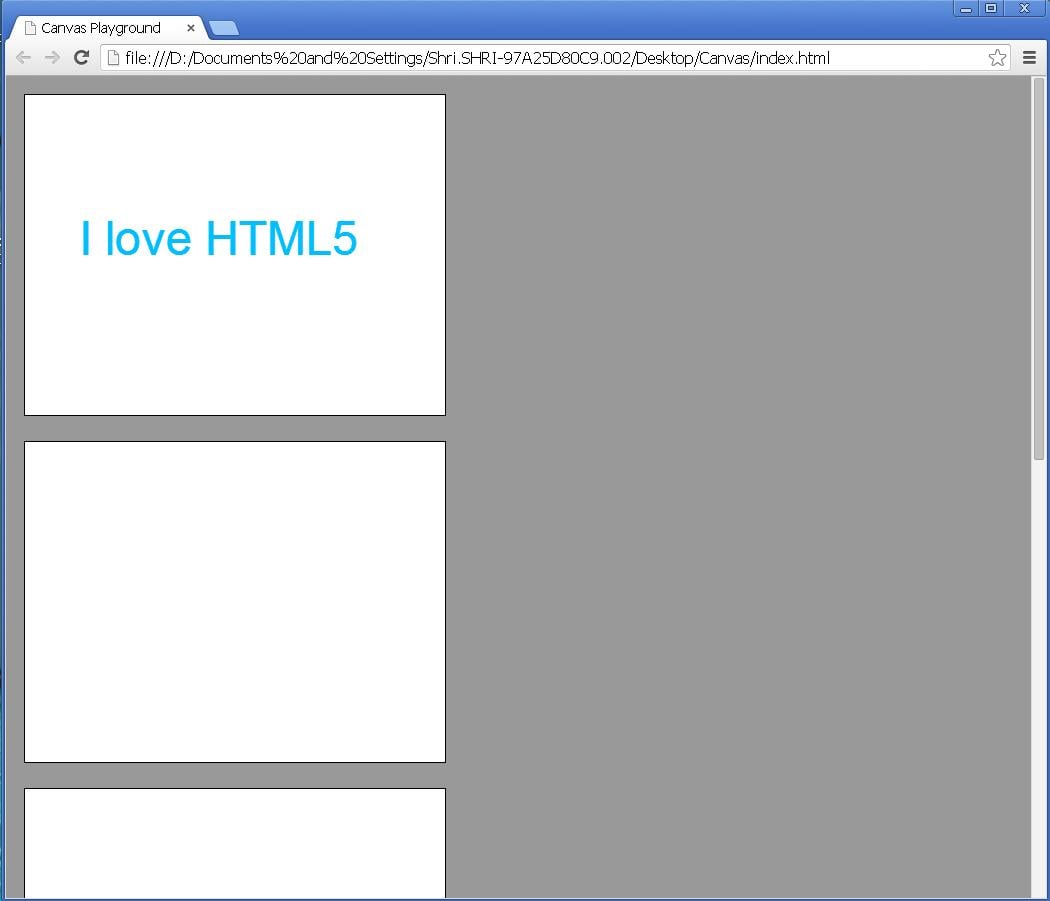
fig 4
Now after writing the statement
ctx1.strokeText("I love HTML5",45,150);
you will get the following output.
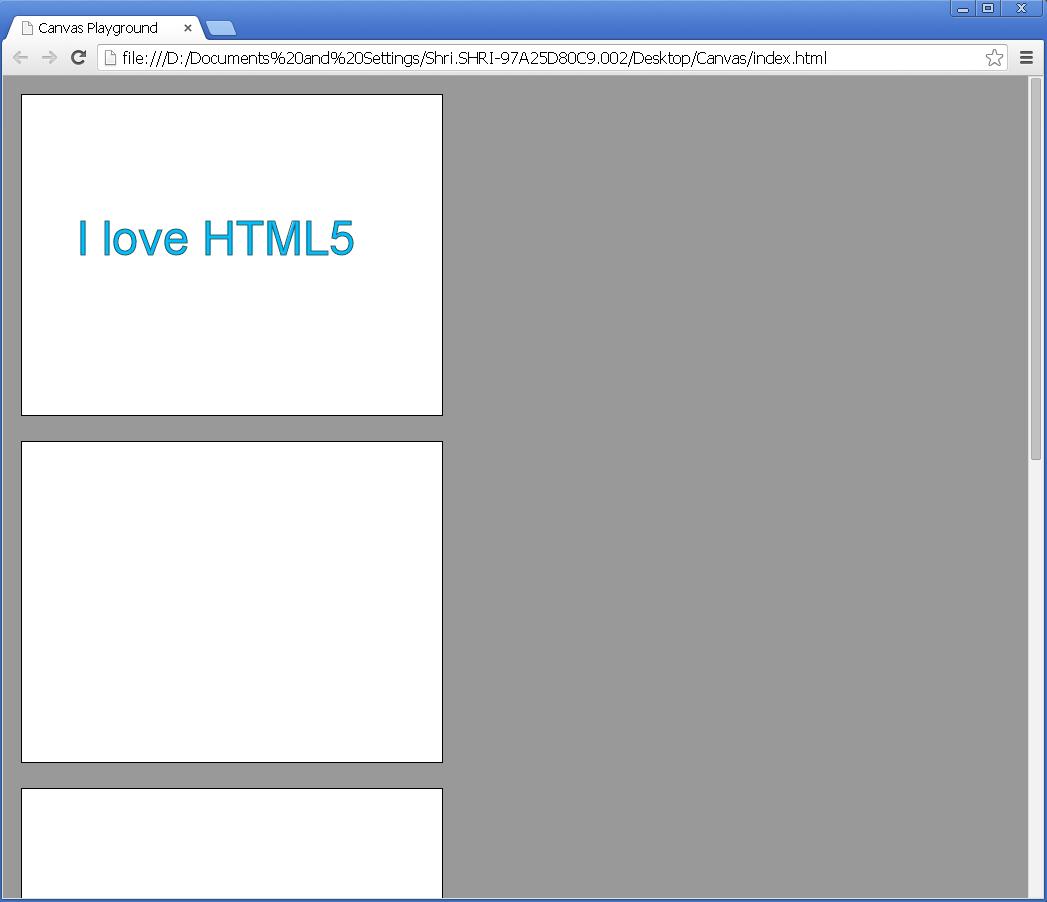
fig 5
-
-
- Now, you might have understood that strokeText() function overrides the previous text, thus darkening it. The text written in the function should be same as that written in the fillText() function. I mean, the text should be same in space also.
- If you write the above “strokeText()” function as shown below:
ctx1.strokeText(" I love HTML5",45,150);
-
Here, in the above code I have left one space before “I”. The output you get for this code is shown below:

fig 6
-
-
- The grey coloured text will move more to right, if more space is left before “I” in the text “I love HTML5”.
- Thus “strokeText()” function is used to give a finishing hand on the drawn text in fig 5 and as a shadow in fig 6.
-
Here we finished drawing our text in first canvas.

