
Last time we had an introduction to “Feature Detection” and “Drag and Drop”. Today we are going to try it practically.
For “Feature Detection” we had learned about “Modernizr”. Let’s see the steps to download it.
- Open your browser and type www.Modernizr.com in the address bar. The following page will open.
- You will see 2 versions of Modernizr, one “DEVELOPMENT” version and the other “PRODUCTION” version. Click on the “DEVELOPMENT” version. The following page will appear.
- Now click on “DOWNLOAD”. A javascript file will be downloaded, save it in a folder named “Drag and Drop” on desktop.
- When you open the file with “notepad++” you will see a big javascript code. You don’t have to do anything with the file, just close and keep it in the folder.

fig 1
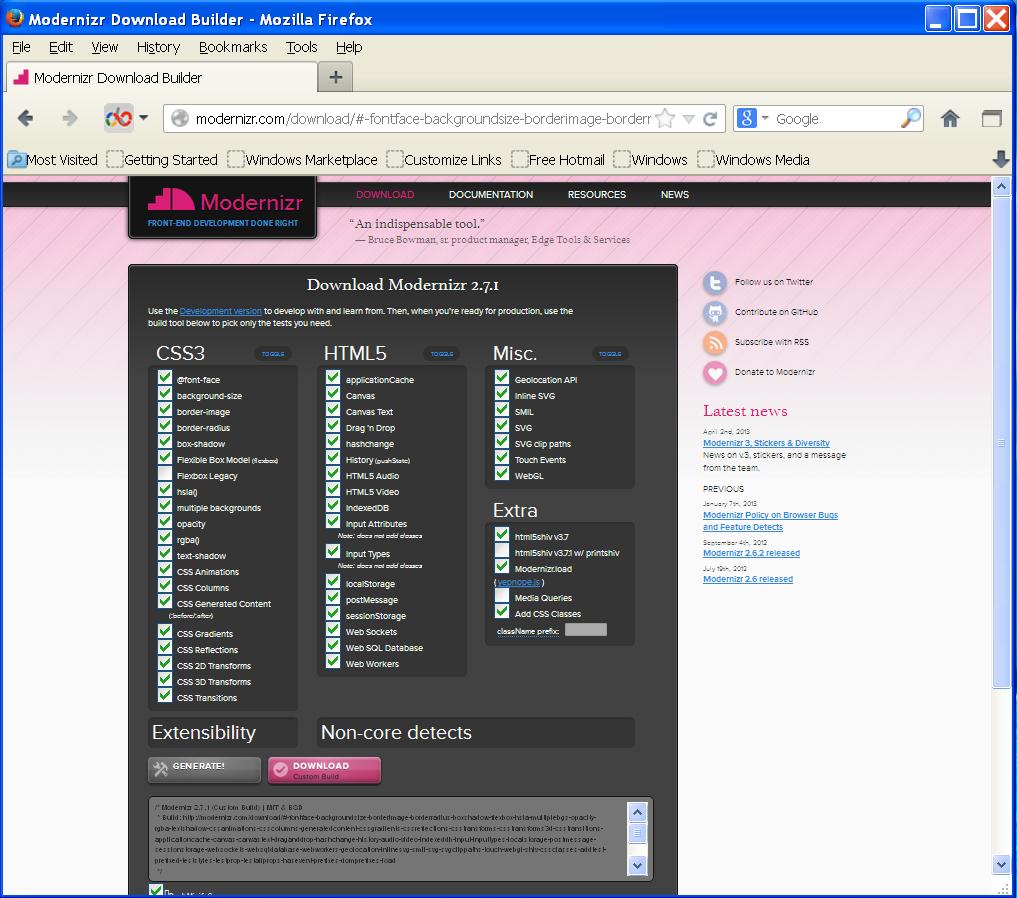
fig 2
Here, you will see various features selected by checkboxes. You may deselect whatever you don’t want, but it is good to keep everything ticked because when you generate it a javascript file will be generated which will contain the code to test all those festures.
Now we will start our drag and drop practical and then test if the browser supports drag and drop using Modernizr.
We will try to drag an image of HTML5 and drop it in a box created using HTML and CSS code.
So follow the steps:
- First get any image you like and paste it in our “Drag and Drop” folder on desktop. Name of our image is “html5.jpg”.
- Open a new document in “notepad++” and save it with the name “index.html” in “Drag and Drop” folder on desktop.
- Your folder will contain these files as shown below.
- Write the following html code in “index.html” file.
- The output of this code is shown below:
- Here simple HTML tags are used. h1 tag is used for the heading and img tag is used to show the image. Here the image and the .html file are in the same folder, so only the name of image file is used in “src” attribute of img tag.
- “drag1” id is given to the image.
- A div block is defined above img tag with id “div1”.
- Now we need a box at the left side of the image where we want to drag and drop the image. So, to create the box we just have to apply styling to the div block defined above. This styling is done in
<style>-----</style>
tags in head section. The code is shown below.
- Now before applying drag and drop, we need to check whether this browser supports “drag and drop” feature. We can do this using Modernizr. For this we need to link the downloaded Modernizr file to “index.html” file. This can be done using script tag in head section. The code is as follows.
- We have just added a script tag to the head section below end of style tag.
- script tag consists of the attributes “type” and “src”. “type” attribute indicates type of the file and “src” attribute gives the path of the file. Here, “index.html” and “modernizr.custom.66697.js” files are in the same folder, so “src” attribute contains only the name of modernizr file.
- In order to check whether this file is linked to “index.html” just write the following code for alert message in “modernizr.custom.66697.js” file.
alert('Test if drag and drop is enabled on our browser.'); - After writing this code, reload the index page in the browser, you will get the following output.
- The message box/ alert box indicates that the Modernizr file has successfully linked to the “index.html” file. When you click “OK”, you will again get your image and box on “index.html” page.
- Now after we have checked for linking, remove the code for alert message from the “modernizr.custom.66697.js” file, save and close the file.
- Now after we have checked for linking of file, we want to check whether our browser supports “drag and drop” feature. For this we have to write a small javascript code in head section. We know that any server side programming code should be written in
<script>--------</script>
tags in .html file. The code is as follows:
- This code is written below the script tag used to link the Modernizr file to “index.html”.
- Here, the “if“ condition is given as “window.FileReader && Modernizr.draganddrop”. In this Modernizr.draganddrop indicates that we want to check the feature of drag and drop. window.FileReader condition is used for some of the older browsers of internet explorer to be able to tell if drag and drop is enabled or not.
- If both the conditions in “if” statement are true, the browser will show the following statement: “Your browser supports drag and drop.” Otherwise, it will show the following statement: “Sorry, your browser does not support drag and drop.”
- Now if the browser supports drag and drop feature, write the following code for dragging and dropping the image in the box when the “if” condition is true. First comment/delete the statement
document.write(‘Your browser supports drag and drop.’);
.The code is shown below.
- Here, when the “if” condition is true i.e. if the browser supports drag and drop feature, certain functions are written to enable drag and drop operation.
- First function, allowdrop(ev) is shown below:
function allowdrop(ev) { ev.preventDefault(); } - This function contains a statement ev.preventDefault();. By default, no browser allows drag and drop function. To allow drag and drop feature to be enabled on the browser we have to disable its default settings. ev.preventDefault(); function does this work.
- Second function is drag(ev). It is shown below:
function drag(ev) { ev.dataTransfer.setData("Text",ev.target.id); } - The function drag(ev) is to get the data to be dragged from its place.
- In the statement ev.dataTransfer.setData(“Text”,ev.target.id); “ev” is the event. “dataTransfer” is a class and “setData” is a method. setData function contains two parameters, first is the type of the data i.e. “Text” and second is the “id” of the dragged element which we get through ev.target.id.
- Here, first of all default settings are prevented using
ev.preventDefault();
- Next the id of the dragged element is retrieved and stored in the variable “data” using the statement
var data=ev.dataTransfer.getData(“Text”);
- Then the dragged element is dropped in the desired container, considering it as the parent element and dragged element as the child element using appendChild() function with the element in which we want to place the dragged element.
- This is done using the statement
ev.target.appendChild(document.getElementById(“data”));
- Just make the changes in your previous code as shown below:
- Here, we can see that some events are added to the div tag and the img tag.
- First we will see the events of img tag:
- An attribute of img tag “draggable” is made true, so that the image can be allowed to be dragged.
- An event is added i.e. ondragstart which calls the drag(event) function. This means as soon as the event of dragging an element starts, it will call “drag(ev)” function explained above and get the “id” of the dragged element.
- Next, events of div tag:
- div tag defines the box in which the image is to be dragged.
- In div tag you get two events “ondrop” and “ondragover”.
- “ondrop” event calls “drop(event)” function which will place the dragged element i.e. image as a child element in the parent element i.e. box.
- Next “ondragover” event calls “allowdrop(event)” function that prevents the default settings.
- At this moment your page looks like shown in figure 5.
- After dragging and dropping the image in the box next to it, the page will look as shown below.
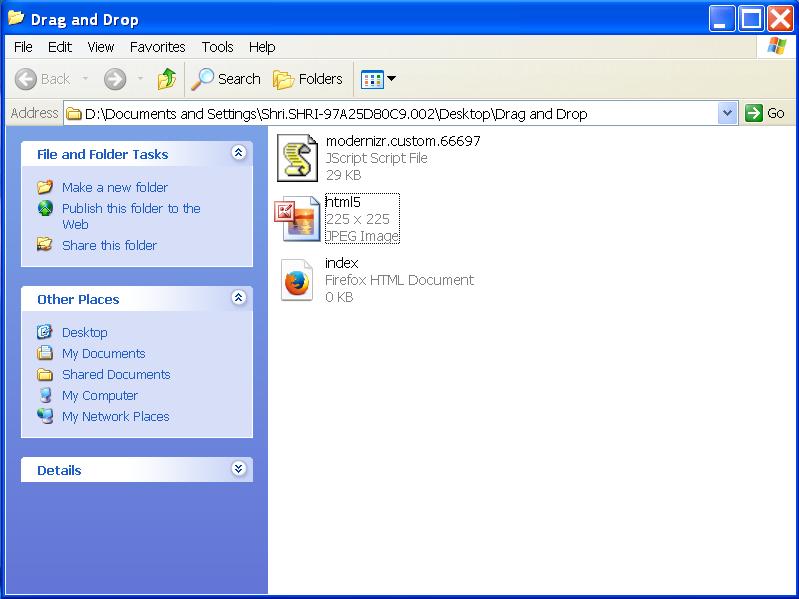
fig 3
<!DOCTYPE html>
<html>
<head>
	<title>Drag and Drop</title>
</head>
<body>
	<h1>Drag the HTML5 Logo into the box</h1>
	<div id="div1"></div>
	<br>
	<img id="drag1" src="html5.jpg">
</body>
</html>
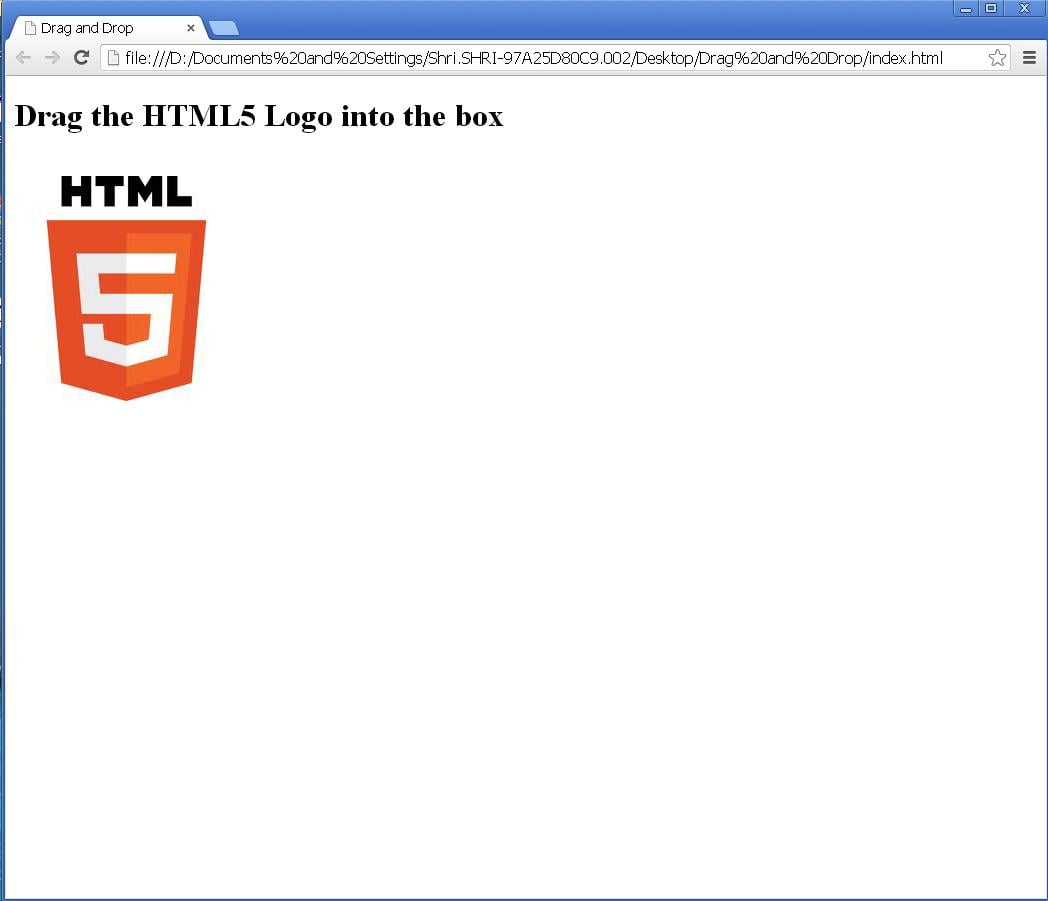
fig 4
<head>
	<title>Drag and Drop</title>
	<style>
		#div1
		{
			width:240px;
			height:240px;
			padding:10px;
			border:1px #aaaaaa solid;
			float:left;
		}
	</style>
</head>
-
• Here, we have applied a width and height of 240 pixels , padding of 10 pixels, a grey coloured solid border of 1 pixel to the div block and it is aligned to left using float:left;
• The output is shown below:
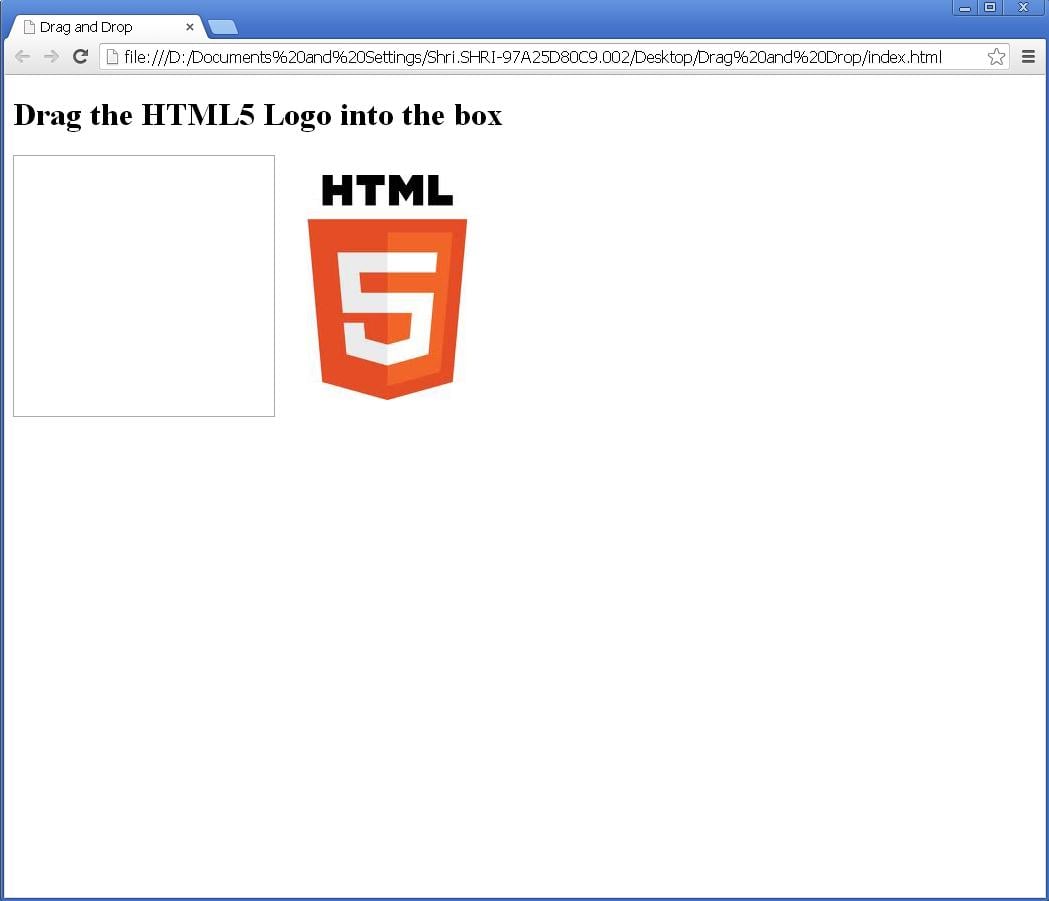
fig 5
<head>
	<title>Drag and Drop</title>
	<style type="text/css" >
		#div1
		{
			width:240px;
			height:240px;
			padding:10px;
			border:1px #aaaaaa solid;
			float:left;
		}
	</style>
	<script type="text/javascript" src="modernizr.custom.66697.js"></script>
</head>
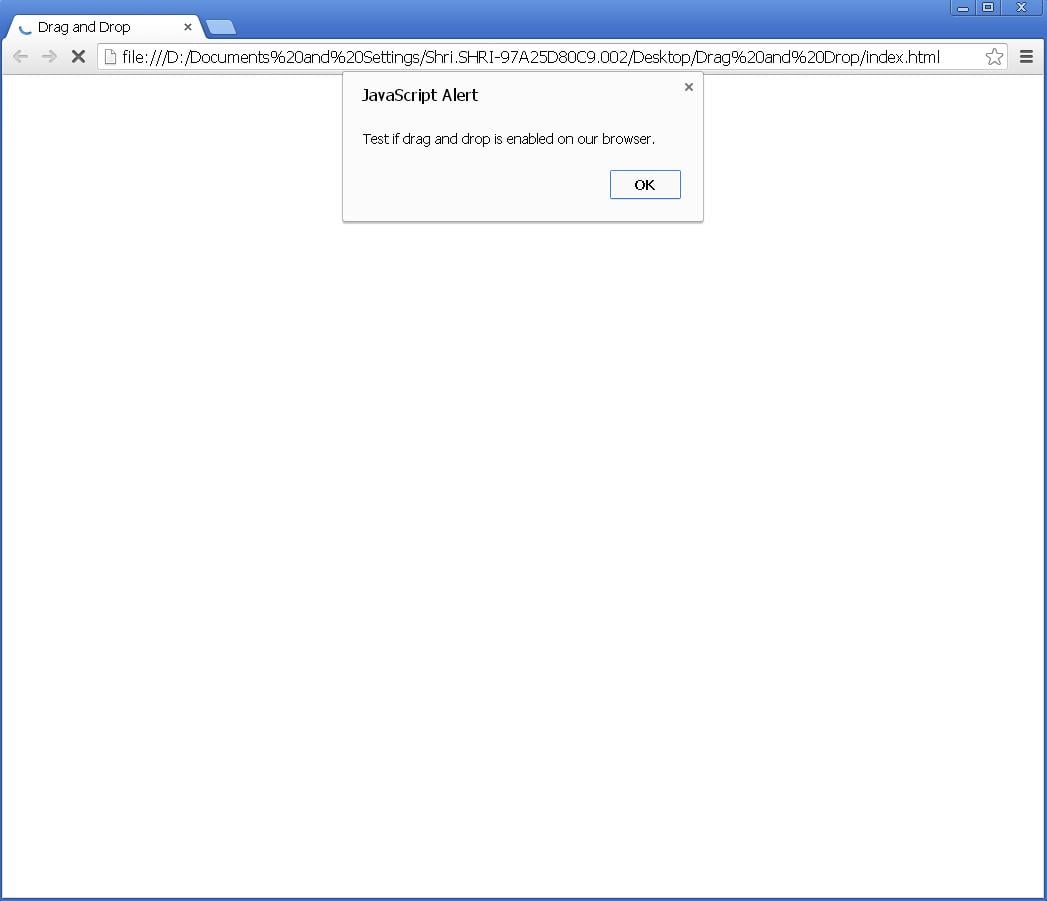
fig 6
<script>
	if(window.FileReader && Modernizr.draganddrop)
	{
	  document.write('Your browser supports drag and drop.');
	}
	else
	{
	  document.write('Sorry, your browser does not support drag and drop.');
	}
</script>
<script>
	if(window.FileReader && Modernizr.draganddrop)
	{
	  //document.write('Your browser supports drag and drop.');
	  function allowdrop(ev)
	  {
	    ev.preventDefault();
	  }

	  function drag(ev)
	  {
	    ev.dataTransfer.setData("Text",ev.target.id);
	  }

	  function drop(ev)
	  {
	    ev.preventDefault();
	    var data = ev.dataTransfer.getData("Text");
	    ev.target.appendChild(document.getElementById(data));
	  }
	}
	else
	{
	  document.write('Sorry, your browser does not support drag and drop.');
	}
</script>
Explanation of the code:
• Now third function is drop(ev). It is shown below.
function drop(ev)
{
ev.preventDefault();
var data = ev.dataTransfer.getData(“Text”);
ev.target.appendChild(document.getElementById(data));
}
These functions execute only when they are called. Now from where they are called?…. They are called from the body of “index.html” file. The simple steps that we had seen in step 4 above are modified slightly. Let’s see.
<body>
     <h1>Drag the HTML5 Logo into the box</h1>
     <div id="div1" ondrop="drop(event)" ondragover="allowdrop(event)"></div>
     <br>
     <img id="drag1" src="html5.jpg" draggable="true" ondragstart="drag(event)">
</body>
We have finished doing everything, now just reload your “index.html” page and try to drag the HTML5 image and drop it in the box next to it. You will see the output as shown.

fig 7
You can reload the page and try the drag and drop as many times you want.
Here we have finished with feature detection and drag and drop operation successfully.

