We had a introduction to HTML5 in the last section, so today, let’s know more about the new elements in HTML5.
We will go for some of the symantic structural elements of HTML5.
HTML5 has added a lot of new tags. These tags are more descriptive and more helpful in general.
We will see description of some tags.
- New Semantic/Structural Elements:
- New Form Elements:
- New Media Elements:
- The New canvas element:
| Tags | Description |
|---|---|
| header | Defines a header for the document or a section |
| nav | Defines navigation links in the document |
| section | Defines a section in the document |
| article | Defines an article in the document |
| aside | Defines content aside from the page content |
| footer | Defines a footer for the document or a section |
| details | Defines additional details that the user can view or hide |
| summary | Defines a visible heading for a details element |
| figure | Defines self-contained content, like illustrations, diagrams, photos, code listings, etc. |
| figcaption | Defines a caption for a figure element |
| mark | Defines marked or highlighted text |
| time | Defines a date/time |
| bdi | Defines a part of text that might be formatted in a different direction from other text outside it |
| wbr | Defines a possible line-break |
| dialog | Defines a dialog box or window |
| command | Defines a command button that a user can invoke |
| meter | Defines a scalar measurement within a known range (a gauge) |
| progress | Defines the progress of a task |
| ruby | Defines a ruby annotation (for East Asian typography) |
| rt | Defines an explanation/pronunciation of characters (for East Asian typography) |
| rp | Defines what to show in browsers that do not support ruby annotations |
| Tags | Description |
|---|---|
| datalist | Defines pre-defined options for input controls |
| keygen | Defines a key-pair generator field (for forms) |
| output | Defines the result of a calculation |
| Tags | Description |
|---|---|
| audio | Defines sound or music content |
| video | Defines video or movie content |
| source | Defines sources for video and audio |
| track | Defines tracks for video and audio |
| embed | Defines containers for external applications (like plug-ins) |
| Tags | Description |
|---|---|
| canvas | Defines graphic drawing using JavaScript |
Now we will use some of the tags shown above in our “Blue Developer Directory” website.
We will make our “Blue Developer Directory” more HTML5 friendly directory. Let’s start.
- Make a new folder on desktop and name it as “blue_developer”.
- Copy all contents of “Making Webpages” folder, created previously in this “blue_developer” folder.
- Now forget “Making Webpages” folder and just concentrate on “blue_developer” folder.
- In semantic/structural tags above, we have a header tag which defines a header for document or a section. Let’s use it.
- Open “homepage.html” page in notepad++.
- Replace
<div id=”header”>--------</div>
to
<header>------</header>
and save.
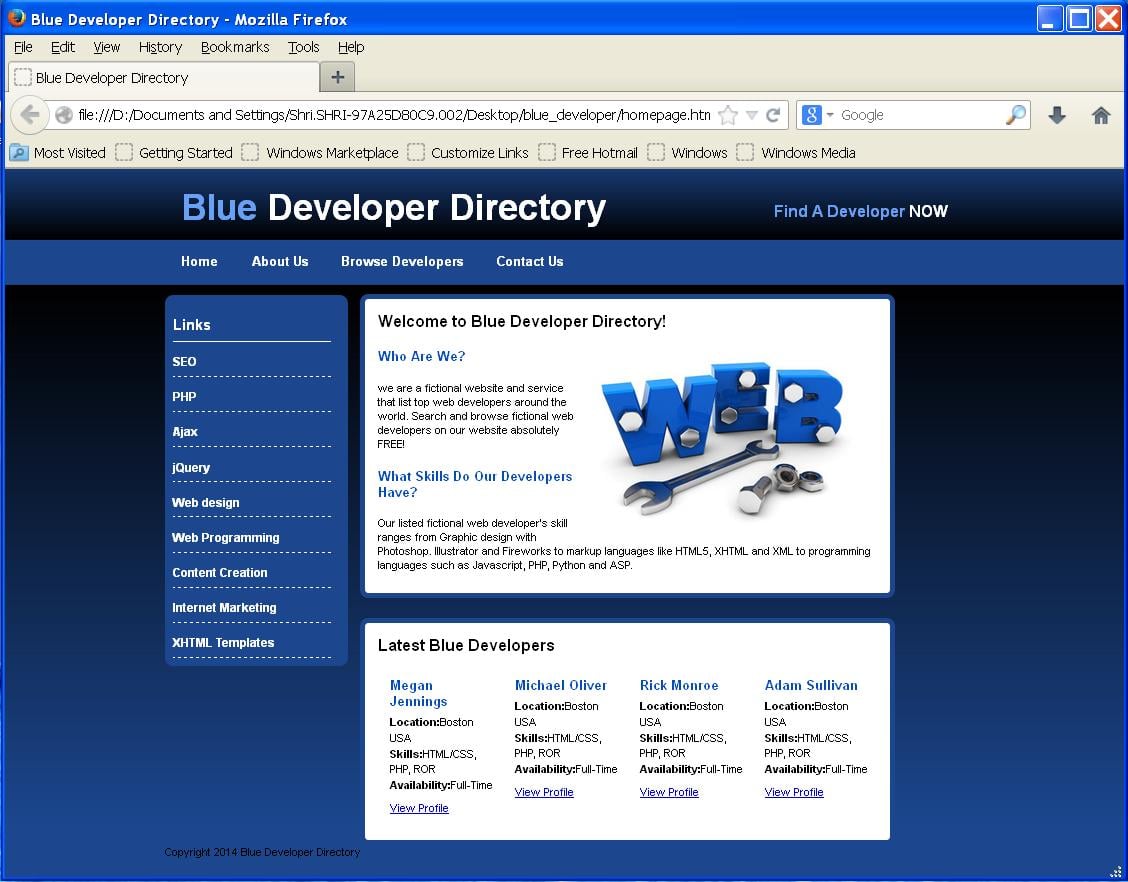
- Output is shown below:
- The heading “Blue Developer Directory” has changed, i.e. it was bold and white in colour before, now it has become small and black. This is because the styling done to header in css file is still searching for
for styling. But header is no more an “id”.
- So open the “style.css” file.
- See the styling done to the header section. You will see a “#” before “header”. Wherever you see “#” before “header”, erase it and save since “header” is no more an “id”.
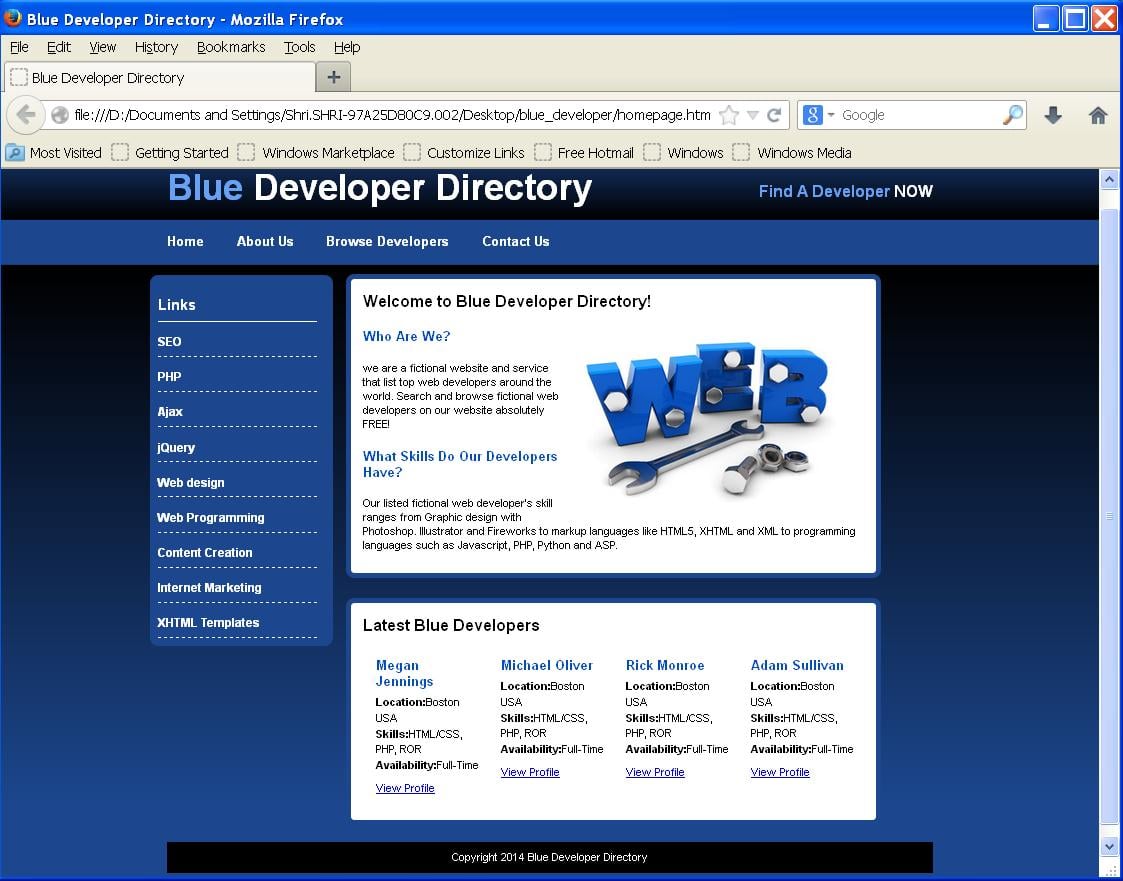
- Now see the output:
fig 2The output is now same as it was with the “id”.
- Next, we have nav tag, in semantic/structural tags above that defines navigation links in the document.
- In our homepage.html we have 2 link sets, “menu” and “leftmenu”. Instead of separating it using div tag, we can use nav tag for it.
- We can use “id” and “class” attributes for any HTML5 tags.
So first replace<div id=”menu”>------</div>
to
<nav id=”menu”>------</nav>
and save. We gave “id” to nav tag because, we will have to use it for leftmenu also, so to differentiate between both “id” is necessary.
- Here there is no need to erase “#” before “menu” in style.css, since we are using “menu” as “id”, and every id starts with a “#” in .css file.
- Repeat steps 13 and 14 for leftmenu with “id” as “leftmenu”.
- Output is shown below, it will remain as it is.

fig 3- Now we have another two div blocks having “id” as “content”. We have a “section” tag in the semantic/structural tags above which defines a section in the document.
- Replace both the
<div id=”content”>-----</div>
to
<section>----</section>
- Output will be seen like this:
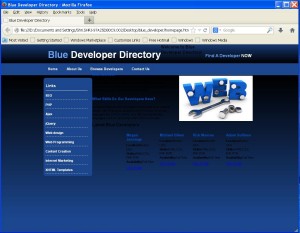
fig 4- This is because, the css file has styled the id “content” and now we don’t have “content” any more in our homepage.html. Instead of “content” we have “section”.
- So now, go to “style.css” file and replace “#content” with “section”.
- You will see the following output:
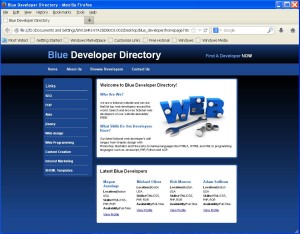
fig 5- You can have a footer for your page using the footer tag which defines a footer for a document or a section.
- Go to “homepage.html” and write the following code where the second “section” tag ends.
<div style="clear:both"></div>
<footer>
	Copyright 2014 Blue Developer Directory
</footer>
Here style=”clear:both” means clear the value of “float” i.e. left or right, if used earlier.
- It’s output will look like this:
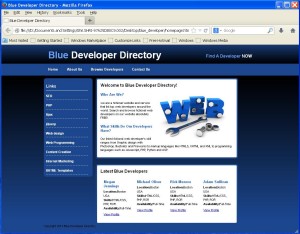
fig 6Here, in the output you can see the footer having small text.
Let’s style it.- Now go to “style.css” file and write the following code in it.
footer { text-align:center; color:#ffffff; background:#000000; padding:10px 0 10px 0; margin:20px; }- Output is shown below:

fig 7Thus you will get a footer on homepage.
- Now our homepage is ready, now we will have to make changes in rest of out pages viz. about.html, browse.html and contact.html.
- First let’s see for “about.html”.
- Copy the code of “homepage.html” from html tag to the end of the nav tag of “leftmenu”.
- Replace
<div id=”content”>------</div>
to
<section>----<section>
.
- Copy the code of footer from “homepage.html” and paste it in “about.html” where the section tag ends.
The code of footer is:<div style="clear:both"></div> <footer> Copyright 2014 Blue Developer Directory </footer>
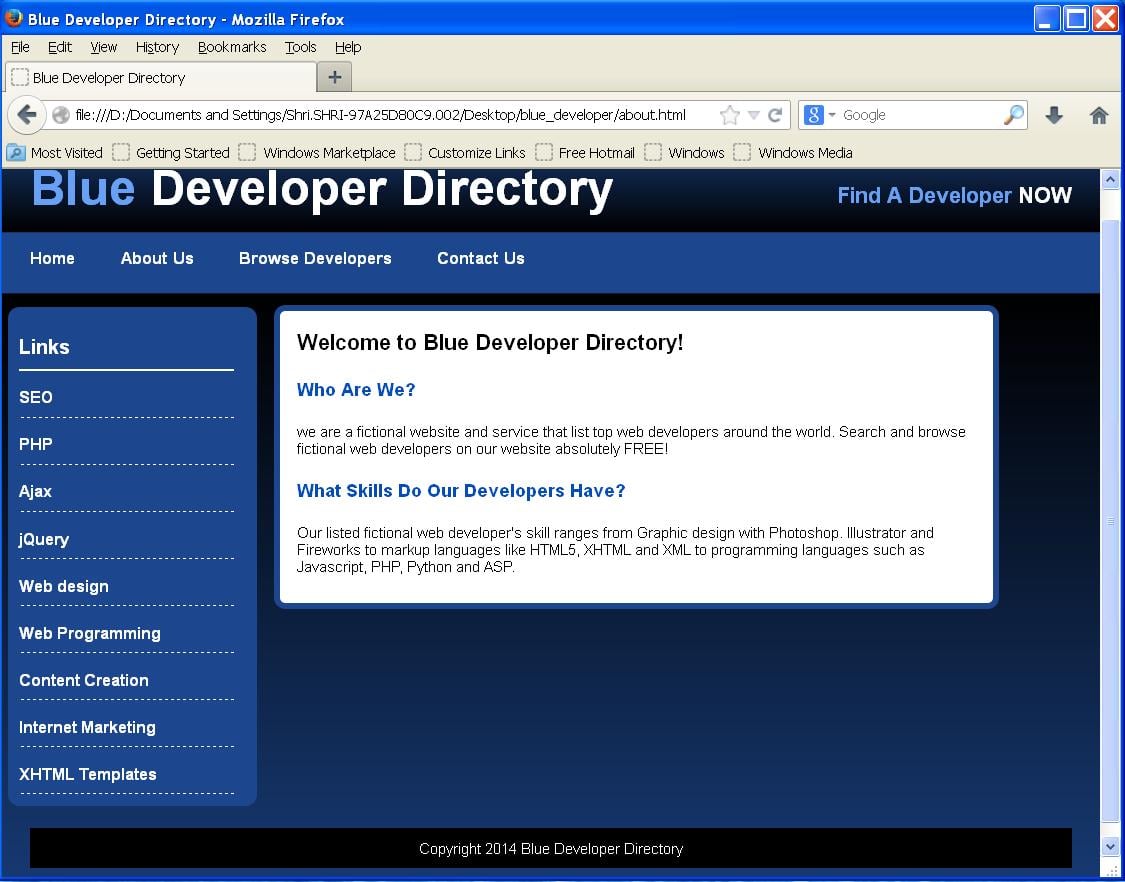
- Output of “about.html” is shown below:

fig 8- Now repeat steps 30,31 and 32 for “browse.html” and “contact.html” also. You will get the desired output with footer.
Here we finished using some of the new tags from HTML5.
In the next section we will have a glance at some more new input elements and form elements.
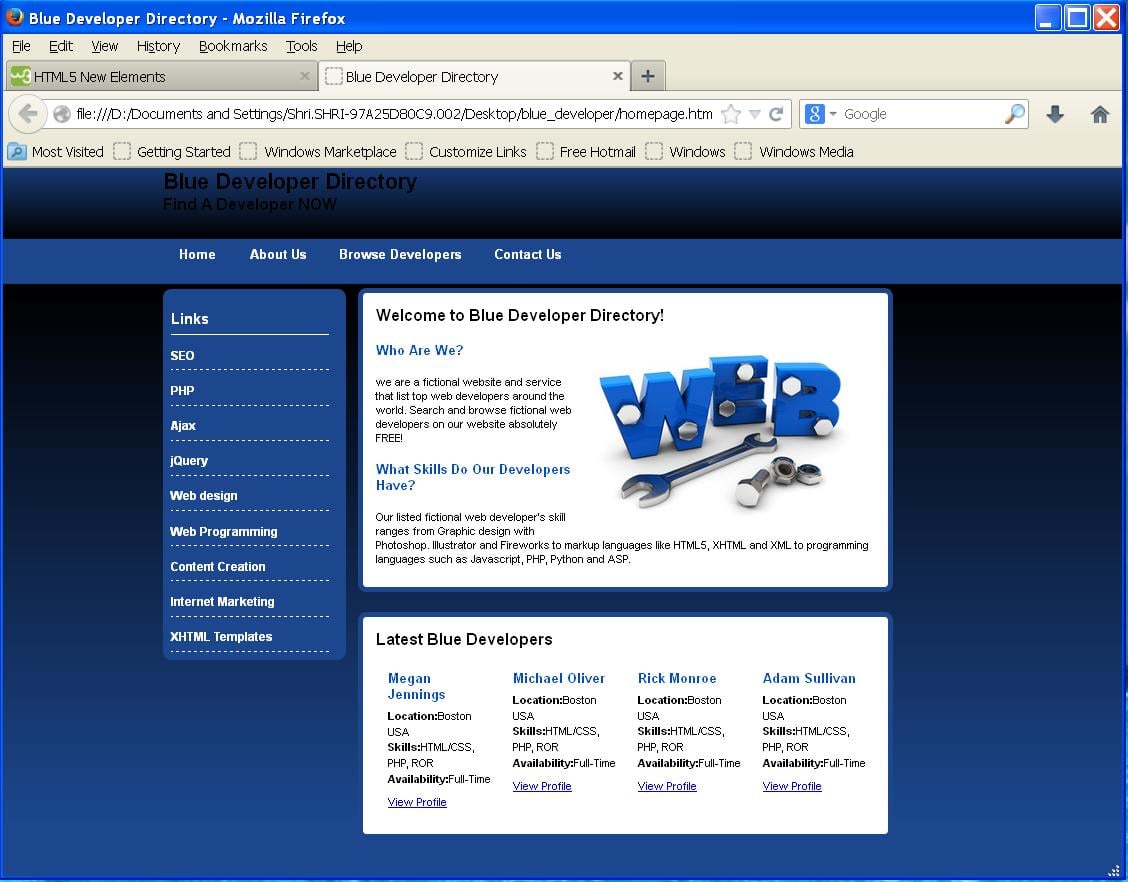
fig 1