

In this tutorial we will learn to create a sign up page along with database connectivity in java where we will be creating a new user sign up page and store its record into the database with the help of SQL statements similarly we can also view the table records with the help of respective SQL queries.
Steps for installation of MySQL Workbench :
-
- First of all, open up the browser.
- Open up Google search engine and enter the keyword as download MySQL Workbench in it.
- Select MySQL workbench version mysql-installer-community-5.6.21.0.msi.
- You will get below window
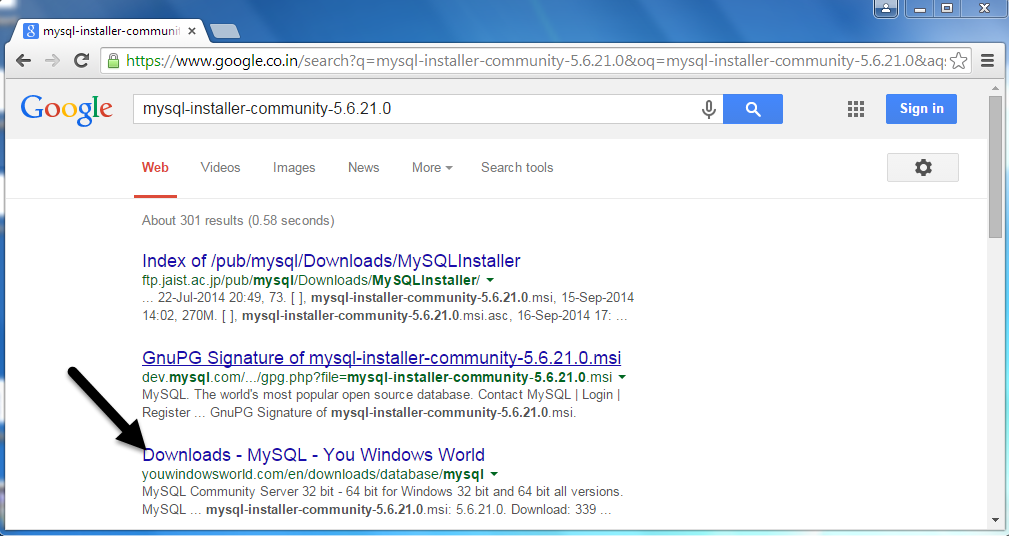
-
- Download it properly and save it in proper folder.
- Following window will get displayed.
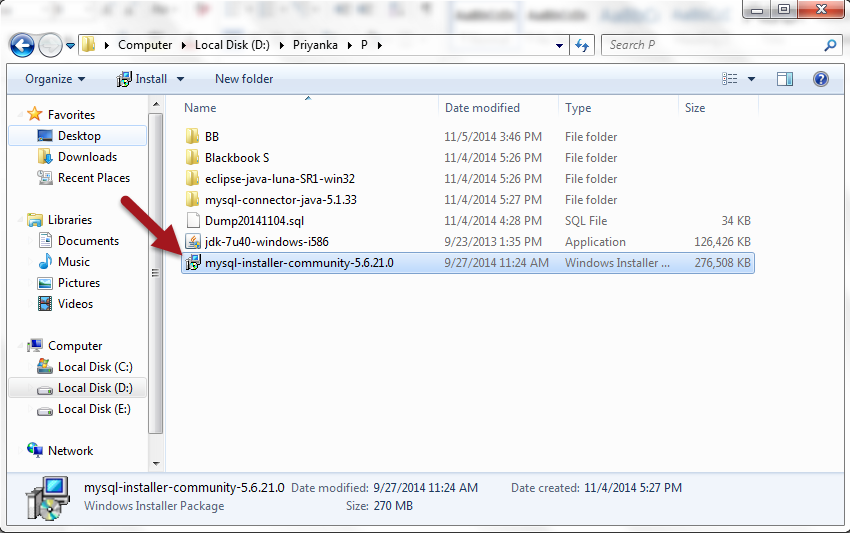
-
- Double click on above MySQL setup and follow the default server setting.
- After installation completed, then click on the start menu and select MySQL.

-
- MySQL installation you can watch in the below view
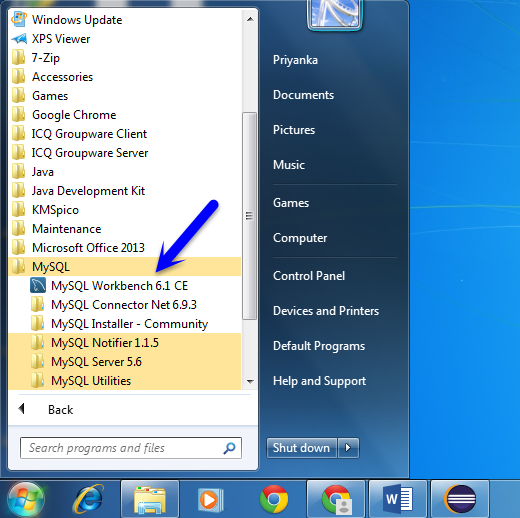
-
- Click on the start menu, then select MySQL Workbench 6.1 CE then you will get the following screen.
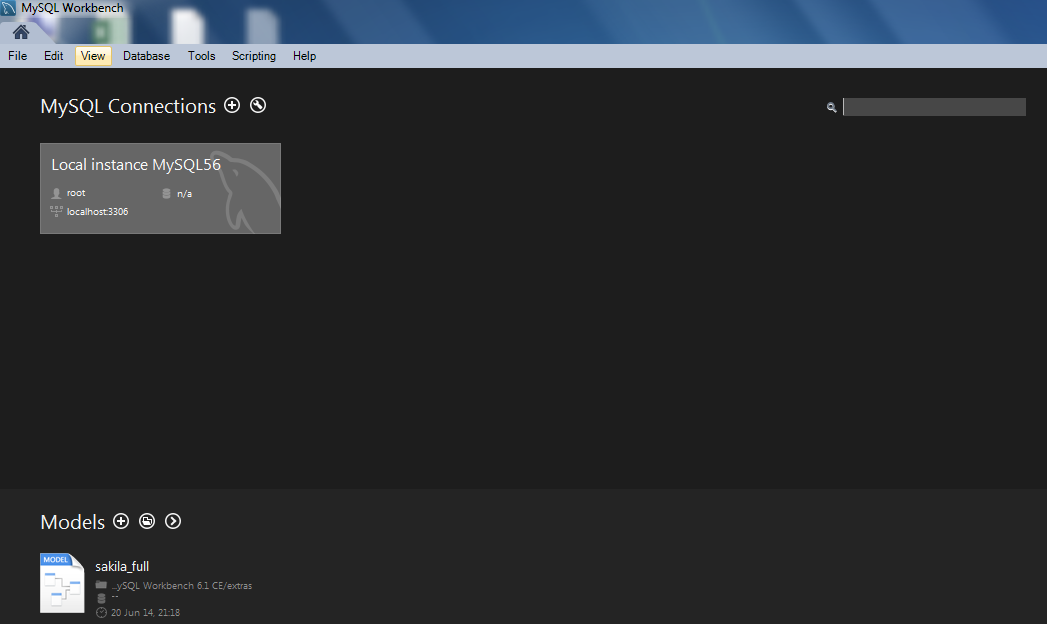
-
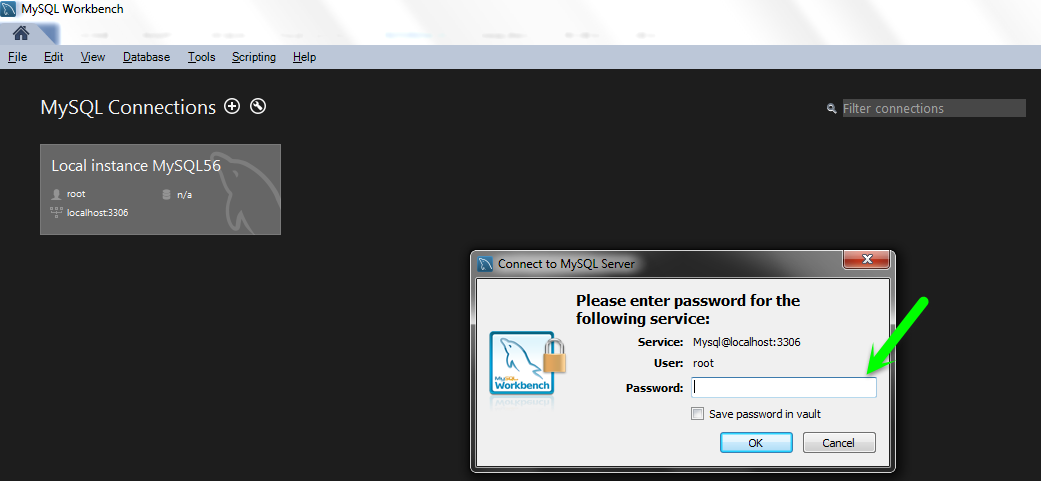
- Now you can just double click on Local instance MySQL56 then you will see the below window.
-
- By clicking on the Local instance message dialog box window will get displayed, fill that window with password root and click on the OK button. Then you will get the following window.
-
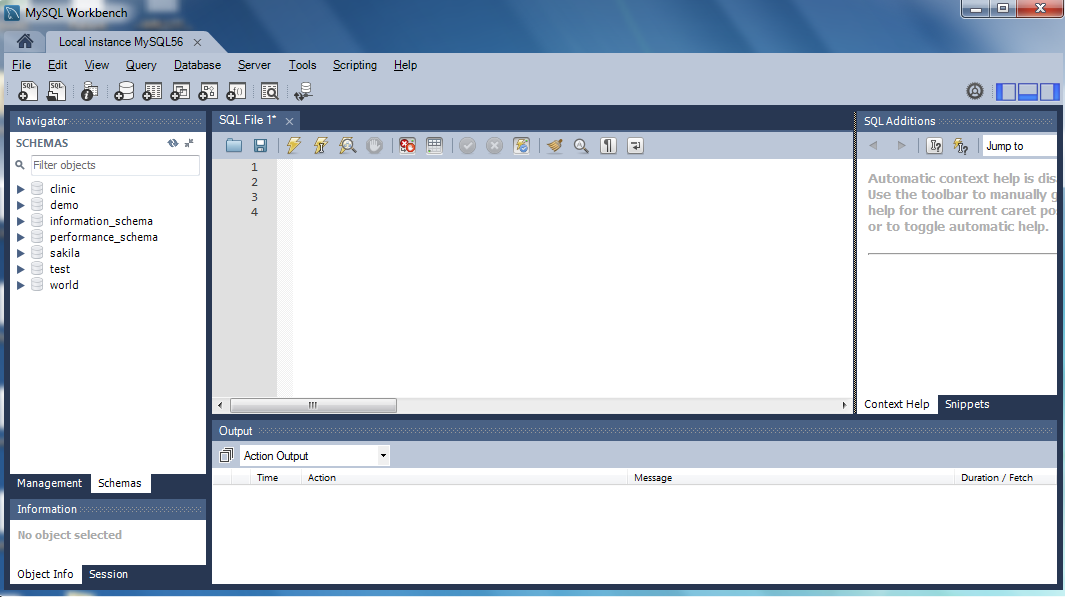
- Now you create a new schema, just right click on MySQL windows left side then you will get two options.
- Create Schema.
- Refresh All.
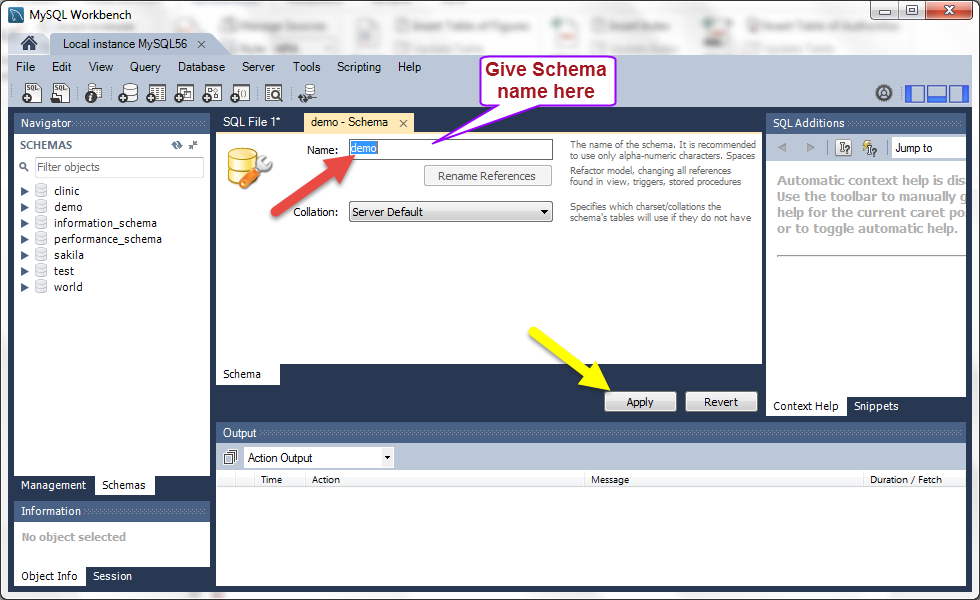
- Click on Create Schema, you will get below the screen and give schema Name for that field and click on Apply button.
- Now you create a new schema, just right click on MySQL windows left side then you will get two options.
-
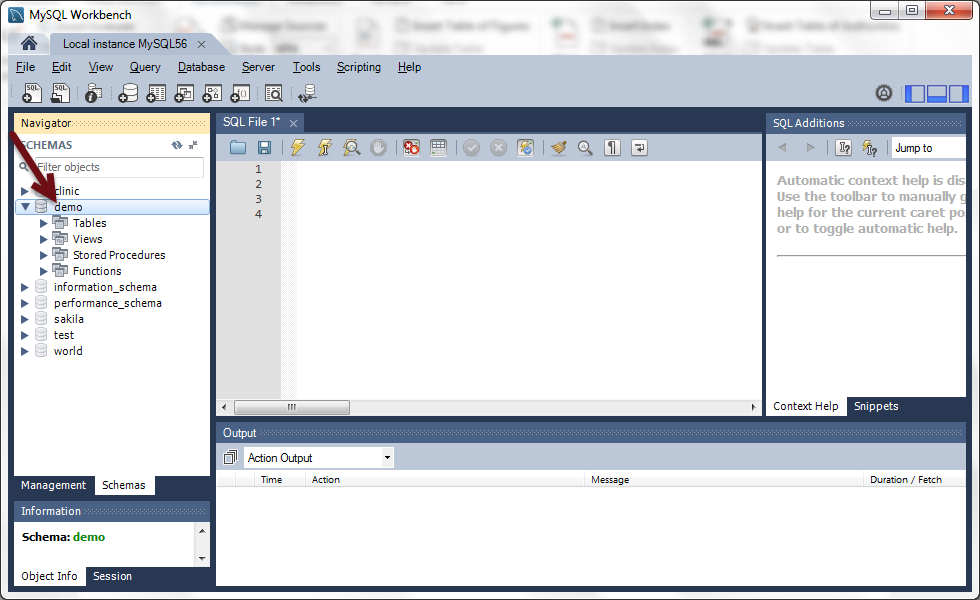
- Now you click on that schema which is created above window then that schema is expanded, you can see below screens left-hand side.
-
- Now right click on Table you get option Create Table Click on it, you will get below win.
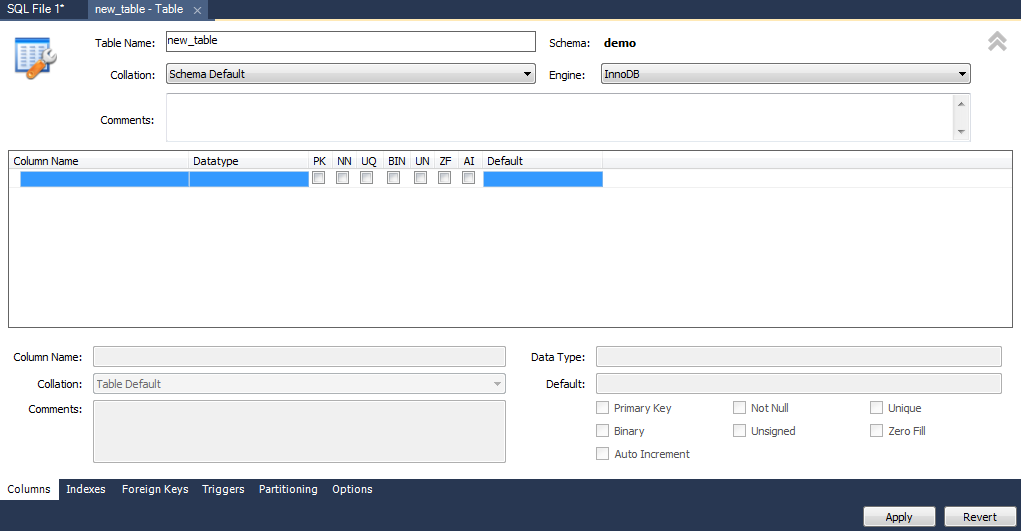
-
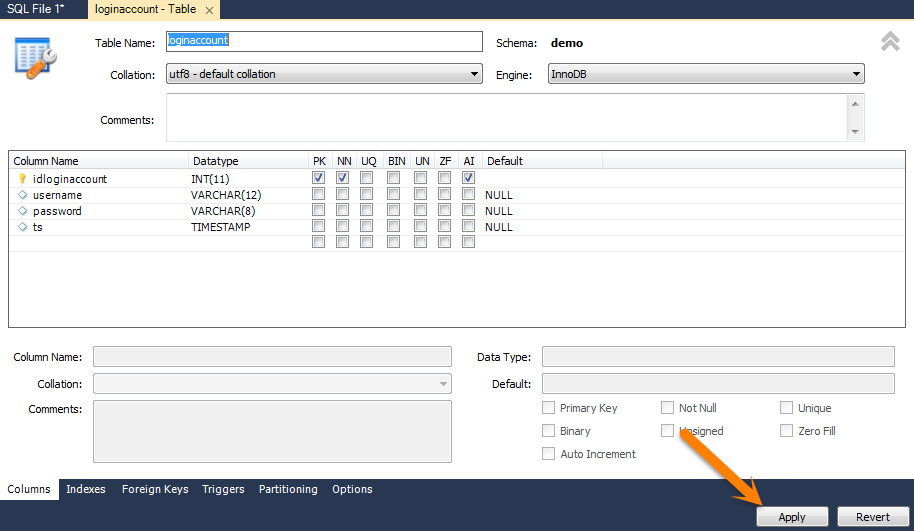
- Fill up the required fields like Table Name, Column Name, Datatype (like varchar(50),int).
- Fill the options which are when you dealing with Id then Primary key, Auto increment, Not Null, etc is fill up properly as your requirement. After filling the all required fields click on the Apply button and then Finish button You will see the following screen.
-
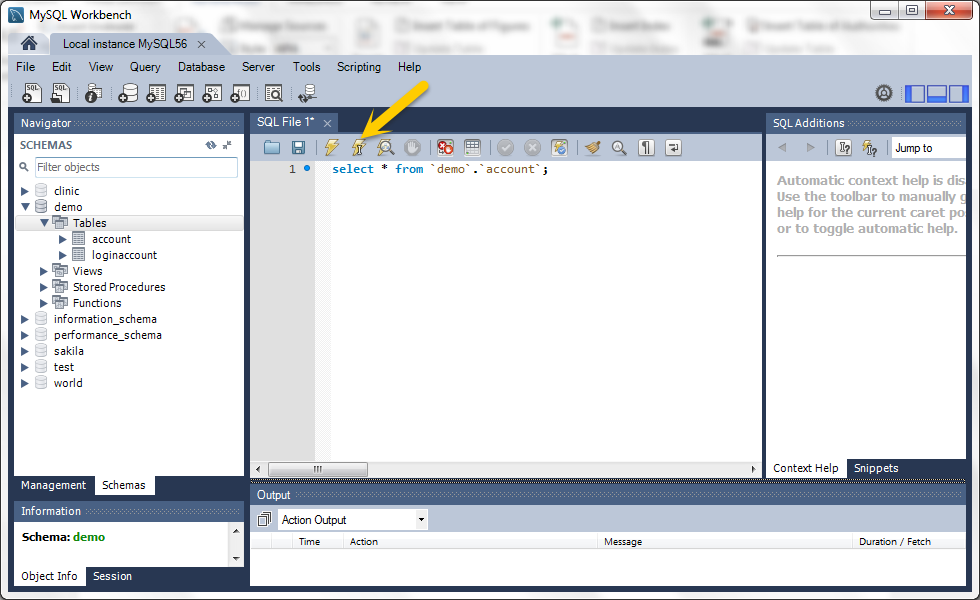
- Check the table is created or not, using SQL Query on MySQL workbench.
“select * from `demo’.’account`”;.
Click on the Execute query button watch in the following window.
- Check the table is created or not, using SQL Query on MySQL workbench.
-
- You can see the output of that SQL query in the following screen
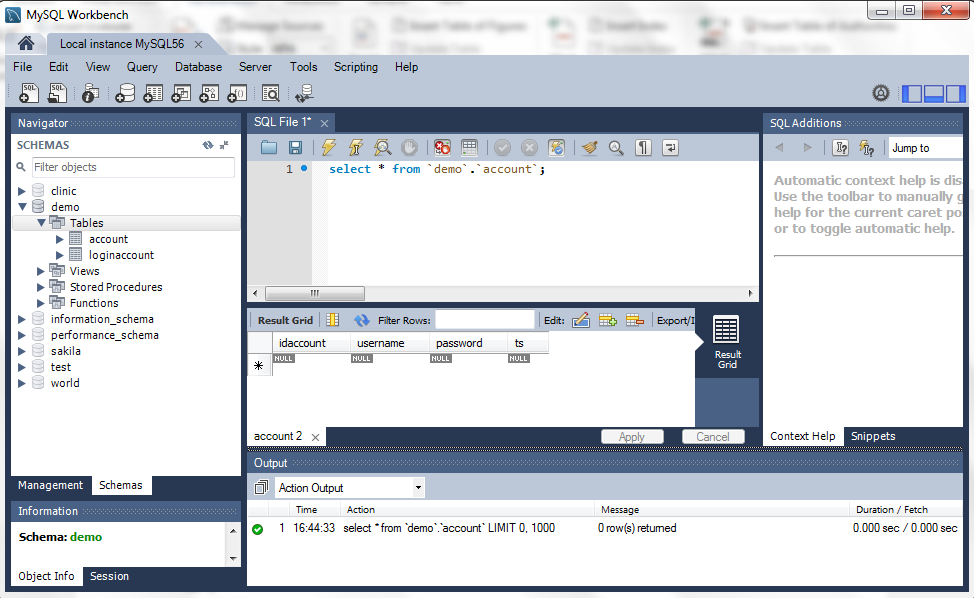
-
- Now your database and table are created successfully.
Now, let’s learn to connect JFrame and MySQL.
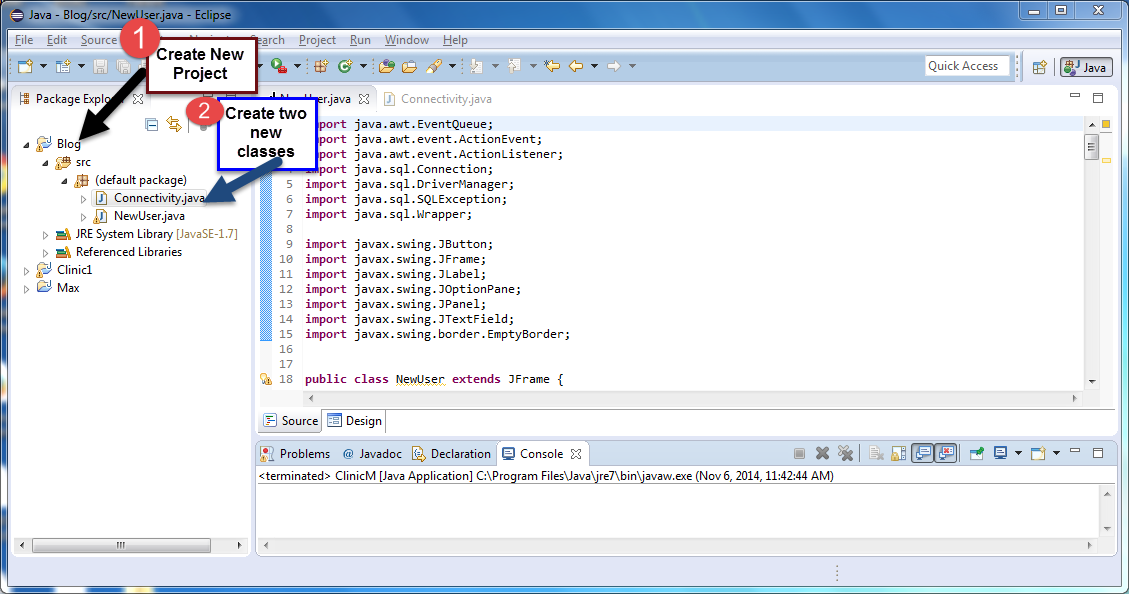
Now open Eclipse Create a new project.
-
-
-
- Right-click on src create two new classes.
- Connectivity.java
- NewUser.java
-
-
Show in the below screen.
Example of Connection to MySQL database :
Example: Connectivity.java
//import statements
import java.sql.Connection;
import java.sql.DriverManager;
import java.sql.SQLException;

public class Connectivity //create class Connectivity
{
		// JDBC driver name and database URL
		static final String JDBC_DRIVER = "com.mysql.jdbc.Driver";

	    static final String DB_URL = "jdbc:mysql://localhost/demo";

	    //  Database credentials
	    static final String USER = "root" ;
	    static final String PASS = "root";

	    public static void main(String[] args) //main method
	    {
	    	Connection conn = null;//create object of Connection and define it null
	    	try //try block
	    	{
	    		//STEP 2: Register JDBC driver
	    		Class.forName("com.mysql.jdbc.Driver");
	    		//STEP 3: Open a connection
	    		System.out.println("Connecting to a selected database...");
	    		conn = DriverManager.getConnection(DB_URL, USER, PASS);
                        //print on console
	    		System.out.println("Connected database successfully...");
                }
	    	catch(SQLException se) //catch block
	    	{
	    		//Handle errors for JDBC
	    		se.printStackTrace();
	    	}
	    	catch(Exception e) //catch block
	    	{
	    		//Handle errors for Class.forName
	    		e.printStackTrace();
	    	}
	    	finally  //finally block
	    	{
	    		//finally block used to close resources
	    		try  //try block
	    		{
	    			if(conn!=null)//condition
	    			conn.close(); //close connection
	    		}
	    		catch(SQLException se)//Handle errors
	    		{
	    			se.printStackTrace();
	    		}//end finally try
	    	}//end try
	    	System.out.println("Goodbye!"); //print on console
	    }//end main
}

Example: NewUser.java
//import statement
import java.awt.EventQueue;
import java.awt.event.ActionEvent;
import java.awt.event.ActionListener;
import java.sql.Connection;
import java.sql.DriverManager;
import java.sql.SQLException;
import java.sql.Wrapper;

import javax.swing.JButton;
import javax.swing.JFrame;
import javax.swing.JLabel;
import javax.swing.JOptionPane;
import javax.swing.JPanel;
import javax.swing.JTextField;
import javax.swing.border.EmptyBorder;

public class NewUser extends JFrame //create class NewUser
{
	private JPanel contentPane; //declare variable
	private JTextField txtUser;
	private JButton btnSignup;
	private JTextField txtPassword;
	protected java.lang.String Spassword;

	// database URL
	static final String DB_URL = "jdbc:mysql://localhost/demo";

	//  Database credentials
	static final String USER = "root";
	static final String PASS = "root";
	protected static final String String = null;

	/**
	 * Launch the application.
	 */
	public static void main(String[] args) // main method
	{
		EventQueue.invokeLater(new Runnable()
		{
			public void run() //define run method
			{
				try  //try block
				{
					//create NewUser frame object
					NewUser frame = new NewUser();
                                        //set NewUser frame visible
					frame.setVisible(true);
				}
				catch (Exception e) //catch block
				{
					e.printStackTrace();
				}
			}
		});
	}

	/**
	 * Create the frame.
	 */
	public NewUser() //create constructor
	{
		//set title
		setTitle("New User Login");
		//set close operation
		setDefaultCloseOperation(JFrame.EXIT_ON_CLOSE);
		//set bounds of frame
		setBounds(100, 100, 450, 300);
		//create object of JPanel
		contentPane = new JPanel();
                //set contentPane border
		contentPane.setBorder(new EmptyBorder(5, 5, 5, 5));
		set ContentPane with new object
		setContentPane(contentPane);
		set contentPane layout is null
		contentPane.setLayout(null);

                // create text field for user
		txtUser = new JTextField();
		//set bounds for text fields
		txtUser.setBounds(188, 51, 99, 20);
		//in contentPane add text field
		contentPane.add(txtUser);
		//set column for text field
		txtUser.setColumns(10);

		//lable the text field
		JLabel lblUserName = new JLabel("User Name");
		//set bounds for label
		lblUserName.setBounds(70, 54, 86, 14);
		//add into contentPane
		contentPane.add(lblUserName);

		//lable the text field
		JLabel lblPassword = new JLabel("Password");
		//set bounds for label
		lblPassword.setBounds(70, 109, 86, 14);
		//add into contentPane
		contentPane.add(lblPassword);

                //create button signup
		btnSignup = new JButton("SignUp");
		//add event handler on SignUp button
		btnSignup.addActionListener(new ActionListener()
                {
		                public void actionPerformed(ActionEvent e)
                                {
				}
				//Create wrapper object and define it null
				Wrapper conn = null;
				try  //try block
                                {
                                //declare variables
				String username = "";
				String password = "";

				//get values using getText() method
				username = txtUser.getText().trim();
				password = txtPassword.getText().trim();

                                // check condition it field equals to blank throw error message
				if (username.equals("")|| password.equals(""))
				{
					JOptionPane.showMessageDialog(null," name or password or Role is wrong","Error",JOptionPane.ERROR_MESSAGE);
				}
				else  //else insert query is run properly
                                {
					String IQuery = "INSERT INTO `demo`.`loginaccount`(`username`,`password`,`ts`) VALUES('"+username+"', '"+password+"',current_timestamp)";
					System.out.println(IQuery);//print on console
					System.out.println("Connecting to a selected database...");

				//STEP 3: Open a connection
				conn = DriverManager.getConnection(DB_URL, USER, PASS);
					System.out.println("Connected database successfully...");

				((Connection)conn).createStatement().execute(IQuery);//select the rows
					// define SMessage variable
					String SMessage = "Record added for "+username;

                                       // create dialog ox which is print message
	                    JOptionPane.showMessageDialog(null,SMessage,"Message",JOptionPane.PLAIN_MESSAGE);
					//close connection
					((java.sql.Connection)conn).close();
				}
			}
			catch (SQLException se)
			{
				//handle errors for JDBC
				se.printStackTrace();
			}
			catch (Exception a) //catch block
			{
				a.printStackTrace();
			}
		    }
		});
		//set bound for SignUp button
		btnSignup.setBounds(131, 165, 89, 23);
		//add button into contentPane
		contentPane.add(btnSignup);

		//create text field for password
		txtPassword = new JTextField();
		//set bound for password field
		txtPassword.setBounds(188, 106, 99, 20);
		//add text field on contentPane
		contentPane.add(txtPassword);
		set column for password text field
		txtPassword.setColumns(10);
		}
}
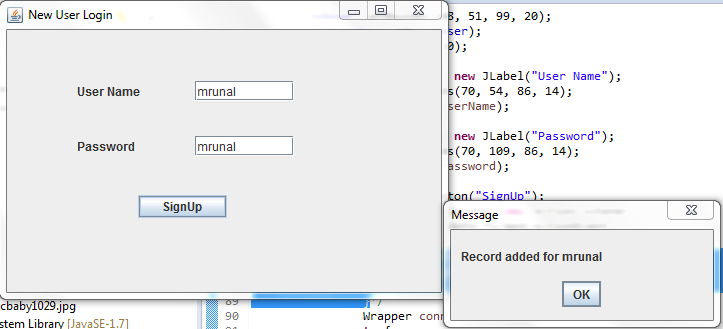
Form :

Fill the form fields i.e. username and password and click on the SignUp button
After fill up all the fields when you click on the SignUp button JOptionPane message window will be displayed.
Now you check into MySQL database
Write SQL Query
select * from `demo`.`loginaccount`
Output :

Thus, we learned to create a sign-up page along with database connectivity in java where we have created a new user sign up page and stored its record into the database with the help of SQL statements and also viewed the table records with the help of respective SQL queries.
If you want to learn Database Design using MySQL then you can enroll with the “Learn Database Design with MySQL From Scratch“ online course. It provides over 30 lectures having around 9 hours of videos that will help you master Database Design and Data Storage for applications and websites using SQL & MySQL.
Read More: Learn about JDBC Connection with MySQL database


that’s good but what if you have many record how do you prevent many pop error messages such that it search first then denies access or accepts
I want Program Of School Management along with add data,delete data,update data,login
I AM GETING error in my program as Exception in thread “main” java.lang.Error: Unresolved compilation problem:
at poornesh.Loginform.main(Loginform.java:37)
We proposed for the employee college attendance system but the security of their pass, HOW ?
I didn’t find mysql-installer-community-5.6.21.0.msi
The link you showed is no more available
Some of the comments in the NewUser.java file are missing the // at the beginning.
These are 73, 75 and 168.
There are also problems with one too many } brackets.
The fact that the file is only properly indented on some of the lines makes it difficult to identify where the brackets should be.
I commented out the right bracket on line 108 //} on the assumption that you do want the following code to occur on actionPerformed and not leave it totally empty.
Due to a missing serialVersionUID I added this on line 23
private static final long serialVersionUID = 1L;