

WordPress Image Gallery
Images are playing powerful roles today. The saying, ‘a picture is worth a thousand words’ still stands true. This is why a lot of people are now opting for image based websites. If you want to focus largely on images on your website, then the WordPress Photo Gallery plugin is a great choice. It is not only easy, but it comes with multiple layout options, album/thumbnail views, widgets, extensions, and so much more. Let’s take a look at the large number of benefits it offers.
Benefits Of Photo Gallery Website
Improved Page Navigation – The organized galleries makes the website look more efficient and attractive; also making it easier to navigate for users.
Full Control of Your Website – The WordPress plugin gives you full control of nearly every aspect of your website and makes it easy to modify, update and even style your own websites as you see fit.
Increase and Improving Visitor Engagement – Website user engagement is an important indicator determining the success and ranking of your site. Images and photos make websites more engaging. Using images in your posts and pages will result in increased visitor engagement.
Image Optimization – Apart from texts, images can also be optimized so that they can send relevancy signals to search engines through their caption, alt text, and description. You need to make sure that the images are in proper file format and compressed for the web.
Stylish and Advanced web design – Good quality-resolution photos displayed in layouts/thumbnail are bound to get your website noticed among its users.
Support – WordPress provides timely and effective support to all its users.
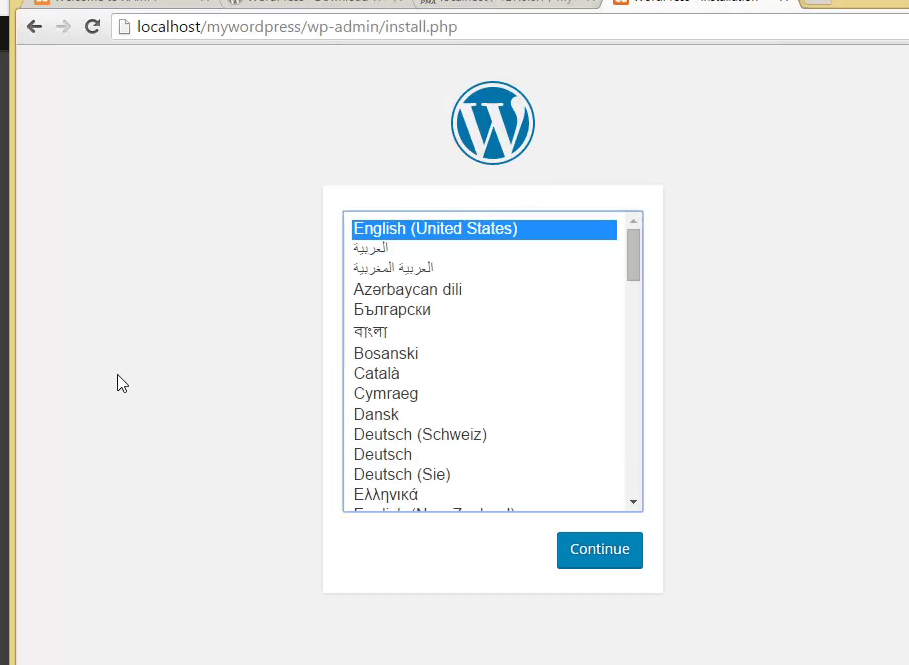
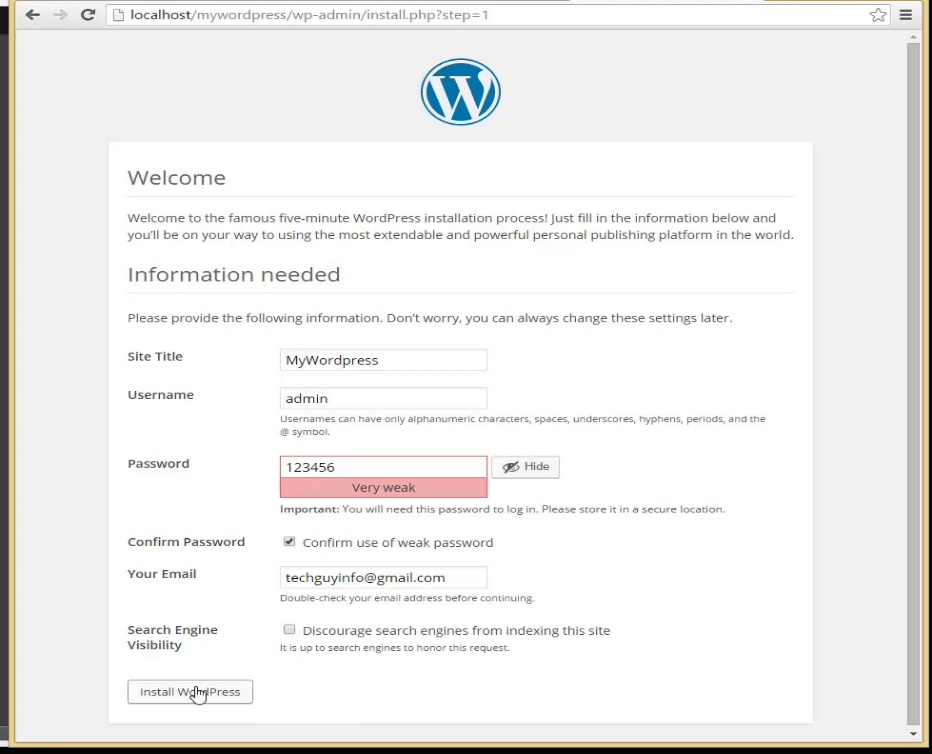
1) Select English and click on continue, you will get the following screen. Fill the information and click on “Install WordPress” button.
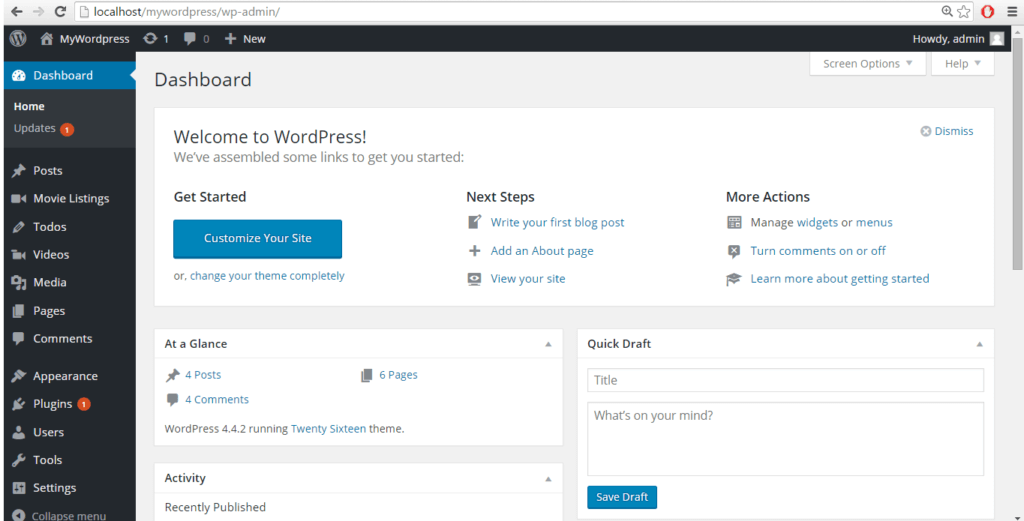
2) Once you are done with this, you will get the success page and it will ask for you to login. Put the username and password and click on login, you will get the following screen:
3) You will be able to see “mywordpress”. Once you click on it, it shows the option of “Visit Site”. Click on the “visit site” button, you will get the ‘your wordpress’ website like this.
Steps for Creating an Image gallery:
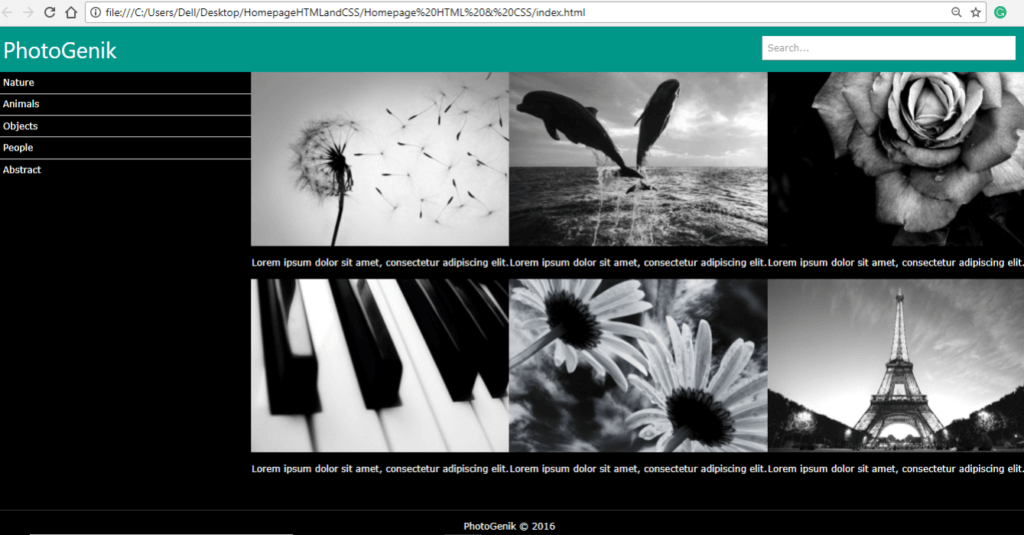
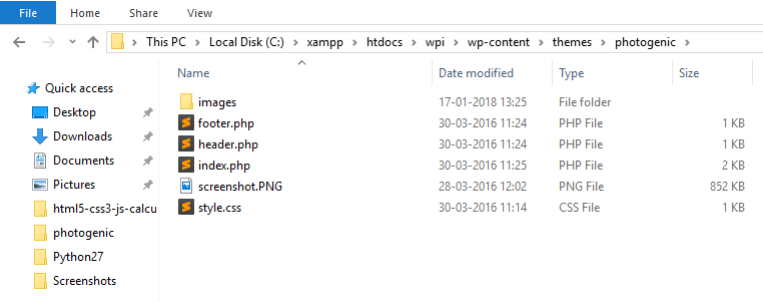
Step 1) I’m going to create a new folder xampp/htdocs/wpi/wp-content/themes/photogenic. This is going to have just our basic structure. We’ll have our index page, single page, our style.css, header.php and footer.php and our images folder. For the images, I’m going to grab them from the completed project.
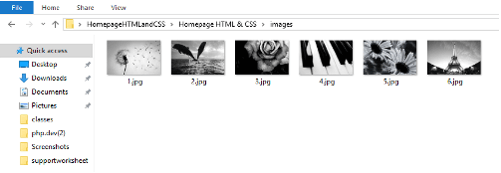
Step 2) We have around 6 sample images and So, we are going to take all those and put them into our images folder
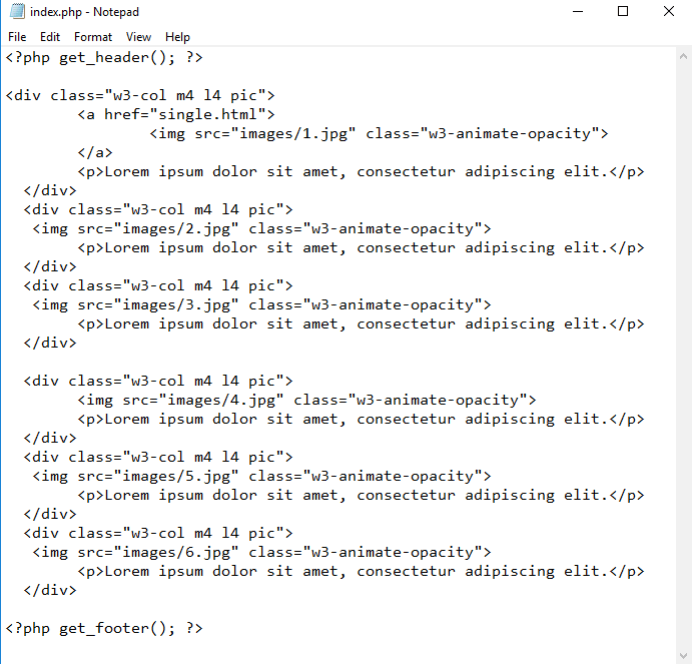
Step 3) Create index.php file to add 6 sample images that need to be displayed and also get header() and footer ()
Step 4) Let’s go ahead and do the CSS. Let’s start with the body, where we will set attributes like margins, footers, text-align, background color, font size and font family. Now inside your CSS folder, create a file named as “style.css”

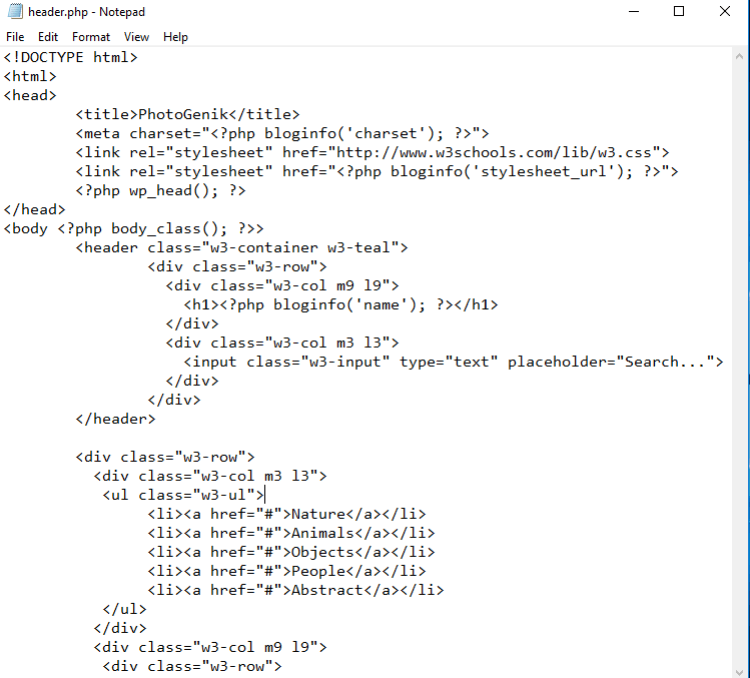
Step 5) Now we have HTML and CSS file. Add header.php file. It contains div for blog info, search field, and column. The div class also contains Nature, Animals, Object, People, Abstract.
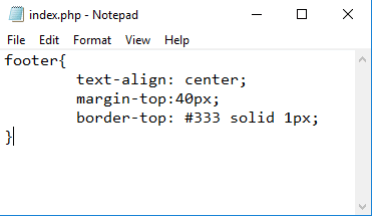
a) In the index.php folder, add the footer alignment. It can be a text-align: center and border of the footer.
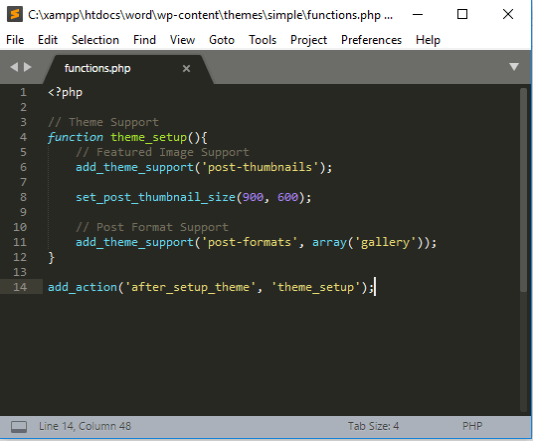
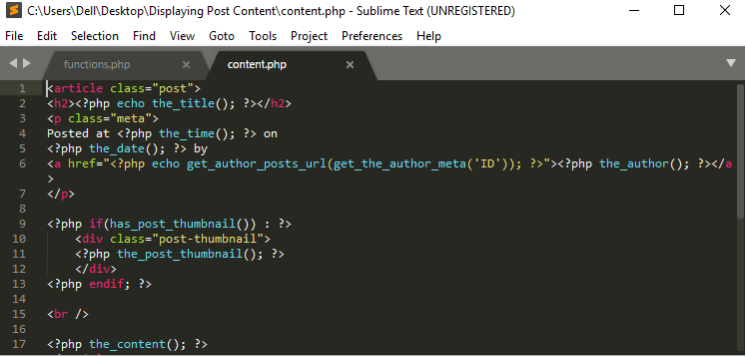
b) After we are done with the coding, run wordpress on localhost/word and it will show all the images. Add the function.php file that contains function theme_setup(), add thumbnail _size, and add action on the wordpress themes Display Post Content and images – Go the WordPress file and add content.php file to add post thumbnail, author, and title to display post.
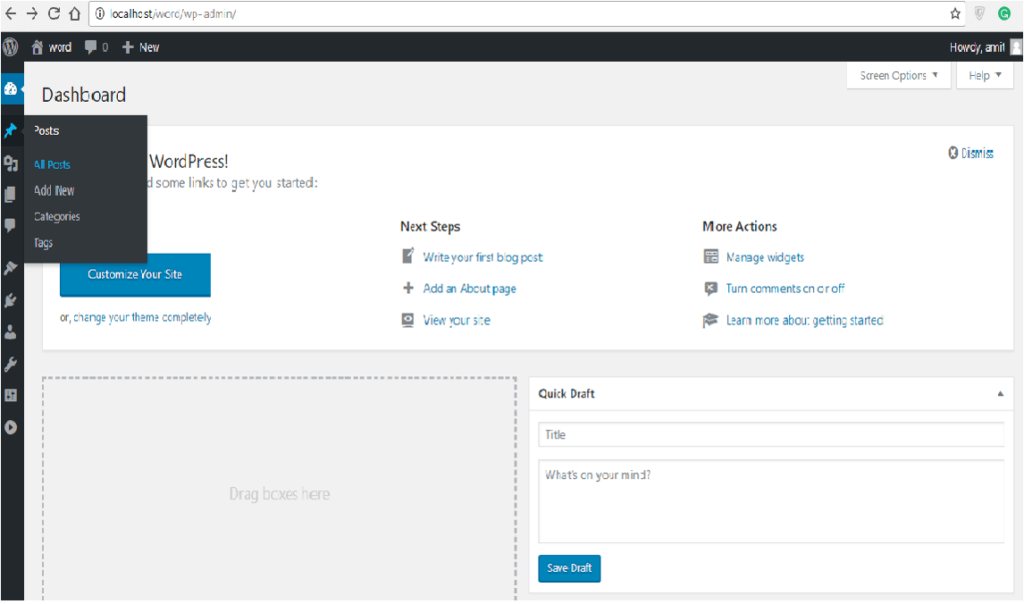
Step 6) Go to the WordPress menu. Select the ALL POST Option.
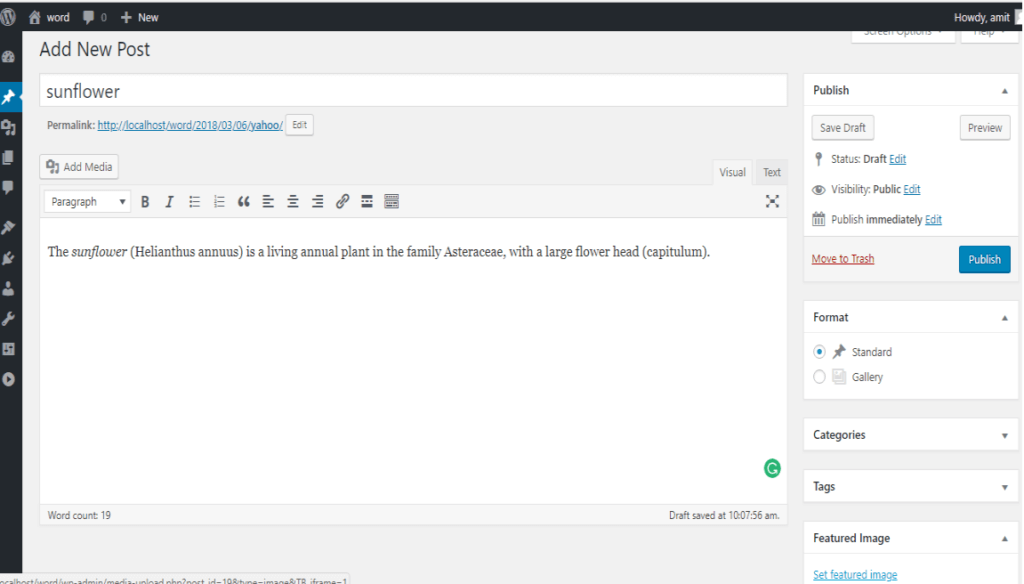
a) The Add New Post Page is open – Enter a New Post, add the description, and Select Set Featured Image Option.
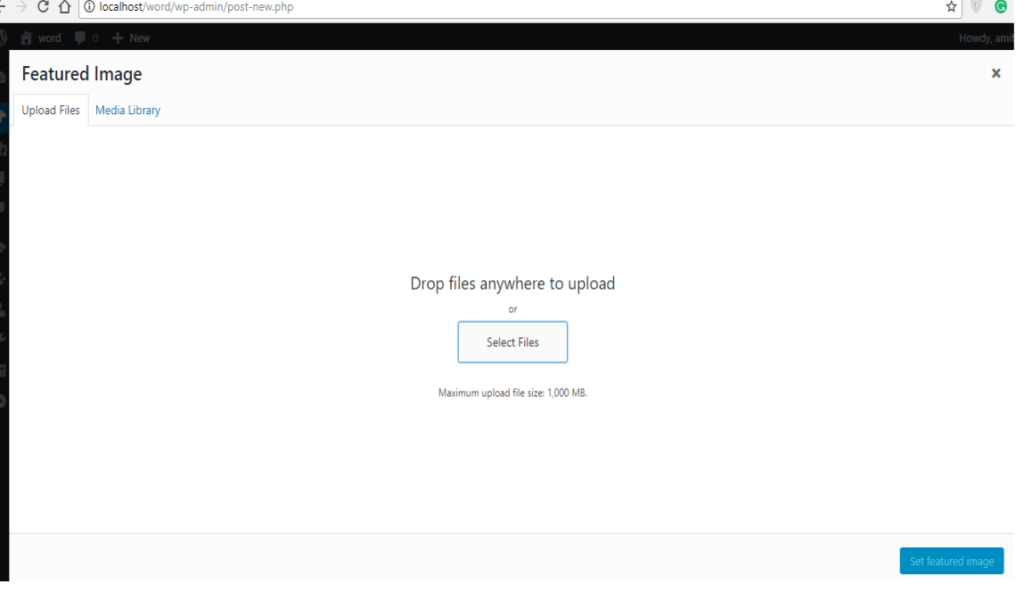
b) After select Feature image option -it shows the Drop Files Anywhere To Upload Select File the user to upload images and files, which will be visible in the image gallery.
c) After the upload image, the user can select the uploaded image and make edits to the image information like add url, description, title, add caption, etc.. And, finally click on Set Featured Image.
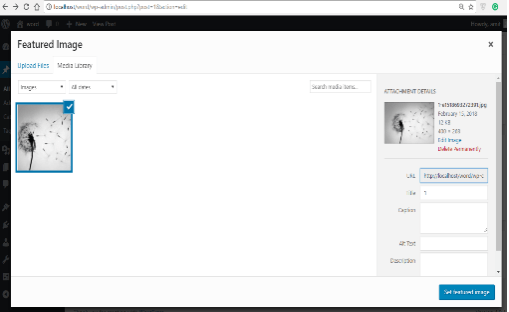
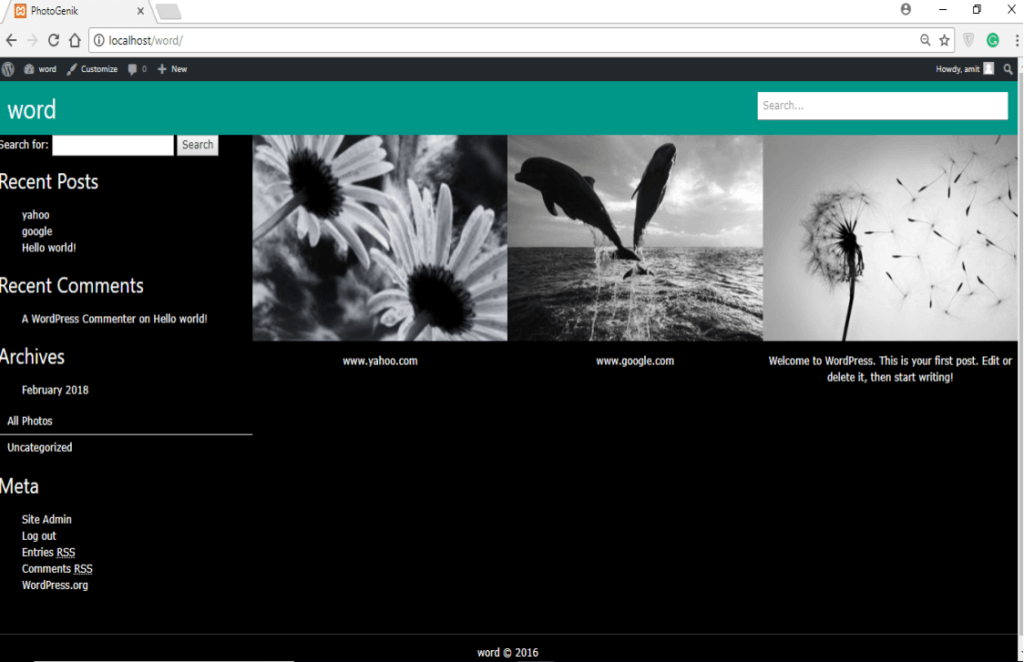
Image Search :
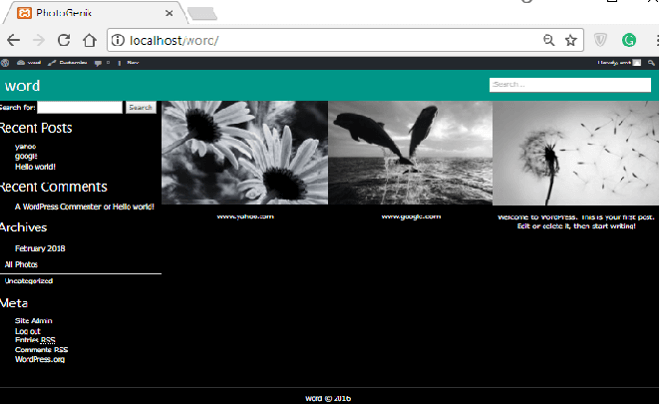
Step 7) Once, the upload is finished, the image will be visible on the website. From there you can also search for your images using the Search Field. The Search Feild can Search images using the name of image that you’ve given when uploading it.
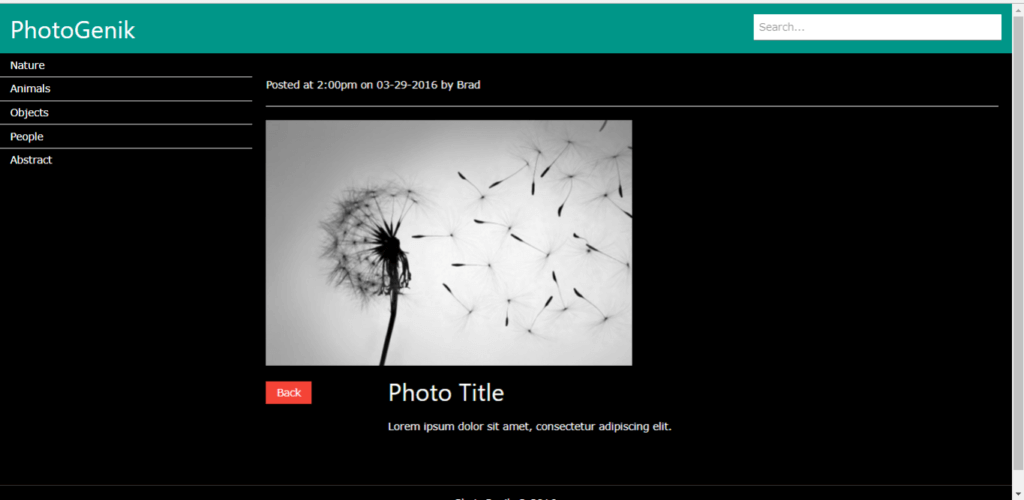
Display Single Image With image Name –
Step 8) Clicking on any image, it will display the single image with the Image Title Name on a single page. You can press the Back button to go to the image gallery.
In this section we learn a few things including how to create an Image Gallery, as well as the image details field. We then learnt how to create the settings API, and how to set the images’ custom size. Finally, we also covered how to display a single image with image title name
I hope this has been helpful for you guys in understanding how to create an image gallery in WordPress.

