

While deploying production environments practitioners are faced with the challenge of code breaking. Developers invest long periods of time in code development and they are later required to patch their applications in every release. Operation teams ensure they have followed all deployment requirements only to realize there are shortcomings in their deployment. Among executive management, there is frustration from spending resources without achieving desired results. With AWS Puppet you are able to control and maintain consistency while at the same time making any changes the business environment requires.
To mitigate the challenges highlighted above configuration management tools were developed. There are several configuration management tools but this tutorial will focus on Puppet. A list of configuration management tools is available here https://en.wikipedia.org/wiki/Comparison_of_open-source_configuration_management_software. A configuration management tool enables automated inspection, delivery and software operation irrespective of deployment environment. Due to platform independence the same configuration will work in the cloud or in the data center. Puppet is available as an enterprise product and an open source product.
Puppet can be set up in a client-master architecture consisting of a master and agent applications or in a standalone architecture consisting of apply application. In a client-server architecture the agent application runs as a background application on managed nodes and the master application runs on server(s). In agent-master architecture configuration information is managed by master server and each managed node receives configuration information from the master. In stand-alone architecture every node has its own configuration information.
There are several tradeoffs between stand-alone and client-master architecture. In the absence of a clear justification on which architecture to use it is preferable to use master-agent. The first trade-off is around privileges. In agent-master each node receives only its configuration information and it has no knowledge of configuration information of other nodes. In standalone mode each node has complete configuration information. These differences are likely to lead to horizontal privilege escalation. The second trade-off is around centralization.
In a master-agent architecture default behavior is the master receives reports from agents and these can be pushed to other services or to PuppetDB from where they can be queried. In standalone mode configuration and authorization are required to push reports to other services and to PuppetDB. The third tradeoff is configuration updating. In a master-agent architecture configurations are only required on the master servers but in the standalone mode configuration changes have to be applied on all nodes. The fourth tradeoff is when using master servers the servers require high compute resources. Among those who cannot afford the resources standalone mode is preferable. The fifth tradeoff is masters and agents require a reliable communication network and when this is not available the standalone set up is a feasible option.
To follow along this tutorial you need an AWS account and basic knowledge of AWS cloud. There are three key AWS components required to set up Puppet. An Amazon Virtual Private cloud (VPC) enables you to create a private and separate section of AWS cloud from where you can run your services. A VPC enables you to customize IP addresses, subnets, routing tables and network gateways. Amazon Elastic Compute Cloud (Amazon EC2) enables you to create virtual machines running your preferred operating system. Virtual machines can be launched from available images or you can use your custom images. Amazon Route 53 provides a domain name service (DNS) that is scalable. This service reliably and cost effectively routes traffic through host name to IP address translation.
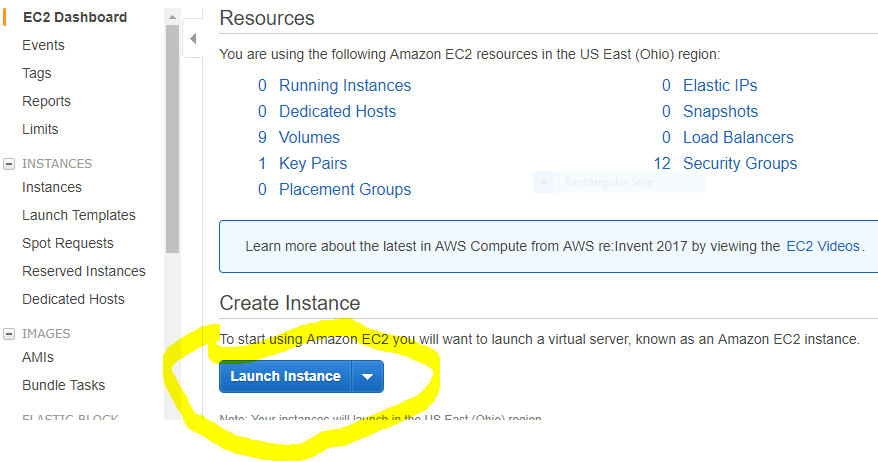
To demonstrate setting up a master-agent architecture we will use 3 ubuntu EC2 instances. One instance will be the master and two other instances will be nodes. Login to your EC2 console and click on launch instance.
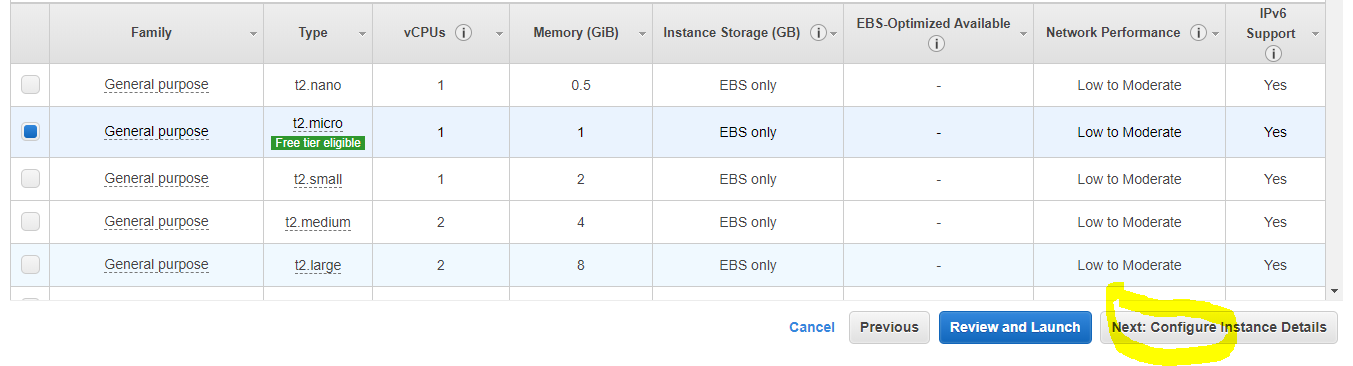
Identify an appropriate image and select it

Click on next to configure instance details
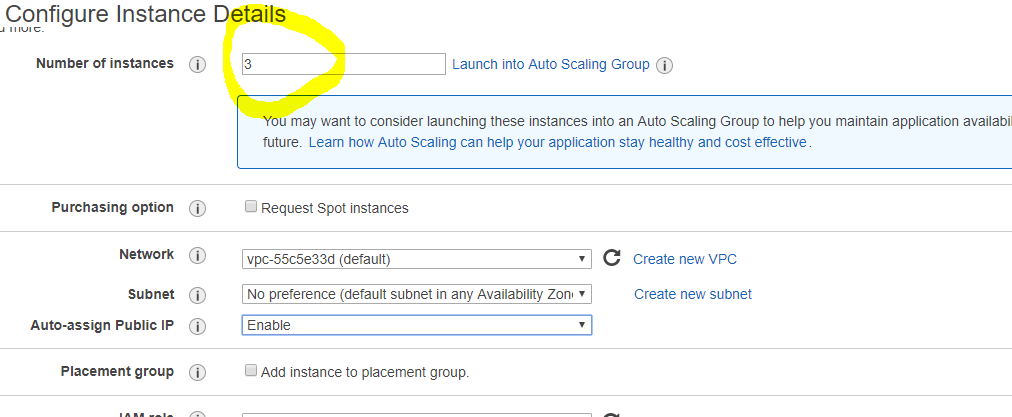
Specify the number of instances and ensure Auto-assign Public IP is set to enable to allow reachability from the public internet.
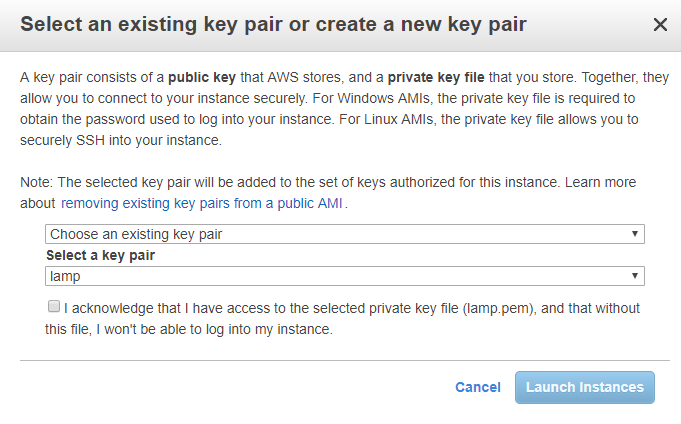
When launching your instances you will be prompted to create a new key or select an existing key.
We rename our instances as puppet master, puppet node 1 and puppet node 2.

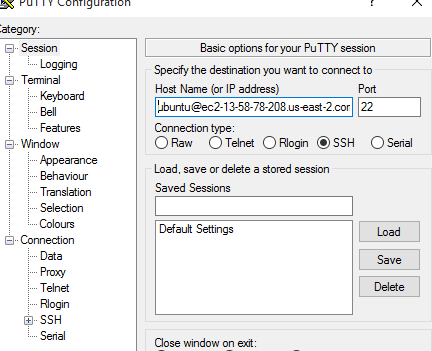
We need to use an SSH client to connect to our puppet master. On Windows this is accomplished using PuTTY. Details on downloading and installing PuTTY are available here https://www.putty.org/.
Grab the public DNS of the instance as shown in the image below

To connect using PuTTY we need to specify a user name, public DNS and key we downloaded earlier. The user name for Ubuntu instances is ubuntu and for other instances you need to check correct user name here https://docs.aws.amazon.com/AWSEC2/latest/UserGuide/AccessingInstancesLinux.html. An example of specifying host name is shown below
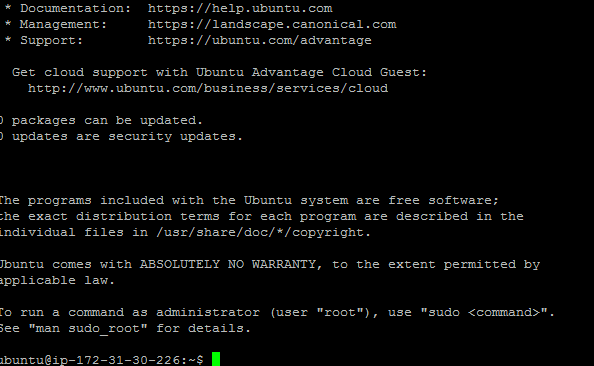
After a successful connection a terminal will be available that we will use to interact with our instance.
Before we can install Puppet there are several pre-requisites needed. To update the system we use the command sudo apt-get update
To set a hostname we use the command sudo hostnamectl set-hostname puppet_master
We need to include private IP adresses and FQDN of all participating nodes in /etc/hosts file. Open the file using the command sudo vi /etc/hosts and add them in format below
172.31.30.226 ip-172-31-30-226.us-east-2.compute.internal puppet_master
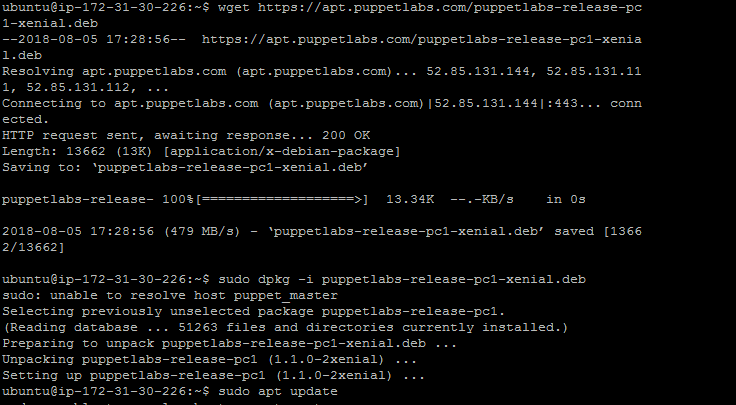
To install puppet master use the commands below
wget https://apt.puppetlabs.com/puppetlabs-release-pc1-xenial.deb
sudo dpkg -i puppetlabs-release-pc1-xenial.deb
sudo apt update
The puppetmaster-passenger package is installed using the command sudo apt install puppetmaster-passenger
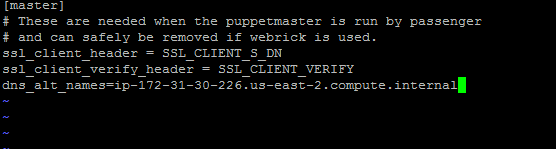
We need to configure Puppet by adding the correct FQDN. Open the configuration file using the command sudo vi /etc/puppet/puppet.conf
The Puppet master is started using the command sudo systemctl start puppetmaster
We need to install agent on each node. Connect to puppet node 1 using SSH and issue the commands below
sudo apt-get update
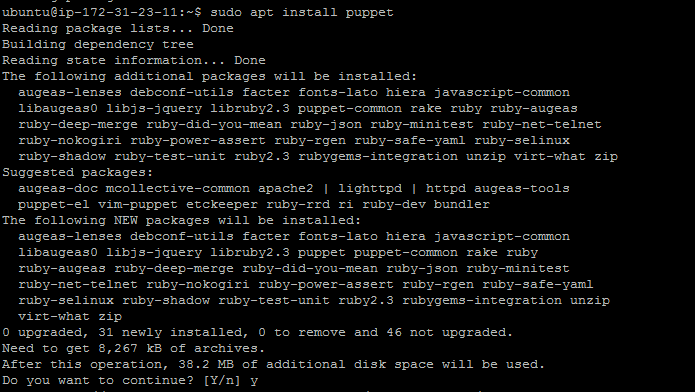
sudo apt install puppet
We need to add the master private IP address and host name to /etc/hosts file. We also need to edit configuration file and add master FQDN to configuration file. Open the file using the command sudo vi sudo vi /etc/puppet/puppet.conf

The previous two steps need to be done on all agent nodes.
This tutorial the challenges configuration management tools solve. The two architectures in which Puppet can be set up were discussed. The three AWS key components required to deploy Puppet were discussed. We demonstrated how to provision Ubuntu instances, install and configure master and agents.

