

Vagrant provides a wide range of features built over many years based on actual needs of users. Although Vagrant was designed for general purposes, it allows a plugin interface that allows developers to modify it for specialized needs. Currently there is no comprehensive list of Vagrant plugins, therefore you need to use your preferred search engine to look for plugins that can meet your needs. When existing plugins cannot adequately meet your needs you can proceed to develop your plugin. In this article, we will focus on demonstrating development and management of plugins.
Many of the features available in Vagrant are extensible through plugins. Features that can be extended have been carefully chosen for clarity of capability of plugins and to ensure efficiency in managing compatibility with future Vagrant versions.
Below are some examples of how plugins can be used to extend Vagrant features:
• Plugins can be used to extend commands available to vagrant. For instance, you can develop a plugin that instructs vagrant ip to return the IP of the server where Vagrant is running.
• Plugins can be used to extend the Vagrantfile with new configurations. This is done together with another plugin to enable end user customizations.
• When you don’t want to use the available provisioners, you can develop a plugin to implement your provisioner. This way you can use other provisioners besides Chef and Puppet or develop a custom provisioner.
• Plugins can be used to include new functionality or modify existing functionality that manipulates virtual machine behaviour for example vagrant up.
• Plugins can be used to add Vagrant functionality at the host or guest level.
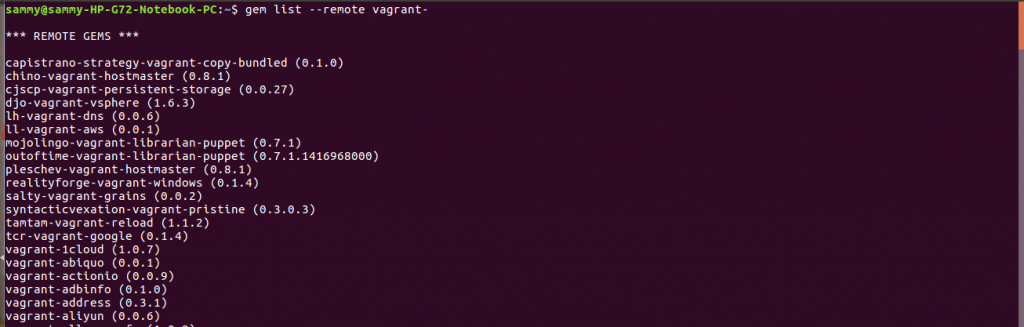
To list plugins that are available on Github, we use this command gem list –remote vagrant- . You can then browse through the list looking for a plugin that can meet your needs.
The vagrant plugin command provides functionality to install, uninstall and return plugin list. You just need to pass the name of the plugin to the command as shown in the example below. You can also specify the location of the plugin file instead of the plugin name.
vagrant plugin install vagrant-address

To check plugins that have been installed, use this command vagrant plugin list
An example of uninstalling a plugin is shown below:
vagrant plugin uninstall vagrant-address

When you specify the plugin name during installation, the plugin is fetched from the official Rubygem repository.
To write a plugin, you need a good understanding of Ruby and Rubygems. Every plugin requires a definition that holds plugin information including its name and the components it has. When loading a plugin, Vagrant will begin by checking the definition and it is the only requirement at load. Definitions insulate plugins against any large internal changes that happen to Vagrant. Because a plugin will always be loaded a notification can then be pushed to the user informing them the plugin is outdated instead of a crash happening. An example of a plugin definition is shown below.
class MyPlugin < Vagrant.plugin("2")
name "New Command"
end
The plugin defined above is a Ruby class inherited from Vagrant.plugin(“2”). The number 2 refers to the major Vagrant version that is compatible with the plugin. This is an important detail when defining your plugin because API stability is only good in major versions. For a plugin to be loaded, the definition at least must have the name otherwise the plugin will not be loaded.
If a plugin needs to provide information on any components, it will be included in Vagrant. This information is included in the plugin definition. Vagrant relies on this information to load components at the right time they are needed. This information also exposes plugin functionality which can then be provided to users.
To demonstrate components, consider the example shown below which defines a provisioner and a command.
class MyPlugin < Vagrant.plugin("2")
	name "Helloworld"
	command "greet-the-world" do
		require_relative "command"
		Command
	end
	provisioner "custom-provisioner" do
		require_relative "provisioner"
		Provisioner
	end
end
To define a method, you call a method and the type of component you would like to define. You pass the required parameters to the call. Each component has a Ruby block call argument that is required to return the implementation class.
One area where Vagrant has really excelled is in error handling. The philosophy in Vagrant is if a user is shown a stack trace, then it is a bug irrespective of whether it resulted from a user error or otherwise. This philosophy needs to be followed in plugins. By using Vagrant error handling, which happens through Ruby exception,s informative messages will be displayed when an error happens. An example of an exception definition is shown below.
class MissingDependency < Vagrant::Errors::VagrantError
	error_message("A required dependency is missing!")
end
In another part of our code, we can then raise the exceptions:
raise MissingDependency
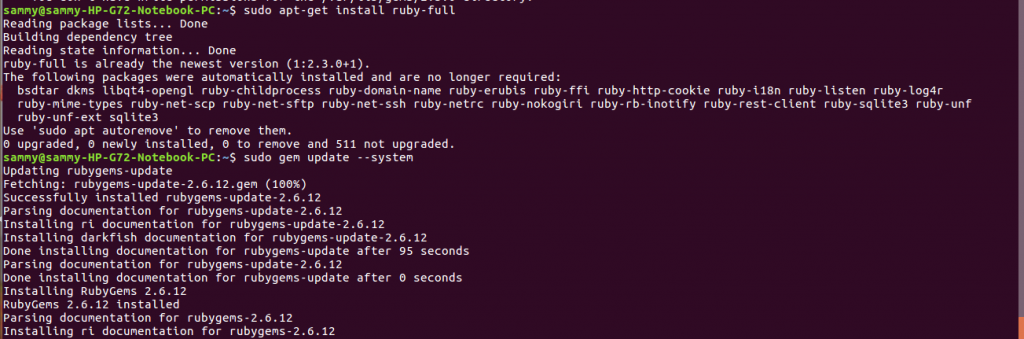
To set up a ruby development environment, you need to install Ruby and RubyGems which provides package management. The commands below will install them. Ensure you have a Ruby version higher than 1.9.3.
sudo apt-get install ruby-full
ruby -version
sudo gem update --system
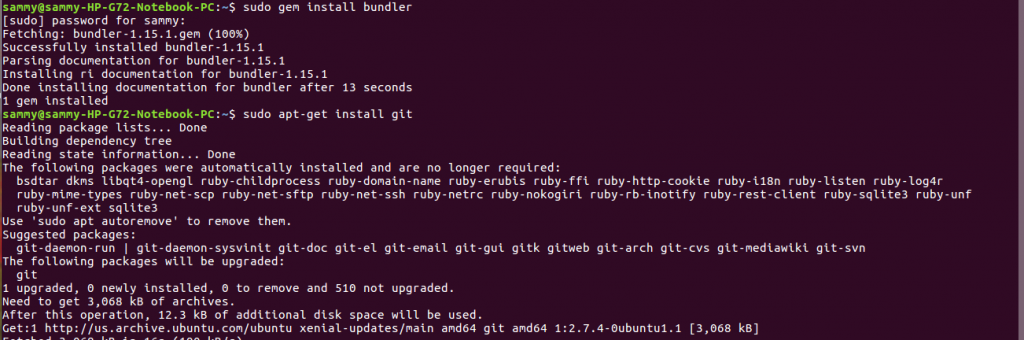
You also need to install a bundler and Git. Bundler will ensure the right Vagrant version and plugin dependencies are set up properly. Git is not required to build plugins, we are only installing it because it is a bundler dependency.
sudo gem install bundler
sudo apt-get install git
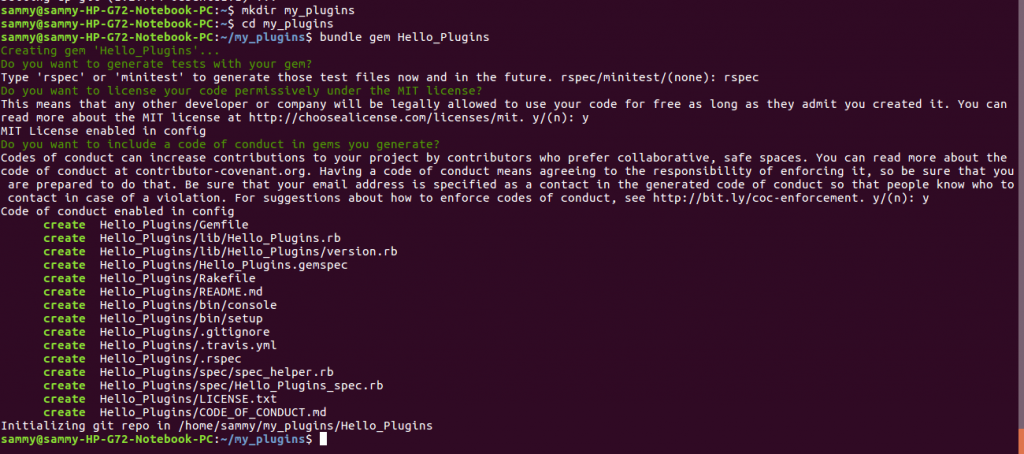
This is because the same approach that is used to create RubyGems is used in developing plugins, and we can rely on the bundler to create the file structure.
mkdir my_plugins
cd my_plugins
bundle gem Hello_Plugins
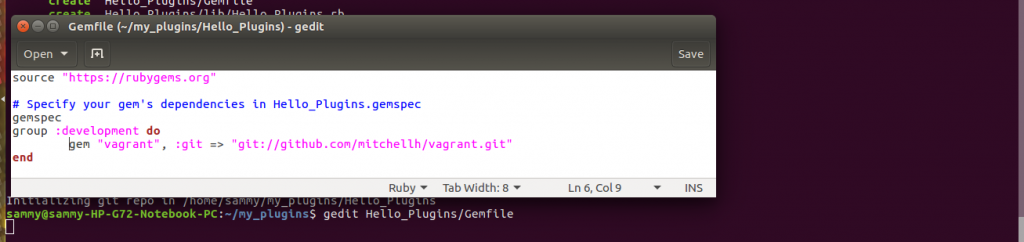
Edit your Gemfile and add the content shown in the screenshot below:
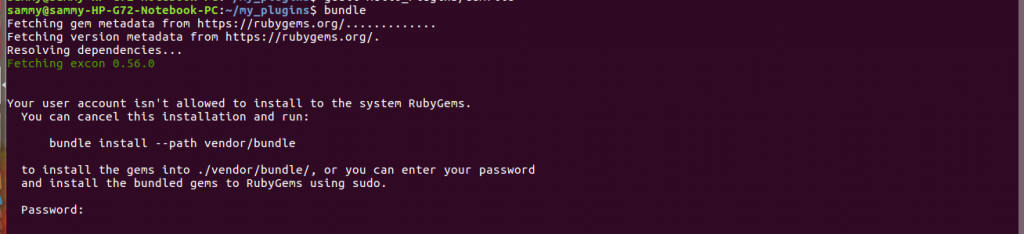
To include all the required dependencies use the command bundle.
Our plugin is complete and we can use the Vagrantfile shown below to test it.
Vagrant.require_plugin "Hello_Plugins"
Vagrant::Config.run do |config|
config.vm.box = "precise64"
end
The above Vagrantfile will load our plugin and enable us test components that we add to Vagrant.
In this article, we introduced Vagrant plugins and discussed some of the ways we can use plugins. We demonstrated how to browse, install and uninstall plugins. We demonstrated how to define plugins, handle errors, package dependencies and test plugins.

