

Deleting User Accounts
If a user has left the firm, so why to keep his/her account any longer? As a security rule: when an employee is no longer authorized to use or access the system (whatever the reason is: resignation, firing, or transfer), the access credentials for this employee should be removed. For this reason, there should be a way to delete a user account. In this section, we will learn how to do it using both methods: GUI and using shell commands.
Deleting User using the User Manager
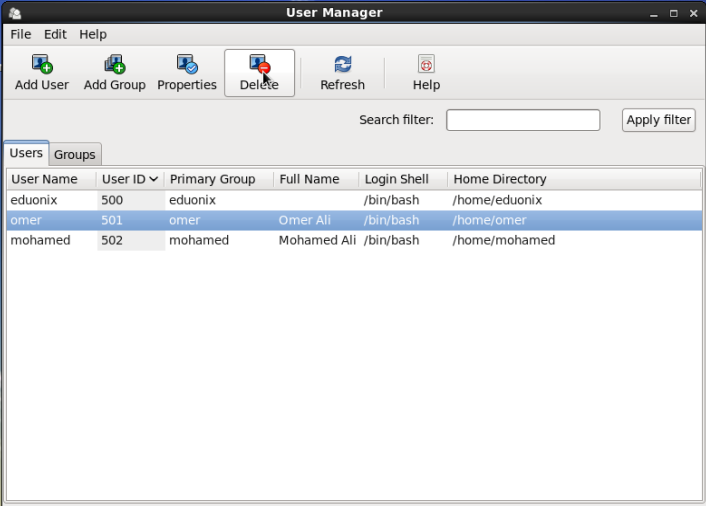
In the User Manager window, select the user you want to remove, and click the Delete button in the toolbar.
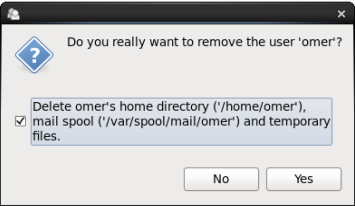
When asked, click Yes to confirm user deletion.
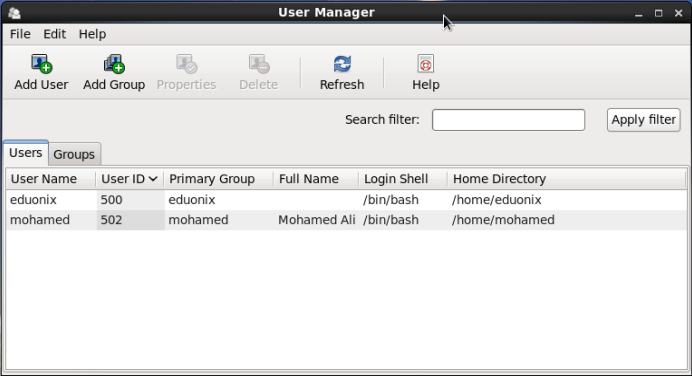
The user is deleted.
Using the userdel Command
Syntax
userdel [OPTIONs] USERNAME
Example
To delete the user karim, and delete its home directory:

Understanding Groups
The definition from Red Hat:
“A group is an organization unit tying users together for a common purpose, which can be reading permissions, writing permission, or executing permission for files owned by that group.”
A Red Hat Linux group has:
- A unique name.
- A unique group ID GID.
- A list of members, users which are members of this group.
Displaying Existing Groups
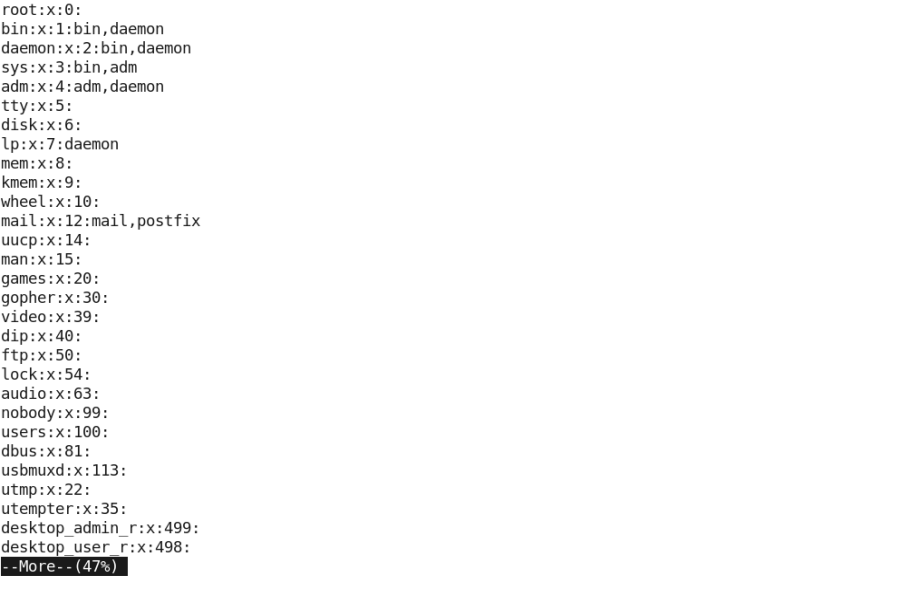
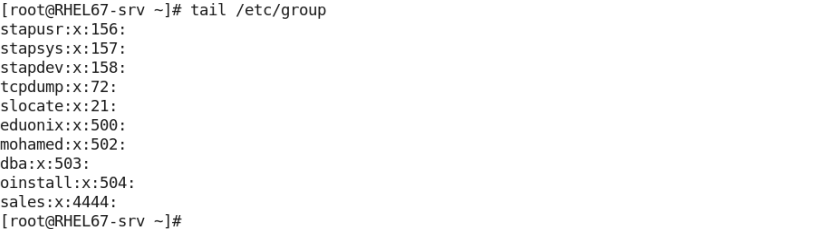
To view the existing groups, simply display the contents of the /etc/groups file:
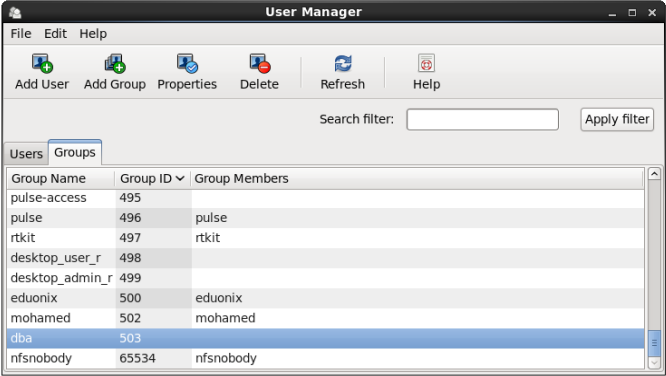
Or, using the User Manager tool:
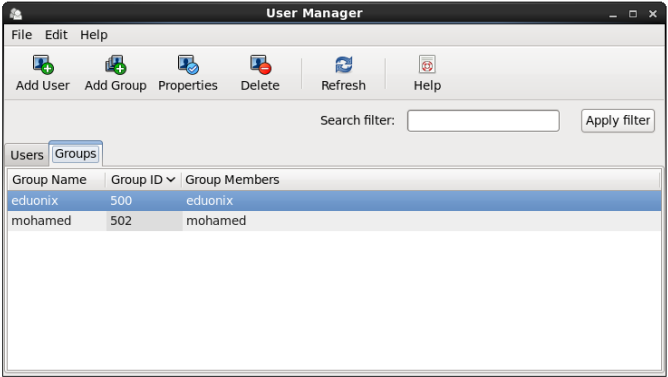
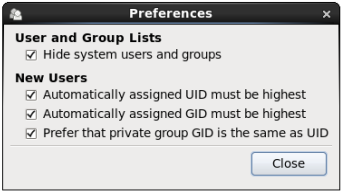
As you remember, the User Manager by default hides the built-in system users and groups. That is why you see only two groups. To display all groups including system groups, from the Edit menu click Preferences. In the Preferences dialog box, uncheck the Hide system users and groups check box.
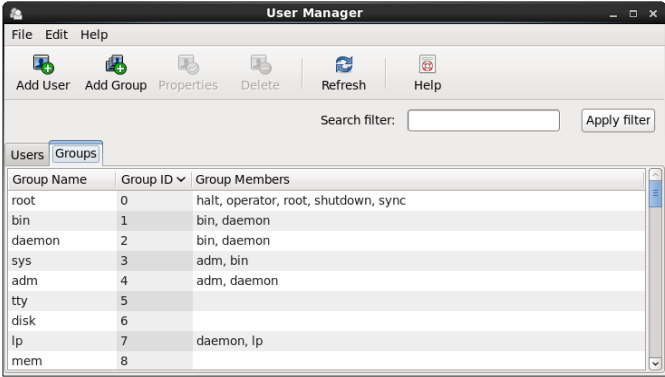
Now, all groups are displayed:
Creating New Group
Again, you have the choice either to do the job using the graphical tool, or from the command-line shell.
Using the User Manager
In the User Manager window, click the Add Group button in the toolbar. In the Add New Group dialog, type the group name, and click OK:
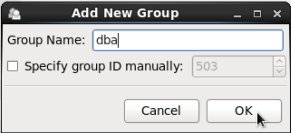
The group is created and assigned a GID of 503.
Using the groupadd Command
To create a new group, use the groupadd command.
Syntax
In its simplest form, the groupadd command requires only the group name as an argument:
groupadd GROUPNAME
Example
To create the oinstall group (usually required for Oracle installation):
![]()
Manual Assignment of GID
To assign the GID for the new group manually, check the Specify group ID manually check box and type the GID in the textbox:
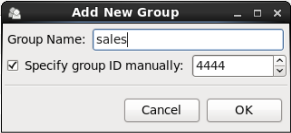
Or, use the –g option of the groupadd command:
groupadd –g 4444 sales
Either methods will assign the GID manually:
Modifying Groups
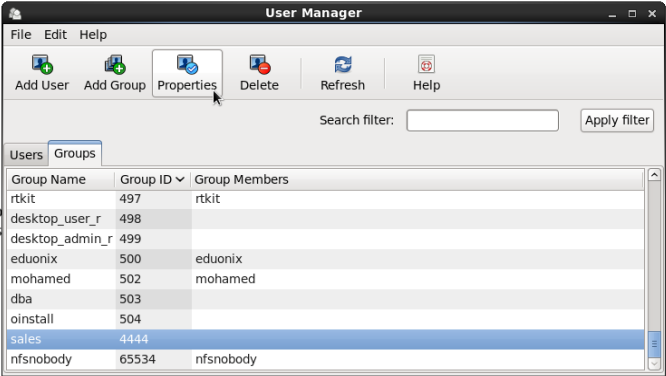
To modify an existing group using the User Manager tool, select the group to edit, and click the Properties button in the toolbar:
In the Group Properties dialog, you can modify the group name and the users’ membership in this group:
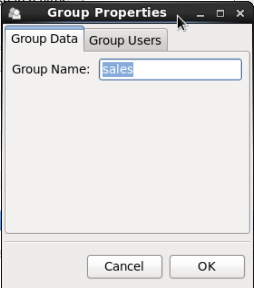
Change the group name if you want, and click OK.
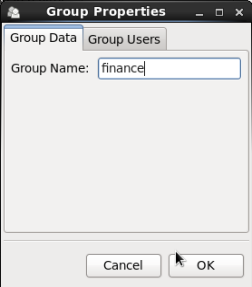
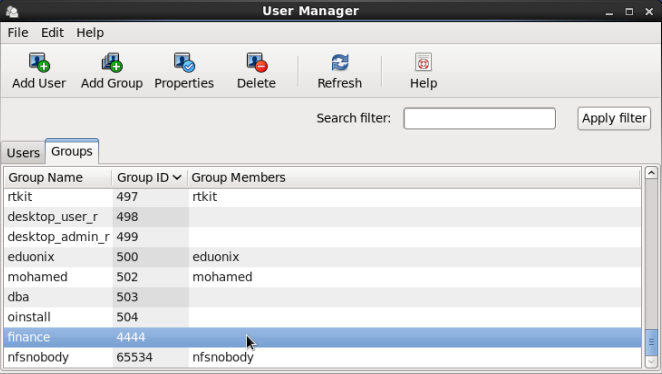
This should be reflected immediately in the group list:
Using the groupmod Command
The groupmod command is used to modify group properties.
Syntax
groupmod [OPTIONs] GROUPNAME
To change the group name:
groupmod -n NEWNAME OLDNAME
To change the group ID:
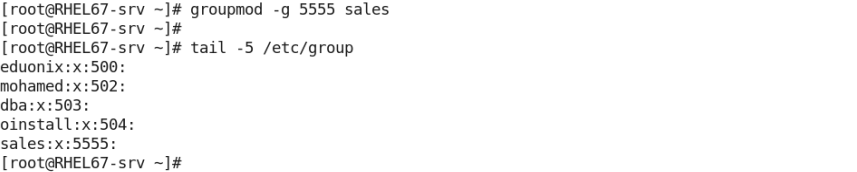
groupmod –g GID GROUPNAME
Examples
- To change the name of the finance group back to sales:

- To change the group ID of the sales group from 4444 to 5555:
Adding Users to a Group
From the User Manager, open the properties window for the group you want to add users in. Select the Group Users tab.

In this tab, you should see the list of users existing in the system. From this list select user(s) that need to be members of this group.
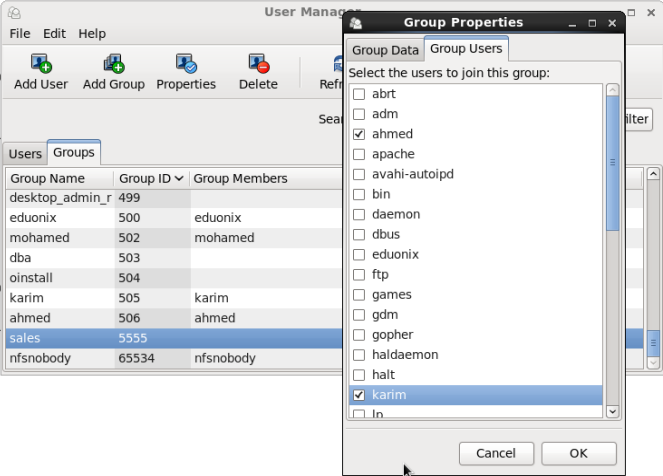
When finished, click OK.
Now, these users are now member of the sales group.
Summary
- When a user account is longer needed, delete it.
- To delete a user account, use the userdel command.
- A group is an organizational unit tying users together for a common purpose.
- To add a new group, use the groupadd command.
- To modify the properties of a group, use the groupmod command.
In the next article, we will continue with Groups. See you.

