In this tutorial,we will try to create a simple blog on ROR and then deploy it on Heroku.
- To get started with it follow the steps given below :
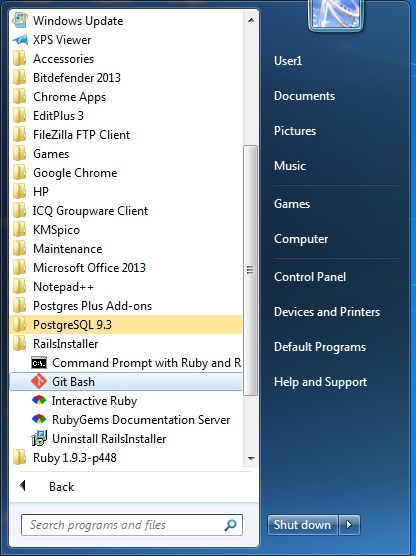
- Open the Git bash command prompt from : start->All Programs -> Rails Installer -> Git Bash
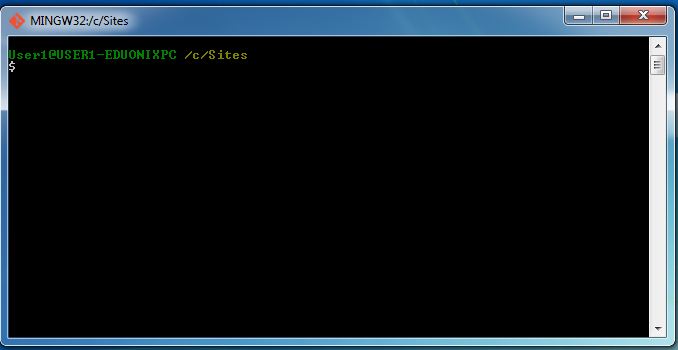
- The following window will get displayed.
- To create the new Project,type the command as
rails new myrubyblog
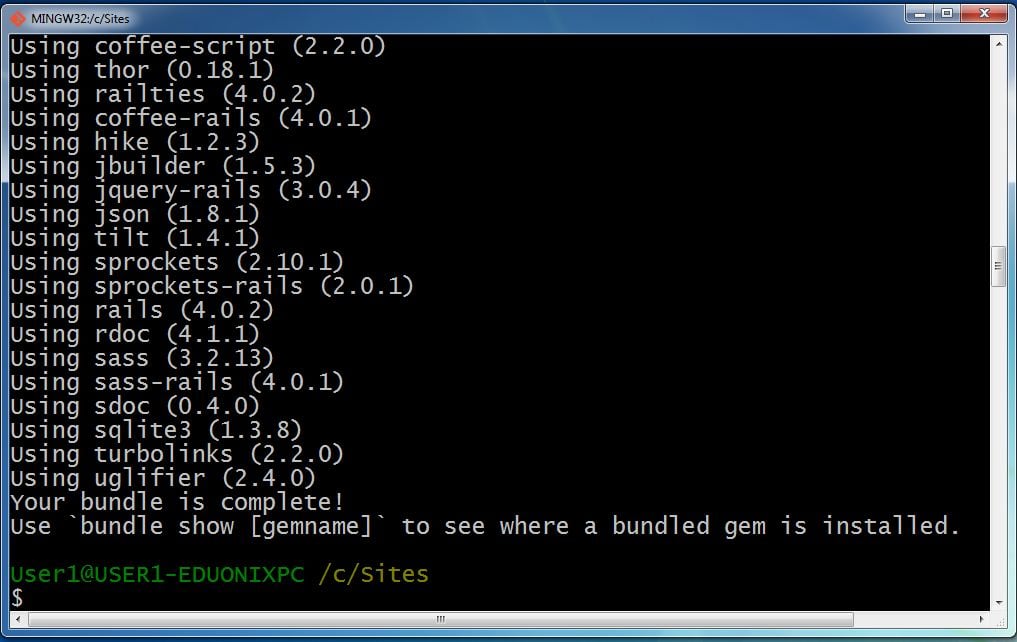
- The following Dialog Box will appear.
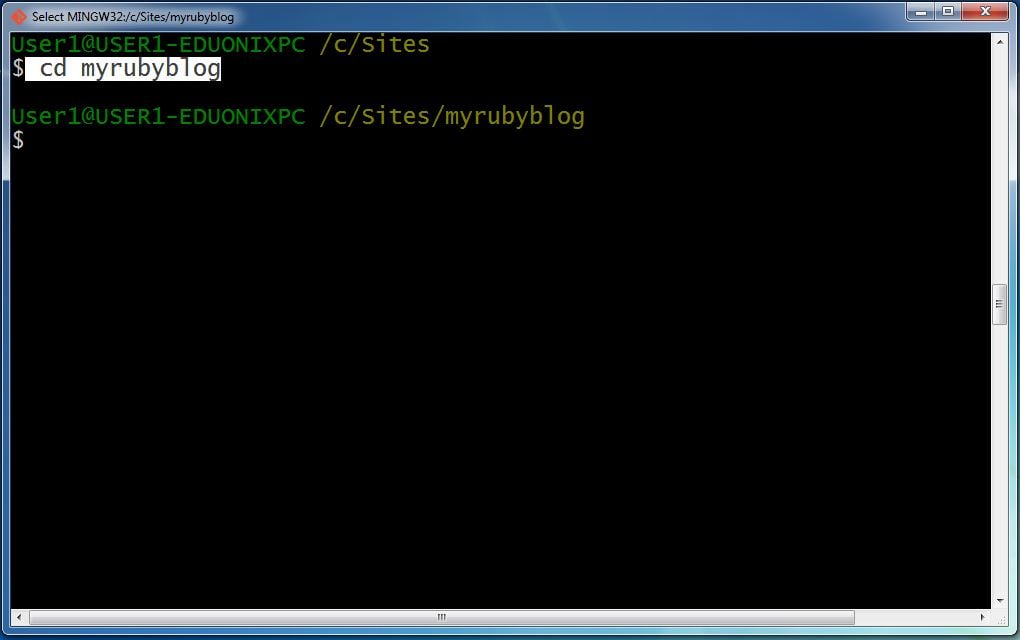
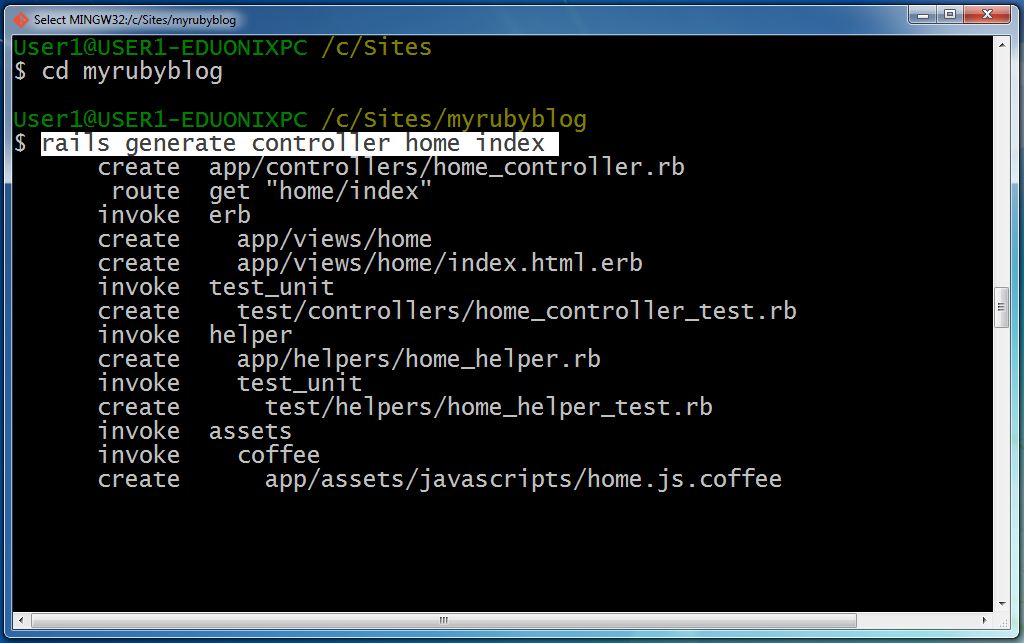
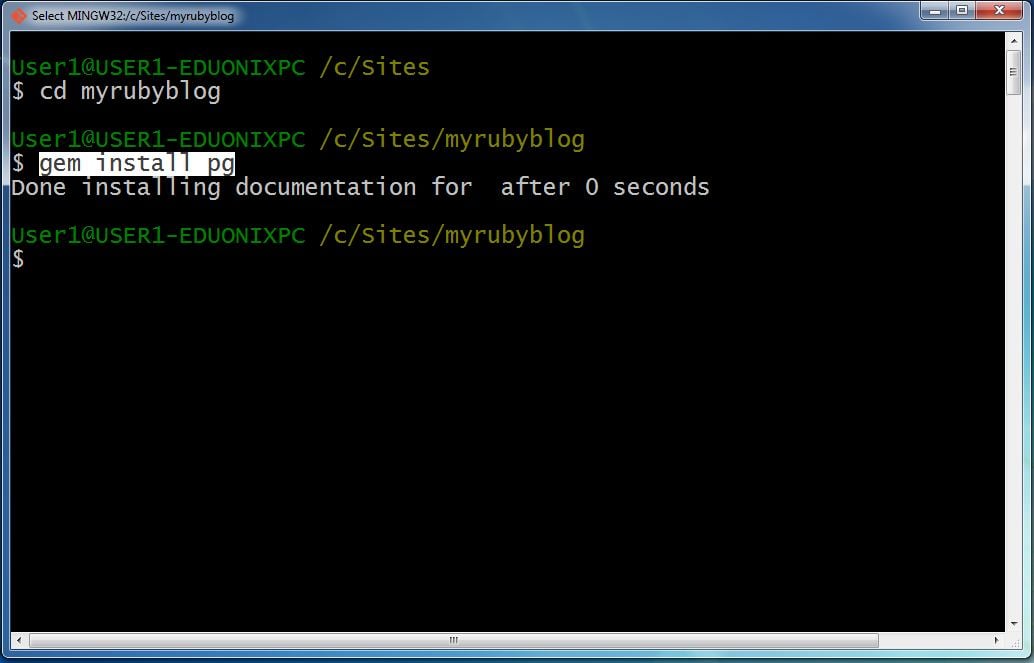
- After you create your first application switch to its folder by giving following command :
cd myrubyblog
- Now generate the controller and view for the project,so for that type command as :
rails generate controller home index
- For testing your view is running on the server follow the steps given below:
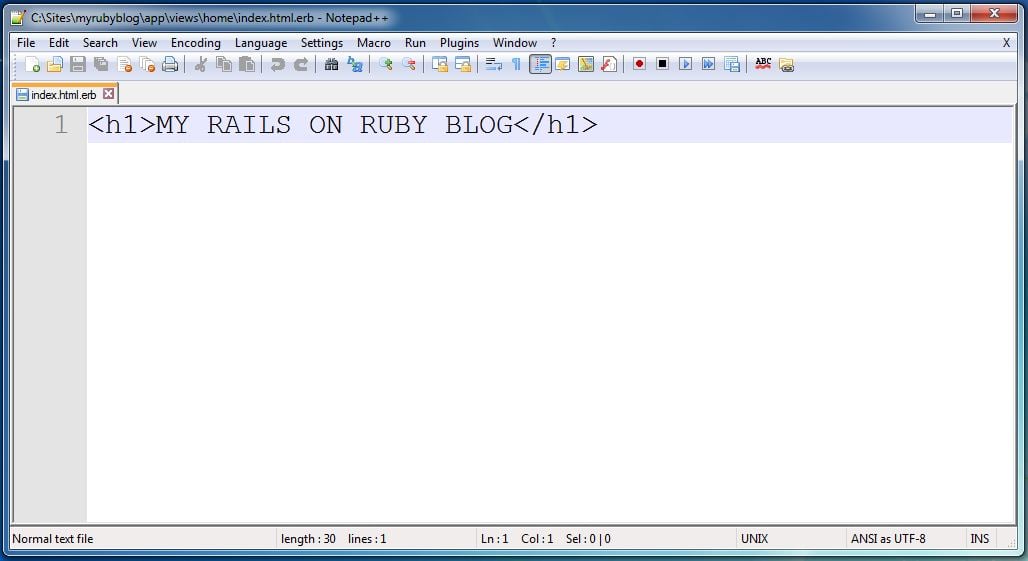
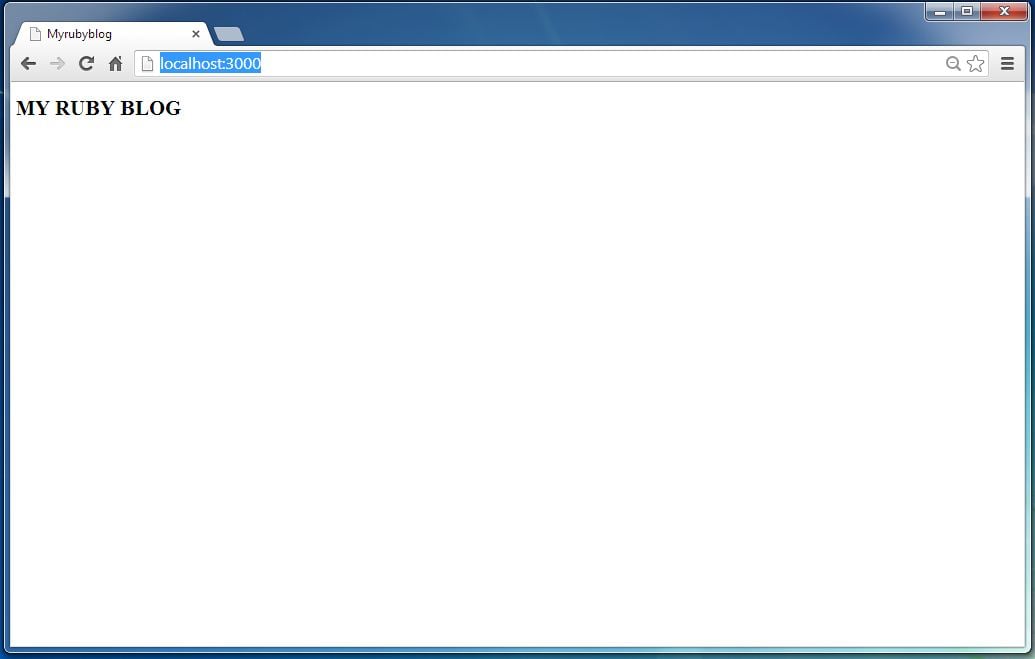
- Now open the app/views/home/index.html.erb file in your text editor. Delete all the existing code in the file, and replace it with the following single line of code .
<h1>MY RUBY BLOG</h1>
- Hence the window can be seen as follows :
- For setting the homepage for your application we have made the controller and view, we need to tell Rails when we want MY RUBY BLOG to show up. In our case, we want it to show up when we navigate to the root URL of our site, http://localhost:3000. At the moment, “Welcome Aboard” is occupying that spot.
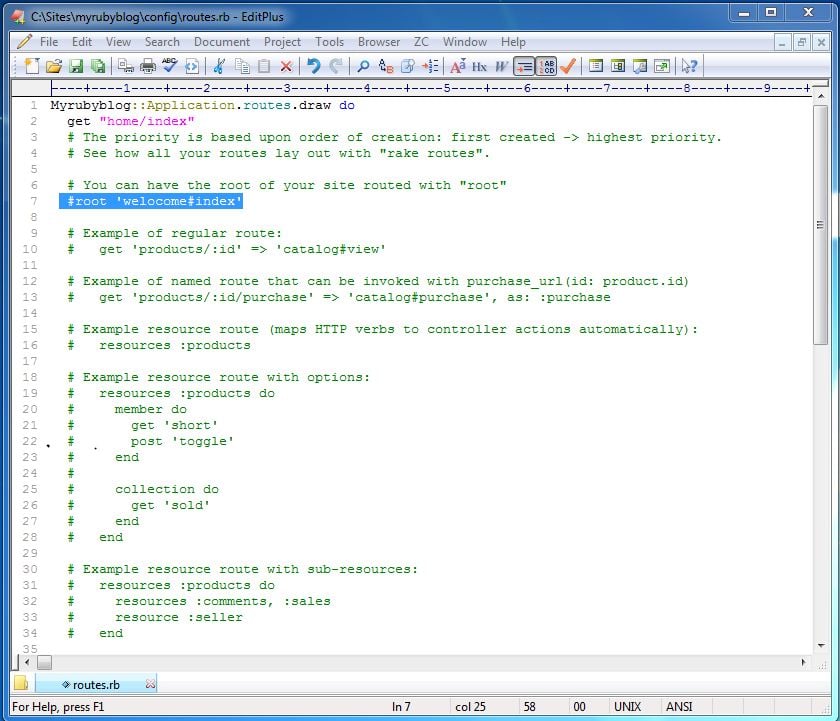
- Next, you have to tell Rails where your actual home page is located.
So open C:Sitesmyrubyblogconfigroutes.rb - As we can see in the above window the highlighted part which is # root ‘welcome#index’
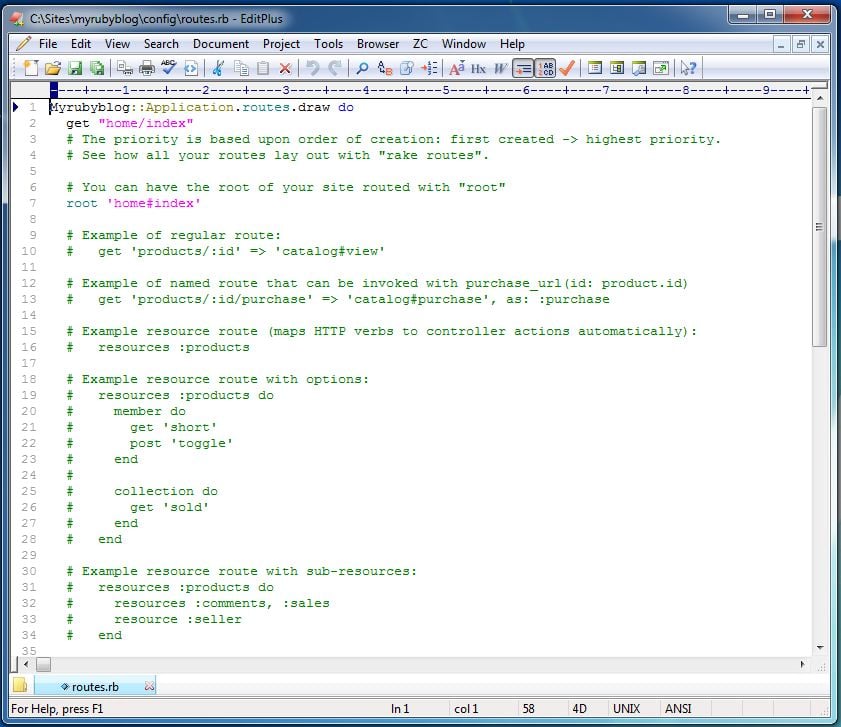
- So change it with root ‘home#index’ to show our view on the browser .
- If you now navigate to the http://localhost:3000/ you will see the following window
- Thus we have created our home page
- Now for configuring Our App to use the PostgreSQL follow the steps given below :
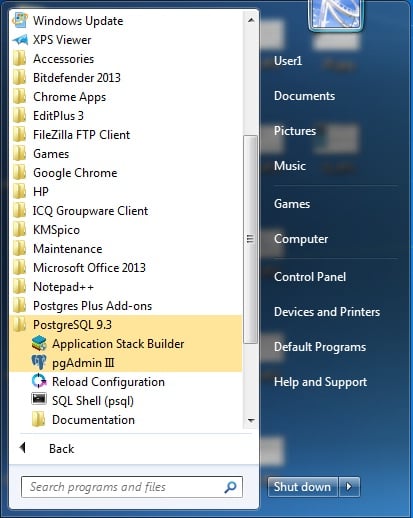
- Click on the start->All Programs->PostgreSQL 9.3->pgAdmin III.
Click on pgAdmin III. - After opening the pgAdmin III the following window will appear.
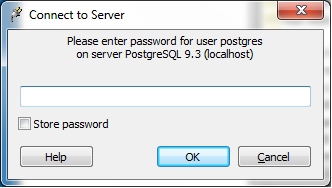
- In the above window go to the PostgreSQL 9.3 from the object browser and right click on it and then click on connect,following window will get displayed.
- Enter your PostgreSQL password and click on OK button.
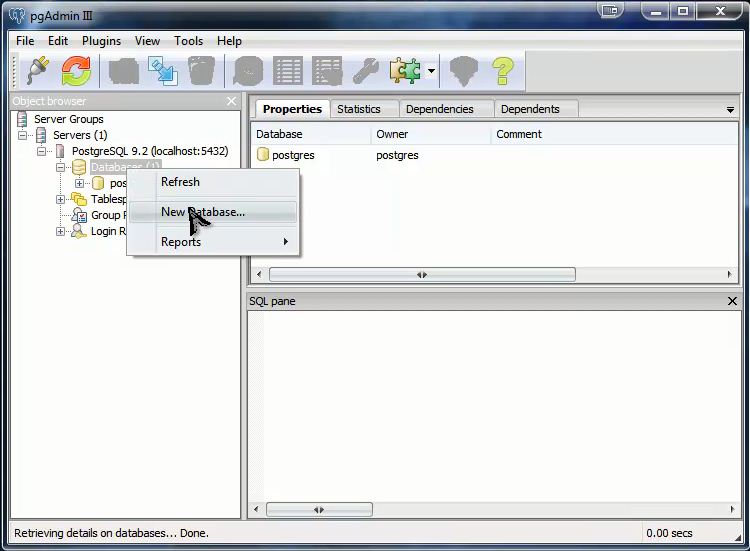
- As we can see in the window given below:
Right click on the data base.
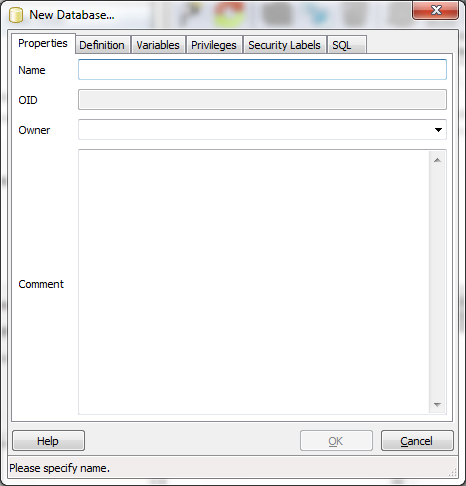
Then click on the New Database option - After clicking on the New Database option following window Will Appear.
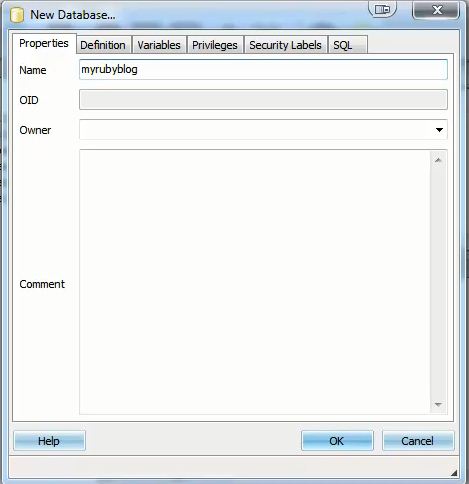
- Then type myrubyblog adjacent to the name as given below.Then click Ok button.
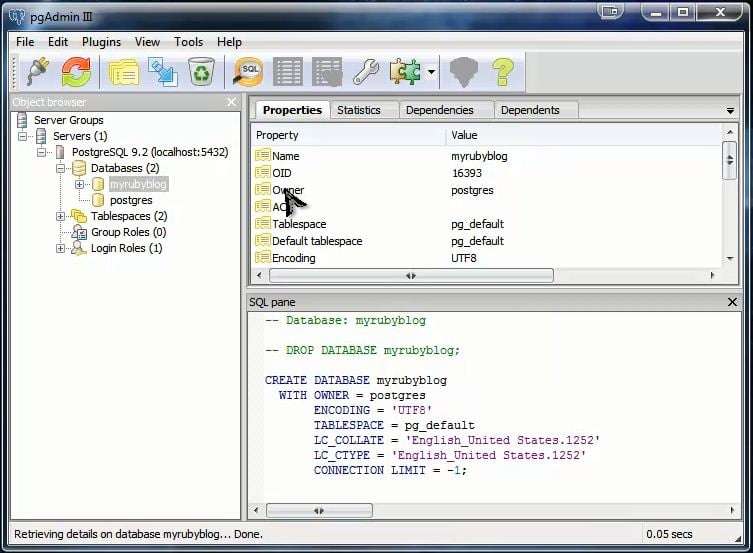
- This will create the database as we can see in the following window.
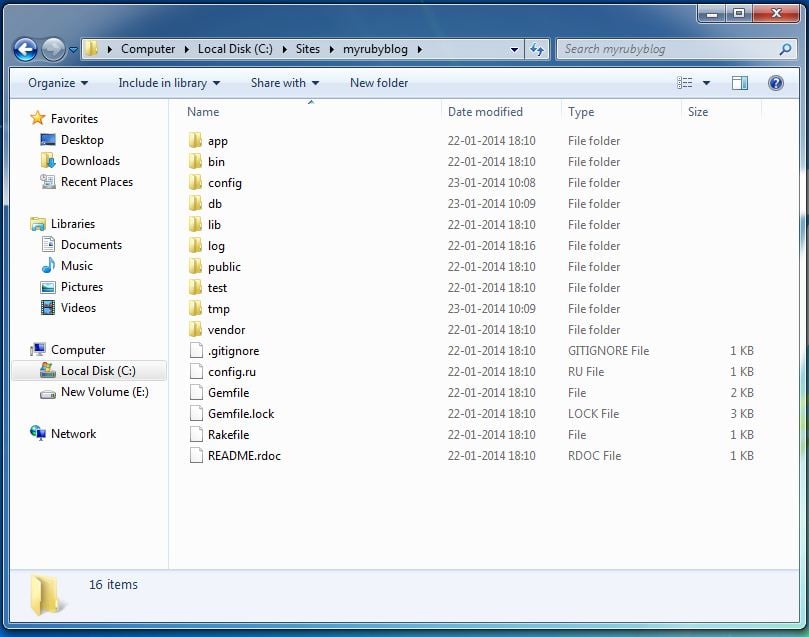
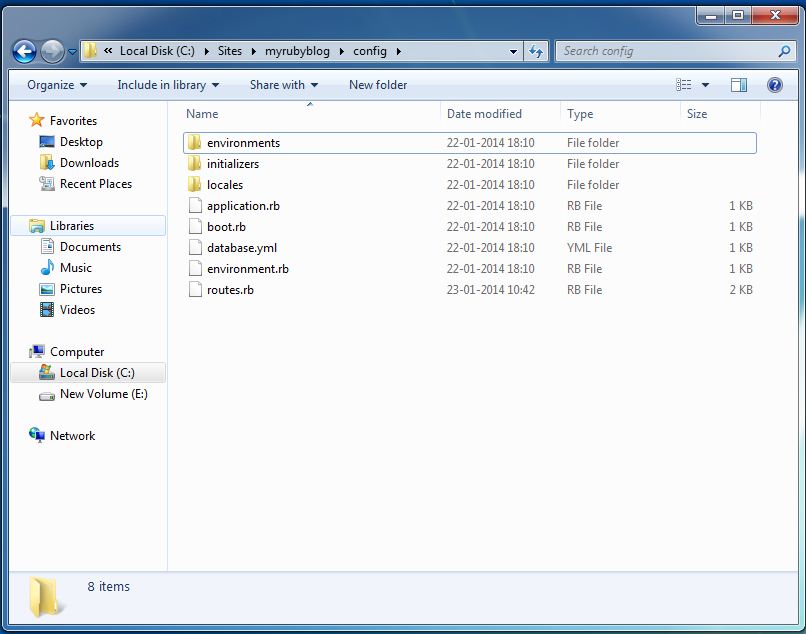
- Now Go to the file list of myrubyblog where it is saved on the system.
You can see the file list as follows: - Now navigate to myrubyblogconfig following window will appear.
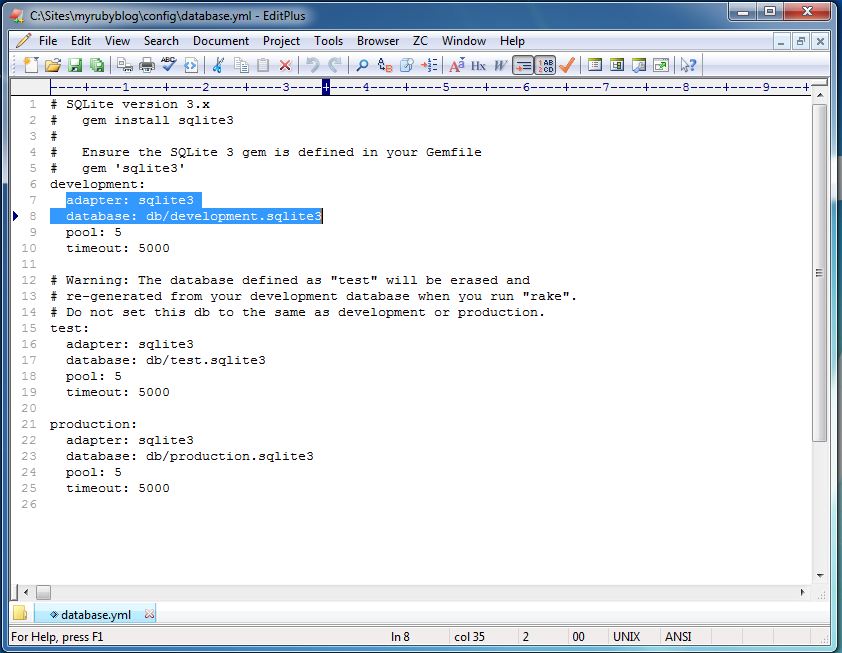
- Open the database.yml file in your text editor.It will look like as shown below:
- Replace the following code :
adapter: sqlite3
database : db/development.sqlite3
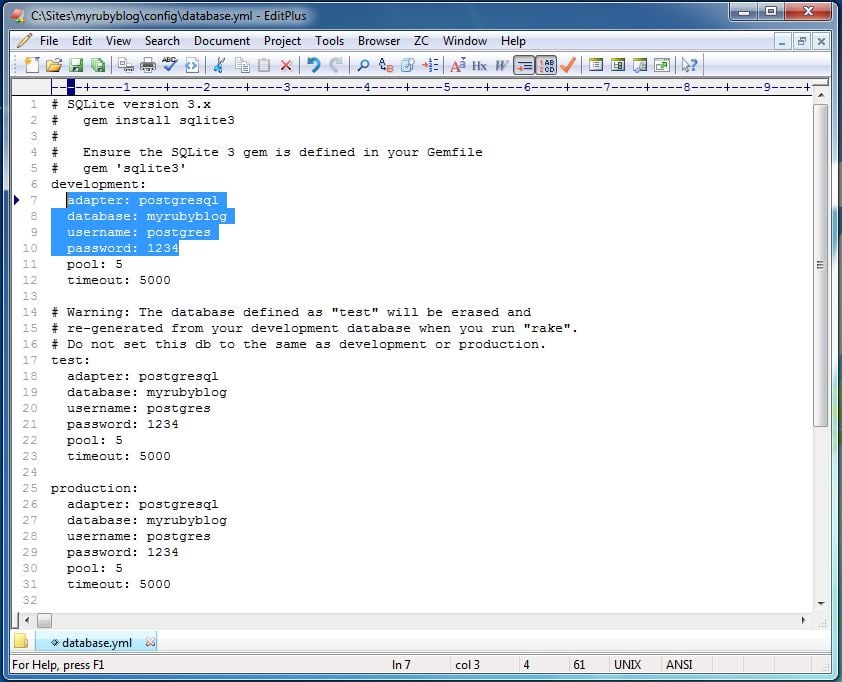
of development ,test and production module withadapter: postgresql database: myrubyblog username: postgres password: 1234
- Make sure to change with every module of development, test and production
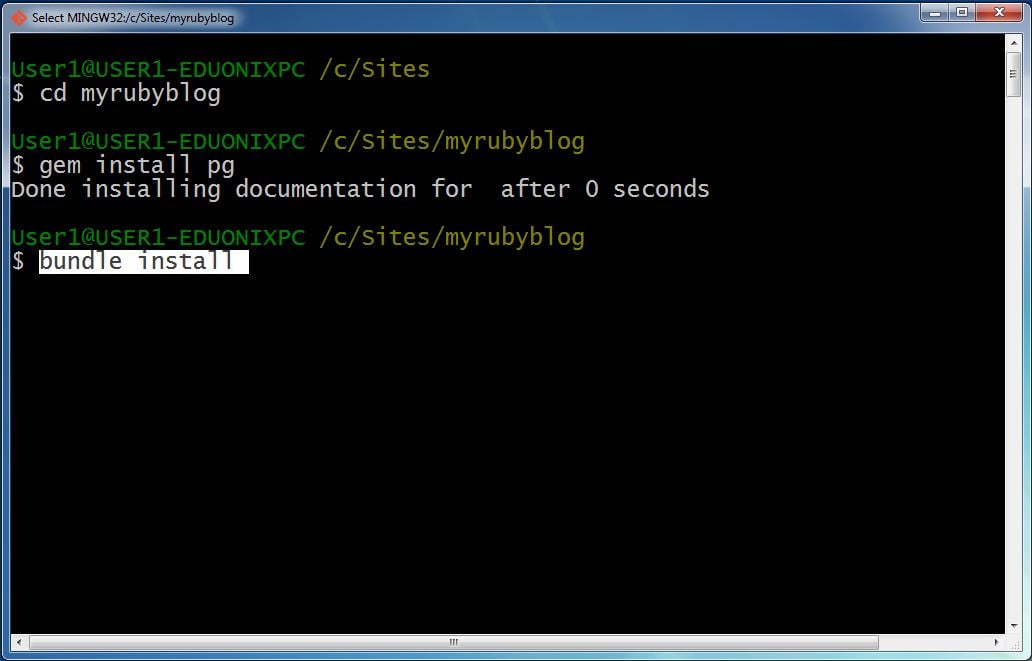
- Now install the gems for PostgreSQL, type command as..
gem install pg
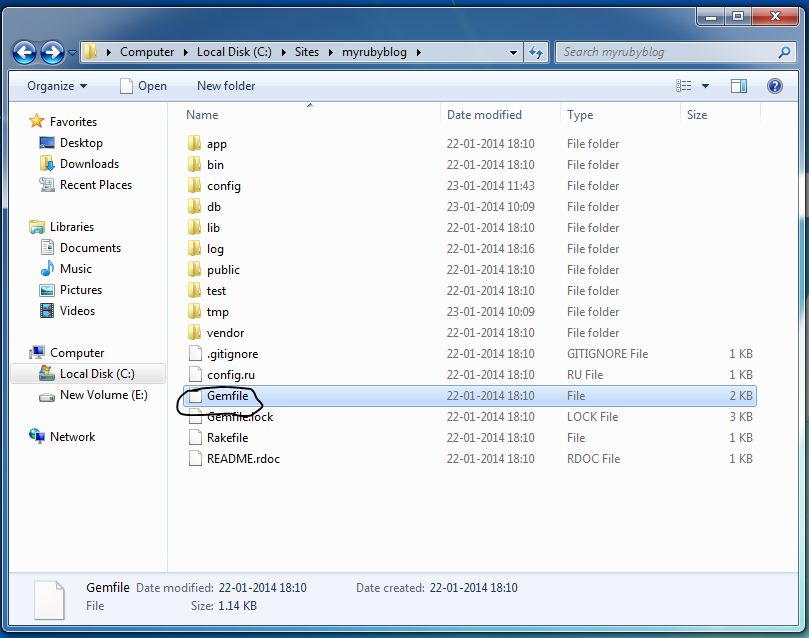
- Now open the Gemfile from your myrubyblog folder through the text editor. The file can be found as below
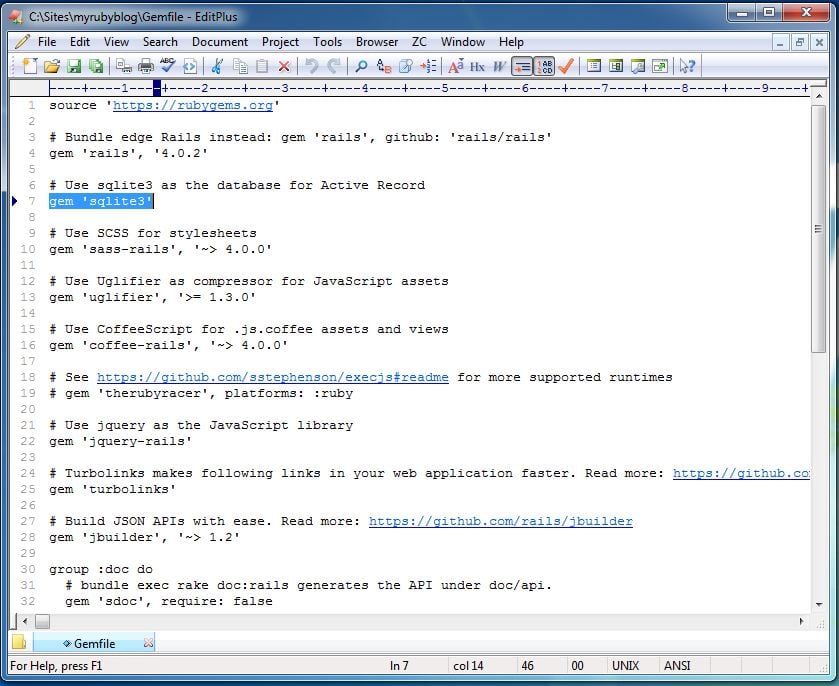
- Open the Gemfile with the text editor
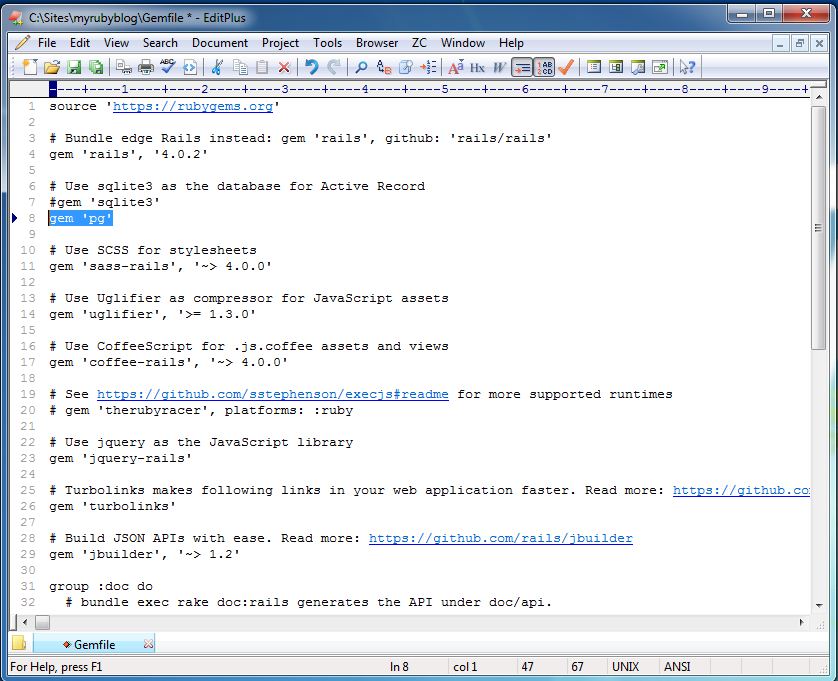
- Comment the highlighted code gem ‘sqlite3’ as shown in the image above and then write the new command as
gem ‘pg’
- For installing the bundle into your application follow the steps given below :
- Open the git bash command prompt and enter the following command.
bundle install
- Open the server and then keep running,to start the server type following command.
rails s
- Now open the command prompt GIT bash and switch it to your myrubyblog application,by typing the following command..
/c/Sites/myrubyblog
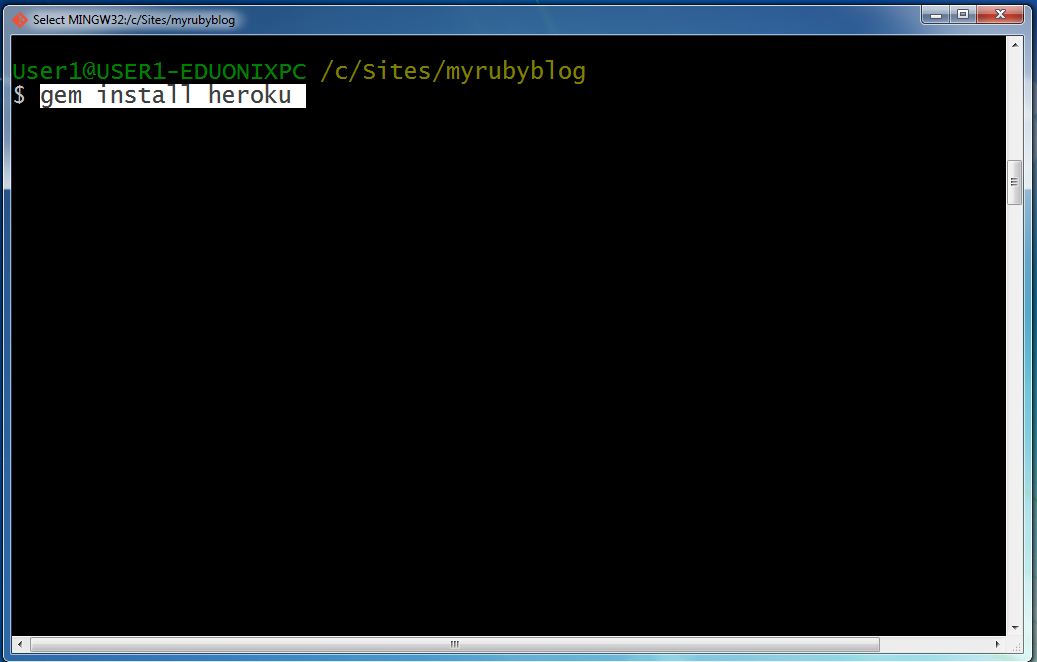
- Now install Heroku gem in your application by inserting following command
gem install heroku
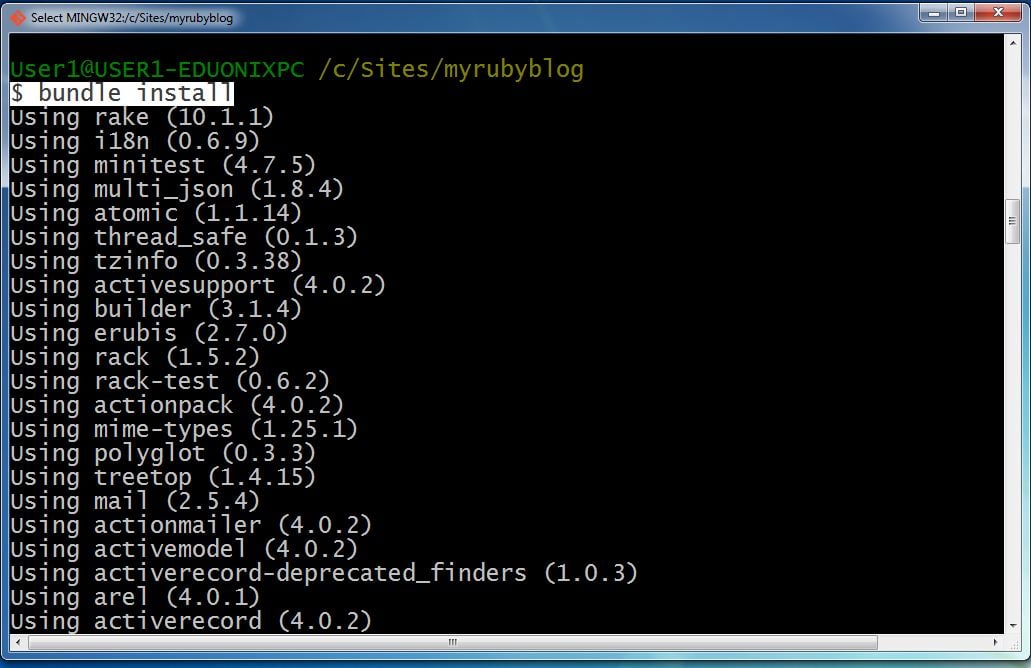
- Install the bundle by typing the following command.
bundle install
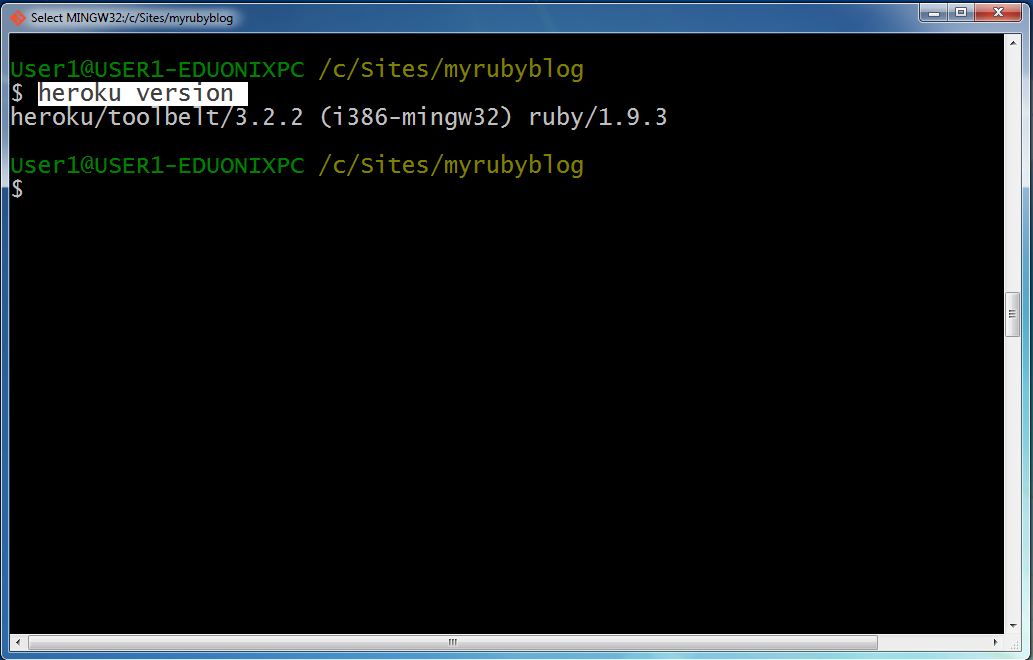
- To Check the Heroku version Type the following command.
heroku version
- Now initialize the repository with the following GIT command
git init
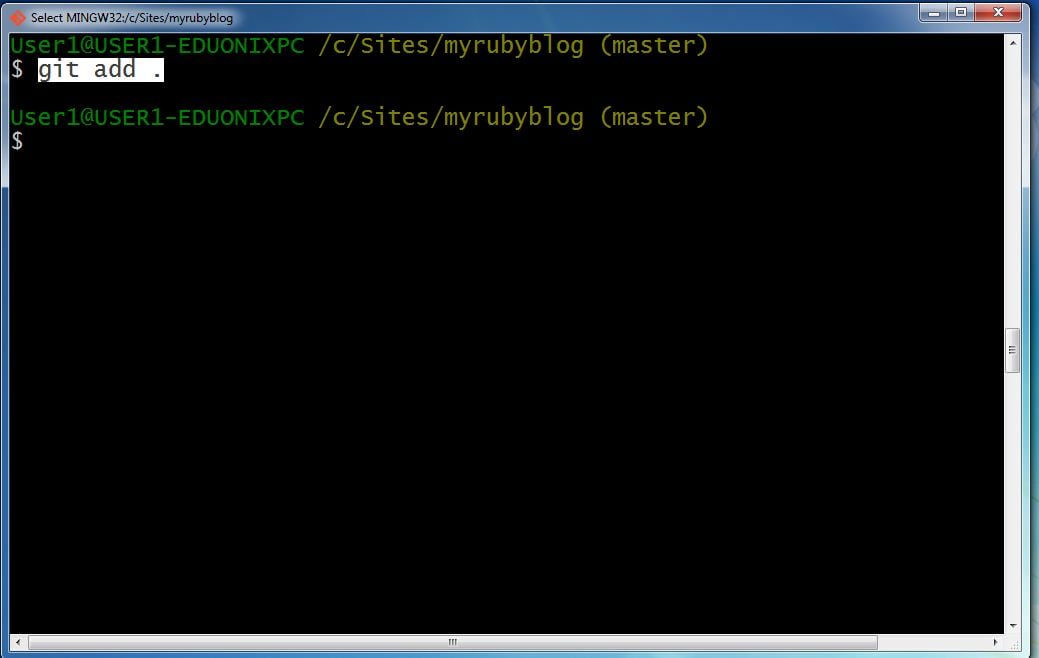
- Now add the repository by using the following command
git add
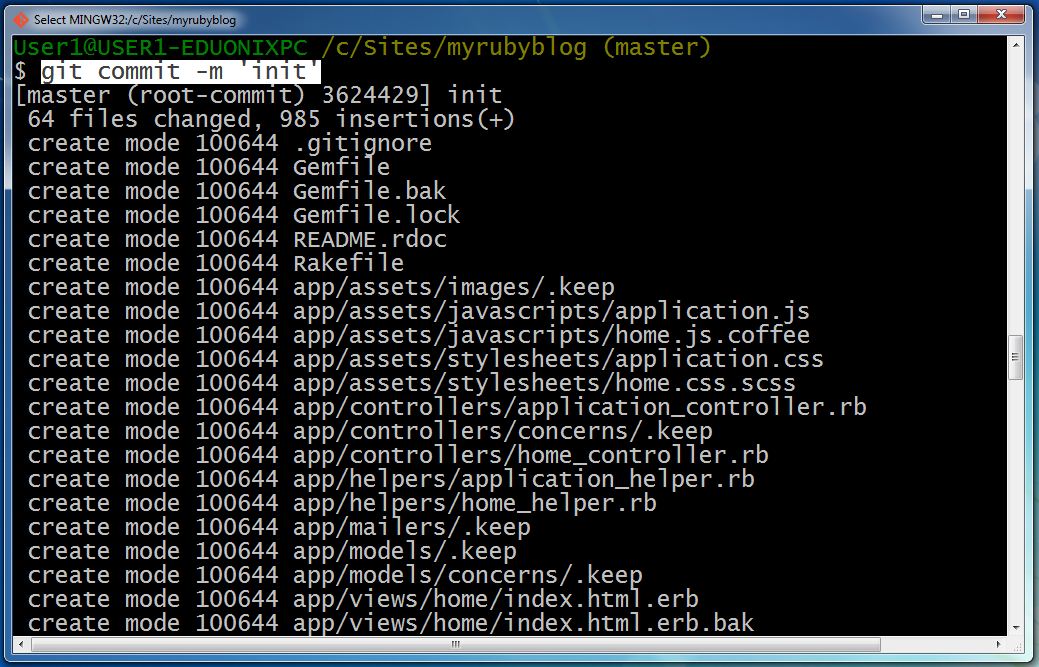
- Now commit the added part by typing the following command
git commit -m ‘any comment’
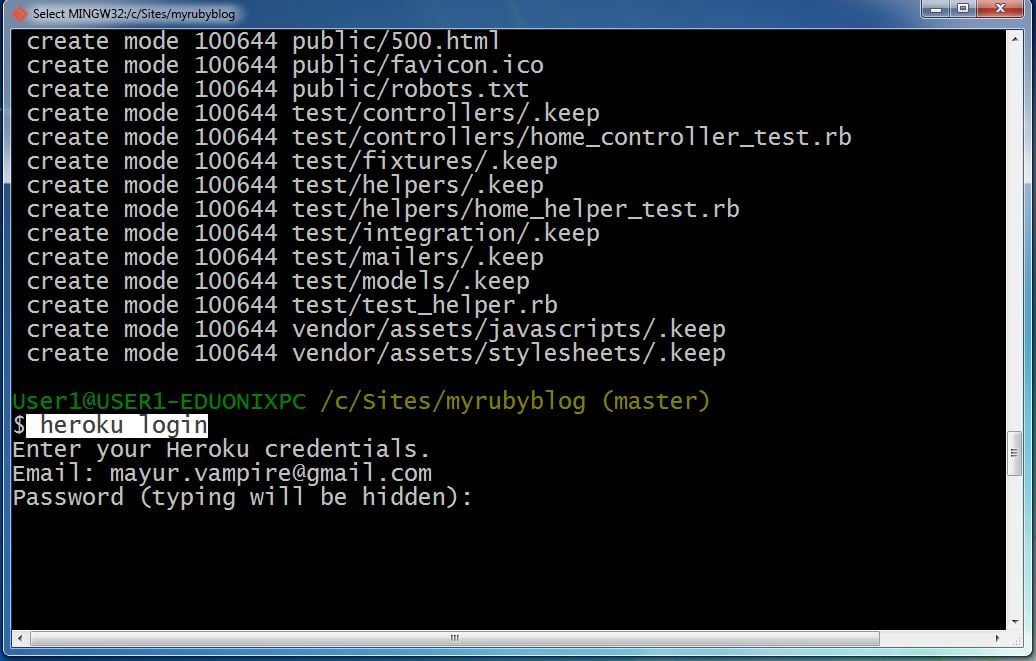
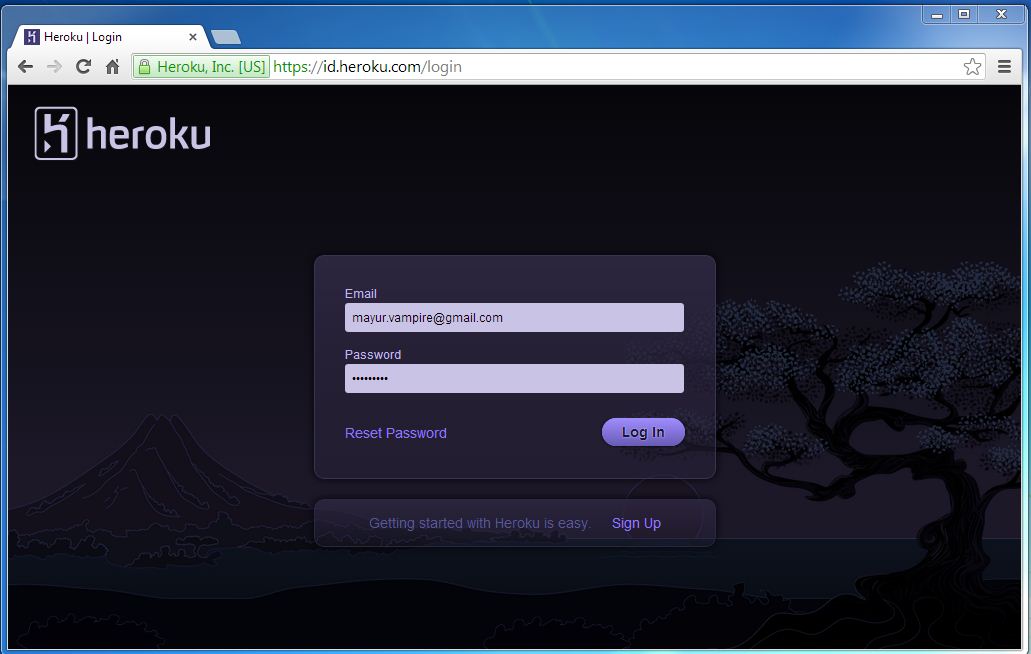
- Now login to you heroku account,type command as
heroku login
Then enter your heroku login name and password
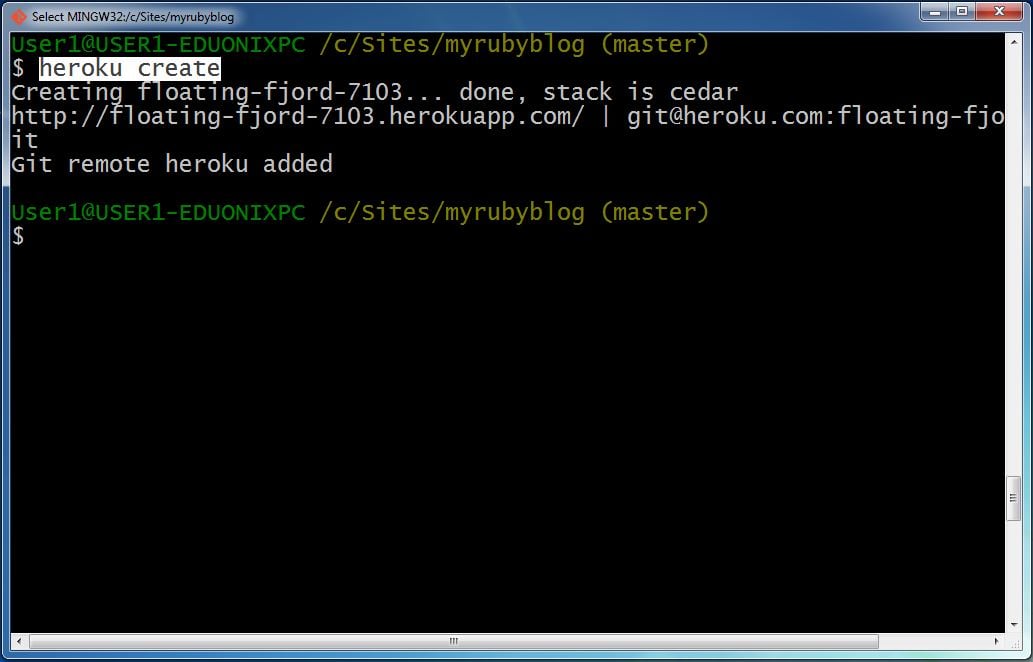
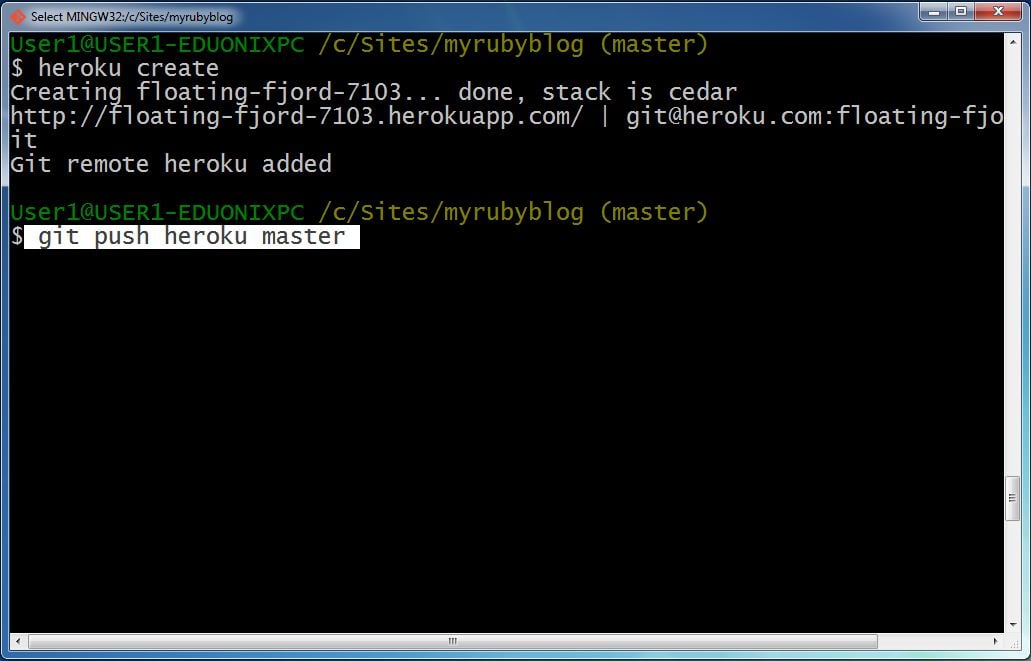
- Now create the heroku app by typing the command
heroku create
- This will create the app and give any random name to it as we can see in the window below we get the name as
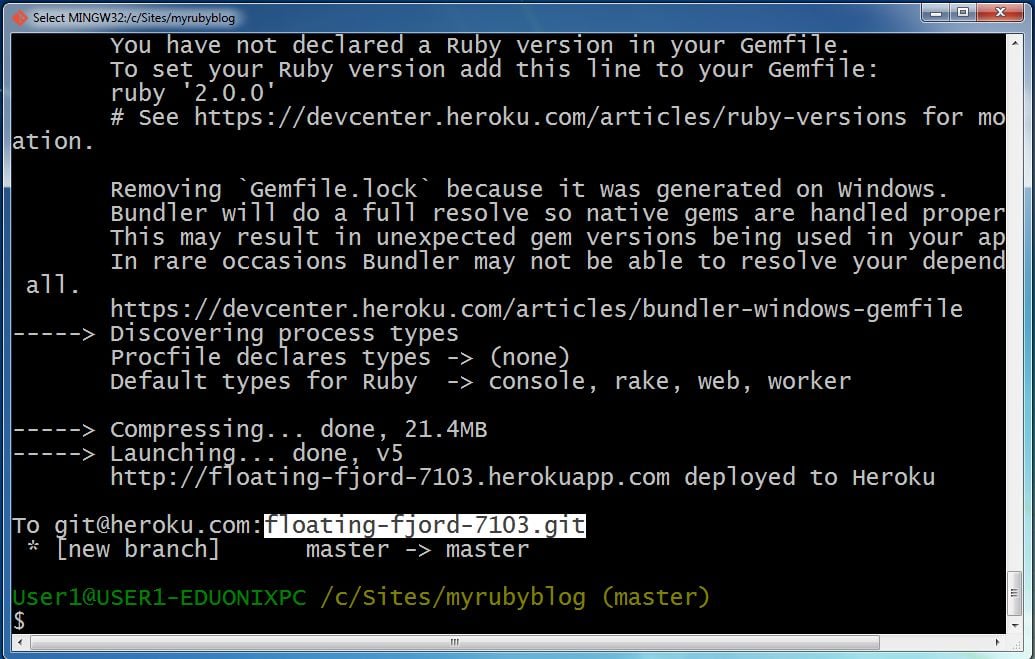
- Now push our app to the server by typing the following command.
git push heroku master
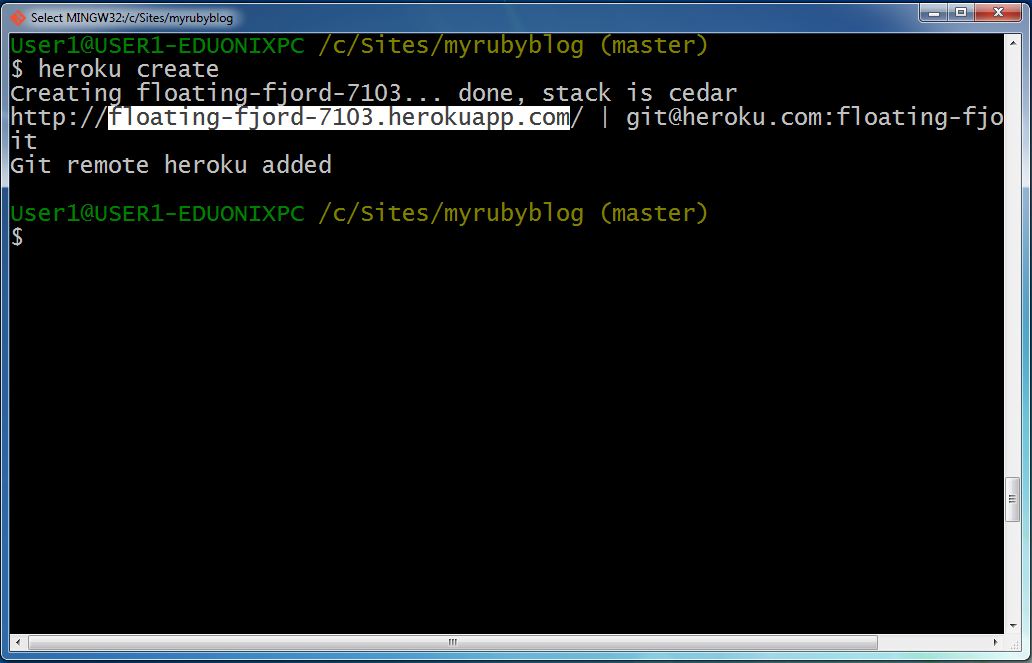
- After the app is successfully added to the server you can see the name of the app as follows
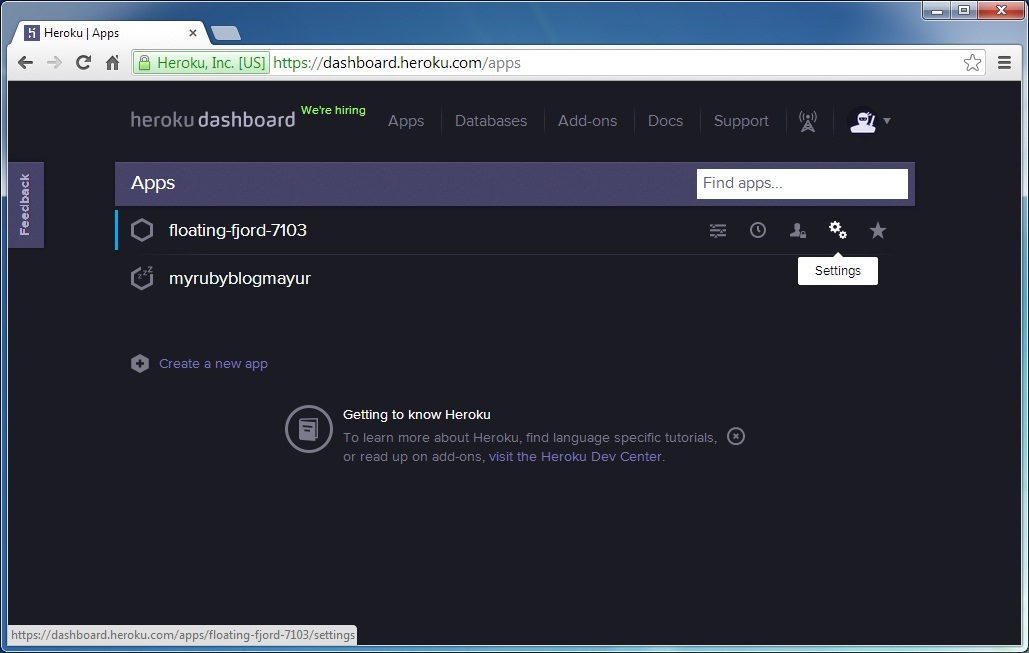
- Now open your heroku account through Url www.heroku.com and login into your account
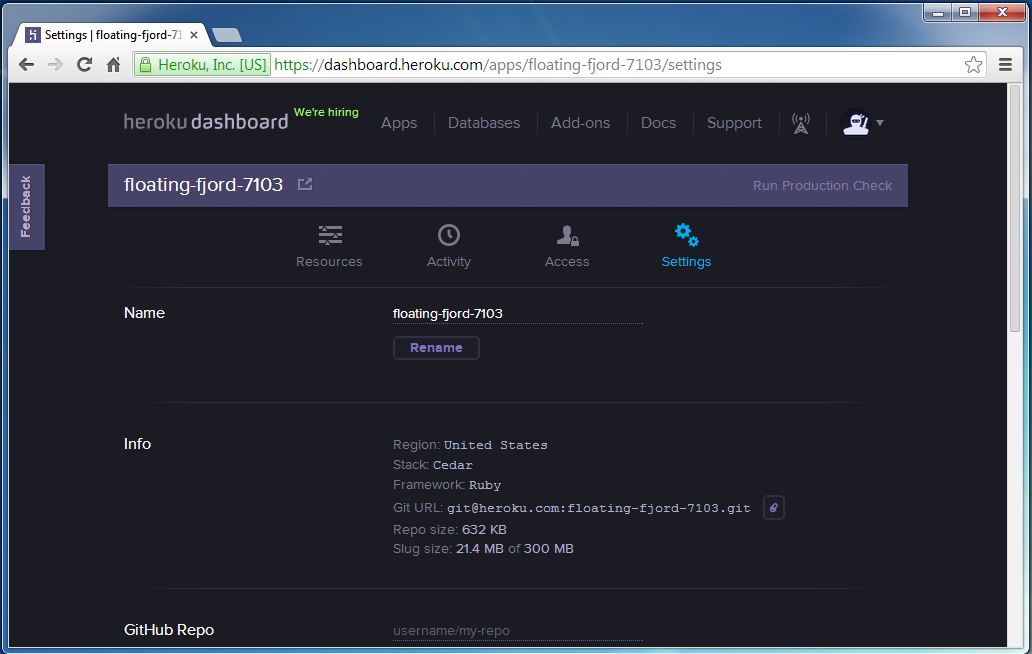
- You will see our app is created as we can see floating-fjord-7103 is the name of our app.Make sure that the name of the app is generated randomly by the server.Now click on the settings as given in the picture below.
- You will see the following window
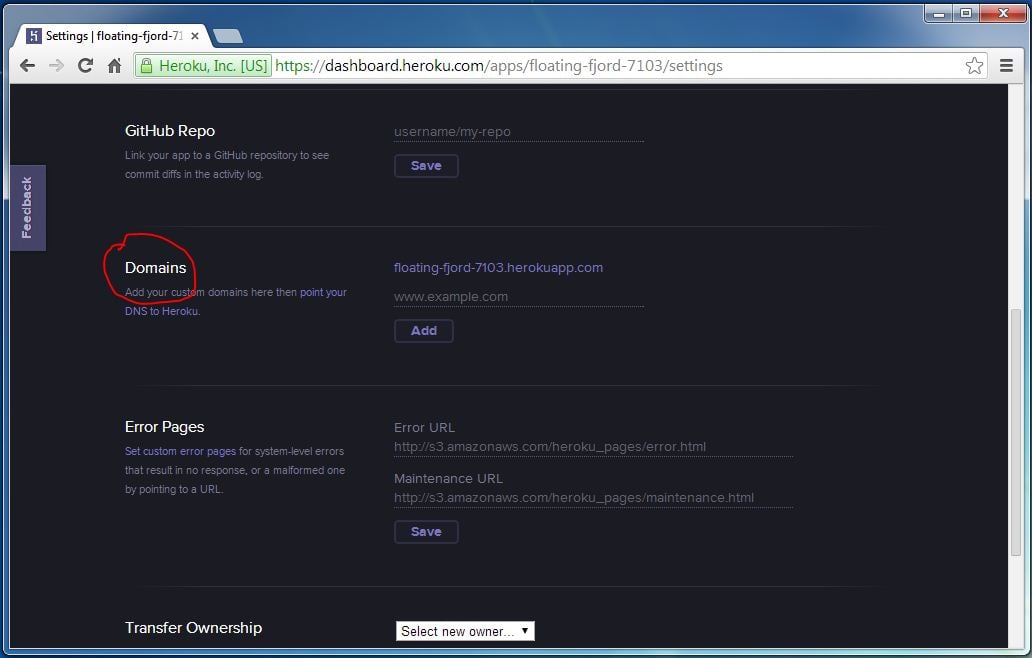
- Now scroll down to the window and find Domains as given below
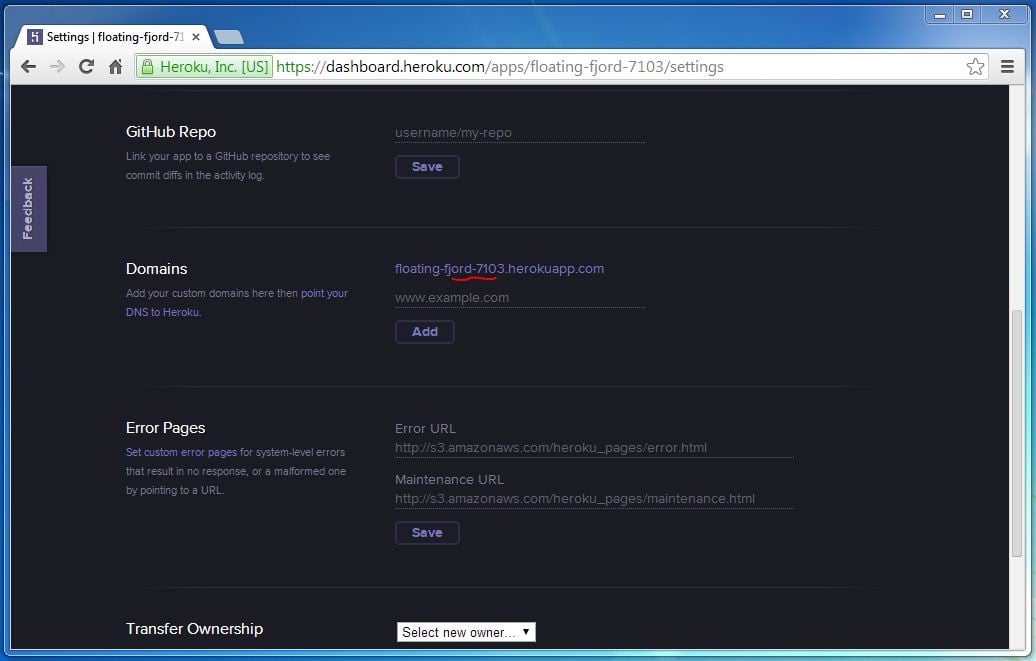
- Now Click on the url Corresponding to the domain as given below
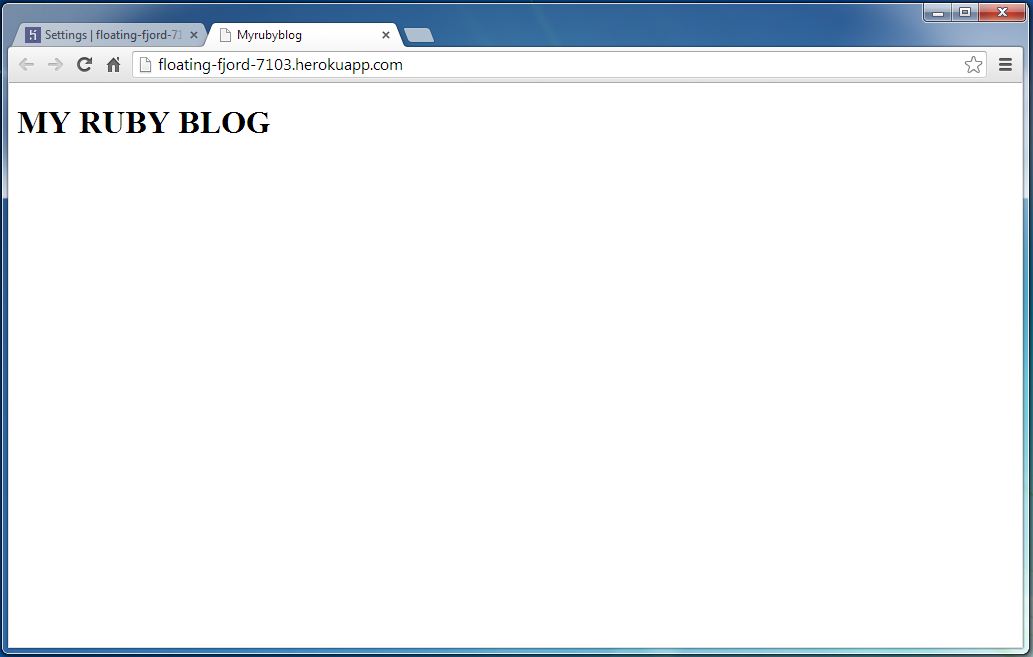
- You will see the following page.
- Thus we successfully deployed our first app on Heroku