In this session today we will work on the project which deals with designing a form where we will use the concepts of CSS , javascript, jquery ,etc..Thus ,it will help us clearing our concepts about javascript and jquery.
- So to begin with our project let’s follow the steps given below :
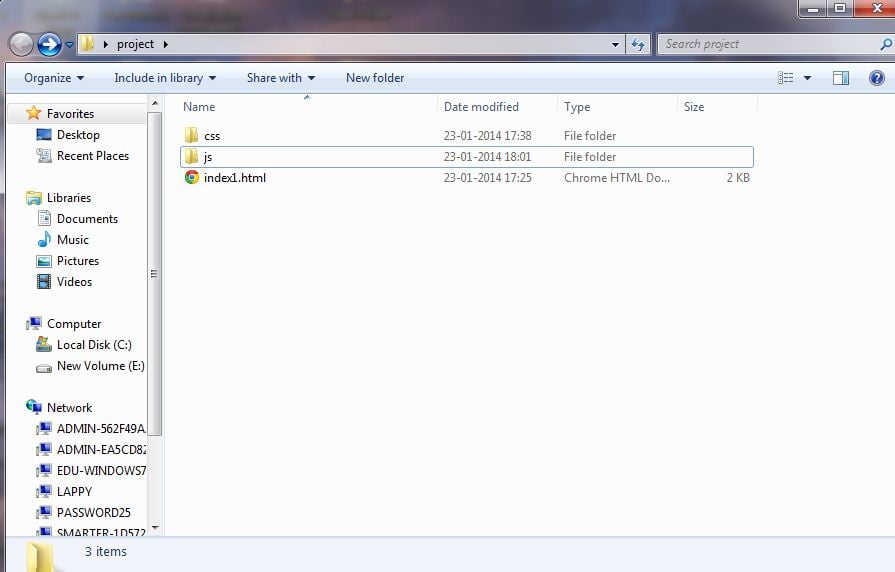
- First of all create an new folder on the desktop say project :
- In the project folder create an another folder name as css, js , and then create the index.html files open in the notepad++.
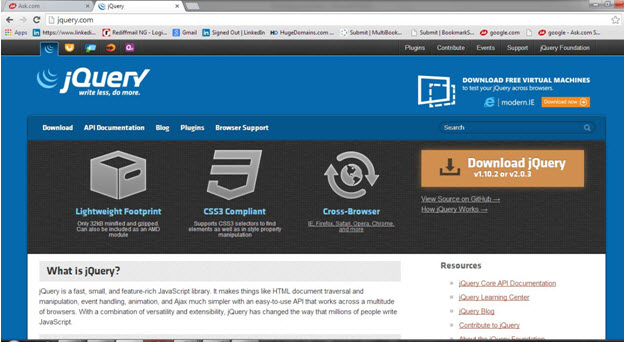
- Now go to jquery.com.
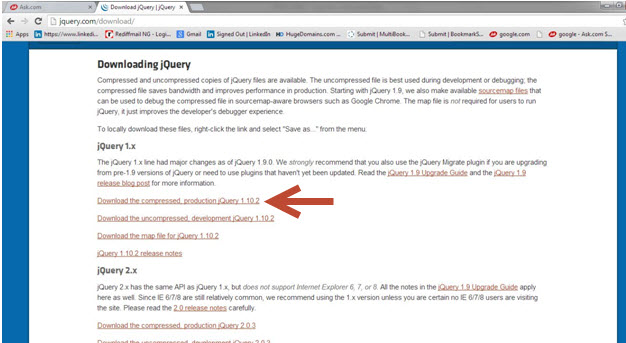
- Now click on the download button and you will get the following window :
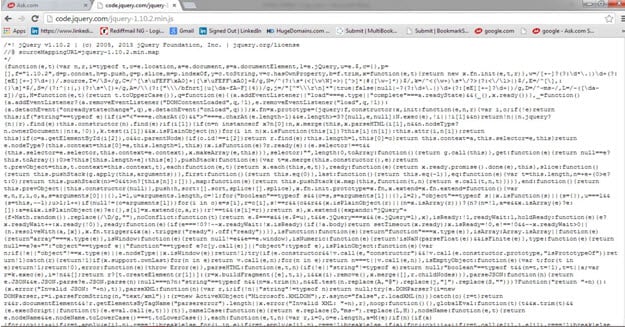
- After you click on the first link as shown by the arrow in the above figure you will have the following window embeded with jquery code :
- Now in your project folder you have a js folder created , in this js folder create an text file jquery.js inside that file copy and paste the jquery code .
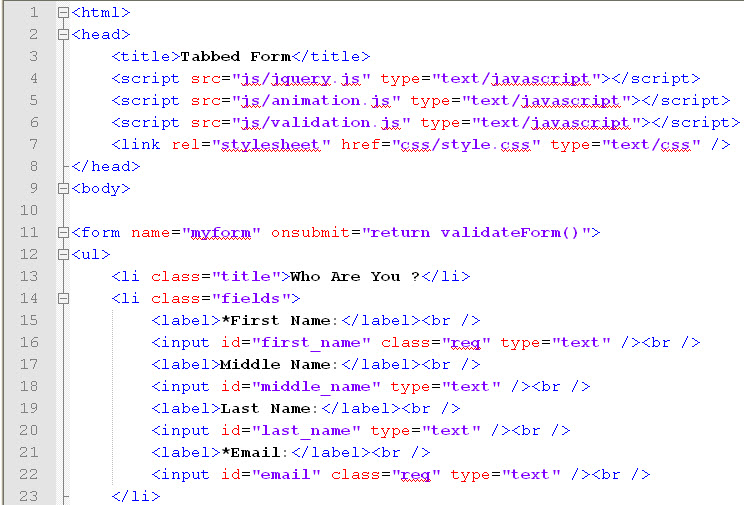
- Now open your index.html file in notepad++ and write the code in it as given below :
<html>
<head>
	<title>Tabbed Form</title>
	<script src="js/jquery.js" type="text/javascript"></script>
	<script src="js/animation.js" type="text/javascript"></script>
	<script src="js/validation.js" type="text/javascript"></script>
	<link rel="stylesheet" href="css/style.css" type="text/css" />
</head>
<body>

<form name="myform" onsubmit="return validateForm()">
<ul>
	<li class="title">Who Are You ?</li>
	<li class="fields">
		<label>*First Name:</label><br />
		<input id="first_name" class="req" type="text" /><br />
		<label>Middle Name:</label><br />
		<input id="middle_name" type="text" /><br />
		<label>Last Name:</label><br />
		<input id="last_name" type="text" /><br />
		<label>*Email:</label><br />
		<input id="email" class="req" type="text" /><br />
	</li>
	<li class="title">Where Are You From?</li>
	<li class="fields">
		<label>City:</label><br />
		<input id="city" type="text" /><br />
		<label>*State:</label><br />
		<input id="state" class="req" type="text" /><br />
		<label>Country:</label><br />
		<input id="country" type="text" /><br />
	</li>
	<li class="title">What Do You Do?</li>
	<li class="fields">
		<label>
		*Occupation:</label><br />
		<input id="occupation" class="req" type="text" /><br />
		<label>Company:</label><br />
		<input id="company" type="text" /><br />
		<label>Company Location:</label><br />
		<input id="location" type="text" /><br />
	</li>
</ul>
<input type="submit" value="Submit Form" />
</form>
</body>
</html>
- So after writing the code your notepad++ window will have the following view :
- Now when you run your index.html file in the browser you will get the following output :
- Now to implement styling in the form we will have to implement css code.
- Now in your css folder create style.css file and write the given code in style.css file.
body { width: 500px; margin: auto; text-align: center; } li { list-style:none; } li.fields { margin: 0; padding: 1em 0; } li.title { cursor: pointer; font-weight: bold; font-size : 1.5em; line-height: 2em; background: #e3e3e3; border-bottom: 1px solid #c5c5c5; border-top: 1px solid white; } .hide { display: none;} - Now in the project folder you will have the following three contents :
- The css folder contains the style.css file when we open the css folder you will have the style.css file in it :
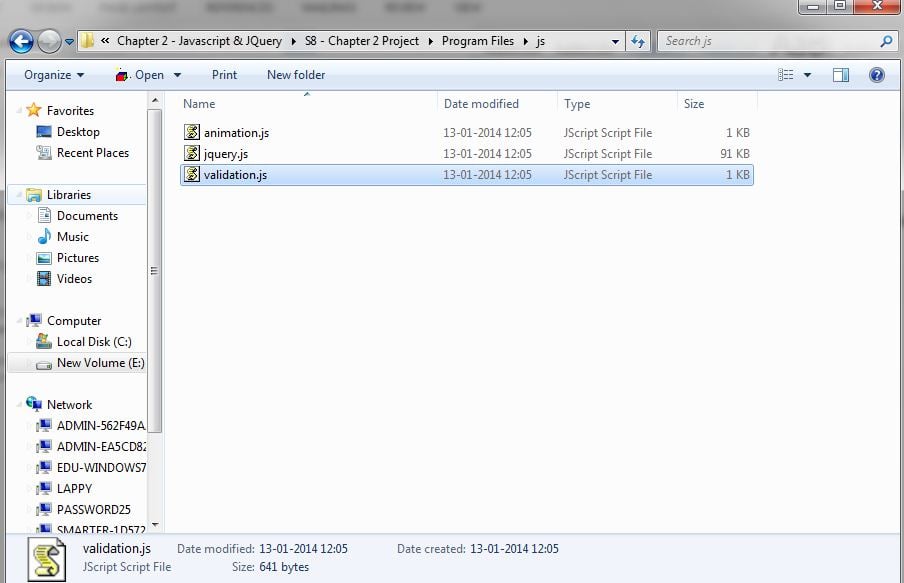
- Your js folder contain the 3 files , so it will have the following contents : animation.js, jquery.js , validation.js
- So now after adding the css file view of our index.html file will be changed and when you run it on the browser you will get the following output :
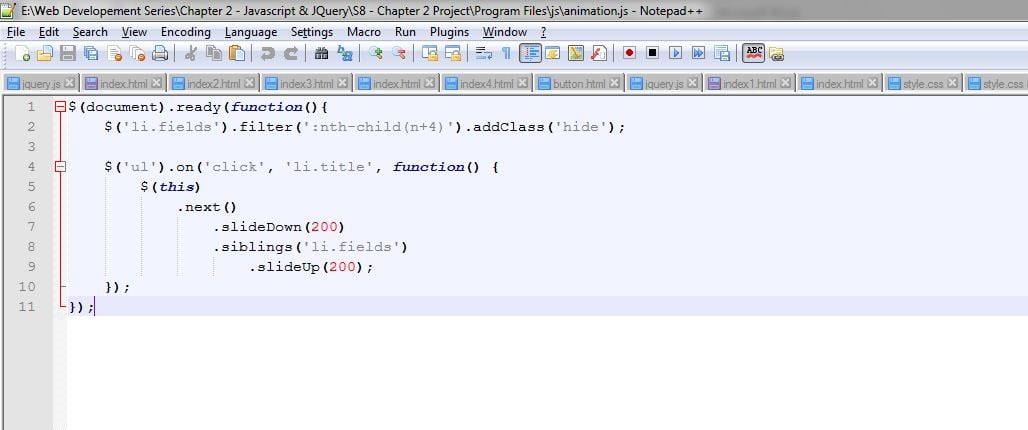
- Now to implement some animation on the form ,add the animation code in your animation.js file located in the js folder :
$(document).ready(function(){ $('li.fields').filter(':nth-child(n+4)').addClass('hide'); $('ul').on('click', 'li.title', function() { $(this) .next() .slideDown(200) .siblings('li.fields') .slideUp(200); }); }); - So after writing the code your notepad++ window will have the following look :
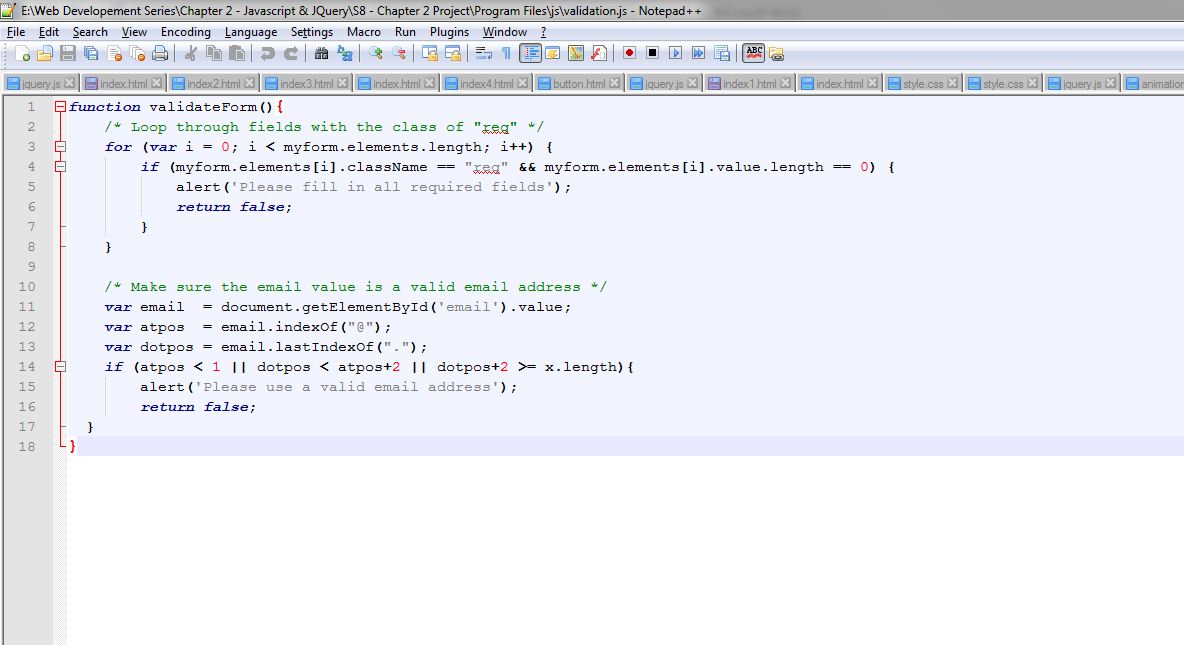
- Lets perform some validation on our form ,so in your validation.js file write the code given below :
function validateForm(){ /* Loop through fields with the class of "req" */ for (var i = 0; i < myform.elements.length; i++) { if (myform.elements[i].className == "req" && myform.elements[i].value.length == 0) { alert('Please fill in all required fields'); return false; } } /* Make sure the email value is a valid email address */ var email = document.getElementById('email').value; var atpos = email.indexOf("@"); var dotpos = email.lastIndexOf("."); if (atpos < 1 || dotpos < atpos+2 || dotpos+2 >= x.length){ alert('Please use a valid email address'); return false; } } - So your notepad++ window will have the following look :
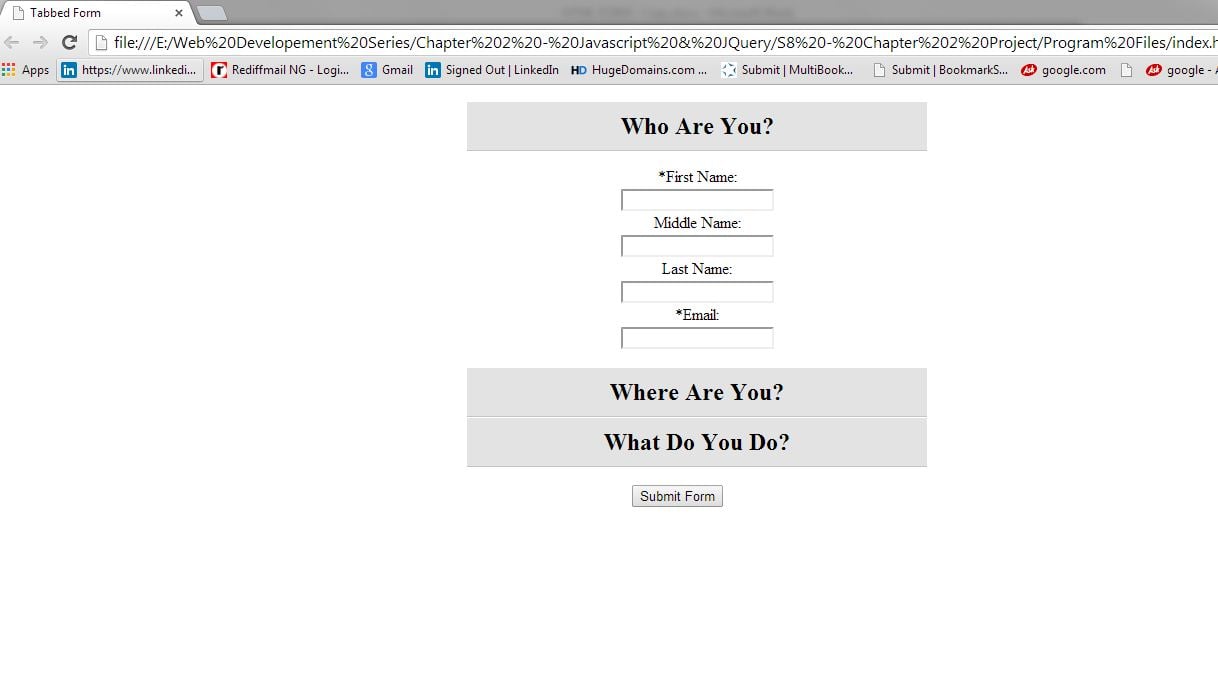
- After saving all your files run your index.html file .Thus you will get the following output window as shown below :
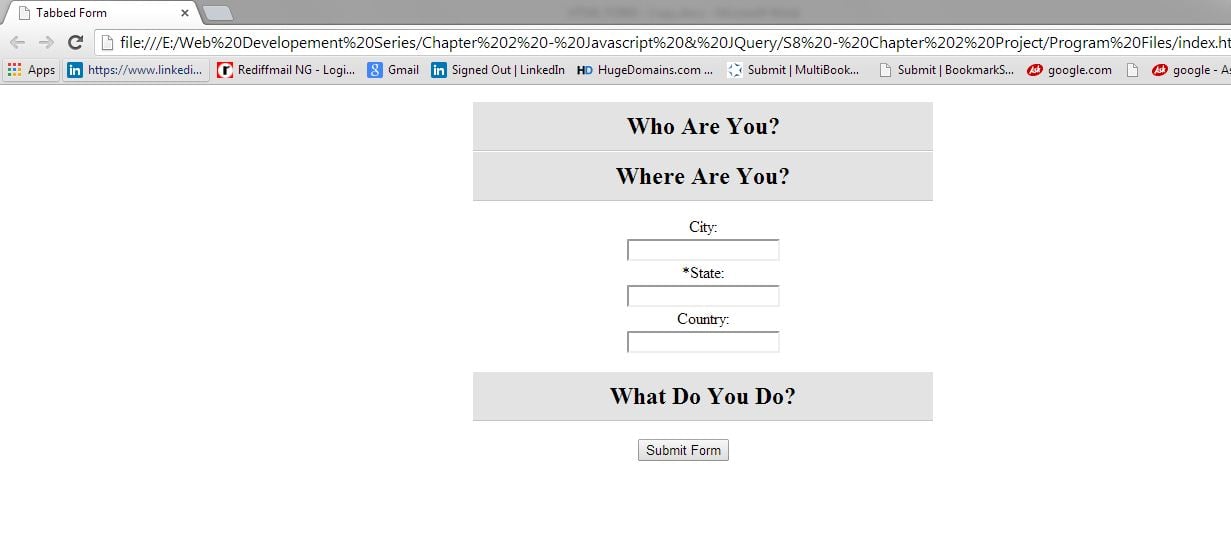
- Now when you click on next tab i.e Where Are You From ? the respective tab will be enlisted below as shown inj the image :
- When you click on next tab i.e What Do You Do? its list will be enlisted as shown below :
- In this tab form the *asterick mark represent the mandatory fields which you cannot skip.
- Thus we have created a form using jquery and javascript which enlists personal information , also implemented animation and validations in it.