

Last time we understood the basics of Ajax. So, today we are going to learn how to fetch data using Ajax without refreshing the page or browser practically in the tutorial Fetching Data with Ajax.
In this practical with Ajax we are going to work with a web server. While running, there are some cases where the page won’t work on local machine; it needs a web server.
To work on server we can built our files on the local machine and then upload it in a sub directory created on the server.
In this tutorial we are going to use a Xampp server application.
So let’s start step by step.
- First download the Xampp server from the link https://www.apachefriends.org/download.html.
- Install the Xampp server.
- Start the Apache in the Xampp Control Panel as shown below:
- You can see a red colour arrow showing a Stop button in front of the Apache Module. Actually this button has Start written on it initially and when you click it, it starts the Apache and changes its text from Start to Stop.
- After starting the Apache close the Xampp Control Panel window.
- Now your Xampp server is ready to run your webpages.
- Whenever you want to run your webpages or a website using Xampp server, you need to copy your website folder to htdocs folder located in xampp folder in your C drive.
- Now create a folder on desktop and name it as eduonix.
- Open a notepad++ document and save it as index.html in the eduonix folder just created on desktop.
- Now write the following code in index.html file and save it.
- The text test the page is written in the body section to just check the page.
- Now copy the eduonix folder and paste it in the htdocs folder which is in the xampp folder on C drive.
- Now next step is to open the browser and run the webpage. For this write the following address in the address bar of the browser:
- Here we finished testing the page. Now we want to create a div block containing some text and a button which when clicked will change the text in div block asynchronously.
- So replace the text test the page with the following code:
- Here, Replace this text is the statement that will be replaced asynchronously i.e. without page refresh and getDataFromXML() is the function called at the click event of the button to replace the text.
- Now as we have made changes replace the eduonix folder in the htdocs folder again with eduonix folder on desktop and then reload the browser, you will get the following output:
- First upload the movies.xml file created in previous tutorials to the eduonix folder inside htdocs folder.
- Now write the following code in the head section of index.html document in the
<script>--</script>
tag. We are now writing code for getDataFromXML() function.
- Here, getDataFromXML() function is defined to replace the text on the webpage with the data in the movies.xml file asynchronously.
- A variable xmlhttp is declared for the XMLHttp object.
- Next the XMLHttpRequest object is created to send the request to the server. But some browsers like IE6 and lower versions of IE do not support XMLHttp object, so they require creating ActiveXObject for sending the request. This is done by using the following code:
- The else part in above code is for lower versions of IE browser.
- Now after creating the request object and sending the request, we need to check whether our request has been processed or not. For this we need to check the readyState and status properties of XMLHttpRequest object. The code is as follows:
- Here, in the above code onreadystatechange is the event that occurs when the request is being processed.
- It is assigned a function that checks the readyState ad status properties.
- In the if statement the readyState is equated to 4 and status is equated to 200 because 4 indicate that request finished and response is ready and 200 indicates that the status is OK.
- If this if statement is satisfied, the XML response object is assigned to xmldatavariable as shown below:
- After this a variable movies is declared which is assigned an element retrieved from xmldata by the tag name.
- Then a variable output is declared to store the output.
- Next the title of the first movie is assigned to the output using the following statement:
- Next it is displayed in the browser window.
- Here, we have printed only one movie title, the output is shown below:
- If we want all the movie titles to be displayed, then we should do it in a loop. Follow the following code to display all the movie titles:
- Here, we have put the movie titles in the un-ordered list and have put the statement to retrieve movie titles in a for loop so that all the titles are added up to the variable output.
- Next outside for loop, the variable output is printed.
- The output is shown below:
- Now next thing is to just get the data and send the response to the client. The code for it is as follows:
- We know that the data to be send in response is in the movies.xml file, so we specify the details in the statement xmlhttp.open(“GET”,”movies.xml”,true);
- Here, GET is the method to be used for sending the data. We can use POST method also.
- The data to be send is in the movies.xml file so it is specified as the second value of the open method.
- The third value of open method is true which indicates that the response should be sent asynchronously.
- Next the response is sent through statement xmlhttp.send().
- We finished sending the text, the output is shown as shown in fig 4.
- Now we will see how to replace the div block text with plain text. So create a new text file and name it as data.txt. Write the following text in the file and save it.
- The procedure is same as the XML file, just a slight change. The code for getDataFromText() function is written in the
<script>--</script>
tag:
- Here, everything is same as done in the getDataFromXML function.
- Only the if block checking the readyState and status properties have the following statement that executes when the condition satisfies:
- This statement selects the div block with its id data and replaces its actual text with the response text using the statement innerHTML.
- And xmlhttp.responseText is the response object that contains response in the plain text format.
- The response is fetched from data.txt file, so it is specified in the statement shown below:
- Call the function getDataFromText()at the onclick event of the button Get Data as shown below.
- The output that we get on clicking on the Get Data button is shown below:
- Now next we will deal with JSON. We had created a JSON file in previous tutorials named movies.json. Upload this file in the eduonix folder located in the htdocs file in xampp folder.
- Write the following function in order to replace the div block text with the data present in the movies.json file in the head section inside
<script>--</script>
tags.
- Here also the rest of the part is same, only there is slight difference in the retrieving of the output.
- Let us understand the code executed when the if condition checking readyState and status properties is satisfied:
- The code is shown below:
- Here, a variable jsondata is declared to store the response. It is assigned with the response object.
- We don’t have direct method to retrieve the JSON response object hence the xmlhttp.responseText is converted to JSON using the following statement:
- Next we have retrieved movies array from jsondata object and stored it in movies variable.
- And then displayed the movie titles in for loop using statement
- Here we have just used movies[i].title to retrieve the movie title which is very easy as compared to XML. Hence JSON is more popular than XML.
- Next the output is printed using statement
- One more thing, you have to add your movies.json file name to the response to be send as shown below:
- Now call getDataFromJSON() function at the onclick event of the button GET DATA as shown below:
- The output of the data fetched and displayed in the div block is shown below:
- Here you can notice that whatever we have fetched using Ajax, may it be a plain text, a XML data or JSON; it is fetched asynchronously i.e. without refreshing the page.
fig 1
<!DOCTYPE html>
<html>
<head>
<title>Ajax Lesson</title>
</head>
<body>
test the page
</body>
</html>
localhost/eduonix
The index.html page in the eduonix folder will be shown with the text test the page.
<div id="data"><h2>Replace this text</h2></div>
<button type="button" onclick="getDataFromXML()">Get Data</button>
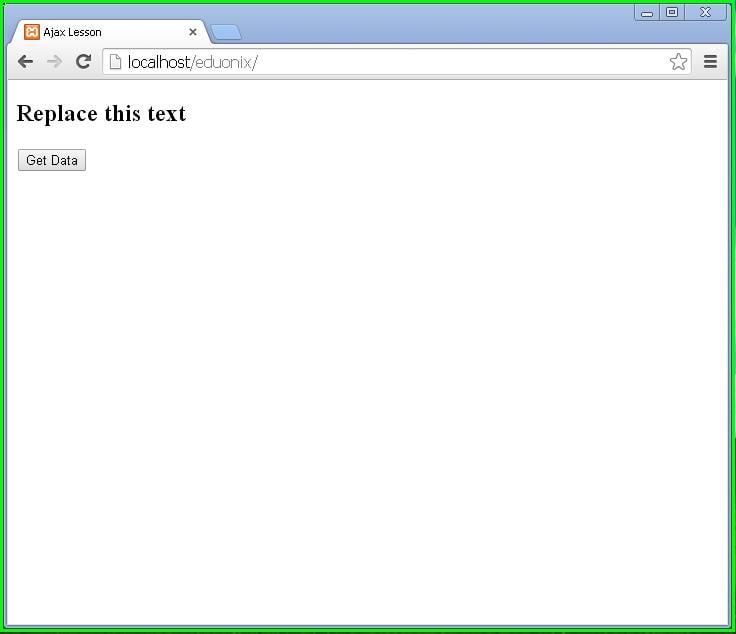
fig 2
Actually we want to fetch data from a XML file, a simple text file and a JSON file asynchronously using AJAX in this Fetching Data with Ajax tutorial. So let’s start with a XML file.
<script>
function getDataFromXML()
{
   var xmlhttp;
   if(window.XMLHttpRequest)
   {
	xmlhttp=new XMLHttpRequest();
   }
   else
   {
	xmlhttp=new ActiveXObject("Microsoft.XMLHTTP");
   }
   xmlhttp.onreadystatechange=function()
   {
      if(xmlhttp.readyState==4 && xmlhttp.status==200)
      {
         xmldata=xmlhttp.responseXML;  //retrieve result as a XML object
	 var movies=xmldata.getElementsByTagName('movie');

	 var output="";
	 output+=movies[0].getElementsByTagName('title')[0].firstChild.nodeValue;
	 document.getElementById("data").innerHTML=output;
      }
   }
   xmlhttp.open("GET","movies.xml",true);
   xmlhttp.send();
}
</script>
Description of the function:
if(window.XMLHttpRequest)
{
	xmlhttp=new XMLHttpRequest();
}
else
{
	xmlhttp=new ActiveXObject("Microsoft.XMLHTTP");
}
xmlhttp.onreadystatechange=function()
{
   if(xmlhttp.readyState==4 && xmlhttp.status==200)
   {
	xmldata=xmlhttp.responseXML;
	var movies=xmldata.getElementsByTagName('movie');
	var output="";
	output+=movies[0].getElementsByTagName('title')[0].firstChild.nodeValue;
	document.getElementById("data").innerHTML=output;
   }
}
xmldata=xmlhttp.responseXML;
output+=movies[0].getElementsByTagName('title')[0].firstChild.nodeValue;
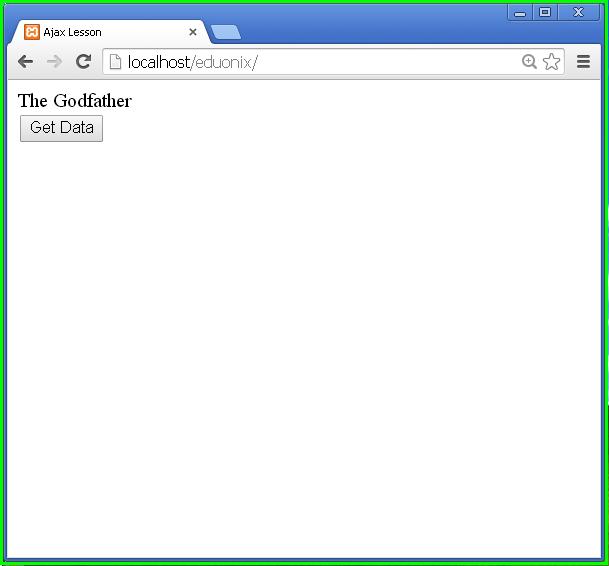
fig 3
if(xmlhttp.readyState==4 && xmlhttp.status==200)
{
   xmldata=xmlhttp.responseXML;
   var movies=xmldata.getElementsByTagName('movie');

   var output='<ul>';
   //output+=movies[0].getElementsByTagName('title')[0].firstChild.nodeValue;

   for(i=0;i<movies.length;i++)
   {
	output+='<li>'+movies[i].getElementsByTagName('title')[0].firstChild.nodeValue+'</li>';
   }
   output+='</ul>'
   document.getElementById("data").innerHTML=output;
}

fig 4
xmlhttp.open("GET","movies.xml",true);
xmlhttp.send();
This text is from the data.txt file.
function getDataFromText()
{
   var xmlhttp;
   if(window.XMLHttpRequest)
   {
	xmlhttp=new XMLHttpRequest();
   }
   else
   {
	xmlhttp=new ActiveXObject("Microsoft.XMLHTTP");
   }
	xmlhttp.onreadystatechange=function()
	{
 	   if(xmlhttp.readyState==4 && xmlhttp.status==200)
	   {
		document.getElementById('data').innerHTML=xmlhttp.responseText;
	   }
	}
	xmlhttp.open("GET","data.txt",true);
	xmlhttp.send();
}
Description of the function
document.getElementById('data').innerHTML=xmlhttp.responseText;
xmlhttp.open("GET","data.txt",true);
<div id="data"><h2>Replace this text</h2></div>
<button type="button" onclick="getDataFromText()">Get Data</button>
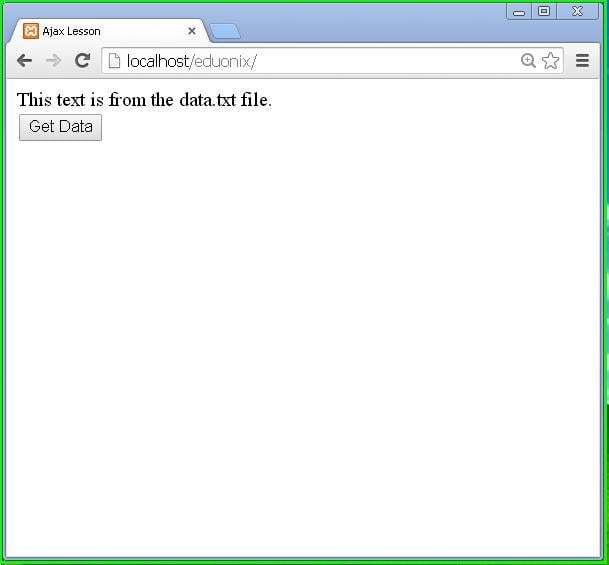
fig 5
function getDataFromJSON()
{
   var xmlhttp;
   if(window.XMLHttpRequest)
   {
	xmlhttp=new XMLHttpRequest();
   }
   else
   {
	xmlhttp=new ActiveXObject("Microsoft.XMLHTTP");
   }
   xmlhttp.onreadystatechange=function()
   {
	if(xmlhttp.readyState==4 && xmlhttp.status==200)
	{
	   var jsondata=JSON.parse(xmlhttp.responseText); //retrieve result as a javascript object

	   var movies=jsondata.movies;
	   var output='<ul>';

	   for(i=0;i<movies.length;i++)
	   {
		output+='<li>'+movies[i].title+'<li>';
	   }
	   output+='</ul>'

	   document.getElementById('data').innerHTML=output;
	}
   }
   xmlhttp.open("GET","movies.json",true);
   xmlhttp.send();
}
Description of the function
if(xmlhttp.readyState==4 && xmlhttp.status==200)
{
   var jsondata=JSON.parse(xmlhttp.responseText); //retrieve the result in JSON format

   var movies=jsondata.movies;
   var output='<ul>';

   for(i=0;i<movies.length;i++)
   {
	output+='<li>'+movies[i].title+'<li>';
   }
   output+='</ul>'
   document.getElementById('data').innerHTML=output;
}
var jsondata=JSON.parse(xmlhttp.responseText);
output+='<li>'+movies[i].title+'<li>';
document.getElementById('data').innerHTML=output;
xmlhttp.open("GET","movies.json",true);
<div id="data"><h2>Replace this text</h2></div>
<button type="button" onclick="getDataFromJSON()">Get Data</button>
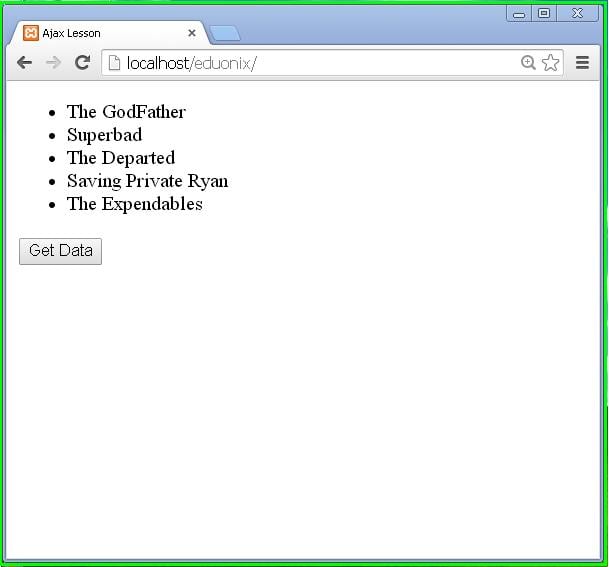
fig 6
Thus in this tutorial we learned Fetching Data with Ajax.


I want to know how you loaded 15 MB video on your homepage so fast. Guide me there a little. Thank You!