In this session we will learn the steps required for the installation and deployment of Heroku .
- So for installing heroku carry out the steps given below :
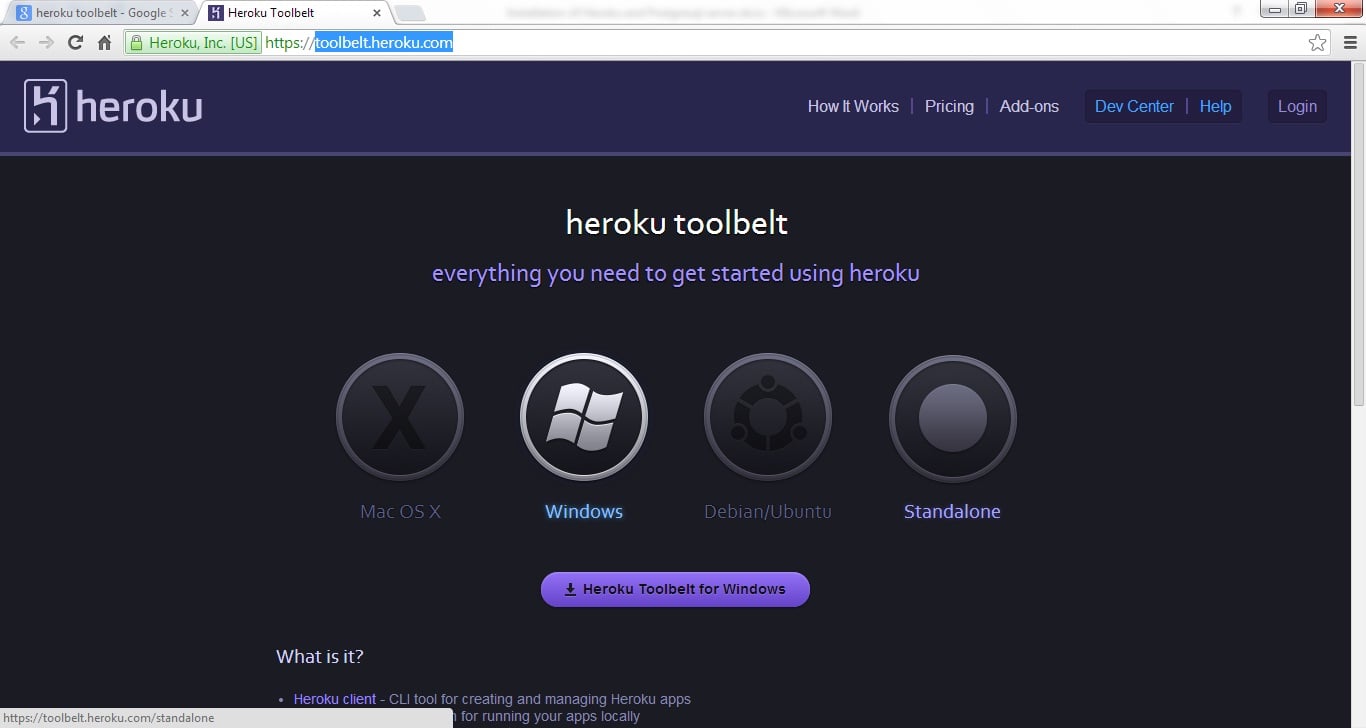
- First Download Heroku Toolbelt from the following URL :toolbelt.heroku.com which will look as shown below:
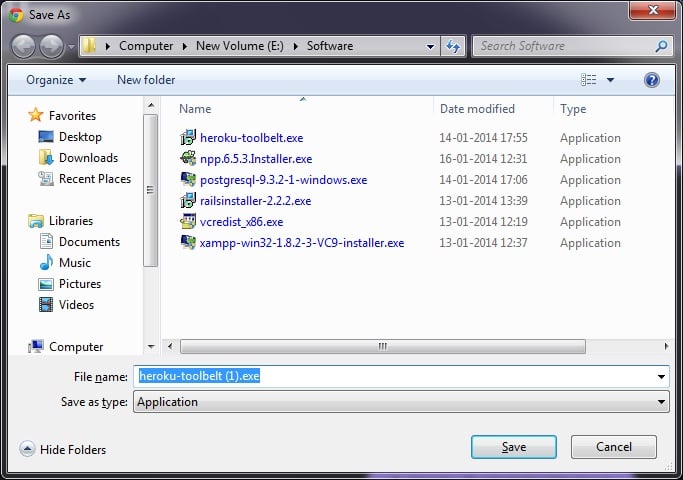
- Then click on the Heroku Toolbelt for windows following window will be displayed
- Then save it
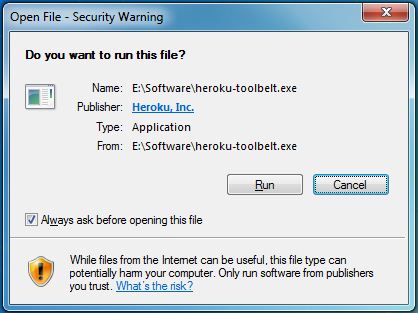
- Now open the file and click on run.
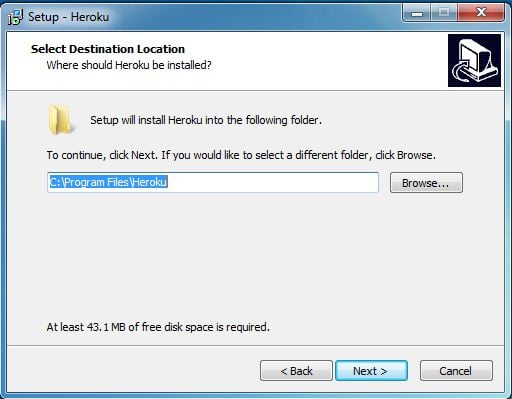
- Then click on the next button.
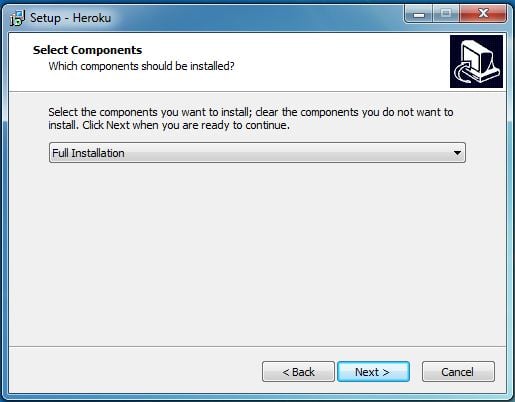
- The following Window will appear.
- Then click next and select Full Installation.
- Now click on the Next button.
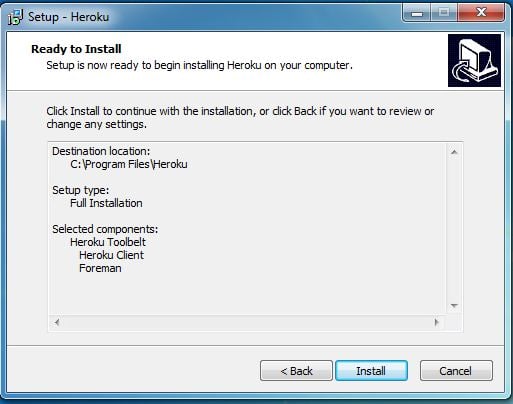
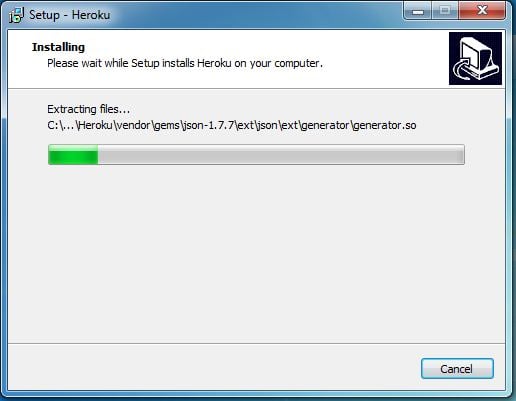
- Now click on Install Button,the installation will start as given below.
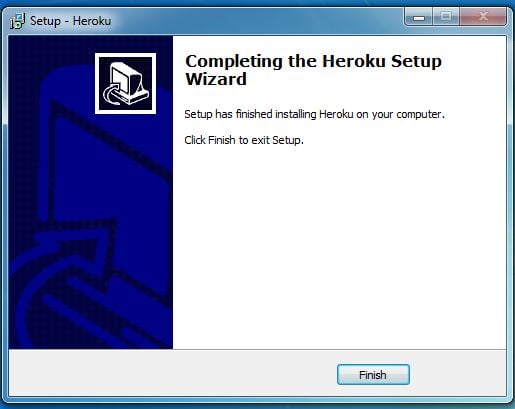
- After the installation following window will appear
- Click Finish Button,thus the installation is complete.
- To use the Heroku deployment tool login is necessary,so follow the steps below:
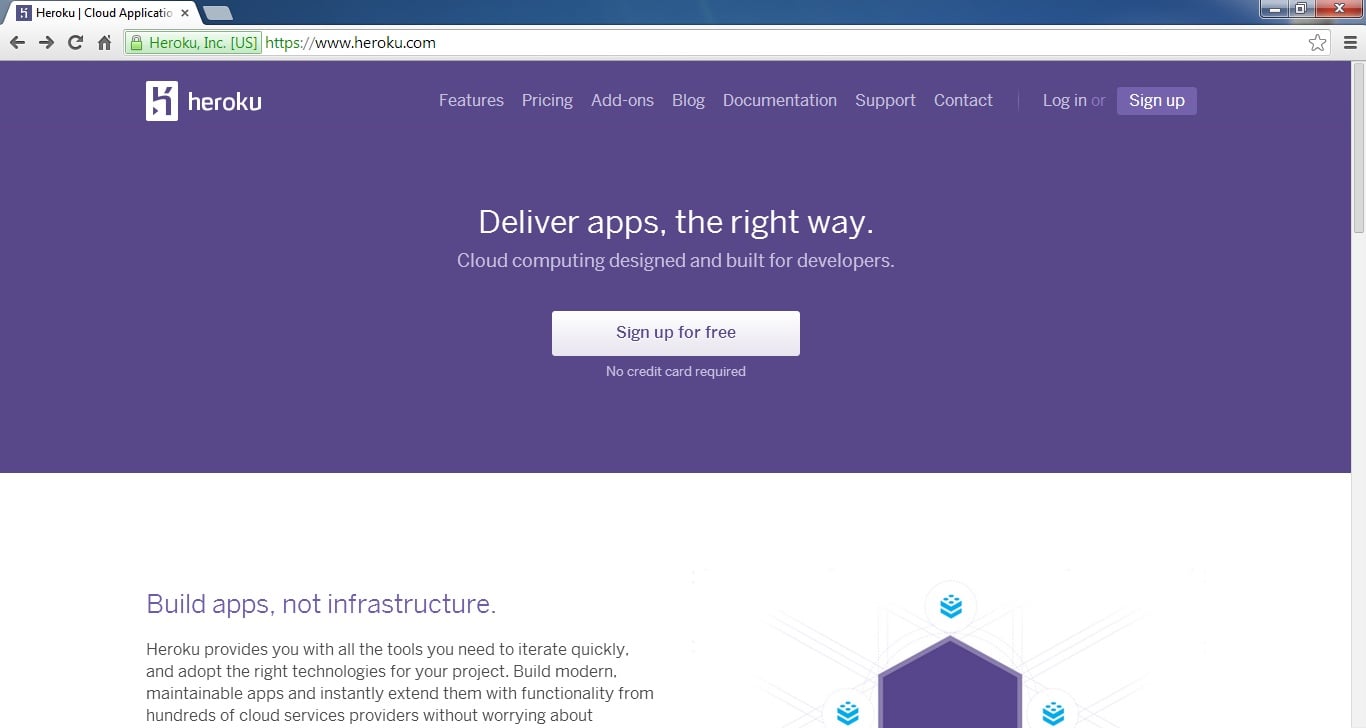
- First go to www.heroku.com and register your account for free
- Click on the sign up for free button
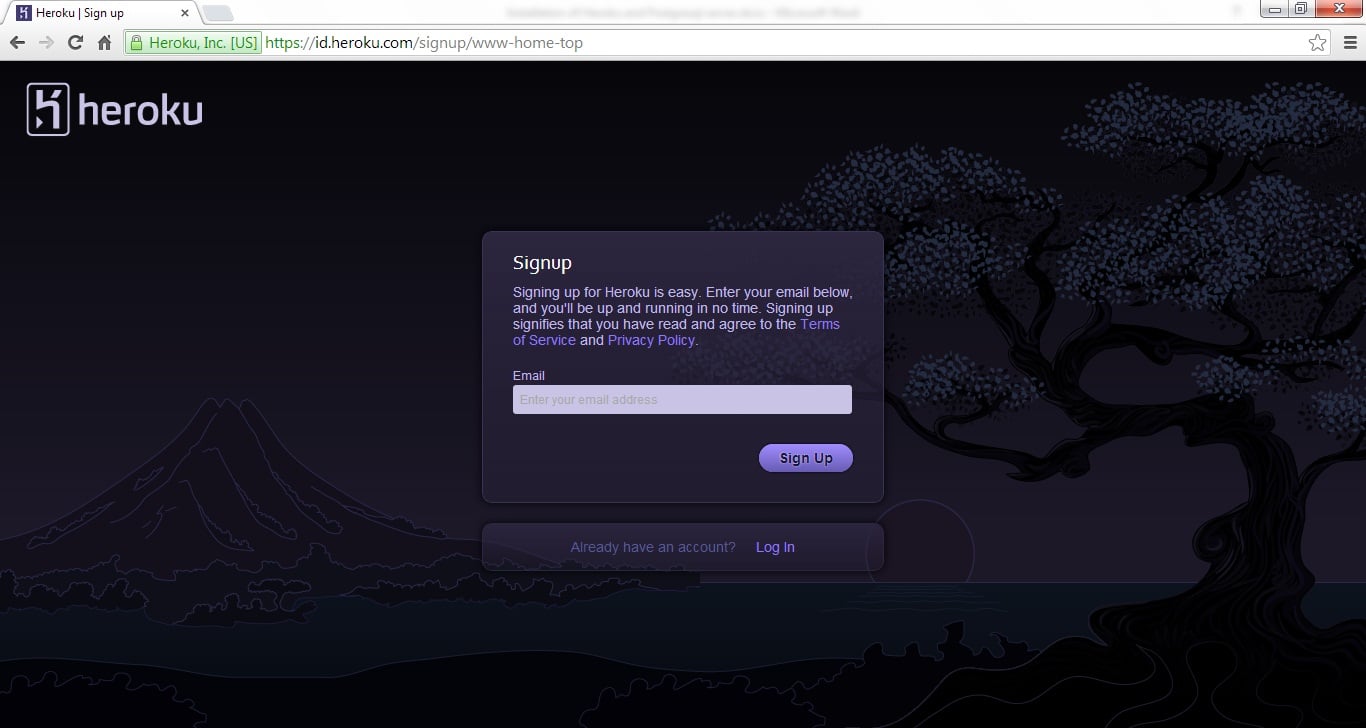
- Enter your Email id and click on signup button,then Heroku will send the password for the first time ,now you can login in the Heroku.
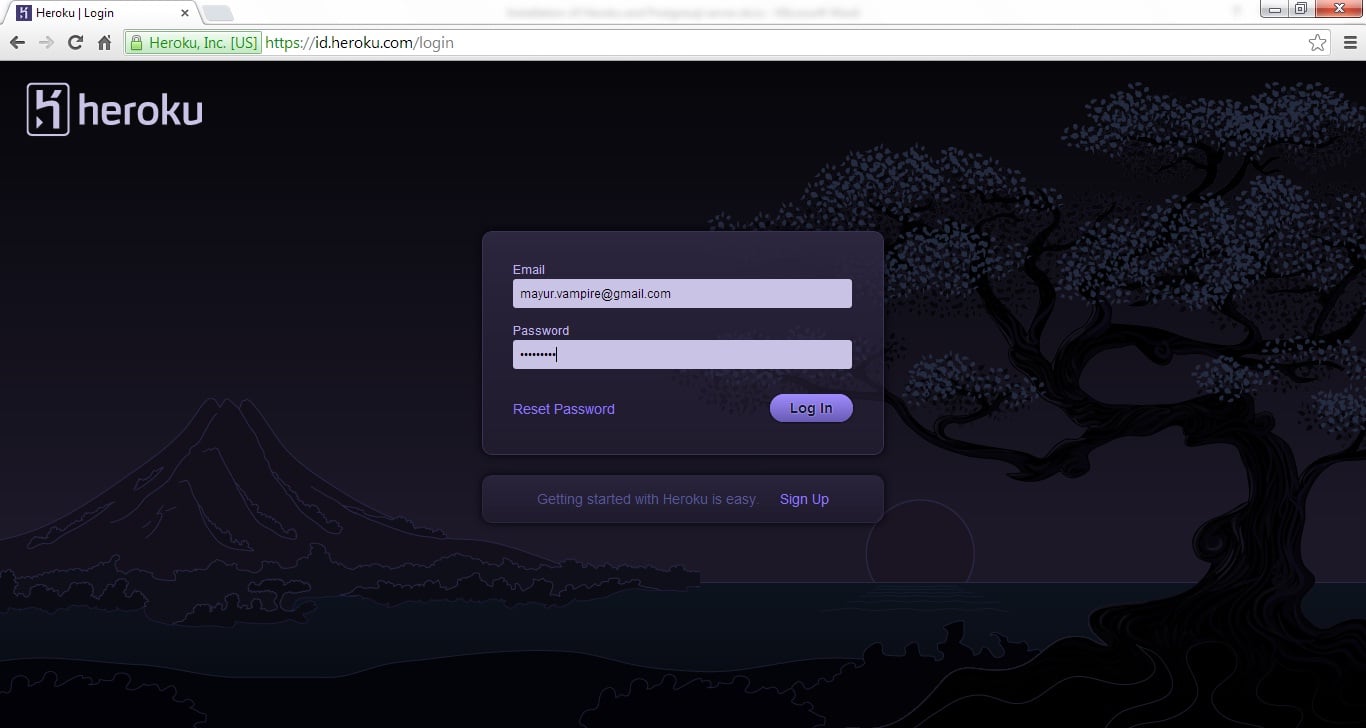
- Now go to the link www.heroku.com and click on Login button,the following Window will appear.
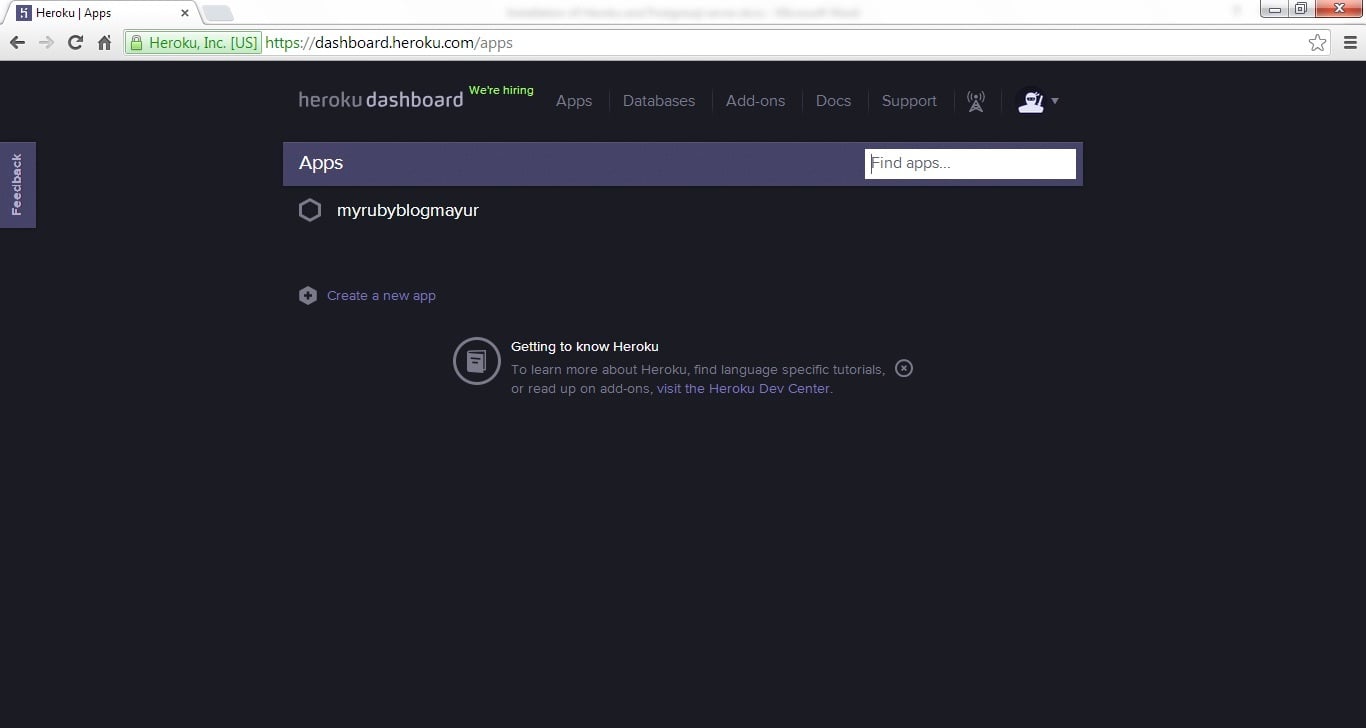
- Now enter your email id and password of heroku and click on Login button and then you will be navigated to your account.
- Thank you.