In this session today,we will first start with the installation of Postgresql server and then we will create a sample database for our project.
- For installation of Postgresql server follow the steps given below :
- Open the Web Browser
- Paste the link below in the web browser:
- Following window will appear:
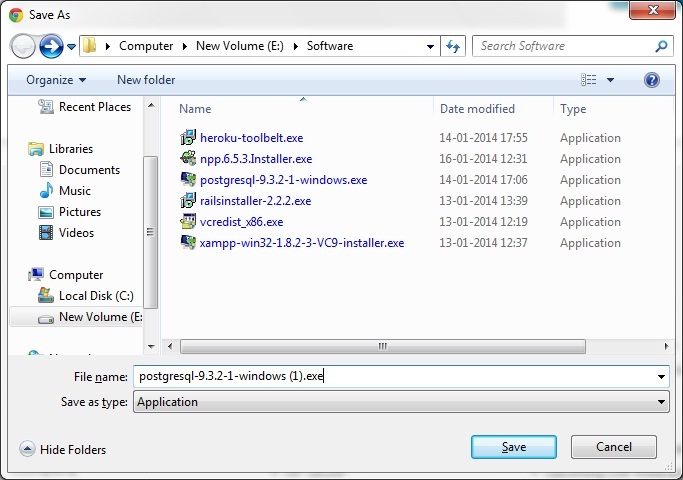
- After performing the above steps following window will appear which will ask to save the file.
- After saving the file in your system, just open it and you will have following window :
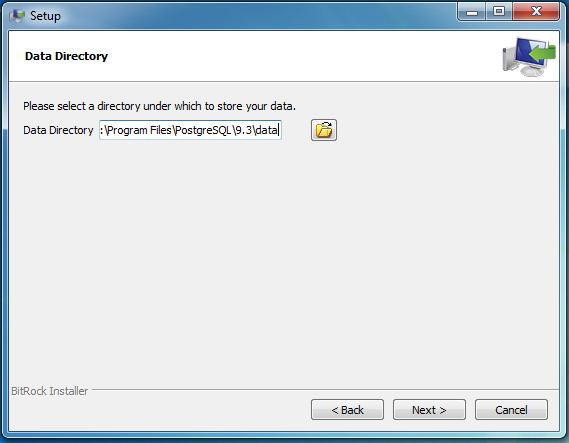
- Click on the Next Button,it will automatically detect the installation directory as given below.
- Then again click on next button,following window will appear.
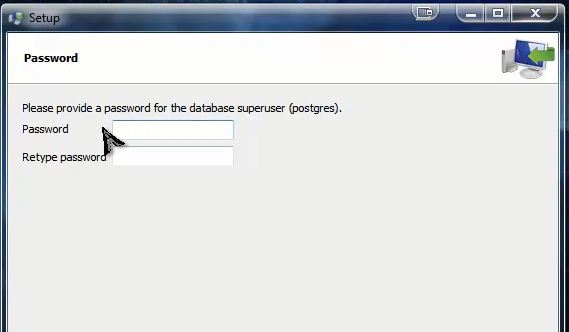
- Again click on the next button, password window will appear.
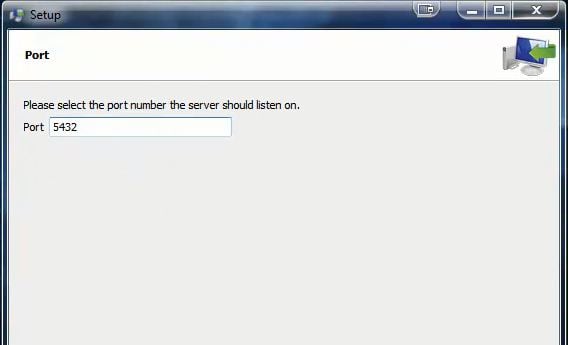
- Enter the password and then click next,following window will appear with the port number on it.
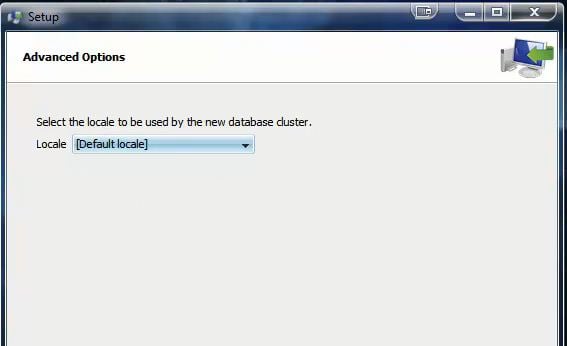
- Now select the option as it is,as [Default Locale] as given in below window.
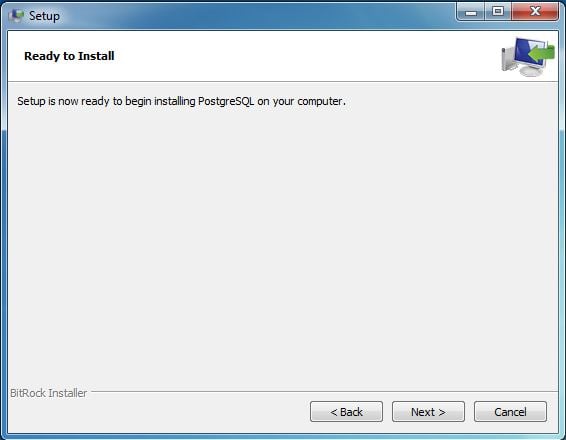
- Now the Setup window will appear displaying, ready to install,as given below.
- For starting installation click on the next button and the following window will appear
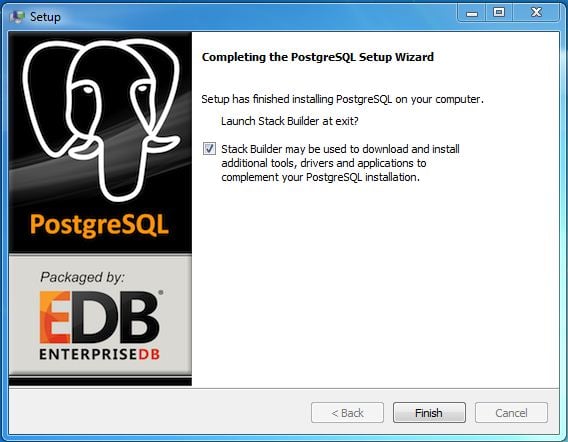
- After the installation gets complete the following window will get displayed.
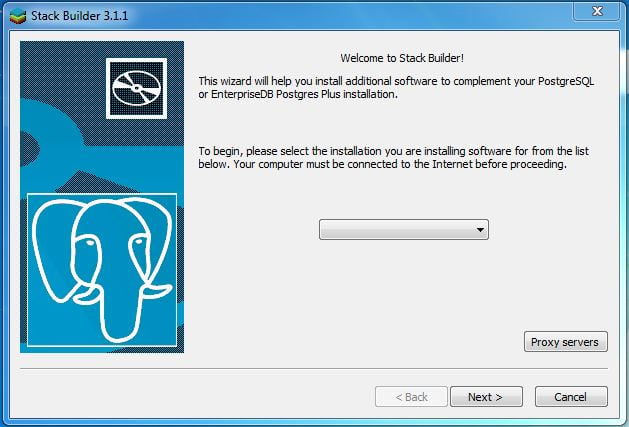
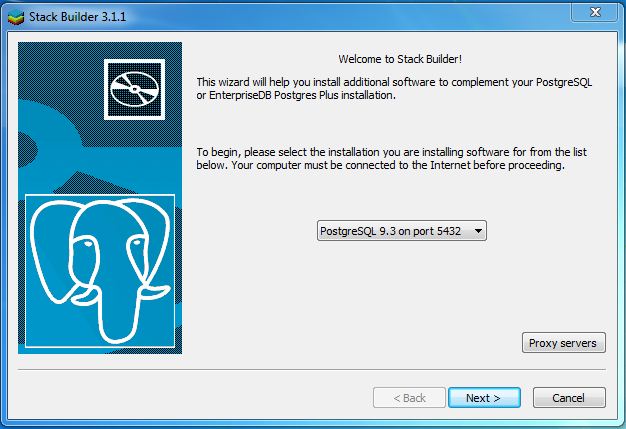
- Tick the Stack Builder may be used….statement and click on finish button you will have following window :
- Then select the “PostgreSQL 9.3 on port 5432” from the check box and then click next button.
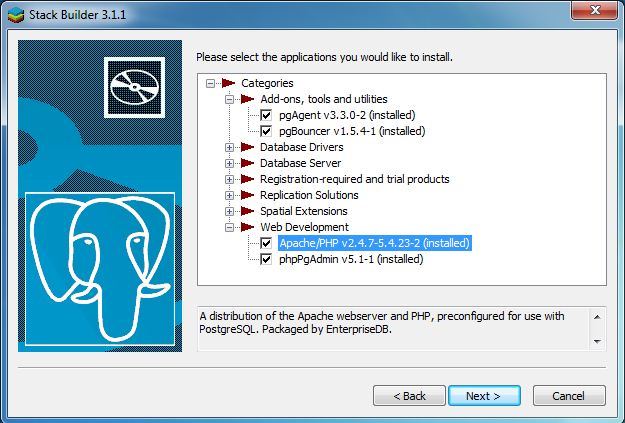
- The following window will get displayed.
- Now select only the checked options from this window
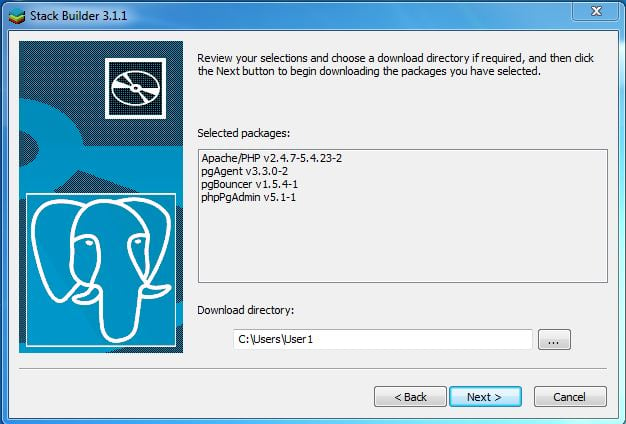
- After selecting click on the next button,the following window will appear.
- Once more click on the next button.
- In the above window make sure to uncheck the “skip Installation“ checkbox ,click the next button,following window will appear
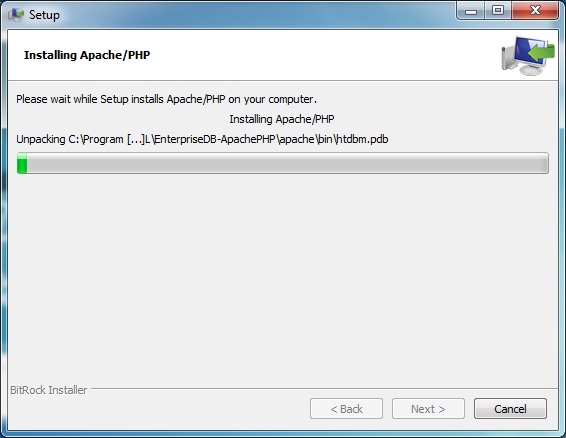
- Now click on the next button the installation of other components will start as given below.
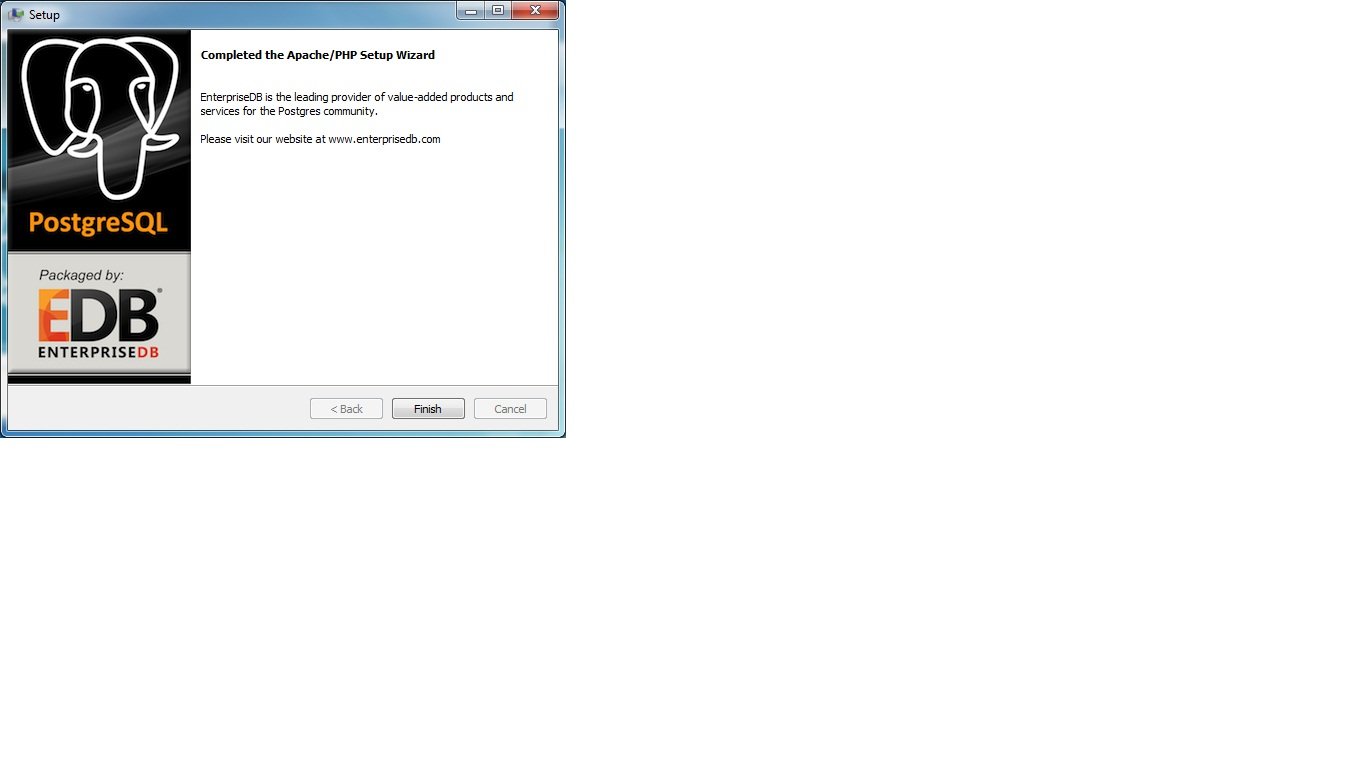
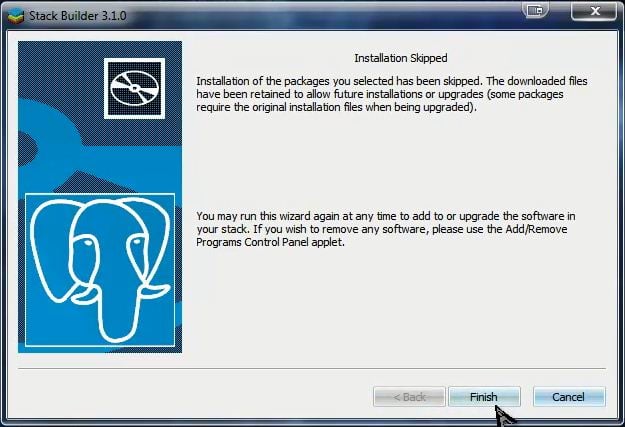
- After this the following window will appear then click on the finish button.
- Then finally the following window will appear displaying that the installation is complete as given below.
- Then click on the finish button.
- For starting the PostgreSQL for the first time follow the steps as stated below :
- Click on the start->All Programs->PostgreSQL 9.3->pgAdmin III,following window will be displayed.
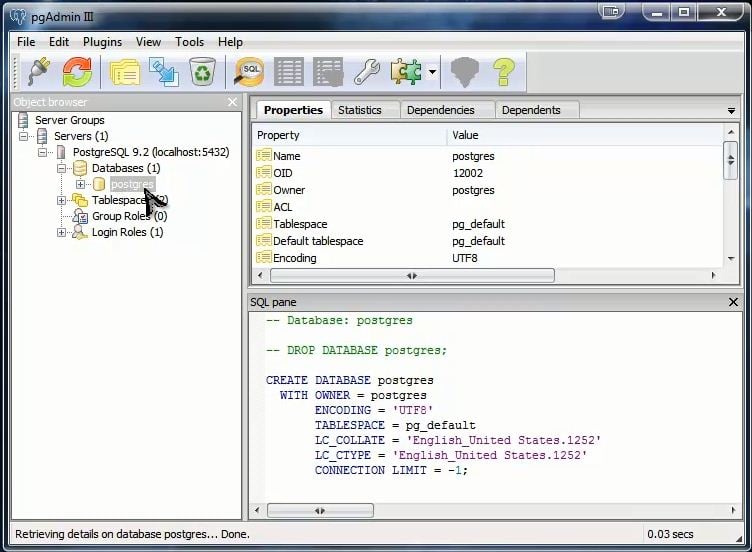
- After opening the pgAdmin III the following window will be displayed :
- In the above window go to the PostgreSQL 9.3 from the object browser and right click on it and then click on connect.
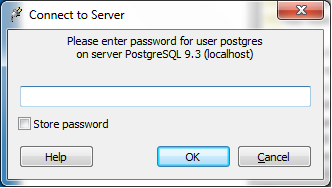
- The following window will appear.
- Enter the password in the above window. The password which was entered during installation in step 8.
- After the connection you can see the following window of the postgres database. This database comes by default.
- So now let’s create a database for our project:
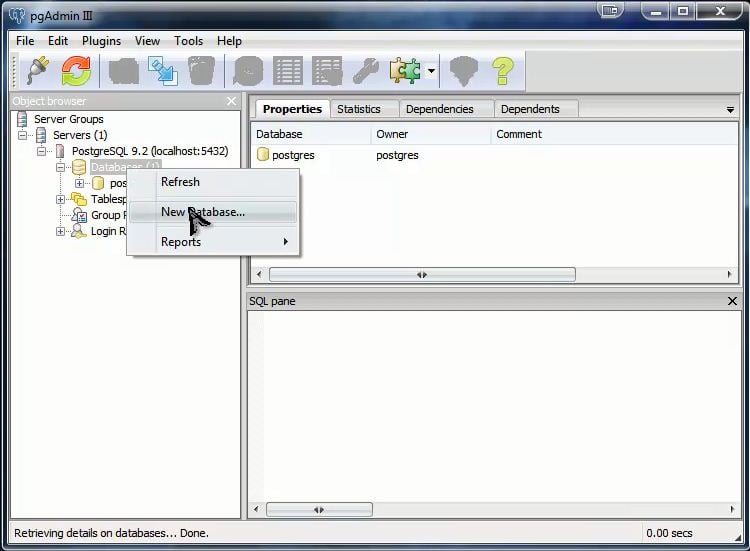
- As we can see in the window given below,right click on the data base.Then click on the New Database option
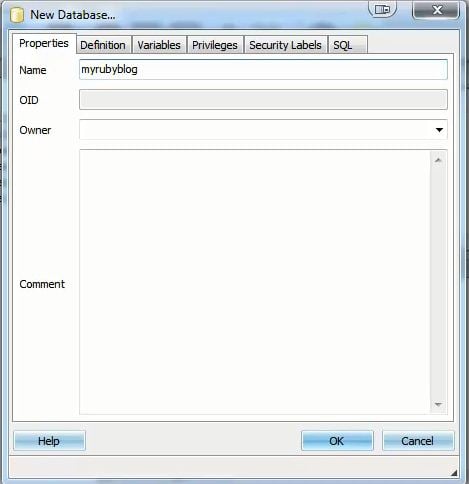
- The Following window will get displayed.
- Then type myrubyblog adjacent to the name as given below,then click Ok Button.
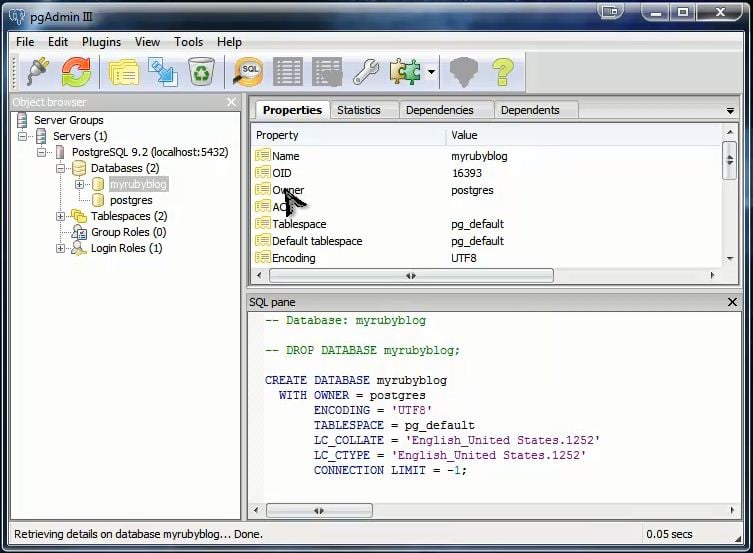
- This will create the database as we can see in the following window.
- Thus we have created a database.
- Thus we have learnt installing a Postgresql server.
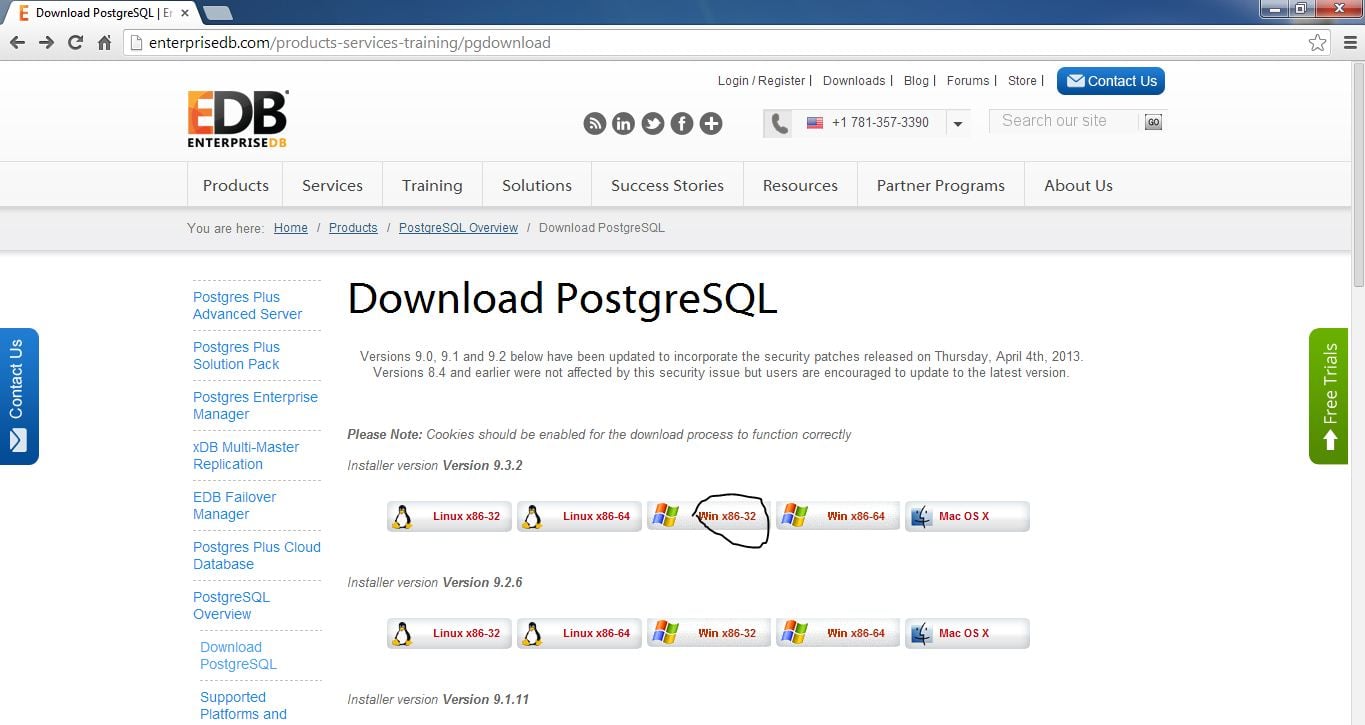
As given above download the latest version of Postgresql for windows of respective 32 or 64 bit version depending on the system.