
 Today we will learn how to install Zend framework on windows in this PHP tutorial.
Zend framework generally requires space of about 200 MB on your hard disk for installation.
You can go to www.zend.com to download the zend framework setup.
Here download the latest version of zend for installation.
Let us start the steps of Zend framework installation:
- After downloading the setup double click on the .exe file in the extracted folder, to begin the installation. You will see the following Welcome screen.
- Now click on Next. You will see the zend server license agreement as shown below:
- Read the terms and then select I accept the terms in license agreement and then click Next.
- Now the setup type page is displayed as shown below:
- Here three installation types are displayed viz. Typical, Full and Custom.
- Typical: Typical installation type installs the most common options and is recommended for most users.
- Full: Full installation type installs all the components included in the installation package.
- Custom: Custom installation type gives you complete control over which installation packages you want to install.
- We will select the Typical installation type and then click Next. The web server page is displayed after this as shown below:
- Select web server on which you want to install the PHP and also the installation location and then click Next.
- Now configure the ports your web server will listen to in the next window that appears as shown below:
- Click on Check Ports button to verify that the port is not occupied.
- Now click Next. The installation settings page is displayed
- Review the features to be installed and then click on Install button as shown below:
- The Zend framework will be installed successfully and after complete installation will show the installation complete page as shown below:
- Now click Finish.
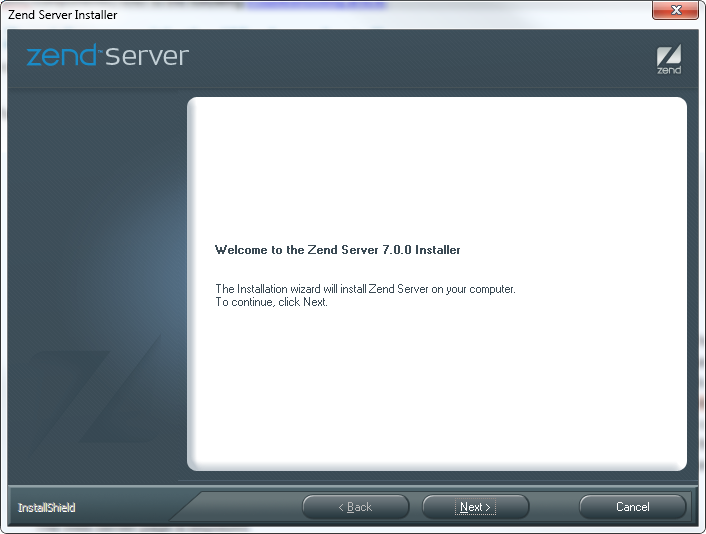
fig 1
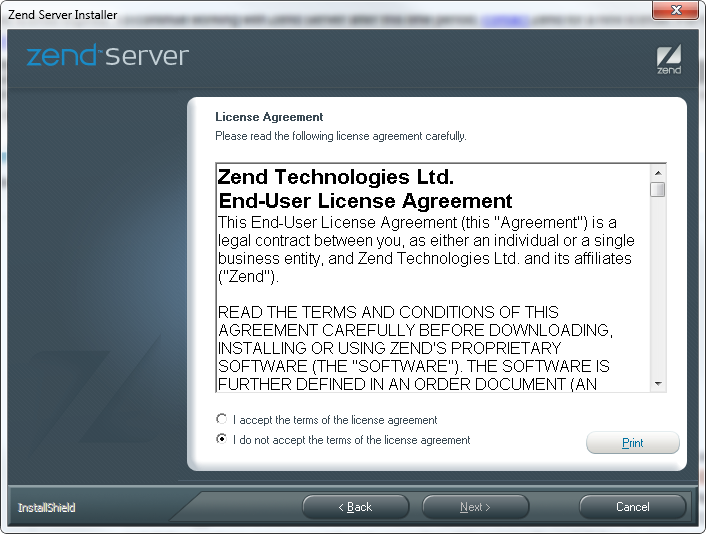
fig 2
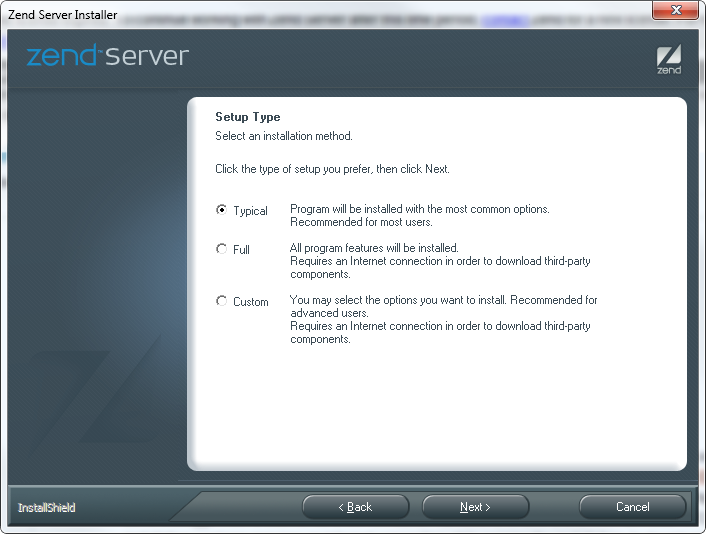
fig 3
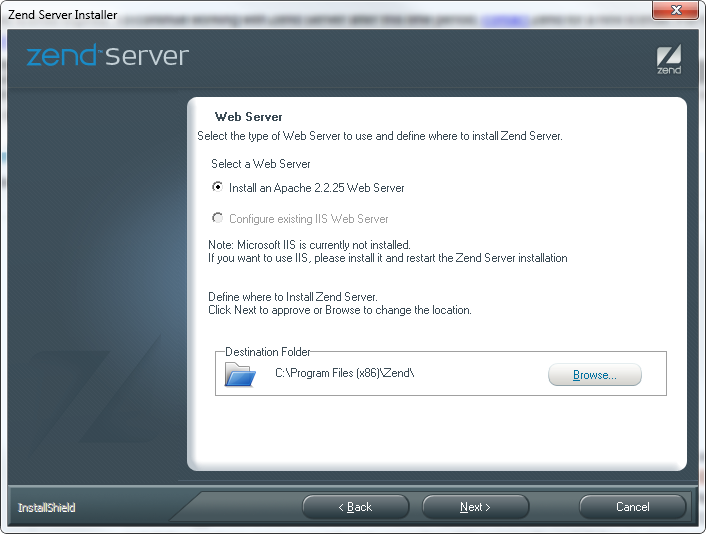
fig 4
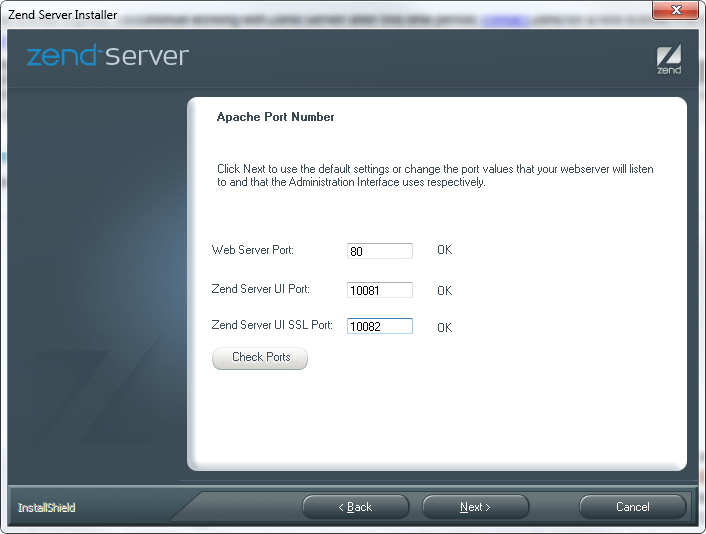
fig 5
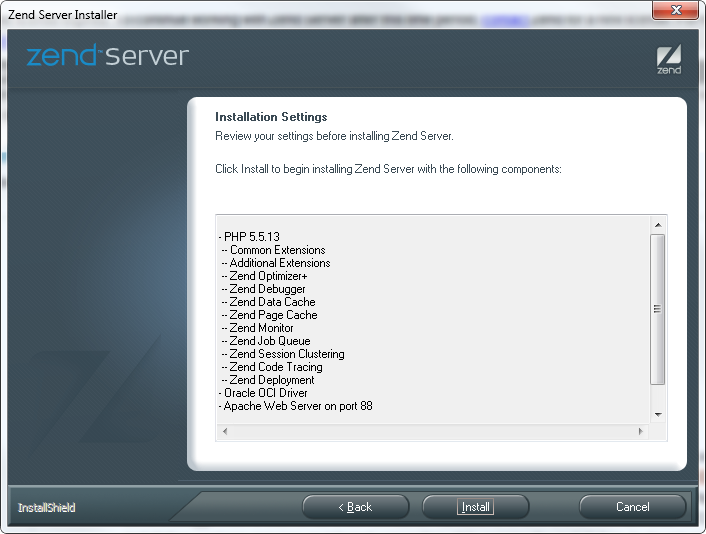
fig 6

fig 7
Thus we learned to install zend framework successfully in this Installing Zend Framework for PHP tutorial.

