

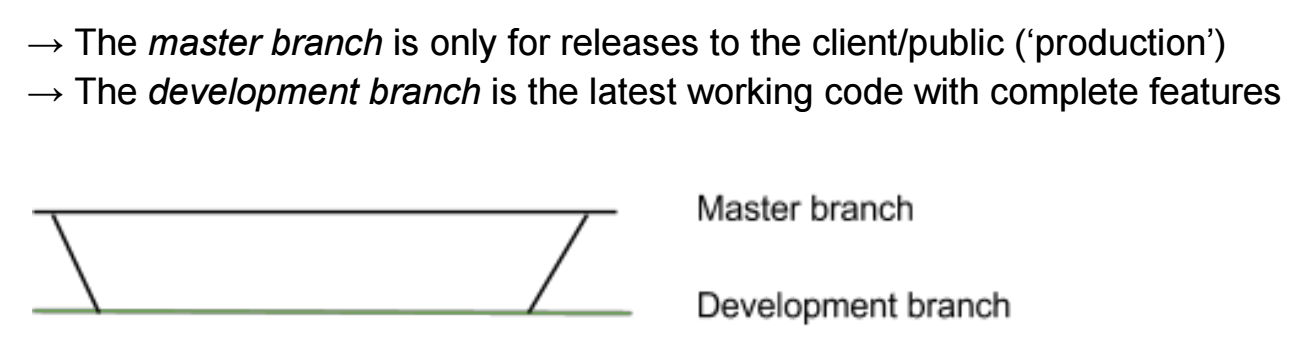
Git is a powerful fast and flexible source control system, but can also be a point of confusion for many new users. This article can be considered an introduction to git as a version control system and an introduction to the Git Flow one of the many alternative schemas for standardising the use of Git in application development such as GitHub Flow.
In this article we think of the Git Flow in the simple clean context of the GitHub Flow the principle difference being that we create a develop branch off master and then branch of that.
When producing software components via a process known as Integration testing it is possible that the end result is a lot of test source in the build that over time becomes redundant and can often break the build as new dependencies are introduced.
Typically work begins with unit tests followed by Integration tests eventually working up to builds for the main source. For previously developed applications typically of legacy software to be refactored the higher level refactored components are run in a Integration test before refactoring the more complex and slower to build main source.
It is possible to simplify this process and eliminate unwanted legacy code in the test packages by using the Git Flow concept of a feature branch.
Introducing the GitFlow
There are competing definitions and schemas for what is known as the Git Flow. In the simplest sense if I am developing I am on what is known in the Git Flow schema as the develop branch. When I am asked to create a new component that involves significant new dependencies and code I can instead of creating a test, create a new git branch which in the Git Flow schema is known as a feature branch. Here I introduce the new dependencies and bootstrap the new components code. Then if the new component works out I can merge the successful result back into the develop branch and if I want simply delete the unused feature branch at some point.
Introducing the Git Flow Schema
There are schemas for naming and configuring the branches used in a development flow, that is the Vincent Driessen’s branching model. This is what has generally become the model closest to an all encompassing git flow.
After a while creating branches for developing software components becomes a simple process, however for me the weak spot for this has always been the merge step particularly when you work in teams with people who do not know what they are doing or dislike git for some reason. Fortunately there are tools to assist in branching/merging. One excellent such tool is SmartGit.
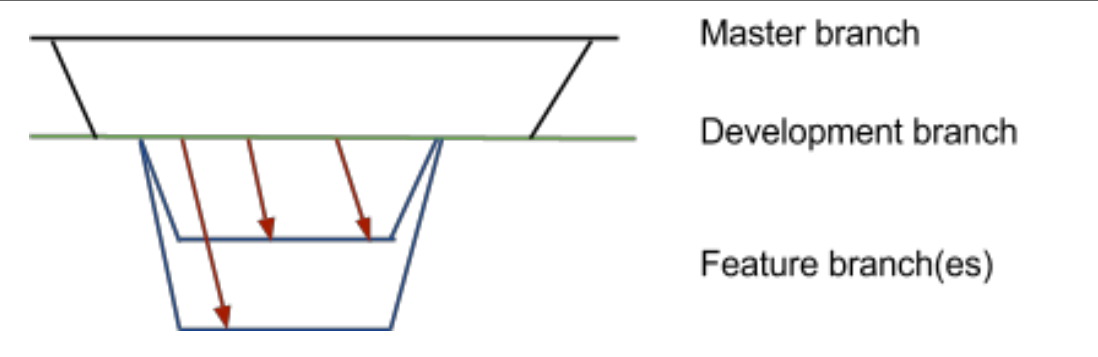
The schema given in Driessen’s model is have outlined below
- Release a released version of the application
- Master – permanent released version of the application
- Develop – permanent work-in-progress version of the application
- Feature – each feature branch corresponds to work on a particular area in the context of this article this would correspond to a integration test
- Hotfix urgent fix.
Its important to realise we do not need to get too fixated on any one schema, keep a flexible approach, as with design patterns certain successful models will emerge from the heat of battle or deadlines, however no one size fits all. Rather it is important to realise that all this grows from the fast flexible git branch mechanism. The upshot of using Git Flow with the standard schema is that almost all of your development happens on feature branches.
Simple Practical Example with SmartGit
- Download and install Git and SmartGit.
- Configure a repository and synchronise with SmartGit .
- Following GitFlow create a develop branch and then create feature branches for development. SmartGit will prompt you if you forget which branch you are on and try to commit any changes on the master branch
- Once work on the feature is done, and you have integrated develop and tested, you merge it back into develop.
- When the codebase in the develop branch is ready to release, you can make a new release branch from the develop branch.
Using the supplied links download and install Git and SmartGit for your operating system, then create a repository on GitHub or simply use the repository here if you are happy to just experiment creating branches following the Git Flow schema.
Initial repository with link for cloning
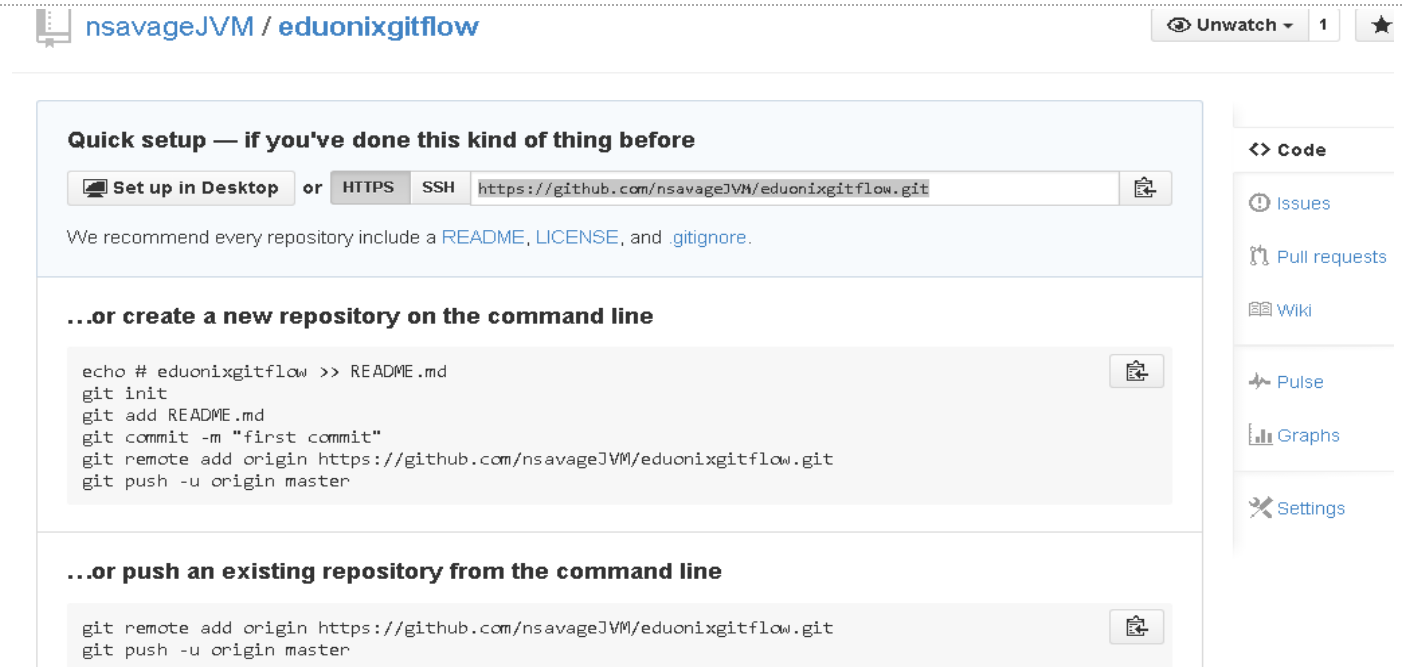 based on this created repository the clone command is
git clone
When the clone operation is complete you will see git reporting you are on the master branch.

Issue the following command to create a blank ReadMe.md file and perform an initial commit to the master branch.
touch ReadMe.md
git add .
git commit -a  -m “initial commit to master"
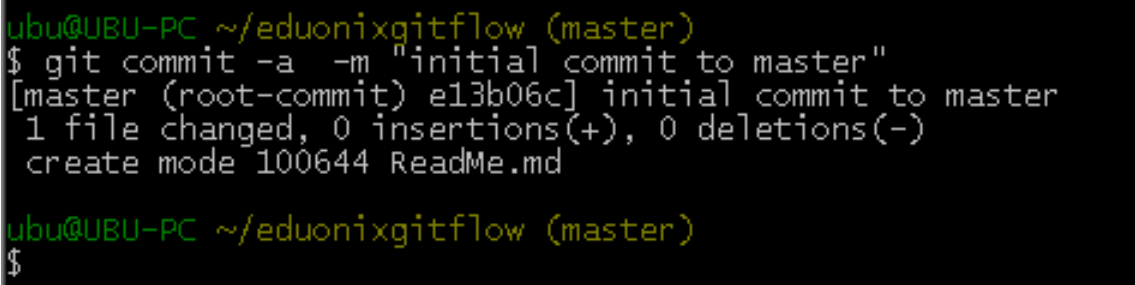
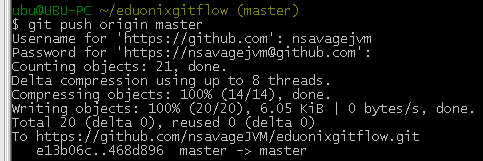
now we push to the master branch
git push origin master
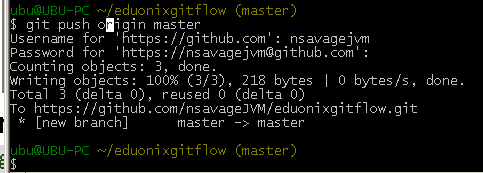
We are ready to synchronise smartgit with the repo and start branching
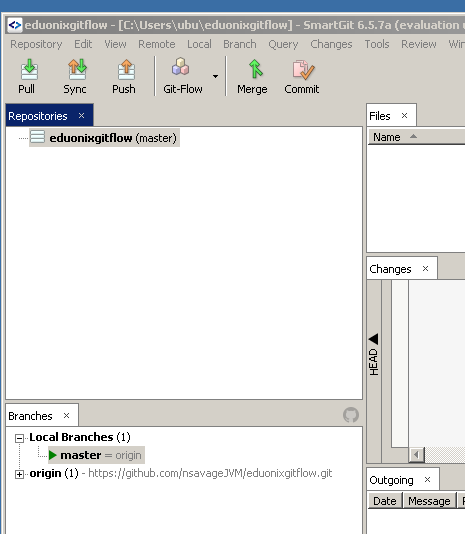
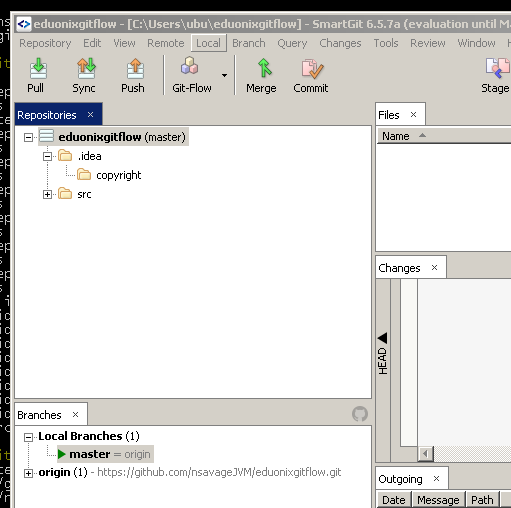
Open Smartgit and from the Repository menu select ‘Add Existing Repository’ navigate to ….

now the repository is synced, now we can use smartgit to resolve merging conflicts, in the lower left we can see the master branch as the only branch.
Create a empty main class in the master branch with a .gitignore and push to master branch
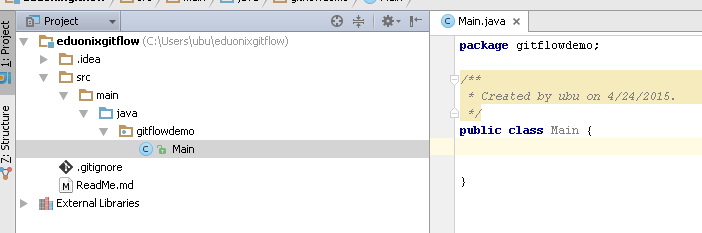
in the git bash shell
git add .
git commit -a  // add commit message in the vim pop up editor
git push origin master
now in SmartGit you will see it has stayed in sync
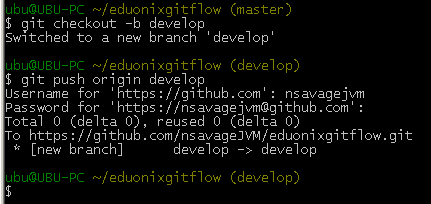
Now we are in a position to follow the git flow. The diagram below highlight are first git flow steps, from the master branch we create a develop branch.
issue the following commands to create a development branch
git checkout -b develop
git push origin develop
SmartGit has stayed in sync
Add a main method to are simple main class in the develop branch and add / commit / push to develop
git add .
git commit
git push origin develop
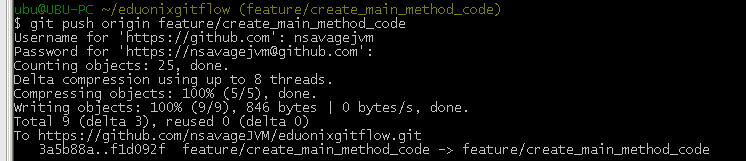
Create and push a feature branch off develop following the git flow naming convention for branches
git checkout -b feature/create_main_method_code
git push origin feature/create_main_method_code

now we have the structure summarised in the image below
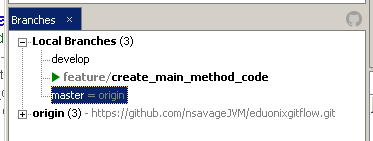
We can keep tab of all are local and remote feature branches in SmartGit

In the feature branch fill out the main method with some code commit and push
git add .
git commit
git push origin feature/create_main_method_code
now having implemented are feature we will merge back into develop
git checkout develop
git merge develop
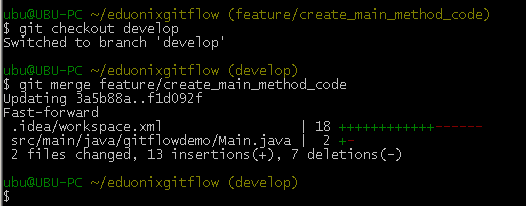
By updating code when we merge at times we will get what are know as merge conflicts, this will be a chance to show how useful SmartGit is as a git flow tool. So in the develop branch we change the code we created in the feature/create_main_method_code, then commit and push to develop then when we try to merge back into feature/create_main_method_code we generate a conflict. When you get a merge conflict you see the CONFLICT message and the MERGING status as shown below

Working in teams and for large complex projects these conflicts can become very difficult to resolve. Fortunately using a tool like SmartGit allows us to quickly resolve these conflicts
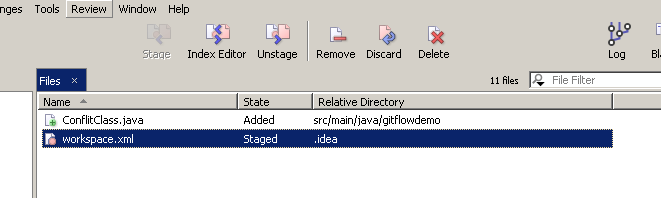
double click on the Index Editor icon to open the conflict resolver
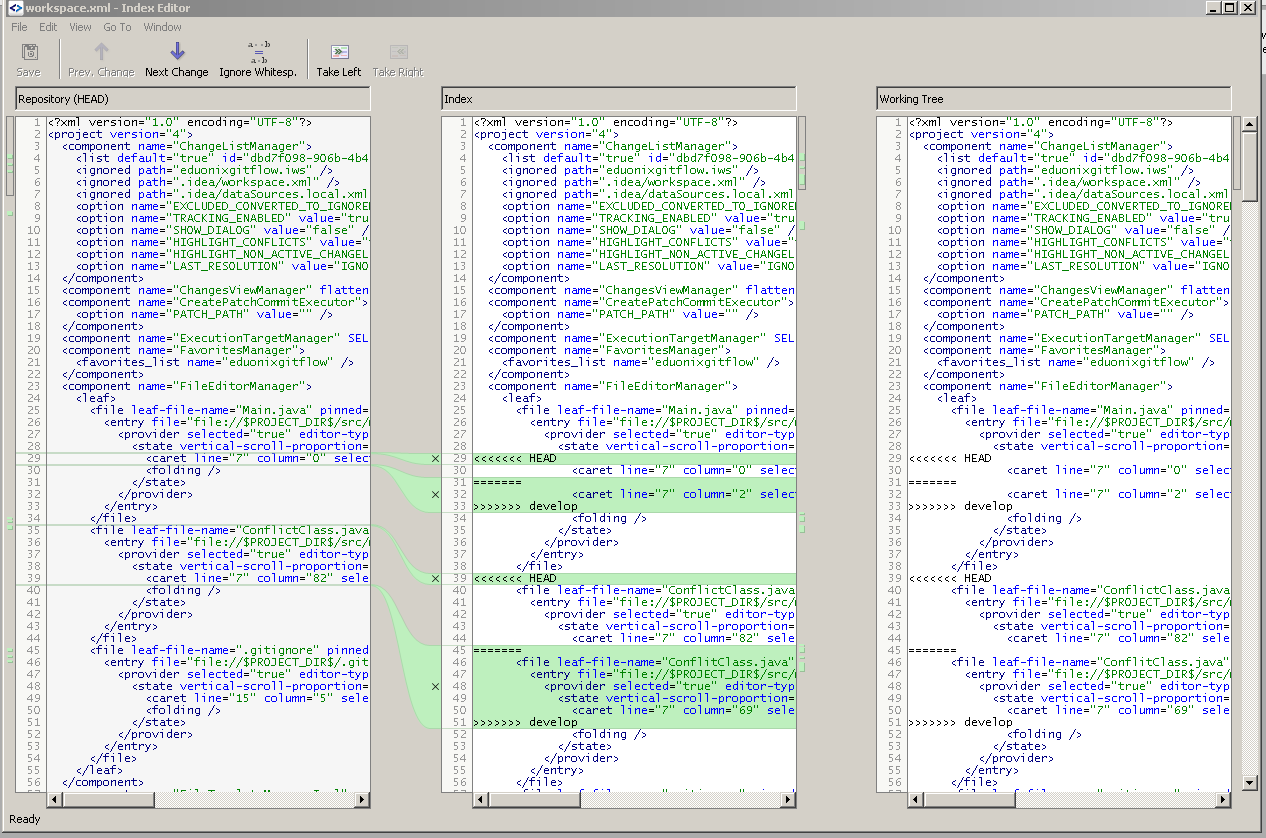
In this view the center pane is the result we will end up with for the merge and we resolve the conflicts here by selecting the take left or take right icons at the top, just remember whatever you end up with in the center pane will be what is left in the branch after the merge is complete.
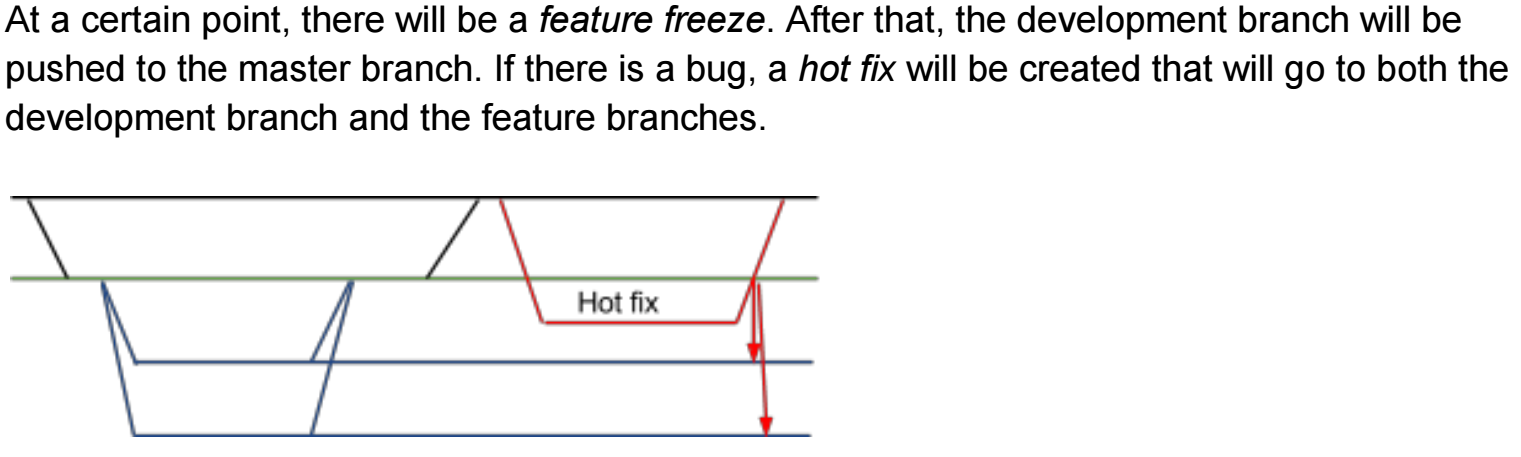
As well as feature branches we will create hot fixes as well. The syntax is the same, the flow for hotfixes will be generally the same. A Hotfix branch is created to fix a bug in production so we will often merge into many branches that support the application, where as a feature branch only merges into develop. Hotfixes are generally used after a feature freeze as outlined in the image below, often you need to fix the bug across all the remaining branches.
Conclusion
To summarise gitflow as we would use it for application development. In a very basic sense we initialise develop branch main source, then create a feature branch to develop an component, merge the result into develop, then when the application is ready clone a release branch from the develop branch.
I feel this flow is a natural evolution for an application development cycle based on integration testing. However many schemes for application development with git have evolved and this can lead to confusion for new developers. It is hoped the simple use case and git flow schema outlined here can serve as an entrypoint to progress to the more powerful and sophisticated git development schemes employed in software development today.

