Last time we went through javascript fundamentals. Today we will go through the fundamentals of a javascript library “JQuery”.
- What is JQuery?
- JQuery is a multi-browser javascript library. It is supported by all major browsers including Internet Explorer 6.
- It is nothing more than a bunch of javascript code.
- The purpose of javascript is to make it more easy to use javascript in a website.
- JQuery is just one file that can be downloaded and included in the document. It contains a complicated javascript code in it.
- Many common tasks that require a lot of javascript code to accomplish are wrapped into methods that can be called with a single line of code.
- JQuery makes it easy to navigate a document and select DOM elements.
- JQuery handles events effectively.
- We can use JQuery to create plugins on top of the javascript library.
- Tasks that can be done using JQuery
- Effects and Animations (Slideshows, tabs, etc.)
- Handle events (clicks, toggle, hover, etc.)
- Feature Detection.
- Manipulate the DOM (Document Object Model).
- Develop Ajax applications and work with Ajax etc.
<script type=”text/javascript” src=”jquery.js”></script>
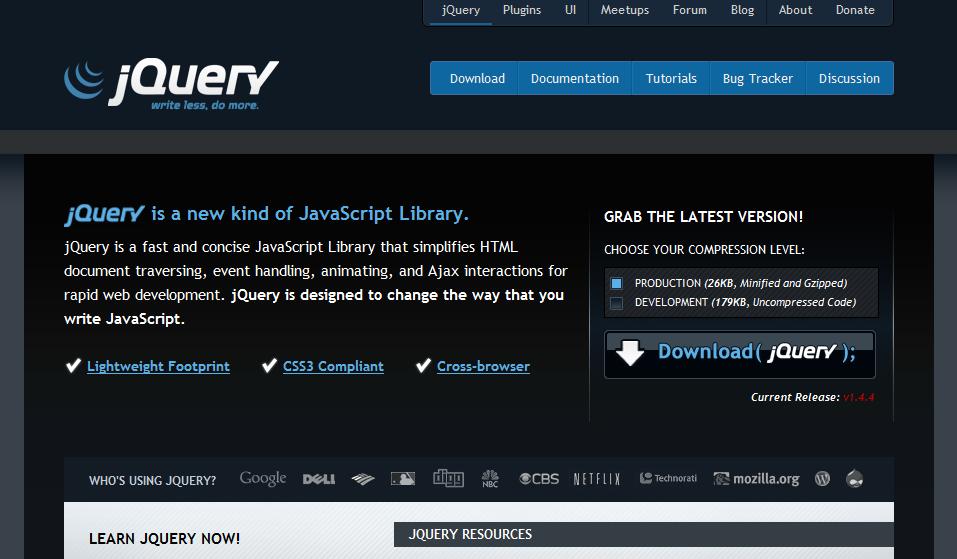
- We can download JQuery from “jquery.com” site and include it in our html document.
- This downloaded file can be included in the head section of the html document in the
<script>---</script>
tags as shown below:
- Next way to use JQuery is CDN (Content Delivery/Distribution Network). CDN is a way to use a library or document hosted by another service.
- We can use a hosted library such as Google and simply include the link in our document as shown below:
<script src=”//ajax.googleapix.com/ajax/libs/jquery/1.10.2/jquery.min.js”></script>
- Whenever we write a JQuery code in our html document, it should be executed only after the whole website is loaded in the browser i.e. only after the document is ready for it.
- When we include our external JQuery scripts or we add JQuery to the head area, we need to first check if the document is ready. If we don’t do this our JQuery code will run before the rest of the code and hence no action will be performed when required.
- To ensure that the JQuery runs only after the website is ready, the following syntax is used :
$(document).ready(function() {
 // all jquery code goes here
});
- One of the reasons that JQuery is so powerful is that we can grab and select virtually anything in the DOM.
- This anything could be divs, lists, paragraphs or any other tags or elements.
- The task of selecting elements is done by wrapping them in $(“”).
- Some examples and their description is shown below:
- $(“div”) – this will select all div tags.
- $(“#myDiv”) – this will select the div tag with id of “myDiv”.
- $(“p.myClass”) – this will select the paragraph with class of “”myClass”.
- Action is performing something with a selected element.
- Once we grab something with a selector, we can do things with it such as calling an action.
- Some action examples are shown below:
-
$(“div”).addClass(“myClass”);
The .addClass() action will add the class “myClass” to all div tags.
-
$(“#myClass”).css(“color”,”red”);
The .css() action will let us add css style to an element.
-
var myElement=$(“#myElement”).html();
We can get all of the html inside an element using .html() action.
- In the above example, .html() action gets all the html code of the element whose idis myElement and stores it in the variable myElement.
- We can use JQuery to handle number of events.
- Here is an example demonstrating how to use click event:
$("a”).click(function(){
   // do something when a link i.e. anchor tag is clicked.
});
- Blur
- Focus
- Hover
- Key down
- load
- We can show and hide elements with JQuery.
- These methods are shown below:
$("#myElement”).hide(function(){
	//do something once the element is hidden
});
Here, hide will hide the element with id “myElement” and execute the function written as soon as the element is hidden.
$(“#myElement”).show(function(){
	//do something once the element is shown
});
Here, show will show the element with id “myElement” and execute the function written as soon as the element is shown.
$(“#myElement”).toggle(function(){
	//do something once the element is shown/hidden
});
Here, toggle will show or hide the element with id “myElement” and execute the function written as soon as the element is shown or hidden.
- We can also add animations to elements with JQuery.
- Some of the methods are shown below:
$(“#myElement”).slideDown(“fast”,function(){
	//Do something when slidedown is finished
});
$(“#myElement”).slideUp(“slow”,function(){
	//Do something when slideup is finished
});
$(“#myElement”).slideToggle(“1000”,function(){
	//Do something when slide up/down is finished
});
Thus we finished an overview of JQuery fundamentals.


