

Foundation is a family of responsive front-end frameworks that make it easy to design beautiful responsive websites, apps and emails that look amazing on any device. Foundation is semantic, readable, flexible, and completely customizable.
Foundation for Apps is a framework that allows people and companies to build well designed future-friendly web apps. Foundation for Apps is designed to help you quickly prototype and build responsive web applications by using leading technologies like Flexbox and Angular.
In this article, we are going to build a mobile TODO List App using the “Foundation Apps”, the very popular mobile framework from Foundation. In this blog,you will learn how to install and use Foundation Apps, how to build a simple mobile application, how to implement a Side Menu Slider as well as about Routing Systems, LocalStorage APIs and even a little jQuery.
Steps for Installation: –
We want three things in order get started with installation of the Foundation App Framework: NodeJS, Git and RubyInstaller especially if you are working on windows (for other OS, you can download according to your system).
Firstly, we are going to install NodeJS, using the following link https://nodejs.org/en/ after that you have to download the NodeJS Setup file according to your Operating System. Once it is successfully downloaded, you can install it.
Secondly, we are going to install Git. So for downloading the setup file, you have to go to the following link https://git-scm.com/ and download the Git setup file according to your operating system. Once, it is successfully downloaded, install and run the file.
The last thing we are going to install is the Ruby Installer, for which you have to go the following link http://rubyinstaller.org/. Click on the download button for the Ruby 2.0.0 version. Once it is successfully downloaded, you can install it.
Now we are done with installation!
Steps for Creating Application:
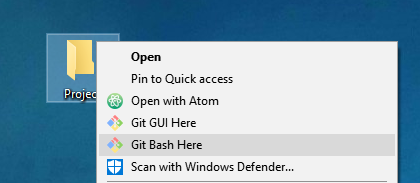
1. Create a new folder named Project, Right Click on Project folder and you will see the option Git Bash Here. Select it and look at image:
2. Once you open your project with Git Bash, minimize it and visit this URL – http://foundation.zurb.com/apps.html. You will get Foundation For App Page, on which click on the install button and you will be able to see the Getting Started Page. Follow the commands (see below) for installing and creating your new project. Open your Git again and fire the following command:
npm install -g foundation-cli bower gulp
gem install bundler
Here is a screen-shot of the command below:

![]()
3. Now its time to create our project using a new Foundation for Apps project. Simply use this command to make a new project.
foundation new myApp
My Project name was mtodo so I replaced the name with myApp so the command looks like this: –

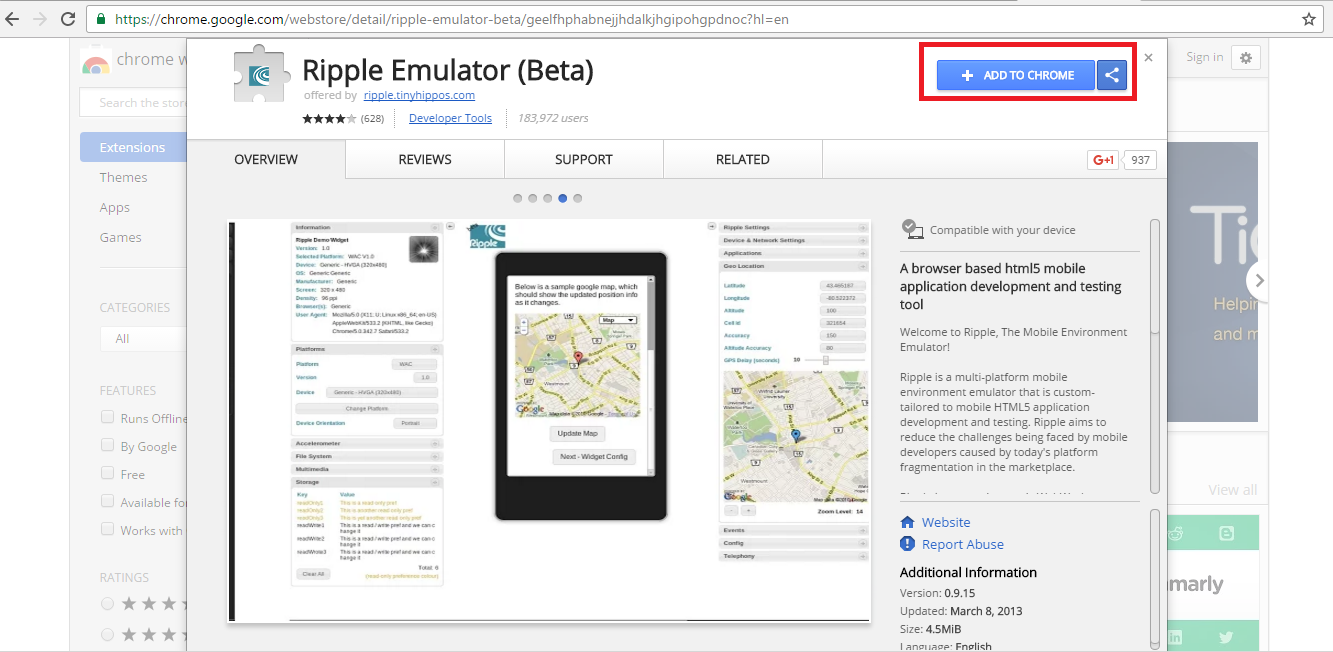
Once it is successfully created, we need to add the Ripple Emulator Extension in our Browser so just click on Add to Chrome (Chrome as I used my browser).
4. Now we will go back to our project, Once the project is successfully created you can fire the following commands:

You will get the following output:
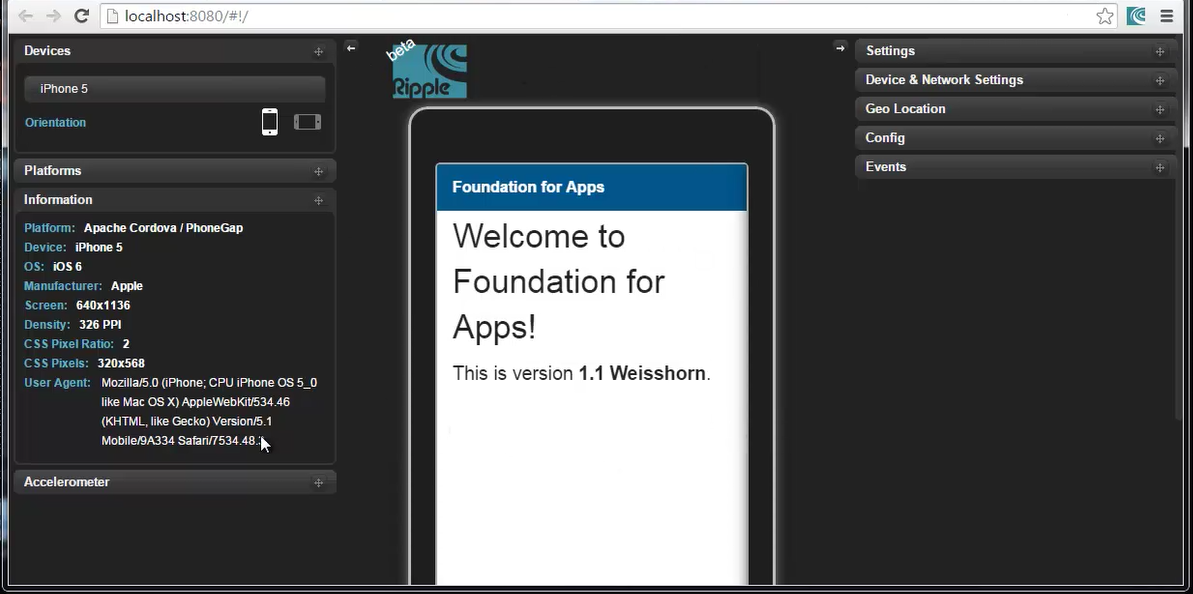
This is your file structure, I’ve attached a screen-shot below:
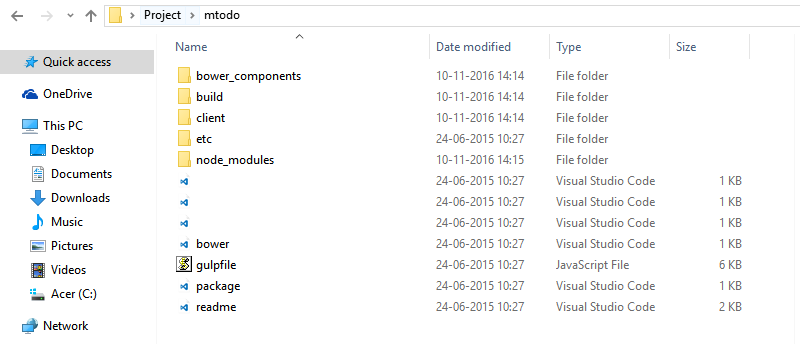
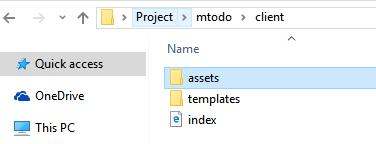
5. As you can see, there is Client folder; we will code in this folder. There are 2 sub-folders within – assets and templates. The structure looks like this.
Now refer the Foundation App document for designing your UI. I just open my index.html and added the following code, as well as created a file in template folder named as about.html.
<!doctype html>
<html lang="en" ng-app="application">
  <head>
    <meta charset="utf-8" />
    <meta name="viewport" content="width=device-width, initial-scale=1.0" />
    <title>Foundation for Apps</title>
    <link href="/assets/css/app.css" rel="stylesheet" type="text/css">
    <script src="/assets/js/foundation.js"></script>
    <script src="/assets/js/templates.js"></script>
    <script src="/assets/js/routes.js"></script>
    <script src="/assets/js/app.js"></script>
  </head>
  <body>
    <div class="grid-frame vertical">
      <div class="grid-content shrink" style="padding: 0;">
       <div class="primary title-bar">
        <div class="center title">MTodo</div>
        <span class="left"><a ui-sref="home">Home</a></span>
        <span class="right"><a ui-sref="about">About</a></span>
        </div>
      </div>
      <div ui-view class="grid-content">
      </div>
    </div>
  </body>
</html>
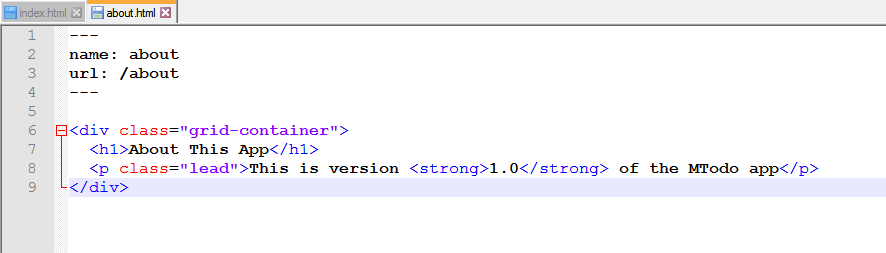
So your about.html will look like this: –
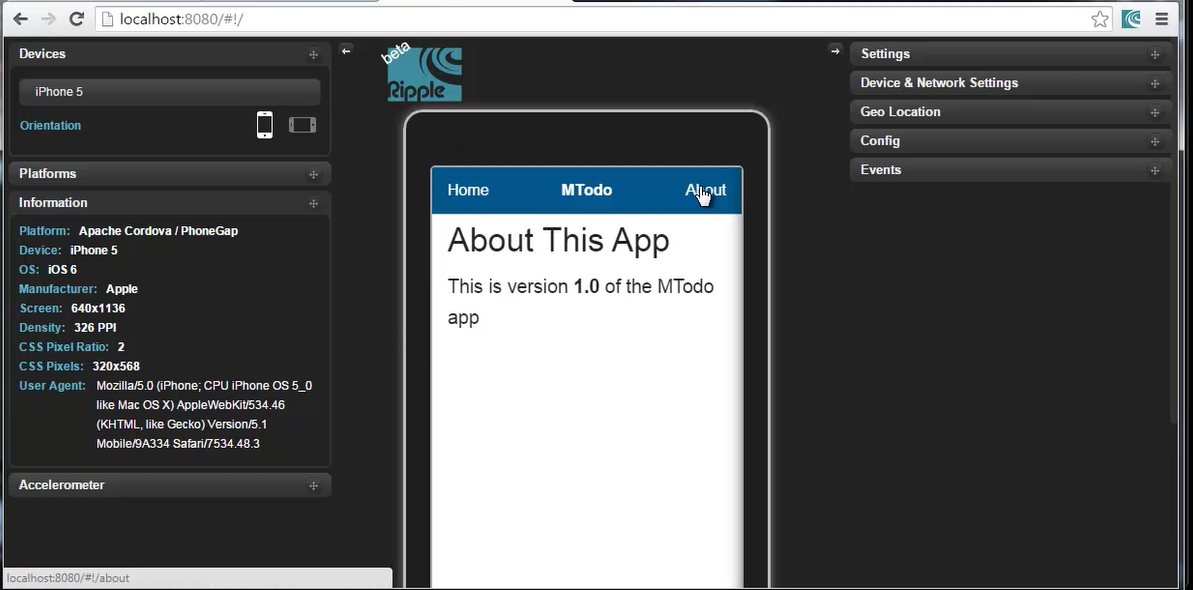
After adding the code, just restart your sever. Click on the About page, you will get the following output:
Steps for Adding and Listing Todos:
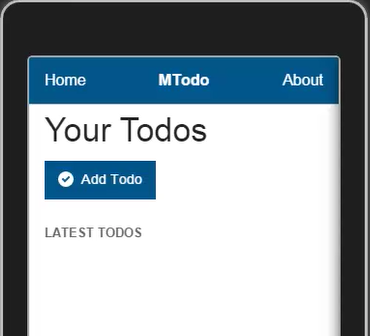
1. Now its time to create your UI, for which I am going to edit my home.html file. For creating the UI, I am referring to the documentation of Foundation App. Let’s look at the syntax and the code provided. I have attached the code below:
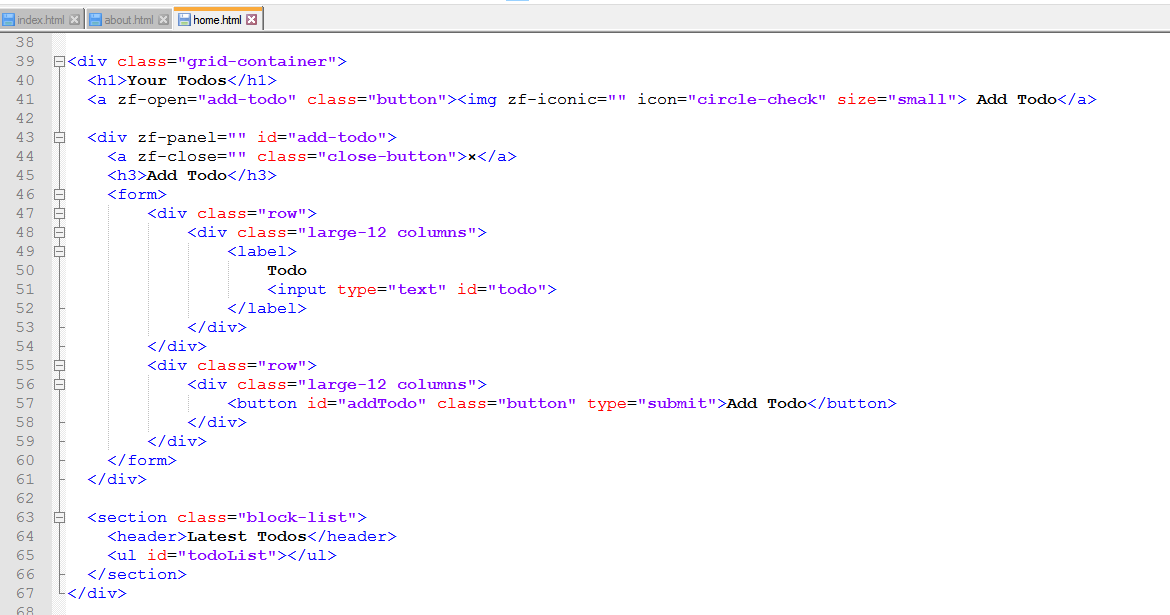
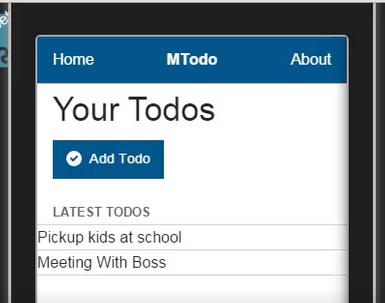
After adding code, it will look like this:
2. Now we are going to add more code into the home.html page, as well as add jquery links into our index.html page. In home.html, we are going to add the coding for storing data into the local-storage, as well as we are going list out the tasks. So your code looks like this:
---
name: home
url: /
---
<script>
	$(document).ready(function(){
		if(localStorage['todos']){
			var todos = JSON.parse(localStorage['todos']);
		} else {
			var todos = [];
		}

		function appendTodo(todo){
			$('#todoList').append("<li>"+todo+"</li>");
		}

		for(var i = 0; i < todos.length;i++){
			appendTodo(todos[i]);
		}

		$(document).on('click','#addTodo', function(){
			var todo = $('#todo').val();

			// Add todo to array
			todos.push(todo);

			// Save to local storage
			localStorage['todos'] = JSON.stringify(todos);

			// Append to the list
			appendTodo(todo);

			// Reset Form
			$('#todo').val("").focus();
		})
	});
</script>

<div class="grid-container">
  <h1>Your Todos</h1>
  <a zf-open="add-todo" class="button"><img zf-iconic="" icon="circle-check" size="small"> Add Todo</a>

  <div zf-panel="" id="add-todo">
  	<a zf-close="" class="close-button">×</a>
  	<h3>Add Todo</h3>
  	<form>
  		<div class="row">
  			<div class="large-12 columns">
  				<label>
  					Todo
  					<input type="text" id="todo">
  				</label>
  			</div>
  		</div>
  		<div class="row">
  			<div class="large-12 columns">
  				<button id="addTodo" class="button" type="submit">Add Todo</button>
  			</div>
  		</div>
  	</form>
  </div>

  <section class="block-list">
  	<header>Latest Todos</header>
  	<ul id="todoList"></ul>
  </section>
</div>
In the index.html file, we will add the following code.
Index.html: –
<!doctype html>
<html lang="en" ng-app="application">
  <head>
    <meta charset="utf-8" />
    <meta name="viewport" content="width=device-width, initial-scale=1.0" />
    <title>Foundation for Apps</title>
    <link href="/assets/css/app.css" rel="stylesheet" type="text/css">
    <script src="http://code.jquery.com/jquery-1.11.3.min.js"></script>
    <script src="/assets/js/foundation.js"></script>
    <script src="/assets/js/templates.js"></script>
    <script src="/assets/js/routes.js"></script>
    <script src="/assets/js/app.js"></script>
  </head>
  <body>
    <div class="grid-frame vertical">
      <div class="grid-content shrink" style="padding: 0;">
       <div class="primary title-bar">
        <div class="center title">MTodo</div>
        <span class="left"><a ui-sref="home">Home</a></span>
        <span class="right"><a ui-sref="about">About</a></span>
        </div>
      </div>
      <div ui-view class="grid-content">
      </div>
    </div>
  </body>
</html>
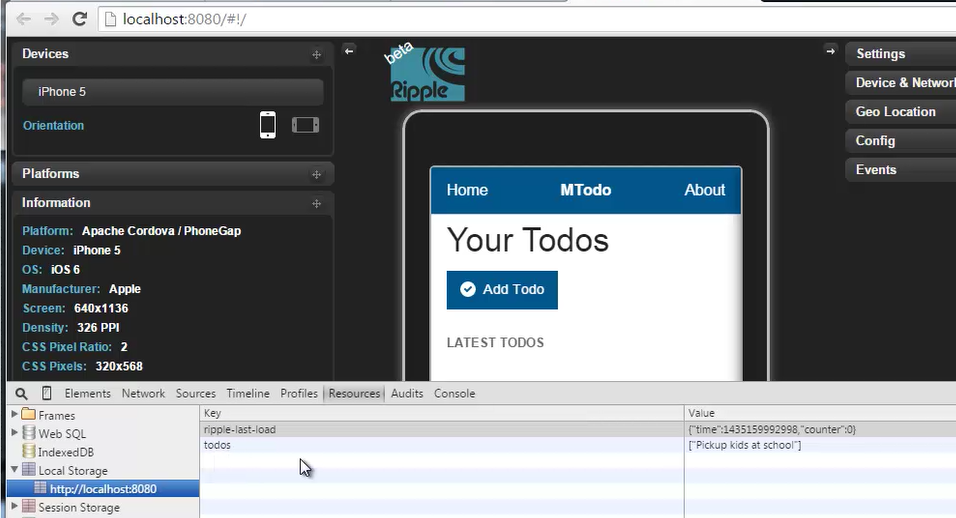
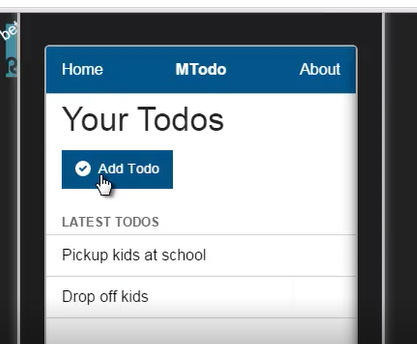
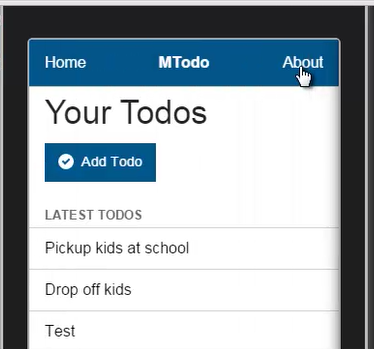
After adding this code, you will get the following output:
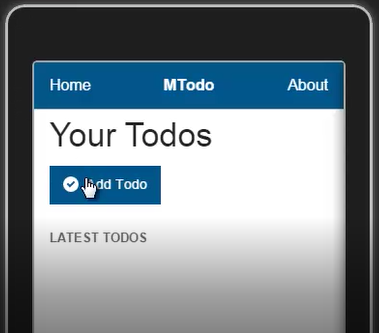
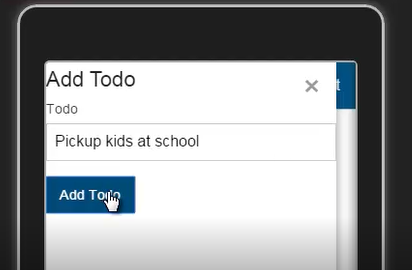
You will be able to save the task in your Local-storage.
After that we added another task to the list and save that as well.
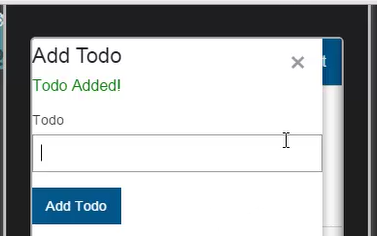
Steps for Displaying Message and Deleting Todos:-
1. Now we are going to add the codes for displaying the ‘ToDo Added’ message. For this we have to create the _custom.scss file in your scss folder. After that we are going to add importing scss file in your app.scss.
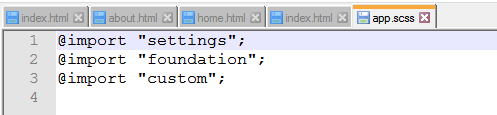
Your _Custom.scss file will look like this:

This is the code that you will add to your home.html file for also deleting the Todo:
---
name: home
url: /
---
<script>
	$(document).ready(function(){
		// Hide Message
		$('#msg').hide();

		if(localStorage['todos']){
			var todos = JSON.parse(localStorage['todos']);
		} else {
			var todos = [];
		}

		function appendTodo(todo){
			$('#todoList').append("<li><a data-todo='"+todo+"' id='aTodo' href=''>"+todo+"</a></li>");
		}

		for(var i = 0; i < todos.length;i++){
			appendTodo(todos[i]);
		}

		$(document).on('click','#addTodo', function(){
			var todo = $('#todo').val();

			// Add todo to array
			todos.push(todo);

			// Save to local storage
			localStorage['todos'] = JSON.stringify(todos);

			// Append to the list
			appendTodo(todo);

			// Reset Form
			$('#todo').val("").focus();

			// Display message
			$('#msg').fadeIn();
		});

		$(document).on('click', '#aTodo', function(){
			var todos = JSON.parse(localStorage.getItem('todos'));
			var cur_todo = $(this).data('todo');
			$(this).parent('li').css('border', 0).html("");
			$(this).html("");
			for(var i = 0;i < todos.length;i++){
				if(cur_todo == todos[i]){
					todos.splice(i, 1);
				}
			}
			localStorage.setItem('todos', JSON.stringify(todos));

		});
	});
</script>

<div class="grid-container">
  <h1>Your Todos</h1>
  <a zf-open="add-todo" class="button"><img zf-iconic="" icon="circle-check" size="small"> Add Todo</a>

  <div zf-panel="" id="add-todo">
  	<a zf-close="" class="close-button">×</a>
  	<h3>Add Todo</h3>
  	<div id="msg">Todo Added!</div>
  	<form>
  		<div class="row">
  			<div class="large-12 columns">
  				<label>
  					Todo
  					<input type="text" id="todo">
  				</label>
  			</div>
  		</div>
  		<div class="row">
  			<div class="large-12 columns">
  				<button id="addTodo" class="button" type="submit">Add Todo</button>
  			</div>
  		</div>
  	</form>
  </div>

  <section class="block-list">
  	<header>Latest Todos</header>
  	<ul id="todoList"></ul>
  </section>
</div>
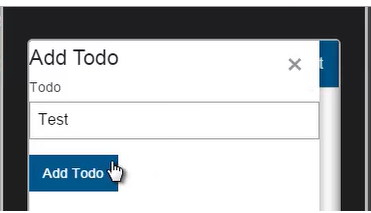
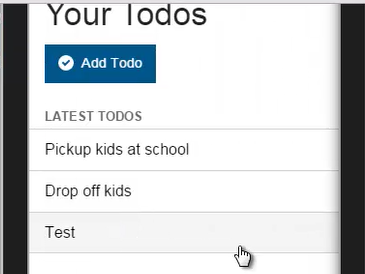
After adding the code, you will get following output:
If you want to delete the todo, you have to just click on it and it will automatically be deleted.

I hope this has been helpful for you guys in understanding a how to create a complete functional mobile application using the Foundation Framework. Goodluck!

