

Angular is an inclusive platform that makes it extremely easy to build an application. Angular simplifies challenges for developing an application with the help of tools such as templates, an end to end tooling. etc. Angular helps developers build applications for web, mobile and desktop application. AngularJS is created by combining objects with the help of the dependency injection. AngularJS contains functions and objects which are limited and available for Angular application.
In this article, we are going to learn how to create a Keylock project with AngularJS. Keycloak is an open source identity and access management that adds a layer of security on your application. This will allow you to create a log-in access on your application, where users will be prompted to log in to use the application. Keycloak can be easily integrated with Angular JS, making it a breeze for users who want to add an extra layer of security on their application. Without NgRx, the angular application is incomplete, but we will see how to use in Keycloak.
What is Keycloak:
Security is a crucial part of any application, only the implementation part is difficult. The code is often poorly implemented and neglected but the security server allows for authentication and authorization.
Keyclock is an open-source Identity and Access Management solution that makes it easy to secure applications and services using little to no codes. All you need to do is integrate it into your app and it can help secure your app.
Features of Keycloak:
Keycloak contains some features that you should be becoming familiar with;
1) Kerberos Bridge:
Kerberos is used for authentication. It is developed by MIT for strong authentication and is also known as the network authentication protocol.
2) Single-sign-on:
Single sign-on is the repository directory example, which is known as LDAP that means lightweight directory access protocol. This feature allows users to sign-in once through Keycloak, without having to sign into multiple different applications. This eliminates the need for dealing with login forms and authenticating users. With Keycloak, you sign-in once through Keycloak and you are automatically signed into all applications that use Keycloak. The same also works for signing out. In addition to signing in using username and password, Keycloak also allows authentication with OpenID Connect or SAML 2.0 Identity Providers.
3) User Federation:
In user federation, you can easily implement your own provider. Keycloak is used for lightweight directory access protocol and active directory server connection.
Before setting up your Angular JS application in your system, you require NodeJS’ NPM package manager, which will help us install Angular JS and Keycloak on your system.
Here are steps for integrating Angular and Keycloak:
Download Node JS from https://nodejs.org/en/ and install it in your machine.
Download git which is a platform from where we are going to run commands https://git-scm.com
Install chocolatey, a package manager to install Yarn https://chocolatey.org/ Install Yarn by using below command: choco install yarn
4) Client Adapters-
With the help of Keycloak Client Adapters, it’s very easy to not only secure your application but also to secure services. This adapter is available for programming languages and multiple platforms. If there is no adapter available for your selected platform you don’t need to worry, you can easily use OpenID Connect Resource Library or SAML 2.0 Service Provide library.
5) Standard protocol:
Keycloak is based on standard protocol and provides support for OAuth 2.0, SAML, OpenID Connect, etc
6) Social Login and Identity Brokering:
Keycloak allows integrating login with social networks through the admin console. All you have to do is select the social network you want to add, without having to make any changes to the coding. You can also integrate social network login through existing OpenID Connect or SAML 2.0 Identity Providers.
7) Account Management Console-
Keycloak also makes it easy for users to manage their own account by using the Account Management Console. Users can easily update their information, change their password, change profile details and even delete their account. Users are also able to manage their sessions and account history through the console.
8) Authorization Services
Keycloak
Now, let’s see how we can create a Keycloak Application-
Create a folder inside your project folder and name it “keycloak”. In the command prompt, run the code below to install Angular JS.
npm install –save angular
Create a Keycloak project
Open a command prompt as an administrator, and go to “C:\projects\keycloak” location. Now run the command, below to install the keycloak project:
git clone https://github.com/qdouble/angular-webpack-starter.git angular-keycloak
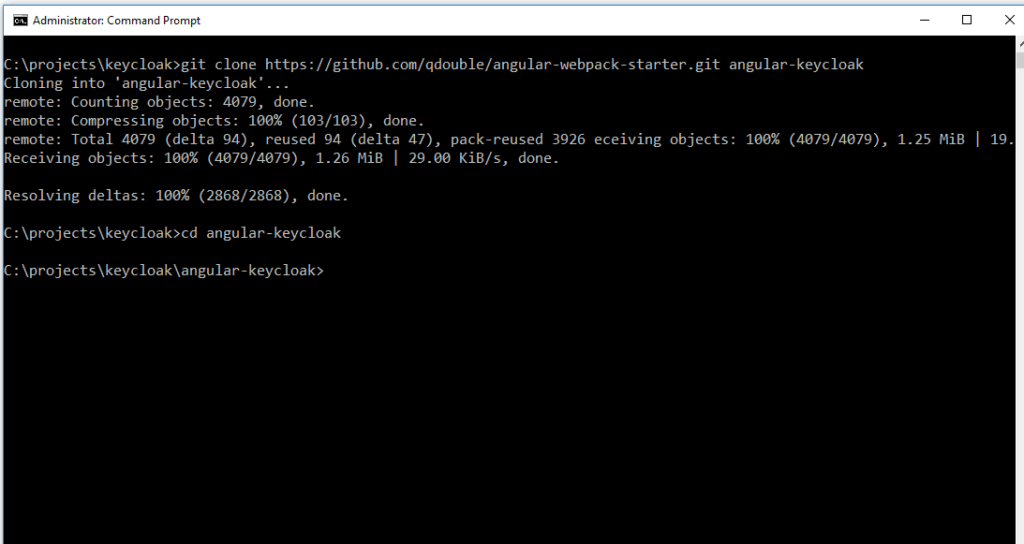
A project with the name “angular-keycloak” will be created in your “C:\projects\keycloak” location. Go to the angular-keycloak folder and install the node module with below command
npm install
The above command will add the npm dependency in your application. Now, run the command below to run the application:
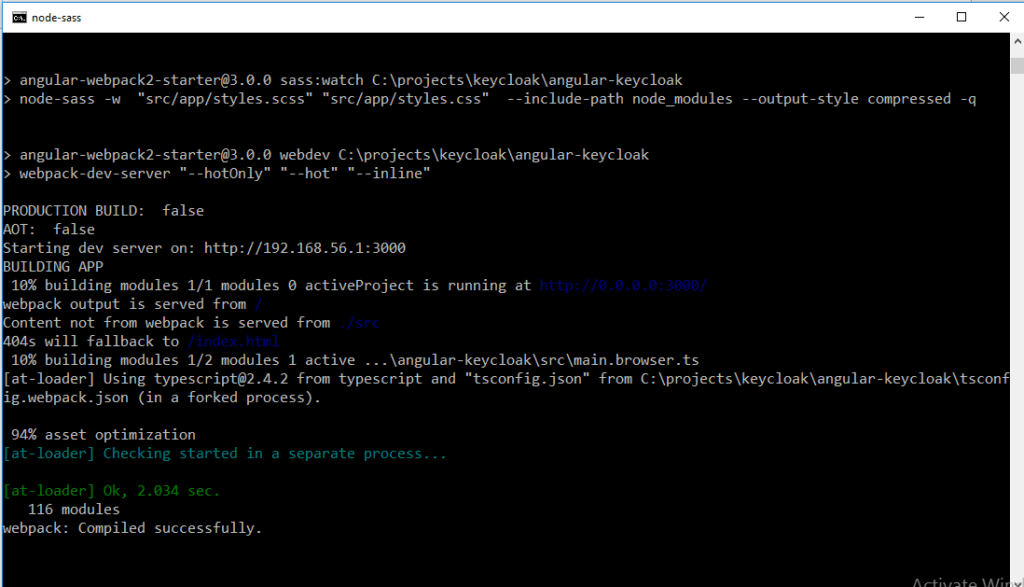
npm run start:hmr
After running the above command, you will see that the project is running on localhost:3000
Now, simply go to the browser, type localhost:3000 and you will see that your project is running.

This article will help you to build an application using Keycloak and Angular.

