

In this article we are going to create a Transition Drop Down Menu using Html & CSS.
This article will teach you a few things such as CSS3 transition basics, Positioning, Nested elements in HTML, a tiny bit of JQuery, Pseudo classes like :before and :after as well as you will learn about media queries & responsive CSS. Transitions of all kinds are the rage right now in web design, whether they’re used in a menu or they’re whole page transitions.
Steps for creating structure: –
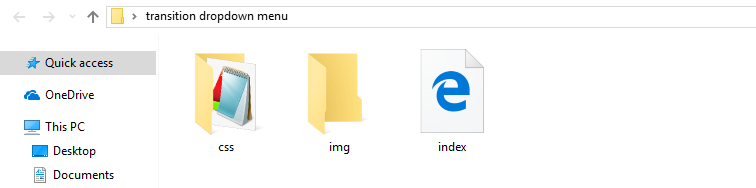
1) Now we are going to create folder called as Transition Drop Down Menu inside that folder we created two folders named as css & img. The css folder will contain the style.css files as well as we will create the index.html outside the folder. I’ve attached the screen-shot below for reference :
Steps for Implementation: –
1) Now, its time to start designing our project. For this, we are going to design the UI using HTML, so we are going to add the following code in our index.html.
<!DOCTYPE html>
<html>
<head>
	<title>CSS Dropdown Menu</title>
	<link rel="stylesheet" href="css/style.css" type="text/css">
</head>
<body>
	<nav id="menu-wrap">
		<ul id="menu">
			<li><a href="#">Home</a></li>
			<li><a href="#">About</a></li>
			<li>
				<a href="#">Services</a>
				<ul>
					<li><a href="#">Web Design</a>
						<ul>
							<li><a href="#">HTML/CSS</a></li>
							<li><a href="#">Flash</a></li>
							<li><a href="#">Graphic Design</a></li>
						</ul>
					</li>
					<li><a href="#">Web Programming</a>
						<ul>
							<li><a href="#">PHP</a></li>
							<li><a href="#">Ruby on Rails</a></li>
							<li><a href="#">Python</a></li>
						</ul>
					</li>
					<li><a href="#">Web Hosting</a></li>
					<li><a href="#">SEO</a></li>
				</ul>
			</li>
			<li><a href="#">Projects</a>
				<ul>
					<li><a href="#">Project 1</a></li>
					<li><a href="#">Project 2</a></li>
					<li><a href="#">Project 3</a></li>
					<li><a href="#">Project 4</a></li>
				</ul>
			</li>
			<li><a href="#">Contact</a></li>
		</ul>
	</nav>
</body>
</html>
2) Once you are done with html we are going to add css part into our drop down. I’ve attached the code down below:
body{
	font-family:'Arial', Helvetica, sans-serif;
	background:#f4f4f4;
}

#menu, #menu ul{
	margin:0;
	padding:0;
	list-style:none;
}

#menu{
	width:90%;
	margin:60px auto;
	border:1px solid #107677;
	background:#111;
	background:linear-gradient(#1ebdbe, #107677);
	border-radius:6px;
	box-shadow:0 2px 2px #ccc;
}

#menu:before,
#menu:after{
	content:"";
	display:block;
}

#menu:after{
	clear:both;
}

#menu li{
	float:left;
	background:url(../img/sep.png) no-repeat;
	position:relative;
}

#menu a{
	float:left;
	padding:12px 30px;
	color:#fff;
	text-decoration:none;
	text-transform:uppercase;
	font:bold 12px Arial, Helvetica;
}

#menu ul{
	margin:20px 0 0 0;
	opacity:0;
	visibility:hidden;
	position:absolute;
	top:38px;
	left:0;
	z-index:1;
	background:linear-gradient(#1ebdbe, #107677);
	box-shadow:0 -1px 0 rgba(255,255,255,.3);
	border-radius:3px;
	transition: all .2s ease-in-out;
}

#menu li:hover  > ul{
	opacity:1;
	visibility:visible;
	margin:0;
}

#menu ul ul{
	top:0;
	left:150px;
	margin: 0 0 0 20px;
	box-shadow:0 -1px 0 rgba(255,255,255,.3);
}

#menu ul a{
	padding:10px;
	width:130px;
	display:block;
	white-space: nowrap;
	float:none;
	text-transform:none;
}

#menu ul a:hover{
	background:linear-gradient(#1ebdbe, #107677);
}

#menu ul li:first-child > a:after{
	content:'';
	position:absolute;
	left:40px;
	top:-6px;
	border-left: 6px solid transparent;
	border-right: 6px solid transparent;
	border-bottom: 6px solid #1ebdbe;
}

#menu ul ul li:first-child > a:after{
	left:-6px;
	top:50%;
	margin-top:-6px;
	border-left:0;
	border-top: 6px solid transparent;
	border-right: 6px solid #107677;
	border-bottom: 6px solid transparent;
}

#menu-trigger{
	/* Hide Initially */
	display:none;
}
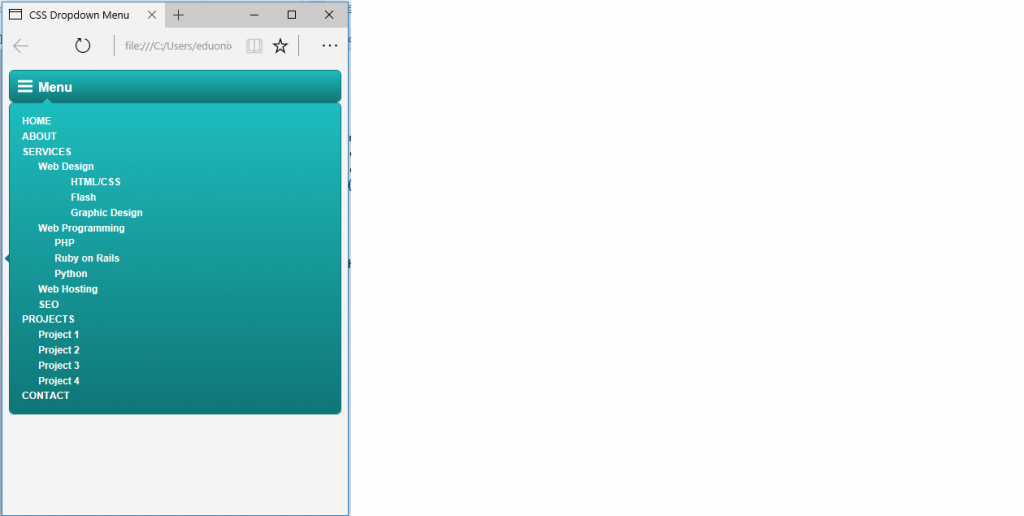
3) After completing the HTML and CSS, we will make our dropdown responsive, so we will add this code to our HTML.
<script src="https://ajax.googleapis.com/ajax/libs/jquery/1.11.1/jquery.min.js"></script>
	<script>
		$(document).ready(function(){
			$('#menu-wrap').prepend('<div id="menu-trigger">Menu</div>');
			$('#menu-trigger').on('click', function(){
				$('#menu').slideToggle();
			});
		});
	</script>
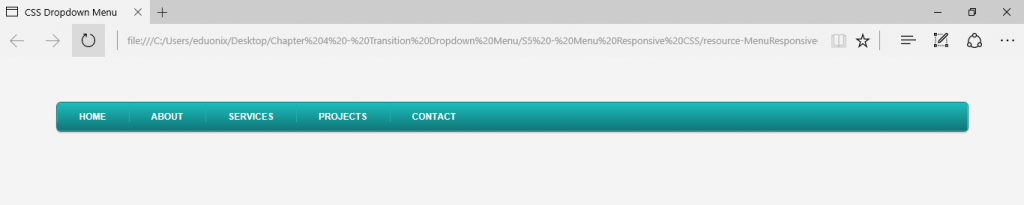
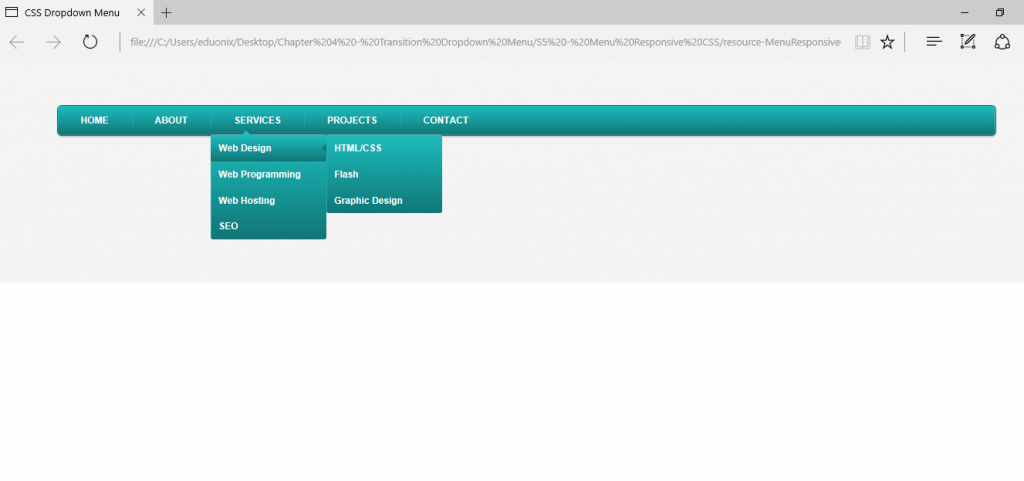
Now, we are finally done with the code. If you run the code, you will get the following output:


i saw your blog it is really good and very much interesting too, thus i like your information what you have posted so please update latest information too.
I read your articles very excellent and the i agree our all points because all is very good information provided this through in the post