

In the last article, we discussed about the Hyperapp overview along with a basic example where we explained the concept of View, Action, and State used in building Hyperapp application. We should know that Hyperapp JS is Node.js based front end technology. Therefore, before we can start to build any application on top of Hyperapp JS, we need to install Node.js on our system. Depending on the type of operating systems (i.e. Windows OS, Linux, and Macintosh), we can download suitable Node.js package on our system through the following steps.
• Installation of the Node.js: Node.js installer for Windows or Macintosh can be downloaded from the following link.
|
Node.js Download link |
In this article, we are using the windows platform. Therefore, we are going to download Node.js for Windows 64-bit operating system. Once the windows installer is downloaded for the above link, we can simply obey the following steps.
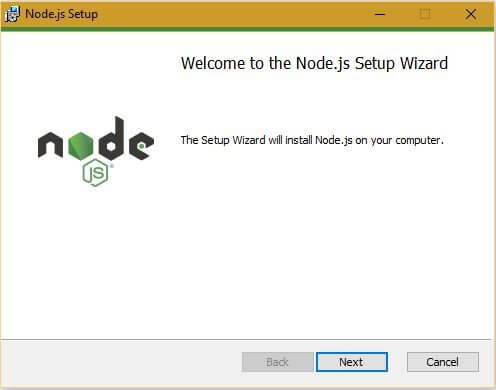
1. Double Click on the installer (node-v4.4.7-x64.msi), you will notice the following dialogue box.
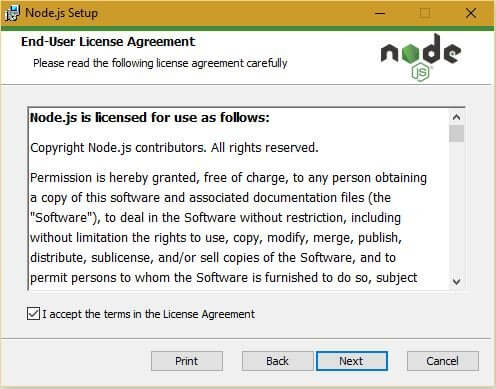
2. Click on the next button, the installer will display the following dialogue box which will ask you to accept the End-user License Agreement. Check the checkbox at the bottom and click on the Next button.
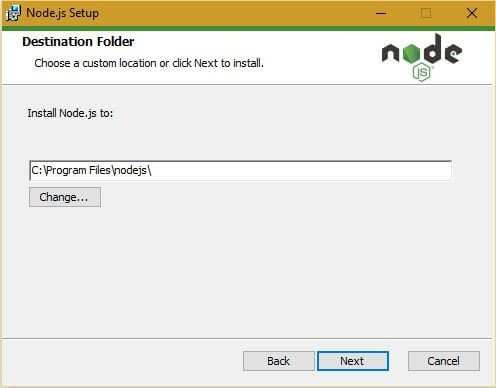
3. You will notice the following dialogue box, which will be asking you to choose the destination folder in order to install the Node.js files. Choose the default destination folder path and click on the Next button shown below.
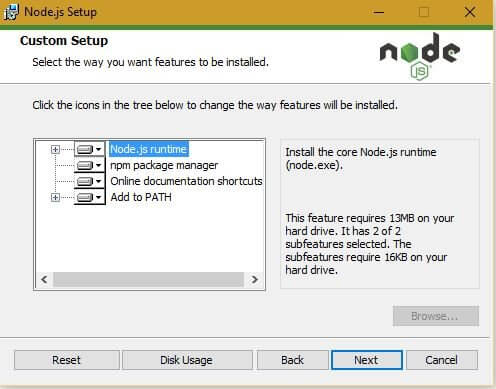
4. You will notice the following dialogue box which will ask you to select the custom setup. Keep the default settings and click on the Next button.
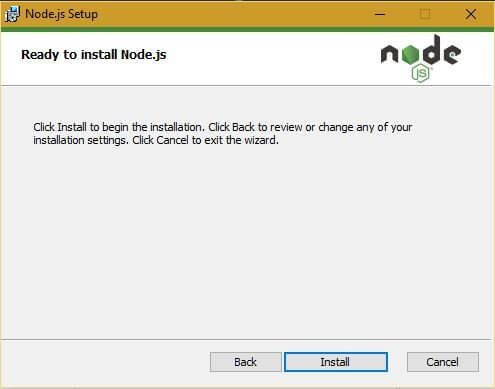
5. You will notice the following dialogue box, click on the install button to initiate the installation of the Node.js.
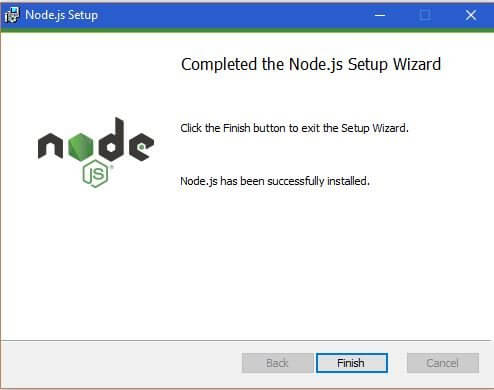
6. Once the installation has completed successfully, you will notice the following dialogue box. Click on the Finish button to finish the installation of Node.js on your windows machine.
Once the installation of Node.js is completed, then we will create the following required package files in order to configure the project for Hyperapp.js
Installing dependencies including Hyperapp JS
After Node.js has installed on your machine, you need to create a HyperApp JS project with the project root name as “hyperapp-demo”. We can install the required dependencies under the “node_modules” of the current project after creating a file “package. json” with the below details. This should be noted that this file should be present at the project root where we are going to execute the “npm install” command. The “npm install” command will download and install all the required dependencies version present in the “package. json” file as shown below.
Package. json
{
  "name": "hyperapp-demo",
  "version": "1.0.0",
  "description": "hyperapp Demo",
  "main": "index.js",
  "scripts": {
    "start": "webpack-dev-server",
    "build": "webpack --env production",
    "wipe": "rm -rf .git && git init && git add . && git commit -m 'initial commit'",
    "test": "jest --coverage --no-cache"
  },
  "author": "XYZ",
  "license": "Eduonix",
  "dependencies": {
    "hyperapp": "^1.1.2"
  },
  "devDependencies": {
    "babel-cli": "^6.22.2",
    "babel-core": "^6.22.1",
    "babel-loader": "^7.1.2",
    "babel-minify-webpack-plugin": "^0.2.0",
    "babel-plugin-transform-react-jsx": "^6.22.0",
    "babel-preset-env": "^1.6.1",
    "babel-preset-es2015": "^6.22.0",
    "css-loader": "^0.28.0",
    "eslint": "^4.13.1",
    "eslint-config-airbnb-base": "^12.0.0",
    "eslint-plugin-import": "^2.2.0",
    "eslint-plugin-jest": "^21.7.0",
    "eslint-plugin-react": "^7.5.1",
    "extract-text-webpack-plugin": "^3.0.0",
    "imports": "^1.0.0",
    "jest": "^22.1.4",
    "node-libs-browser": "^2.0.0",
    "webpack": "^3.4.0",
    "webpack-dev-server": "^2.4.2"
  }
}
Next, we take a look at the important file “.eslintrc.js” and the content of this file is shown below. In this file, we specify the required modules to bring up the Node.js application. In the current, Hyperapp JS application, we require the module exports shown below.
module.exports = {
  'extends': 'airbnb-base',
  'plugins': [
    'import',
    'react',
    'jest',
  ],
  'rules': {
    'linebreak-style': 'off',
    'no-unused-vars': [2, { 'varsIgnorePattern': 'h' }],
    'react/jsx-uses-vars': 2,
  },
  'parserOptions': {
    'ecmaFeatures': {
      'jsx': true,
    },
  },
  'env': {
    'browser': true,
    'jest': true,
  }
};
Next important file is “webpack.config.js” and below is the content of this file. In this file, we specify the vendor libraries, path, plugins, and module export which we are going to use in this hyperapp application.
const path = require('path');
const ExtractTextPlugin = require('extract-text-webpack-plugin');
const MinifyPlugin = require('babel-minify-webpack-plugin');
const webpack = require('webpack');

const plugins = [
  new ExtractTextPlugin ({
    filename: './bundle.css',
    allChunks: true,
  }),
  new webpack.optimize.ModuleConcatenationPlugin(),
];

module.exports = function webpackStuff(env) {
  if (env === 'production') plugins.push(new MinifyPlugin());

  return {
    entry: [
      './src/index.js',
      './styles/main.css',
    ],
    output: {
      filename: 'bundle.js',
      path: path.resolve(__dirname, './'),
    },
    module: {
      rules: [{
        test: /\.js$/,
        loader: 'babel-loader',
        query: {
          presets: [
            'es2015',
          ],
          plugins: [],
        },
        include: [
          path.resolve(__dirname, './'),
        ],
      }, {
        test: /\.css$/,
        use: ExtractTextPlugin.extract({
          use: 'css-loader?importLoaders=1',
        }),
      }],
    },
    plugins,
  };
};
Next important file is “index.html”, which is the main file where we are define the title, link the stylesheet (i.e. bundle.css) and pointing the script.
<!DOCTYPE html>
<html>
  <head>
    <meta charset="utf-8">
    <title>HyperApp JS Demo</title>
    <link defer rel="stylesheet" type="text/css" href="bundle.css">
    <script defer src="bundle.js"></script>
  </head>
  <body>
  </body>
</html>
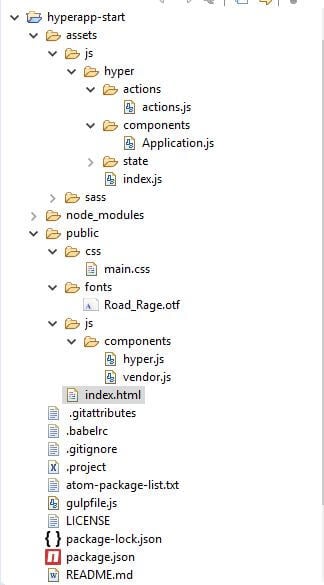
Our entire app will be under ‘./src’ project path which we have already discussed in the last article. Our overall project directories and files structure for Hyperapp application will look as shown below.
Lastly, we can execute this app by executing “npm start” at the project root of Hyperapp web application (hyperapp-demo) as shown below.
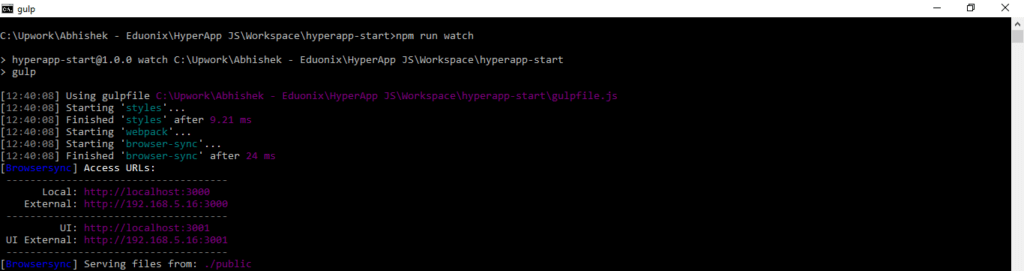
We can observe that our Hyperapp based web application is running at this URL http://localhost:8080/ on the web browser.
Conclusion: –
In this article, we discussed the installation of Node.js as well as HyperApp JS dependencies in order to get started to work on HyperApp JS application building.

