

In this chapter, we are going to explore MongoDB from scratch. The MongoDB is a document oriented database that is capable of operating in cross-platform environments. It is popular for its high performance, scalability and availability. The collection and the document are the core concepts in the MongoDB.
MongoDB Installation and Environment setup
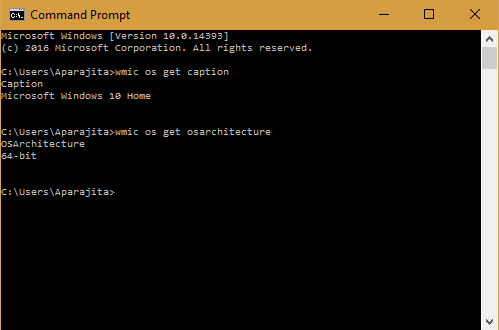
Before, we can download MongoDB, we should know what is the operating system caption and the architecture. Based on this, we can make appropriate choice when selecting the version of MongoDB. We need to execute the following command on the command prompt in order to get these details as shown below.
MongoDB can be downloaded from the following link.
https://www.mongodb.com/download-center#community
Upon browsing the above URL, the MongoDB website will throw the options to download the latest available version of the MongoDB for Windows, Linux, OSX and Solaris. Choose the latest version of MongoDB for Windows as shown below.
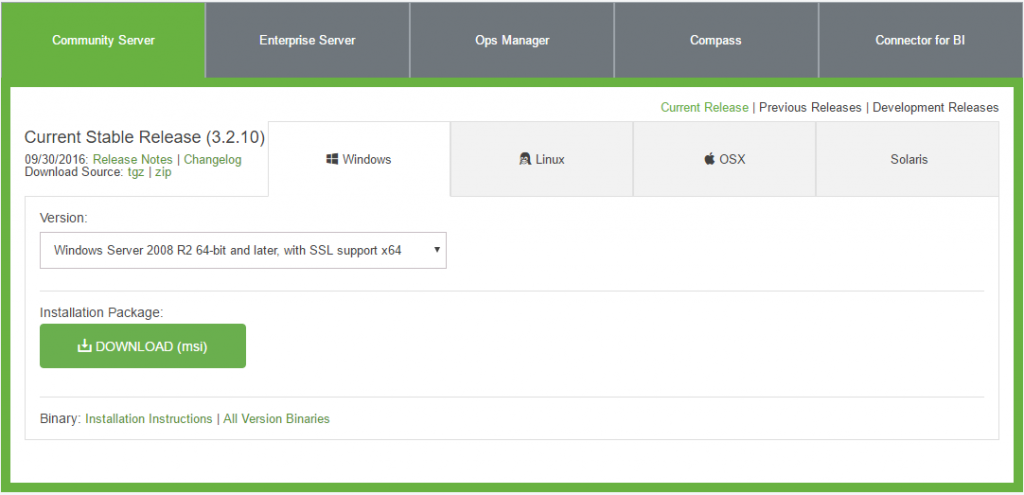
There are two ways by which we can complete the installation of MongoDB. The first method is by downloading the zip file (i.e. mongodb-win32-x86_64-2008plus-ssl-3.0.13-rc0.zip) from the link present on the top left corner of the above screenshot and the second method by clicking on the DOWNLOAD button to download the installable .msi file (i.e. mongodb-win32-x86_64-2008plus-ssl-3.2.10-signed.msi) for windows. In the former case, we need to install MongoDB manually through Windows command prompt and in the latter case we can install the .msi with the help of windows installer.
INSTALLATION TYPE 1: – Firstly, we are going to discuss on the installation of the MongoDB on windows 10 by using the manual approach through the windows command prompt.
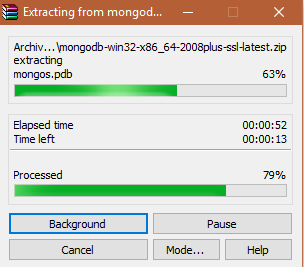
Step 1: – Extract the downloaded zip file (i.e. mongodb-win32-x86_64-2008plus-ssl-3.0.13-rc0.zip) on the drive or any other location as per your convenience. Here in this tutorial, we are going to use C:\ drive as the installation directory. Here, we can notice the name of the folder i.e. mongodb-win32-x86_64-2008plus-ssl-3.0.13-rc0 which has the version of the MongoDB i.e. 3.0.13.
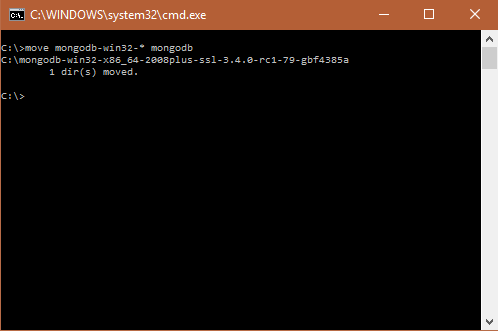
Step 2: – Once the unzipping is completed, then open the command prompt in the current directory where MongoDB was unzipped (here I have taken ), and execute the following command on the command prompt as shown below.
C:\>move mongodb-win32-* mongodb
C:\mongodb-win32-x86_64-2008plus-ssl-3.4.0-rc1-79-gbf4385a
        1 dir(s) moved.

C:\>
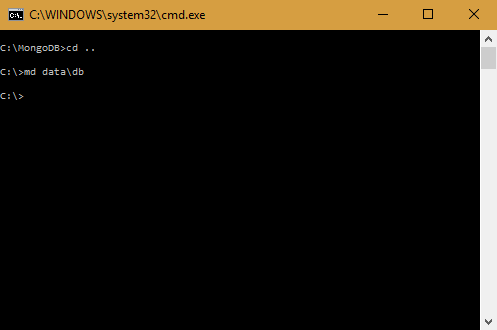
Step 3: – MongoDB requires a folder on the drive where it can store its files. Usually, the default location for MongoDB data is c:\data\db directory. Therefore, we can create this folder by using the Command Prompt and executing the following command as shown below.
C:\mongodb>cd ..

C:\>md data\db

C:\>
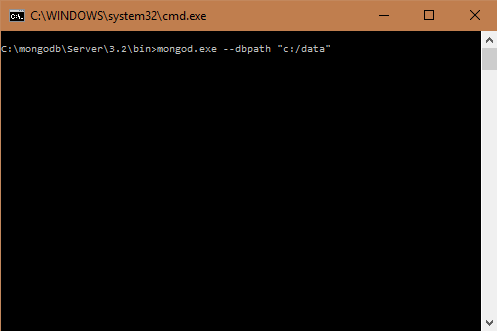
Step 4: – Next we have to set the db path after executing the following command. This command will setup the MongoDB data path and all the data related files will be stored at this location.
C:\ mongodb\Server\3.2\bin>mongod.exe –-dbpath “c:/data”

C:\>
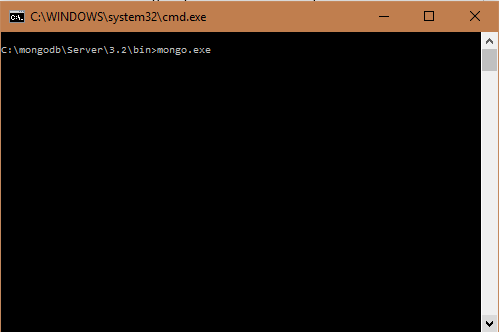
Step 5: – Our MongoDB is all set. Now we have to run the MongoDB, for which we will open another command prompt and on it execute the following command.
C:\ mongodb\Server\3.2\bin>mongo.exe

C:\>
INSTALLATION TYPE 2: Secondly, we are going to see the installation of MongoDB on windows 10 by using the .msi file (i.e. mongodb-win32-x86_64-2008plus-ssl-3.2.10-signed.msi) and the automatic windows installer.
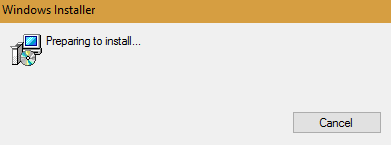
Step 1: – Double click on the above .msi file present in the download directory. The installer will start installing MongoDB as shown below.
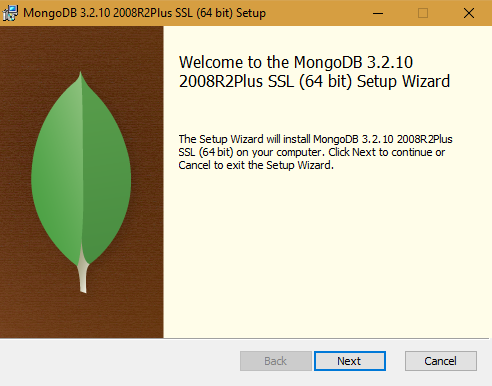
Step 2: – We are going to see the welcome screen which has the required MongoDB version (here MongoDB 3.2.10 2008R2Plus SSL (64 bit). Click on the next button.
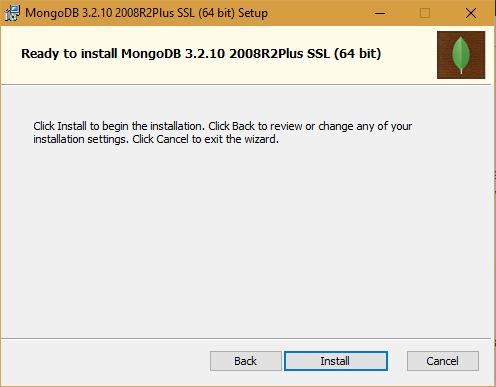
Step 3: – Next, click on the install button on the screen as shown below.
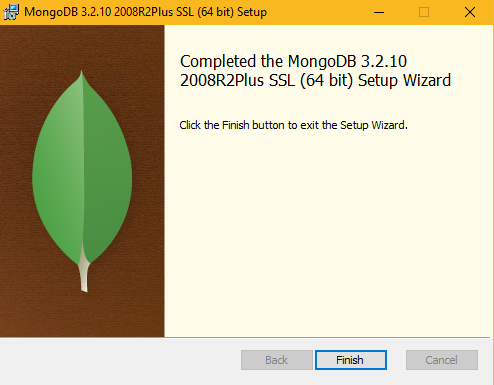
Step 4: – It will take a while to complete the installation of MongoDB at the path (C:\Program Files\MongoDB). Once installation is completed, we can see the final screen as shown below. Click on the finish button to complete the MongoDB installation.
Step 5: – As I already mentioned above that MongoDB requires a folder on the drive where it can store its files. Usually, the default location for the MongoDB data is c:\data\db directory. Therefore, we can create this folder by using the Command Prompt and executing the following command as shown below.
C:\mongodb>cd ..
C:\>md data\db
C:\>

Step 6: – Next we have to set up the db path after executing the following command. This command will setup the MongoDB data path and all the data related files will start storing at this location.
C:\Program Files\MongoDB\Server\3.2\bin>mongod.exe –-dbpath “c:/data”

C:\>
Step 7: – Our MongoDB is all set. Now we have to run the MongoDB, for which we will open another command prompt and on it execute the following command.
C:\Program Files\MongoDB\Server\3.2\bin>mongo.exe

C:\>
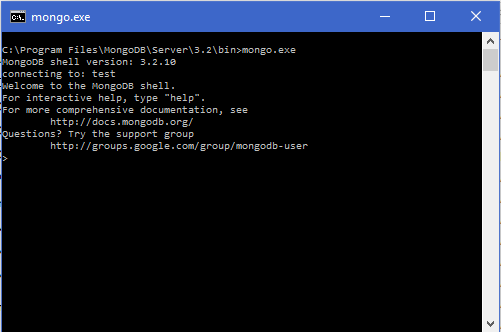
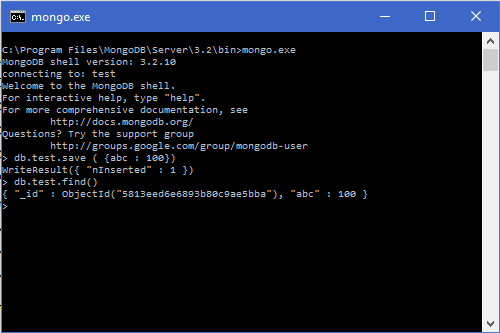
Step 8: – Now, in order to test MongoDB we need to execute the following commands.
> db.test.save ( {abc : 100})

WriteResult({ "nInserted" : 1 })

> db.test.find()

{ "_id" : ObjectId("5813eed6e6893b80c9ae5bba"), "abc" : 100 }

>
The below screenshot confirms that the MongoDB has been installed and running successfully.
Step 9: – Next time when we have to run MongoDB, then we need to execute the following commands.
C:\Program Files\MongoDB\Server\3.2\bin>mongod.exe –-dbpath “c:/data”

C:\Program Files\MongoDB\Server\3.2\bin>mongo.exe

C:\>
Create DB in MongoDB
The creation of a database in MongoDB is very simple and it just involves the following syntaxes.
1. The use Command: In MongoDB, the use DB_NAME is the syntax which is used to create a database. This command first checks for the database with the same name and if found then it will return the existing database, otherwise it will create a new database.
Syntax
The following is the basic syntax for the use DATABASE statement.
> use DB_NAME
Example
Let’s create myFirstDB in MongoDB.
> use myFirstDB
switched to db myFirstDB
>
If you want to check the current selected database the use the following command.
> db
myFirstDB
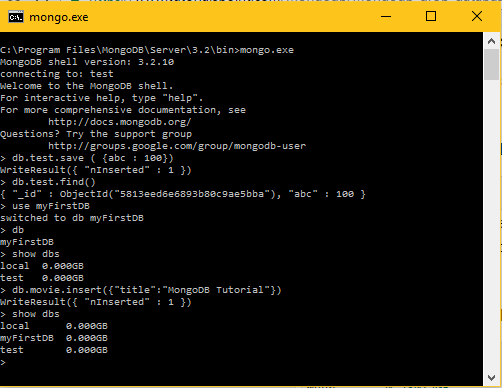
If you want to check our databases list, then use the command show dbs.
> show dbs
local  0.000GB
test   0.000GB
>
Here, we can notice that our newly created database i.e. myFirstDB is not present in the list since it has no records in it. Therefore, in order to display this database name in the list, we need to insert at least one record into it by executing the following commands as shown below.
> db.movie.insert({"title":"MongoDB Tutorial"})
WriteResult({ "nInserted" : 1 })
> show dbs
local      0.000GB
myFirstDB  0.000GB
test       0.000GB
>
Note: In MongoDB, the test is the default database. Therefore, if we do not create any database, then the collections will get stored in the default test database.
Drop DB in MongoDB
In MongoDB, we can use the db.dropDatabase () command to drop an existing database. The following is the complete syntax.
Syntax
The following is the basic syntax for dropping an existing database in MongoDB.
> db.dropDatabase()
Note: The above statement will delete the currently selected database. It means that, if no database is selected and we execute this command, then it will delete the default ‘test’ database.
Example:
In the example, first we are showing all the databases present in MongoDB and then the currently selected database i.e. myFirstDB. After executing the db.dropDatabase () command, myFirstDB database gets dropped successfully which doesn’t show up when we execute show dbs command again as shown below.
> show dbs
local      0.000GB
myFirstDB  0.000GB
test       0.000GB
> db
myFirstDB
> db.dropDatabase ()
{ "dropped" : "myFirstDB", "ok" : 1 }
> show dbs
local  0.000GB
test   0.000GB
>

Data Modelling in MongoDB
In MongoDB, the data has a schema.documents in the equivalent collection which is very flexible. Here, it is not mandatory to have the same set of structure or fields, and common fields. Also, it is possible that the collection’s documents can support and hold different data types.
Conclusion: –
In this chapter, we have discussed about how to download, install and set up environment for MongoDB. Also after installation, we learnt about various syntaxes and commands which are executed to create, view and drop databases in MongoDB.

