

Bootstrap 4 is a popular CSS and HTML framework for building a responsive website. Bootstrap 4 is the latest version of bootstrap which comes with new features for the framework.
In this tutorial, we are going to learn how to use Bootstrap 4 with the latest version of Angular, Angular 5. We will integrate Bootstrap in Angular 5 by using NPM as this will help you better understand how to integrate Bootstrap in Angular 5.
To set up your angular project, you first need to download NodeJS, as this is required to install some packages in your app. You can download and install NodeJS from https://nodejs.org/en/.
Now, you’ll also need to download and install code visual studio from https://code.visualstudio.com/download which is used for code editing.
After the NodeJS installation is complete, install Angular on your system from https://cli.angular.io/ and install the global Angular CLI by using NPM. The CLI gives us a fresh installation of the Angular Project.
$ npm install -g @angular/cli@latest
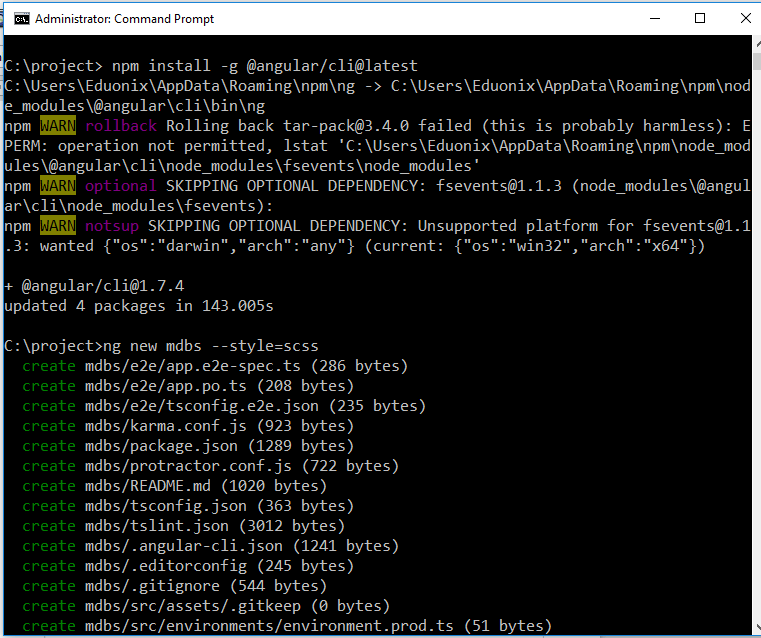
Now, create a new angular project using the command below. We are using the SASS preprocessor by using command –style = scss
ng new mdbs --style=scss
You should have created a angular project with name mdbs as shown below:
Go to mdbs folder and install 4 different packages – Angular Bootstrap MD, Chart.JS, Font Awesome and HammerJS using npm. To install the packages, run the following command.
npm i --save angular-bootstrap-md [email protected] font-awesome hammerjs
• Angular bootstrap md- this package is used for the Angular project. This is Mdbootstrap
• Chart.js- this is a charting library which is used for creating charts
• font-awesome- this is for designing icons and will use Mdbootstrap.
• Hammerjs – this is used for enabling touch for elements on devices of such as mobiles or tablets.
The above command will create these four packages in your node module folder
Open “app.module.ts”, which is located on the C:\new\mdbs\src\app folder.
In this file, import the NO-ERRORS_SCHEMA from the Angular core library and import the MDBBootstrap module from angular-bootstrap-md. Check app.module.ts file as shown below.
import { BrowserModule } from '@angular/platform-browser';
import {NgModule, NO_ERRORS_SCHEMA } from '@angular/core';
import {MDBBootstrapModule } from 'angular-bootstrap-md';


import { AppComponent } from './app.component';


@NgModule({
  declarations: [
    AppComponent
  ],
  imports: [
    BrowserModule,
    MDBBootstrapModule.forRoot()
  ],
  schemas: [NO_ERRORS_SCHEMA ],
  providers: [],
  bootstrap: [AppComponent]
})
export class AppModule { }
Now, open the angular-cli.json file and add the scripts and styles. In styles include the font-awesome.scss file, the bootstrap.scss file, and the mdb-free.scss file which is available in the Node module folder.
In the script, also include the Chart.js, hammer.min.js files from the node module folder:
{
  "$schema": "./node_modules/@angular/cli/lib/config/schema.json",
  "project": {
    "name": "mdbs"
  },
  "apps": [
    {
      "root": "src",
      "outDir": "dist",
      "assets": [
        "assets",
        "favicon.ico"
      ],
      "index": "index.html",
      "main": "main.ts",
      "polyfills": "polyfills.ts",
      "test": "test.ts",
      "tsconfig": "tsconfig.app.json",
      "testTsconfig": "tsconfig.spec.json",
      "prefix": "app",
      "styles": [
        "../node_modules/font-awesome/scss/font-awesome.scss",
        "../node_modules/angular-bootstrap-md/scss/bootstrap/bootstrap.scss",
        "../node_modules/angular-bootstrap-md/scss/mdb-free.scss",
        "styles.scss"
      ],
      "scripts": [
        "../node_modules/chart.js/dist/Chart.js",
        "../node_modules/hammerjs/hammer.min.js"
      ],
      "environmentSource": "environments/environment.ts",
      "environments": {
        "dev": "environments/environment.ts",
        "prod": "environments/environment.prod.ts"
      }
    }
  ],
  "e2e": {
    "protractor": {
      "config": "./protractor.conf.js"
    }
  },
  "lint": [
    {
      "project": "src/tsconfig.app.json",
      "exclude": "**/node_modules/**"
    },
    {
      "project": "src/tsconfig.spec.json",
      "exclude": "**/node_modules/**"
    },
    {
      "project": "e2e/tsconfig.e2e.json",
      "exclude": "**/node_modules/**"
    }
  ],
  "test": {
    "karma": {
      "config": "./karma.conf.js"
    }
  },
  "defaults": {
    "styleExt": "scss",
    "component": {}
  }
}
In the ts.config file, on the bottom include the angular-bootstrap-md file from the node module folder. See the code show below:
{
  "compileOnSave": false,
  "compilerOptions": {
    "outDir": "./dist/out-tsc",
    "sourceMap": true,
    "declaration": false,
    "moduleResolution": "node",
    "emitDecoratorMetadata": true,
    "experimentalDecorators": true,
    "target": "es5",
    "typeRoots": [
      "node_modules/@types"
    ],
    "lib": [
      "es2017",
      "dom"
    ]
  },

  "include": ["node_modules/angular-bootstrap-md/**/*.ts",  "src/**/*.ts"]
}
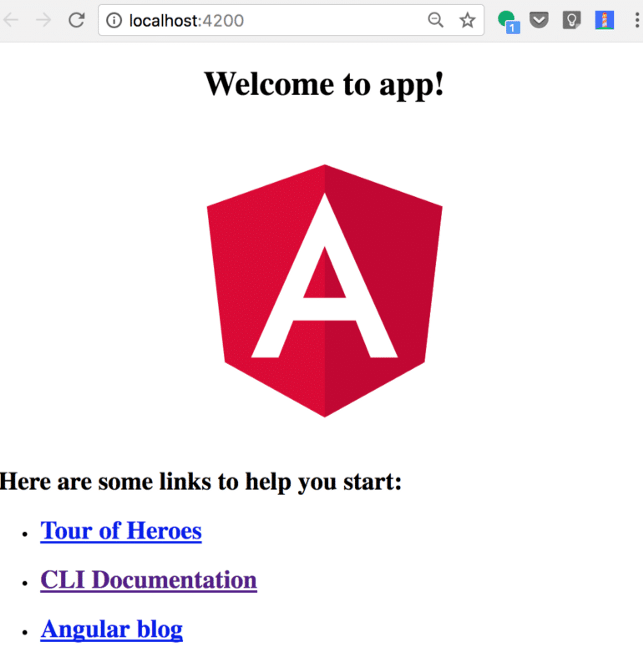
Now, go to the console and run the “ng server –open” code to run the Angular project. You will see your project open in the browser on the localhost:4200
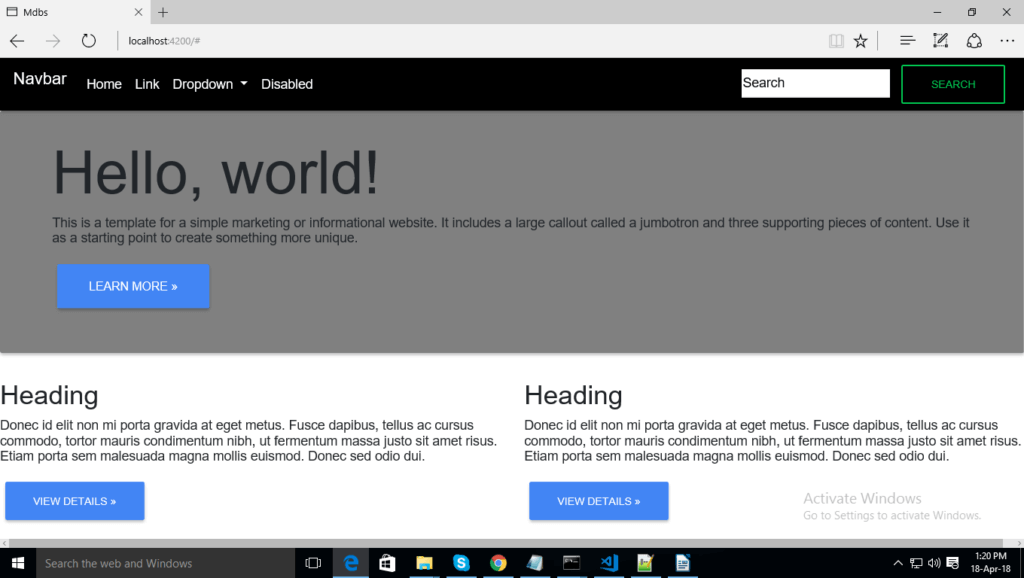
Open the app.component.html file and add the navbar code which you can take from here – https://getbootstrap.com/docs/4.0/components/navbar/
and add CSS. See the code below:
<html>
<nav class="navbar navbar-expand-lg navbar-light bg-light">
<a class="navbar-brand" href="#">Navbar</a>
<button class="navbar-toggler" type="button" data-toggle="collapse" data-target="#navbarSupportedContent" aria-controls="navbarSupportedContent" aria-expanded="false" aria-label="Toggle navigation">
<span class="navbar-toggler-icon"></span>
</button>
<style>
.navbar-light .navbar-brand
{
color:white;
}
.navbar-nav .mr-auto
{
color: #dc3545;
}
.navbar-collapse li a { color: white !important;}
.navbar
{
background: black !important;
}
.form-control
{
background: white !important;
}
.jumbotron
{
background: gray;
}
.btn-secondary {
background-color: #4285f4;
}
</style>
<div class="collapse navbar-collapse" id="navbarSupportedContent">
<ul class="navbar-nav mr-auto">
<li class="nav-item active">
<a class="nav-link" href="#">Home <span class="sr-only">(current)</span></a>
</li>
<li class="nav-item">
<a class="nav-link" href="#">Link</a>
</li>
<li class="nav-item dropdown">
<a class="nav-link dropdown-toggle" href="#" id="navbarDropdown" role="button" data-toggle="dropdown" aria-haspopup="true" aria-expanded="false">
Dropdown
</a>
<div class="dropdown-menu" aria-labelledby="navbarDropdown">
<a class="dropdown-item" href="#">Action</a>
<a class="dropdown-item" href="#">Another action</a>
<div class="dropdown-divider"></div>
<a class="dropdown-item" href="#">Something else here</a>
</div>
</li>
<li class="nav-item">
<a class="nav-link disabled" href="#">Disabled</a>
</li>
</ul>
<form class="form-inline my-2 my-lg-0">
<input class="form-control mr-sm-2" type="search" placeholder="Search" aria-label="Search">
<button class="btn btn-outline-success my-2 my-sm-0" type="submit">Search</button>
</form>
</div>
</nav>
<div class="jumbotron">
<div class="container">
<h1 class="display-3">Hello, world!</h1>
<p>This is a template for a simple marketing or informational website. It includes a large callout called a jumbotron and three supporting pieces of content. Use it as a starting point to create something more unique.</p>
<p><a class="btn btn-primary btn-lg" href="#" role="button">Learn more »</a></p>
</div>
</div>
<!-- Example row of columns -->
<div class="row">
<div class="col-md-6">
<h2>Heading</h2>
<p>Donec id elit non mi porta gravida at eget metus. Fusce dapibus, tellus ac cursus commodo, tortor mauris condimentum nibh, ut fermentum massa justo sit amet risus. Etiam porta sem malesuada magna mollis euismod. Donec sed odio dui. </p>
<p><a class="btn btn-secondary" href="#" role="button">View details »</a></p>
</div>
</div>
</html>
Now, go to localhost:4200 and you will see Bootstrap 4 has integrated within your Angular 5.
In this tutorial, you learned how to integrate Bootstrap 4 with Angular 5, while creating an entire application.

