
Hi all, Today we are going to learn how to apply validation on model.
MVC framework provides us rich support to use data annotation to describe the model for data validation.
We can apply validation on the model class properties. We can use Data Annotation with Data Type Attribute.
In this topic we will learn how to apply validation in model properties and how to use them.
So let’s start with the example
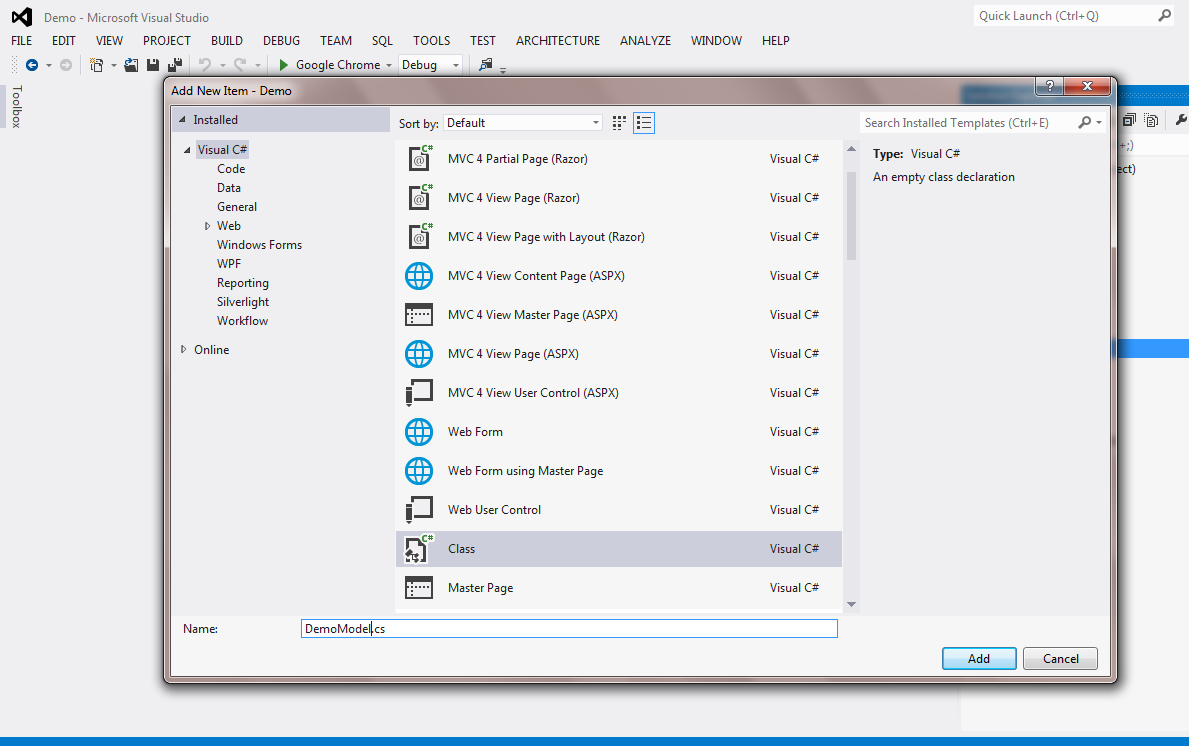
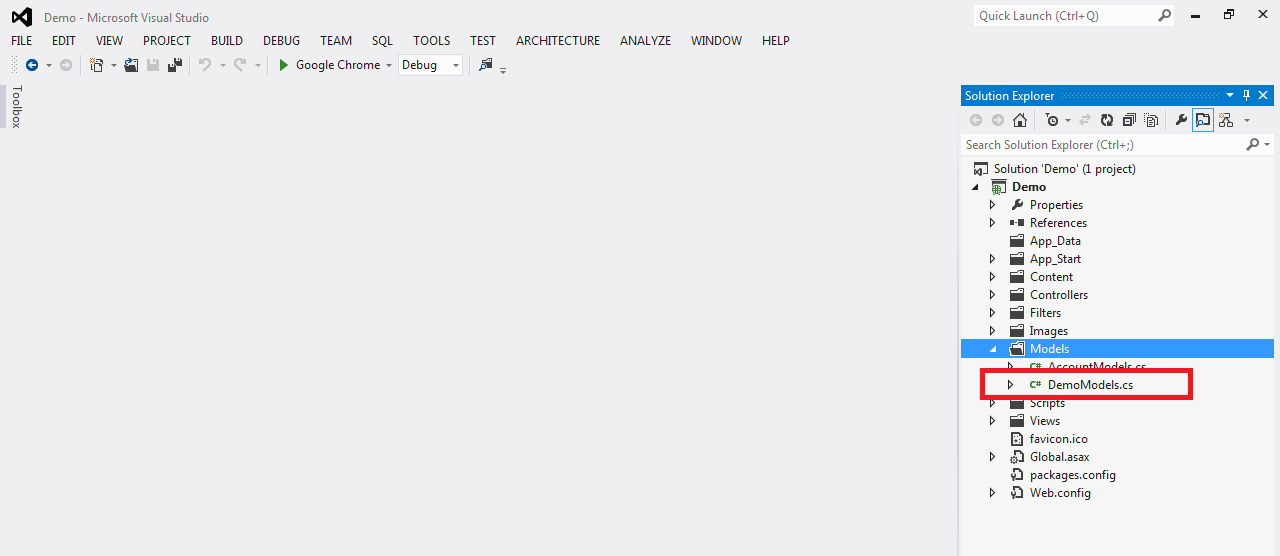
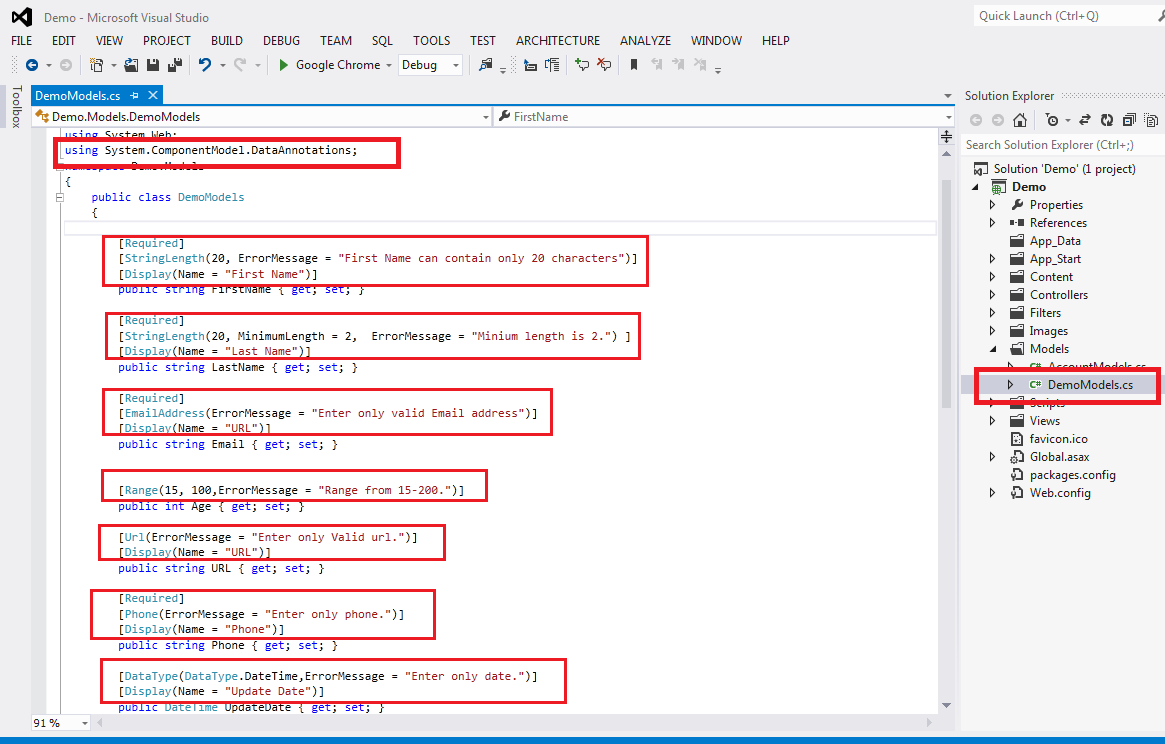
1. Open visual studio and create new project and select MVC web application. Now go to model folder and add new model and name it DemoModels.cs.
2. Now open DemoModels and paste the below code in it.
  public class DemoModels
    {

        [Required]
        [StringLength(20, ErrorMessage = "First Name can contain only 20 characters")]
        [Display(Name = "First Name")]
        public string FirstName { get; set; }

        [Required]
        [StringLength(20, MinimumLength = 2,  ErrorMessage = "Minium length is 2.") ]
        [Display(Name = "Last Name")]
        public string LastName { get; set; }

        [Required]
        [EmailAddress(ErrorMessage = "Enter only valid Email address")]
        [Display(Name = "URL")]
        public string Email { get; set; }


        [Range(15, 100,ErrorMessage = "Range from 15-200.")]
        public int Age { get; set; }

        [Url(ErrorMessage = "Enter only Valid url.")]
        [Display(Name = "URL")]
        public string URL { get; set; }

        [Required]
        [Phone(ErrorMessage = "Enter only phone.")]
        [Display(Name = "Phone")]
        public string Phone { get; set; }

        [DataType(DataType.DateTime,ErrorMessage = "Enter only date.")]
        [Display(Name = "Update Date")]
        public DateTime UpdateDate { get; set; }

        //[DataType(DataType.PhoneNumber)]
        //[Display(Name = "Phone Number")]
        //public string phone { get; set; }

        //[DataType(DataType.Date)]
        //[DisplayFormat(DataFormatString = "{0:yyyy-MM-dd}", ApplyFormatInEditMode = true)]
        //[Display(Name = "Enrollment Date")]
        //public DateTime updatedate { get; set; }
    }
Add the namespace System.ComponentModel.DataAnnotations as validation come under System.ComponentModel.DataAnnotations library.
As you can see above I have created properties FirstName, LastName, Email, Age, URL, Phone, UpdateDate.
In this example I have used the validations listed below:
[Required] is used for the required field validation.
[StringLength] define the minimum or maximum length of the string required.
[EmailAddress] is used for the valid email validation.
[Range] is used to apply range validation.
[Phone] is used to validate the phone number.
[URL] is used to validate the valid URL.
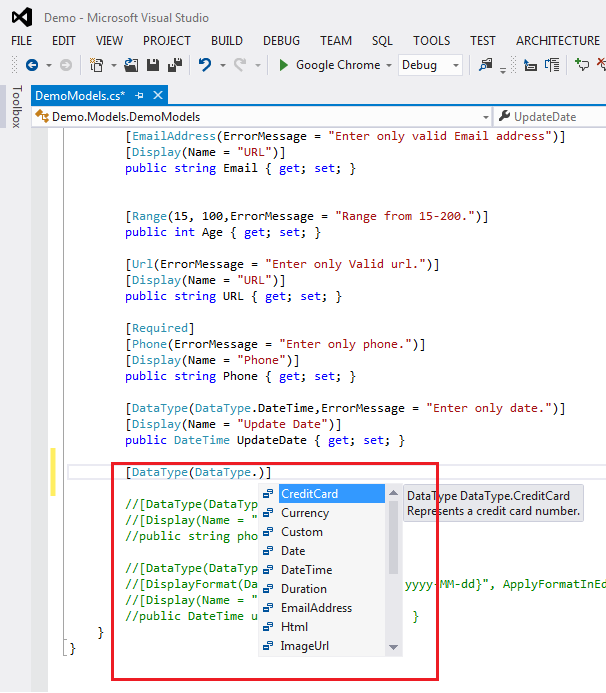
You can use DataType which is an enum.
There are lots of validation attributes available. You can use according to your requirement. In this blog, I have implemented few of them.

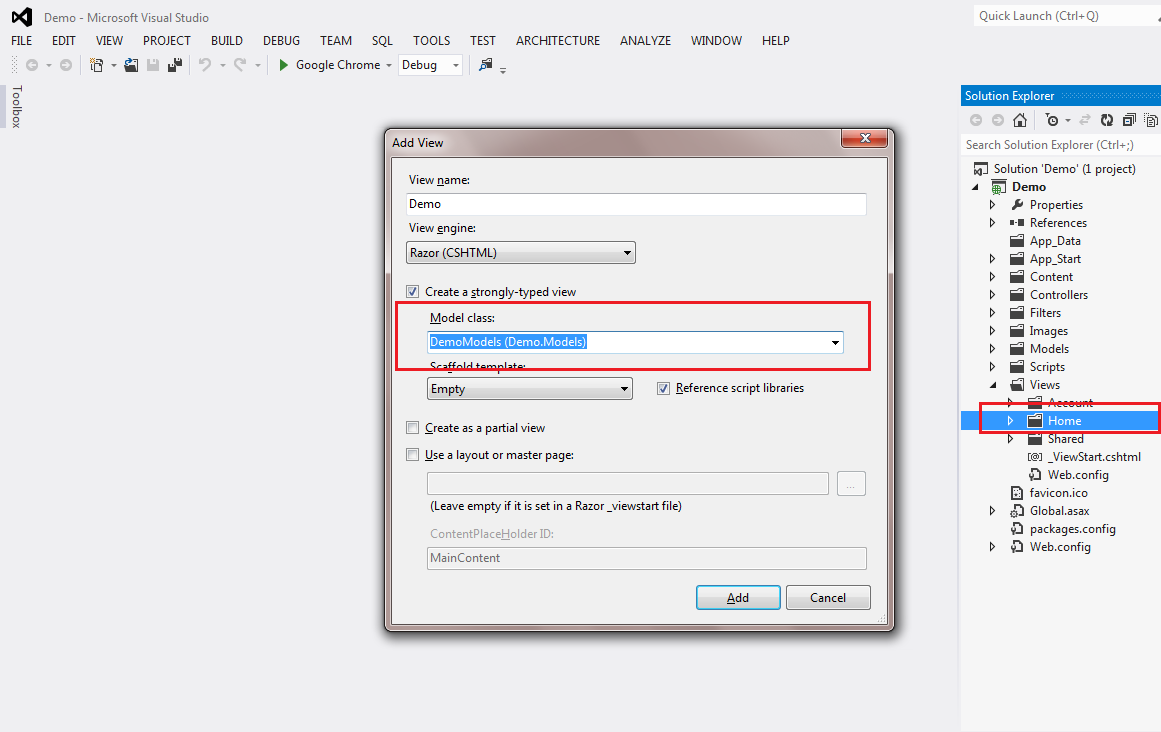
Now add new strongly typed view and rename it to Demo and select DemoModels from models class.
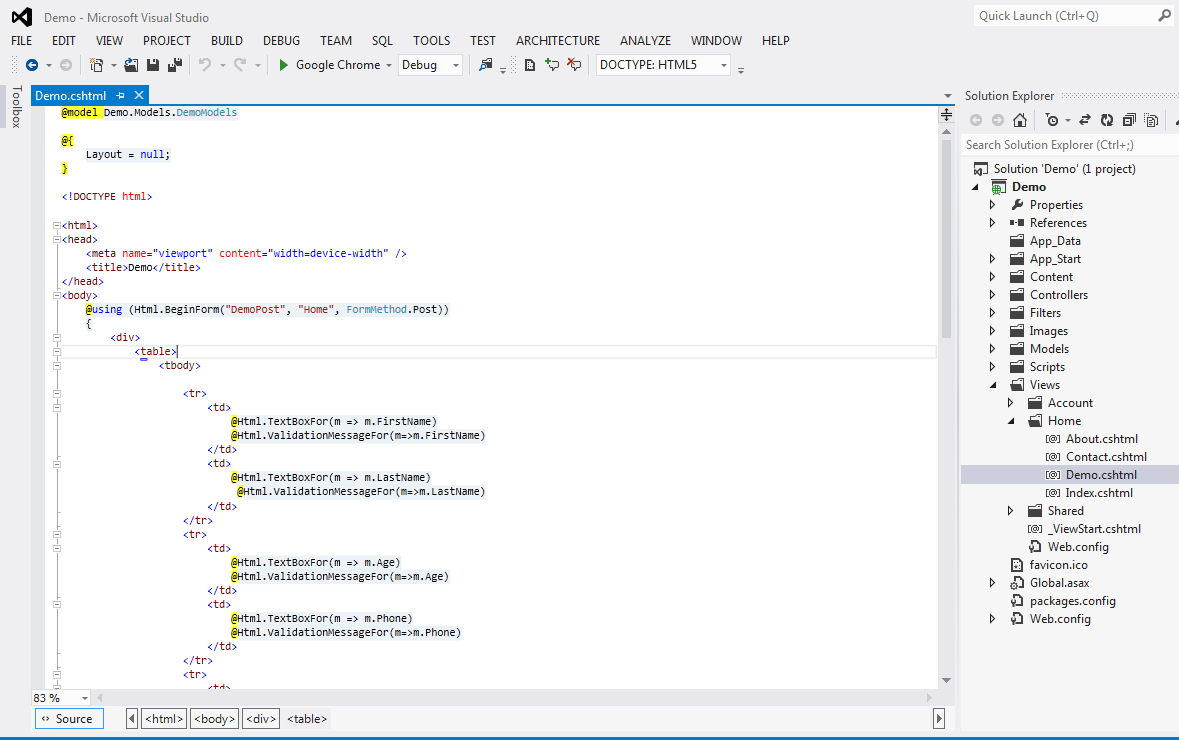
Now paste the below code in demo view
@model Demo.Models.DemoModels

@{
    Layout = null;
}

<!DOCTYPE html>

<html>
<head>
    <meta name="viewport" content="width=device-width" />
    <title>Demo</title>
</head>
<body>
    @using (Html.BeginForm("DemoPost", "Home", FormMethod.Post))
    {
        <div>
            <table>
                <tbody>

                    <tr>
                        <td>
                            @Html.TextBoxFor(m => m.FirstName)
                            @Html.ValidationMessageFor(m=>m.FirstName)
                        </td>
                        <td>
                            @Html.TextBoxFor(m => m.LastName)
                             @Html.ValidationMessageFor(m=>m.LastName)
                        </td>
                    </tr>
                    <tr>
                        <td>
                            @Html.TextBoxFor(m => m.Age)
                            @Html.ValidationMessageFor(m=>m.Age)
                        </td>
                        <td>
                            @Html.TextBoxFor(m => m.Phone)
                            @Html.ValidationMessageFor(m=>m.Phone)
                        </td>
                    </tr>
                    <tr>
                        <td>
                            @Html.TextBoxFor(m => m.Email)
                            @Html.ValidationMessageFor(m=>m.Email)
                        </td>
                        <td>
                            @Html.TextBoxFor(m => m.URL)
                            @Html.ValidationMessageFor(m=>m.URL)
                        </td>
                    </tr>
                    <tr>
                        <td>
                            @Html.TextBoxFor(m => m.UpdateDate)
                            @Html.ValidationMessageFor(m=>m.UpdateDate)
                        </td>
                        <td>
                            <input type="submit" value="Submit" />
                        </td>
                    </tr>
                </tbody>
            </table>
            @Html.ValidationSummary()
        </div>
    }
</body>
</html>
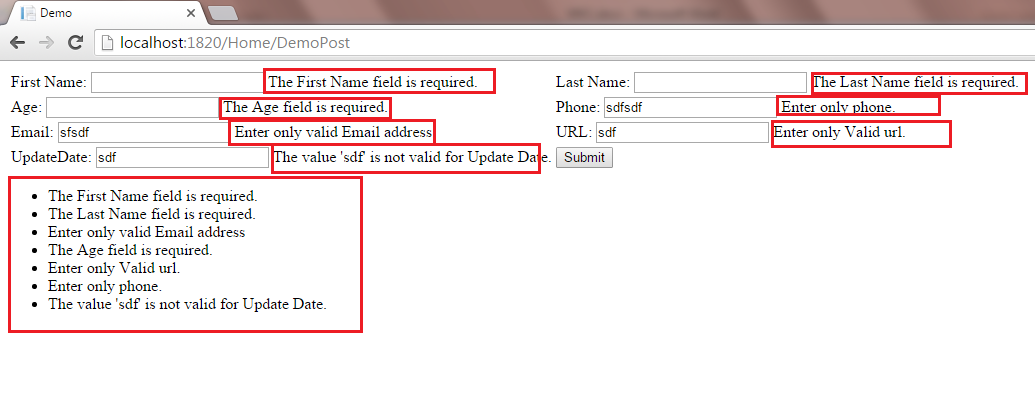
In the above view I have used @Html. TextBoxFor() to bind the model property with the controls. I have also used @Html.ValidationSummary() to see all the validation in a group.
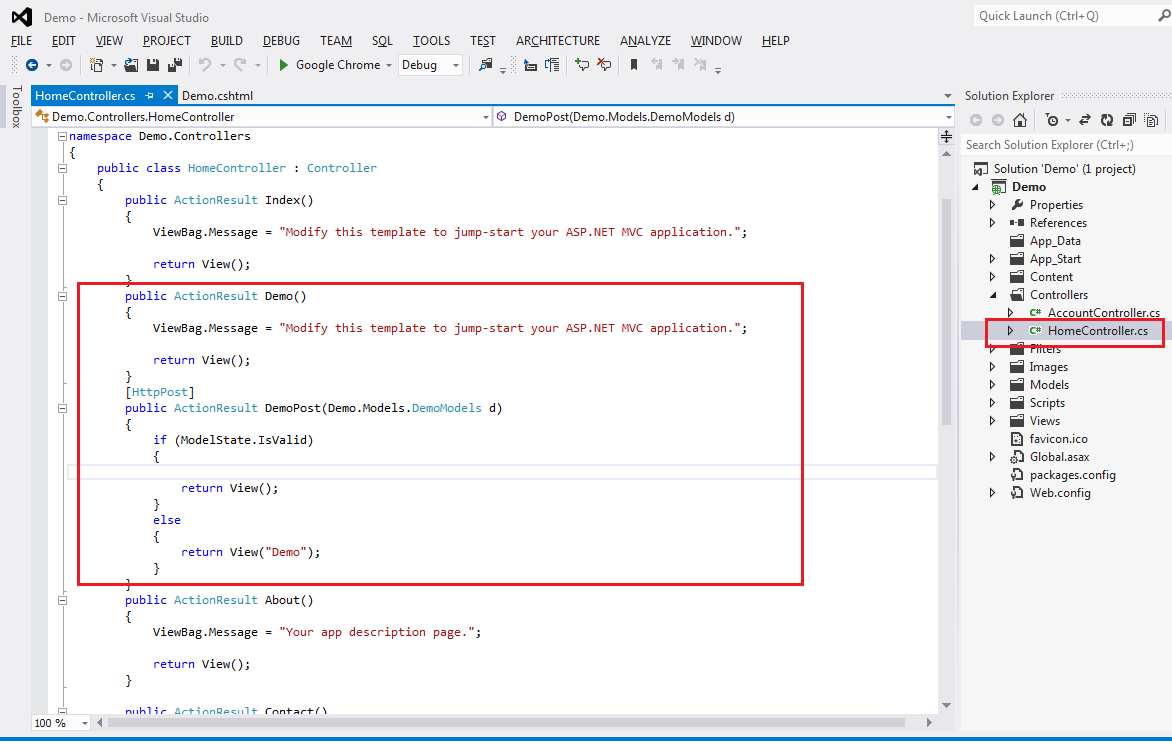
Now open Home controller and add the code below in it.
public ActionResult Demo()
        {
            ViewBag.Message = "Modify this template to jump-start your ASP.NET MVC application.";

            return View();
        }
        [HttpPost]
        public ActionResult DemoPost(Demo.Models.DemoModels d)
        {
            if (ModelState.IsValid)
            {

                return View();
            }
            else
            {
                return View("Demo");
            }
        }
In the above code, you can see that ModelState.IsValid is used. If any of the validation applied on model fails, it return false.
Now you are all done. Just run the application and go to Home/Demo and click on submit button and see the result.
Summary: In above example, we have learnt how to apply data annotation/ validation in model in MVC.

