

In the previous article, learn what is React and the problems it solves we demonstrated how to use JSFiddle, starter kit and Node.js to set up a development environment. We will use the starter kit in this tutorial so download it from here. In the react components, we looked at how to use components in building an application. In the components tutorial, we encountered JSX. In this tutorial, we will explore in depth how JSX is used to build React applications.
A web application consists of a combination of HTML, CSS and JavaScript code. JSX offers the developer the flexibility of mixing JavaScript and HTML like code to create user interface (UI) elements and their corresponding functionality. Mixing JavaScript and HTML is flexible but browsers do not know how to interpret JSX.
There are two ways to overcome this problem. First you can set up a development environment based on Node.js, as we described in the learn what is react tutorial. This is the preferred approach in a production environment. Another alternative is to leave the problem of translating JSX to JavaScript to the browser. You reference a script file that handles the conversion of JSX to JavaScript. This slows your browser in a way that is unacceptable in a production environment but it is acceptable in a learning environment. This is the approach we will use in this tutorial.
JSX enables the developer to embed XML code within JavaScript. JSX therefore has tags with a tag name, attributes and children. When you enclose an attribute value in quotes, it becomes a string. When you enclose an attribute value in curly braces, it becomes a JavaScript expression. Whenever you omit the value of an attribute, it defaults to true.
Before we begin writing JSX code we need to look at a skeleton application. The first two script tags added below the title are used to reference the React libraries. The two references import the core library and DOM prerequisites. The third script references the Babel JavaScript compiler. Babel does a lot, but we are only interested in its ability to translate JSX to JavaScript.
<!DOCTYPE html>
<html>

<head>
  <title>Structure of a react application</title>
  <script src="https://fb.me/react-15.1.0.js"></script>
  <script src="https://fb.me/react-dom-15.1.0.js"></script>
  <script src="https://cdnjs.cloudflare.com/ajax/libs/babel-core/5.8.23/browser.min.js"></script>
</head>

<body>
  <script>

  </script>
</body>

</html>
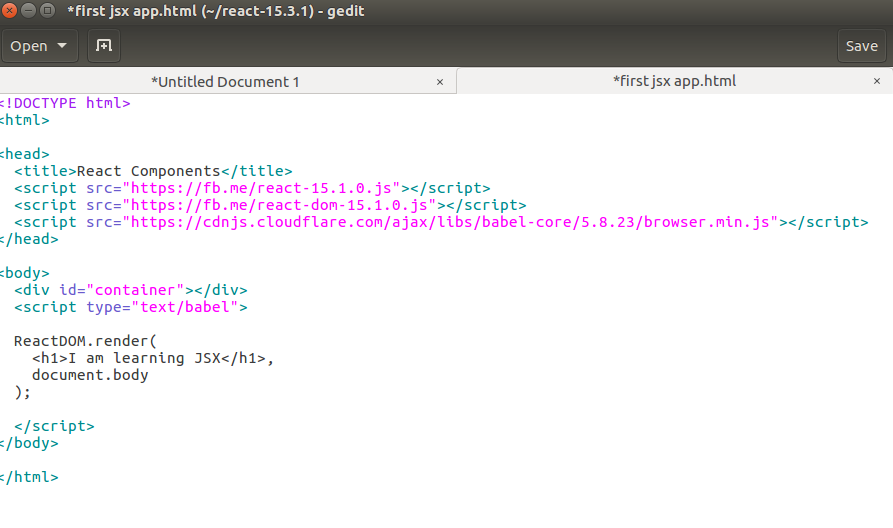
Any React code that we write will be wrapped around script tags. To begin, we will create a react application that completes the simple task of displaying your name. We specify the type in script as text/babel so that Babel can translate it to JavaScript. The code that displays the course you are learning is shown below.
<script type="text/babel">
  ReactDOM.render(
    <h1>I am learning JSX</h1>,
    document.body
  );
</script>
The key concept you need to understand in the code above is the render method. This method takes two arguments. These are the HTML like elements (JSX) that are to be displayed and the location in DOM, where React will display the JSX. In this example, the text in H1 tag will be displayed in the body element. Save the code in the root directory of starter kit as first jsx app.html and open it in a browser.
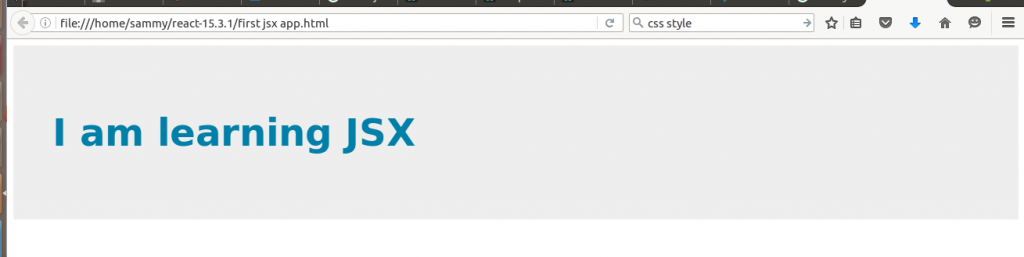
The output is shown in the screen shot below:

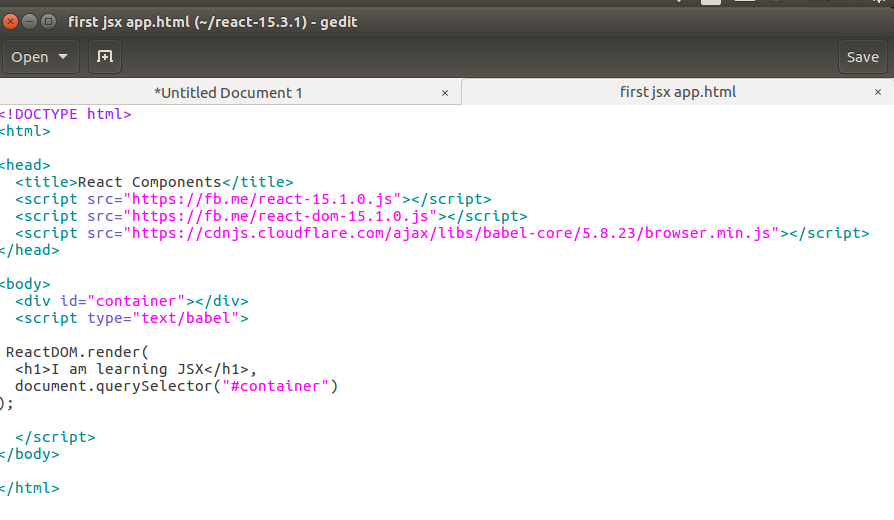
Placing things in the body using JavaScript especially when you are using multiple JavaScript libraries is not good practice. The best approach is to create a separate element where the render method will display its output. We revise our code to include a div element with an id of container. We then reference the div element in the render method so that output is displayed in div. The revised code is shown in the screen shot below.
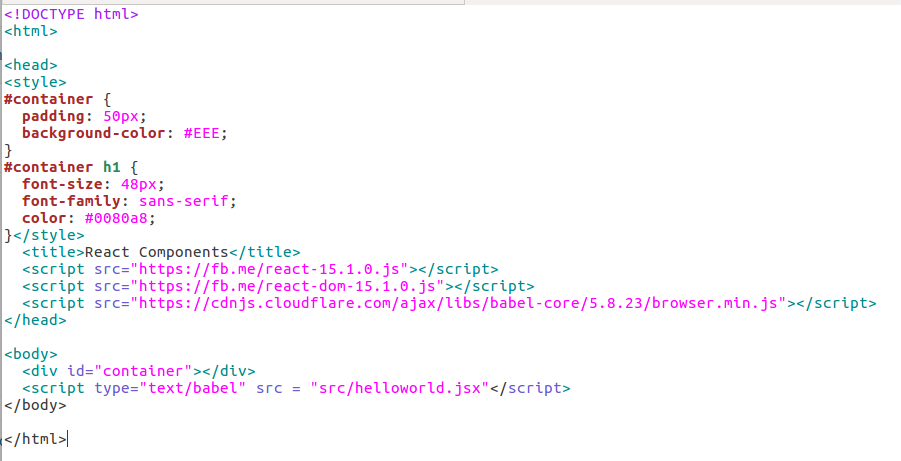
Although we created our tags using JSX the problem of styling is still handled by CSS. Any CSS styling you need to use is placed in the head tag and it will be correctly applied. Let us revise our HTML document by adding the code below:
<style>
#container {
  padding: 50px;
  background-color: #EEE;
}
#container h1 {
  font-size: 48px;
  font-family: sans-serif;
  color: #0080a8;
}</style>
The output after adding CSS styling is shown below.
The key concept here is that when using JSX you will handle styling by using CSS; you cannot place the CSS in style attribute like you would with HTML. This guarantees that our applications will only be composed of HTML, JavaScript and CSS.
Creating JSX within the HTML document is one way you can incorporate the JSX code into your application. Another way of incorporating the JSX code is creating .jsx files that only contains the JSX code. You then reference the .jsx files in your HTML. In the example we have been discussing we will create a helloworld.jsx file as shown in the screen shot below.
When writing JSX, you need to be aware of reserved keywords that cannot be placed in your code. The complete list is shown below
break, case, class, catch, const, continue, debugger, default, delete, do, else, export, extends, finally, for, function, if, import, in, instanceof, new, return, super, switch, this, throw, try, typeof, var, void, while, with, yield.
Earlier in our tutorial we demonstrated some of the HTML elements supported. Due to space limitations, we cannot enumerate all the possible elements but there is a documentation available at this link https://facebook.github.io/react/docs/tags-and-attributes.html. You should note that all attributes must use camel casing. Lower case attributes are not valid in JSX and therefore they will not work.
Commenting JSX is good practice and it follows the JavaScript convention. An example of a comment is shown below
/* this is a JSX comment */
However, there is a difference when commenting within a child of a tag. You are required to wrap your comments around curly braces as shown below
{ /* this is a comment within a child*/ }
In this tutorial, we introduced JSX as a way of embedding XML within JavaScript. We discussed options that are available for translating JSX into JavaScript. We concluded that allowing browsers to translate JSX is acceptable in a development environment but in a production environment it is preferable to use Node.js. We discussed the structure of a JSX application and demonstrated examples of JSX code. Finally, we discussed the CSS styling, reserved keywords and comments in JSX.

