Today we are going to learn a very interesting topic of uploading files in this PHP File Upload Tutorial.
PHP allows us to upload files to the web server. It is a very easy task but should be done carefully.
While uploading files, the restrictions such as required file type, file size, etc, should be taken care of.
- We always take help of HTML form in designing of web pages, so let us make a web page that allows the user to select the file to be uploaded.
- For this create a new folder named file_upload in the htdocs folder in xampp folder inside C drive. Now open a new notepad++ document and save it as index.php in the newly created file_upload folder.
Creating HTML form to upload file:
- The code for the HTML form is given below:
<html>
<head>
<title>PHP File Upload</title>
<style>
	#design{
		color:green;
	}
</style>
</head>
<body id="design">
<h1>Uploading a file</h1>
<br><hr width="80%"><br>
<form method="post" action="upload.php" enctype="multipart/form-data">
Choose your photo: <input type="file" name="photo"/><br><br>
<input type="submit" value="UPLOAD"/>
<br><hr width="80%">
</form>
</body>
</html>
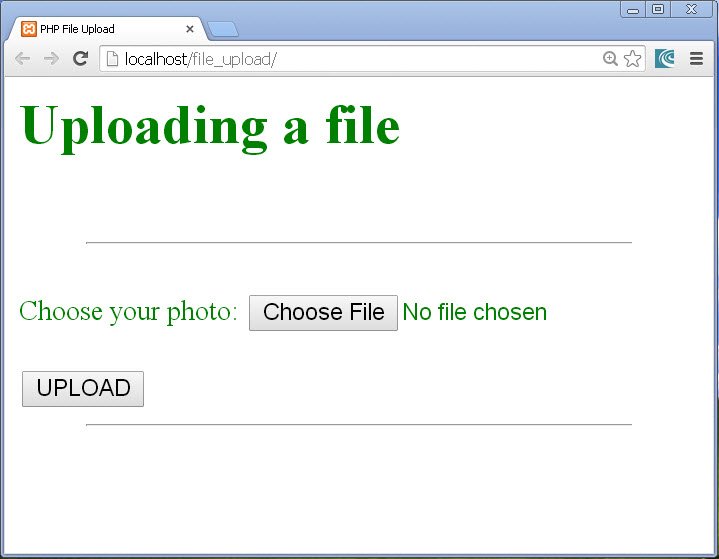
The above code gives us the form from where we can upload the file.
We have designed a form containing a file input field. This is used specially to upload files. This input field has its type as file. It gives us a browse button which allows us to select the required file from the dialog box that appears after clicking on browse button.
A submit button with caption UPLOAD is also given.
The most important thing is the attributes of form tag.
Form tag has method as post which hides the information while carrying it to the other URL.
The action attribute has value “upload.php”. This means after clicking on UPLOAD button the user will be directed to the upload.php page.
Next is the enctype attribute, it means encryption type. It has value multipart/form-data. It specifies which content type to use when submitting information back to server.
The output of the form is given below:

fig 1
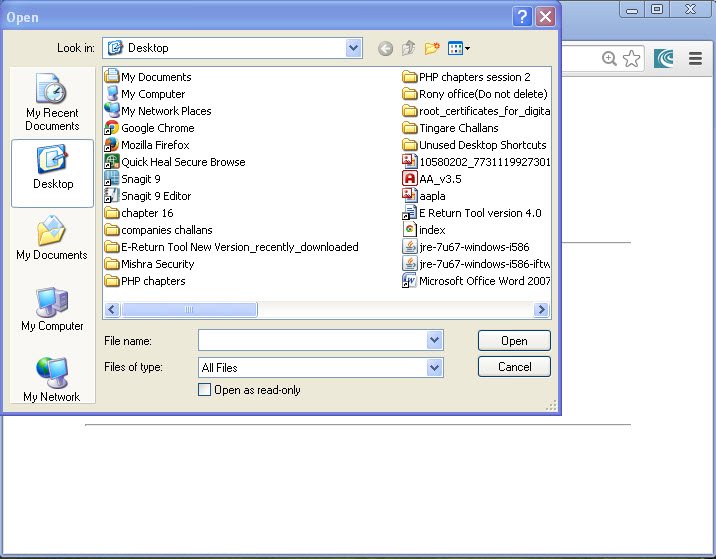
To choose the file we have to click on Choose File browse button. A file dialog box will appear as shown below:

fig 2
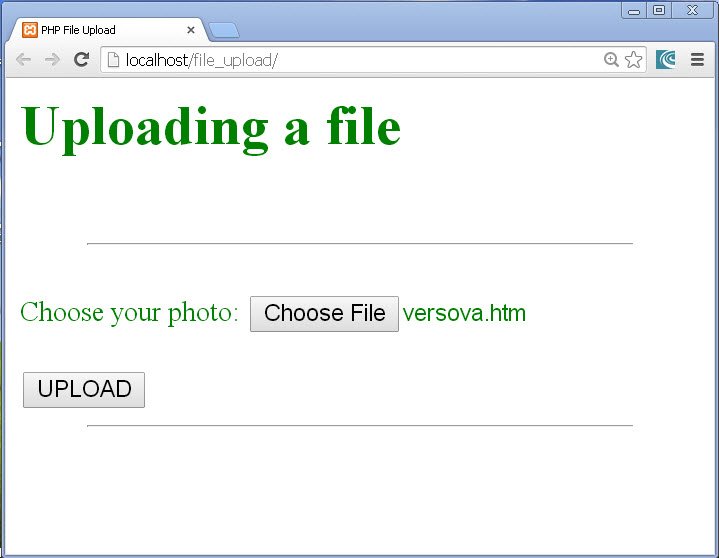
From this dialog box we can select the file we want and it will be selected and its name will appear besides the Choose file browse button as shown below:
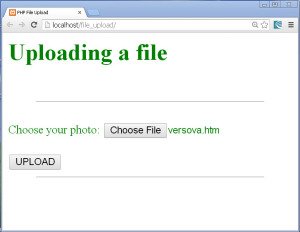
fig 3
Here in the above figure we can see the versova.htm file selected.
To upload this file we will have to click on the UPLOAD button.
When we click on the UPLOAD button the information of the file selected will be taken to the page upload.php using the superglobal array variable $_FILES.
Then in the page upload.php the process of uploading the file will be carried out.
The superglobal array variable has information such as file name, size, type, temporary location of the file, error code etc. about the file to be uploaded.
This information can be accessed in upload.php as shown below:
- $_FILES[“photo”][“name”] -> this gives the original name of the file uploaded from the user’s machine.
- $_FILES[“photo”][“size”] -> Size of the uploaded file photo in bytes.
- $_FILES[“photo”][“type”] -> The MIME type of the uploaded file.
- $_FILES[“photo”][“tmp_name”] -> The location in which the file is temporarily stored on server.
- $_FILES[“photo”][“error”] -> It gives an error code resulting from the file upload.
In the above statements the name photo is the name of the file uploaded from index.php page, the name is provided in the input tag representing the file upload element.
Now we know how the file can be accessed using $_FILES array variable, so let us go through the process of uploading the file.
Process of uploading the file:
- Now we are going to apply the process of uploading the file in upload.php page.
- While uploading the file all security measures are to be applied so that there is no possibility of any mistake or occurrence of error.
- We have asked the user to upload his/her photo; we want this in .gif or .jpg format. File size of the photo must not be more than 400kb. These are all our restrictions.
- So let us write the following code for uploading the file in upload.php page:
<html>
<head>
<title>File Upload</title>
<style>
	.error{
		color:red;
	}
	.success{
		color:purple;

	}
</style>
</head>
<?php
//path of the target directory to store files
$dir="photos/";
	//check whether file has been selected or not
	if(!empty($_FILES["photo"]["name"]))
	{
		//check if file has allowed size and MIME type (i.e. file format)
		if(($_FILES["photo"]["size"]<400000) && ($_FILES["photo"]["type"]=="image/gif") || $_FILES["photo"]["type"]=="image/jpeg")
		{

			$dir=$dir.basename($_FILES["photo"]["name"]);

			//check whether the file with same name is already present in the target directory.
			if(!file_exists($dir))
			{
				//moving the file from its temporary location to the permanent location.
				if(move_uploaded_file($_FILES["photo"]["tmp_name"],$dir))
				{
					echo '<p class="success">The file <strong>'.$_FILES["photo"]["name"].'</strong> has been successfully uploaded!</p>';
				}
				else
				{
					echo '<p class="error"><strong>ERROR:</strong>Problem occurred during file upload.</p>';
				}
			}
			else
			{
				echo '<p class="error"><strong>ERROR:</strong> The file with name <strong>'.$_FILES["photo"]["name"].'</strong> is already present in the target directory.</p>';
			}

		}
		else
		{
			echo '<p class="error"><strong>ERROR:</strong> The uploaded file should have size less than 400kb and should be in .gif or .jpg format.</p>';
		}
	}
	else
	{
		echo'<p class="error"><strong>ERROR:</strong> File have not been uploaded.</p>';
	}
?>
</html>
The code above completes the process of file upload.
The first most important thing to do is to create a folder on the server to store the uploaded files. In our case create a new folder named photos inside the file_upload folder created in the htdocs folder. Because we are using the local xampp server.
Next, let us now understand the code for file upload which is written in the upload.php page.
We have stored the path of the folder in $dir variable as shown below:
$dir="photos/";
Here, the path given is only “photos/”, because as we are working in upload.php file we are already inside file_upload folder, hence no need to include file_upload in the path. This is because in our case we are on the localhost PC which is server as well as client.
Next it is first checked whether the file has been uploaded by user or not using the statement
if(!empty($_FILES["photo"]["name"]))
The file information is carried in $_FILES array variable; hence if its name field is empty it means the file has not been uploaded. This is checked using the function empty().
If it is really empty, an error message File have not been uploaded. is displayed from the else part.
But if the condition in the if statement evaluates to true, the size and the type of the file is checked further using statement
if(($_FILES["photo"]["size"]<400000) && ($_FILES["photo"]["type"]=="image/gif") || $_FILES["photo"]["type"]=="image/jpeg")
Here, we know that we have kept the restriction that the file should have size less than 400kb and should be in .gif or .jpg format.
This is checked in the if statement by comparing the size of file to 400000 i.e. 400kb and comparing the type of file to MIME types image/gif or image/jpeg.
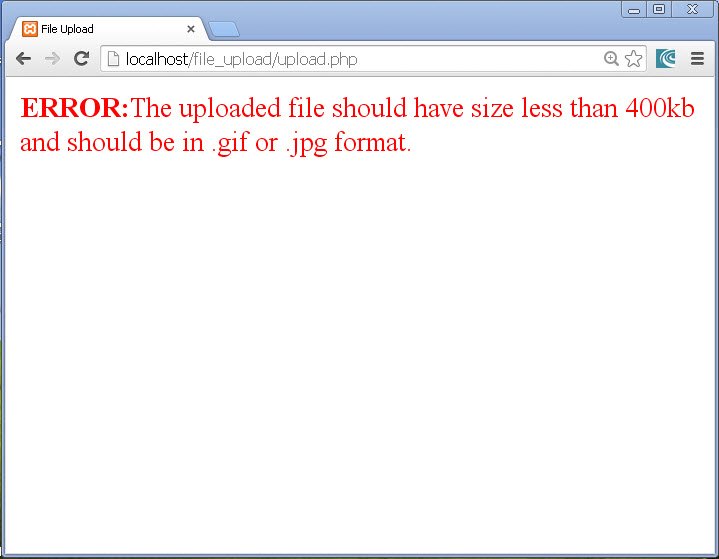
If this condition fails, an error statement saying The uploaded file should have size less than 400kb and should be in .gif or .jpg format. is displayed.
But if this condition evaluates to true, the uploaded file name is added to the path in $dir variable as shown in the following statement:
$dir=$dir.basename($_FILES["photo"]["name"]);
In this case, the function basename() returns the file name in the $_FILES array variable.
Then it is checked whether this file already exists in the target folder using the following if statement.
if(!file_exists($dir))
The function file_exists() is used to search the file in the target directory.
If the file exists, an error message The file with name ‘.$_FILES[“photo”][“name”].’ is already present in the target directory. will be displayed. Here, the $_FILES[“photo”][“name”] will display the name of the uploaded file.
But if the file does not exist in the target folder, it is saved to the target folder of the server by moving it from its temporary location to the permanent location.
The task of moving the file from its temporary location to permanent location is done using the function move_uploaded_file().
The function move_uploaded_file() takes 2 parameters, first is the temporary location of the file and second is the permanent location of the file.
This is done using the following statement
if(move_uploaded_file($_FILES["photo"]["tmp_name"],$dir))
The parameter $_FILES[“photo”][“tmp_name”] has the temporary path of the file and $dir has the permanent path of the file.
It is done in if statement because it will be easy for us to give an error message if failure occurs and a success message if the task is done successfully.
Hence if the file is not moved to its temporary location an error message Problem occurred during file upload. is displayed.
And if the file is uploaded successfully, the success message The file ‘.$_FILES[“photo”][“name”].’ has been successfully uploaded! is displayed. Here, $_FILES[“photo”][“name”] will display the name of the file uploaded.
Let us have a trial of uploading the file.
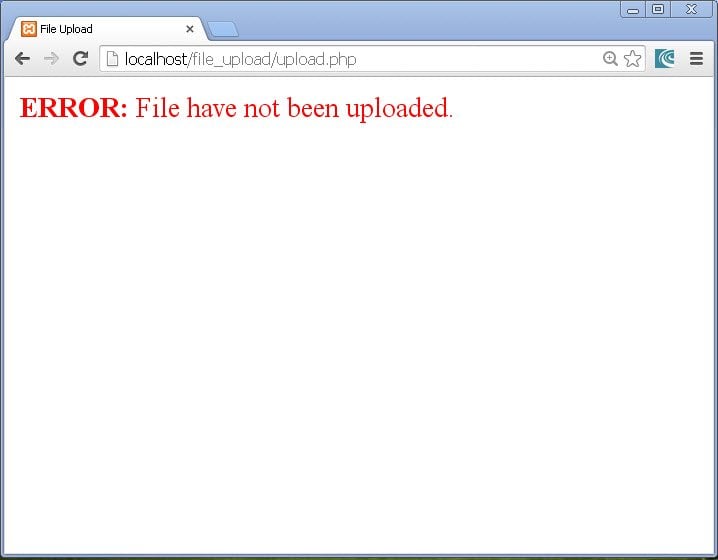
I will initially not select any file and click on the UPLOAD button. We will get an error as shown in the following figure:

fig 4
Now let us select a file with extension other than .gif and .jpg with size more than 400kb and then click on UPLOAD button. We will get an error as shown in the following figure:
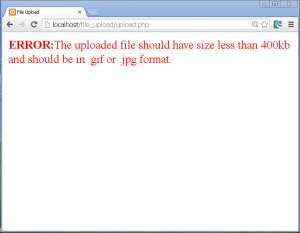
fig 5
Now if we select a proper file and it already exists in the target folder, we get the error as shown in the following figure:
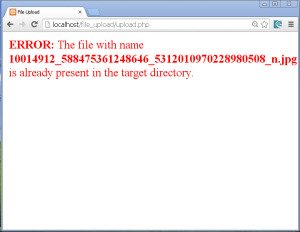
fig 6
Now if the selected file is uploaded successfully, we get the success message as shown below:
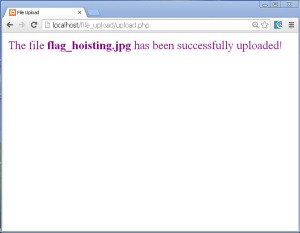
fig 7
Thus we learned to upload a file in this PHP File Upload tutorial.


