In this tutorial we will be creating an app which will have the recording functionality , so we will have a record button which when pressed will record the audio file for us .
- To create an app with functionality of capturing audio in Phonegap follow the steps given below :
- First of all download and install the Xampp Server and gitbash in your machine and if it is already installed go to Xampp -> htdocs folder .
- In this htdocs folder create a new folder say Audio .
- Create a new text document in this Audio folder and name it as index.html
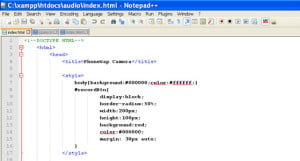
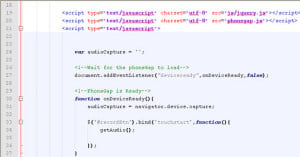
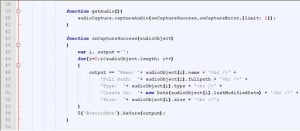
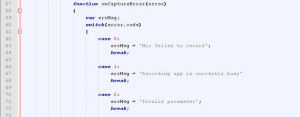
- Now open the index.html file with Notepad++ and write the following code as given below :
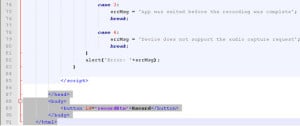
- Here is the screeshots of the code :
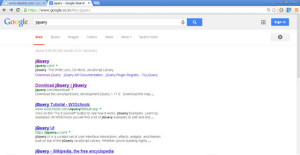
- Now just google jquery then you will get the following search options as shown below :
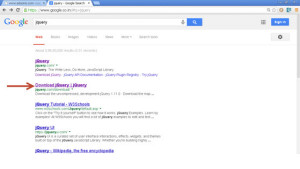
- Now click on Download jQuery option as shown in the image with an arrow head .
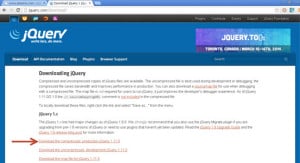
- After clicking you will get the jQuery window which will consists of some compressed jQuery codes , so now click on download the compressed,production jQuery code link as shown below in the image :
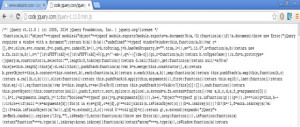
- After clicking on it you will get the following screen as shown in the image :
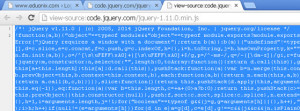
- Now press ctrl+u and you will get the view-source code of jQuery .
- Now create a new folder in audio folder called as js and in this js folder create a new text document as jquery.js , copy and paste the view-source code of jquery in it .
- Start your xampp server from xampp control panel .
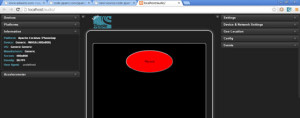
- Now open up your browser and enter the following url localhost/audio and enable your ripple emulator, you will have the following output :
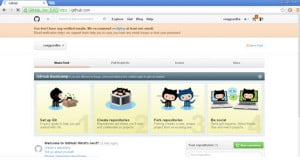
- Hence after writing the code save your document and now sign in into your Github account by visiting github.com :
- So now enter a username ,your email id and password in the respective tabs and click on the Sign up for GitHub button .
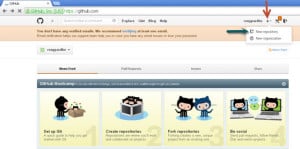
- After you click on the signup button you will get the following window :
- Now click on the ‘+’ icon on the right hand side as indicated by the red arrow and then click on the “ New repository ” as indicated by the blue arrow .
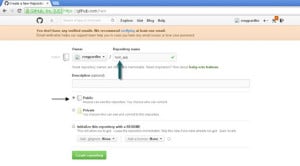
- After clicking on the New repository you will be navigated to the next window ,specify a Repository name ,select a public radio button and click on the Create repository button as shown in the image below :
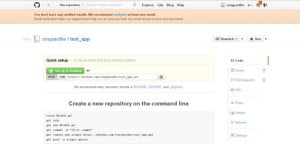
- So after clicking on the Create repository button you have the following window :
- Go to xampp -> htdocs .
- In htdocs you have your audio folder created .
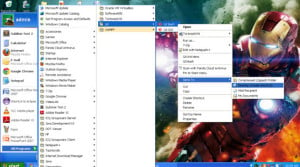
- Now go to your start menu -> GitBash -> right click on it -> Send To -> Desktop (create a shortcut) of GitBash on Desktop as shown below :
- So now on Desktop you will have a GitBash icon .
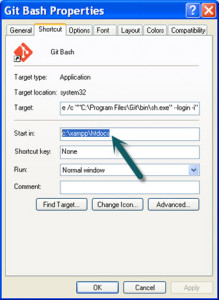
- Now Right Click on the GitBash icon on the desktop and go to properties and in the Start in edit box set the path as : c:xampphtdocs as shown in the image.
- Now Click on Apply and OK button .
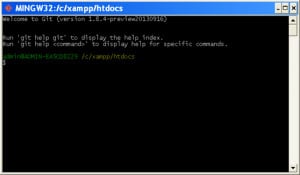
- Now start the GitBash application from the desktop and you will have the following screen :
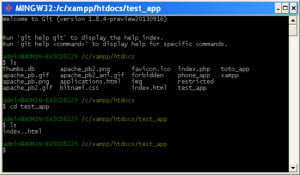
- Now insert the following command as shown below in the gitbash command prompt window..
- Thus after inserting the commands you will have the following view of your window :
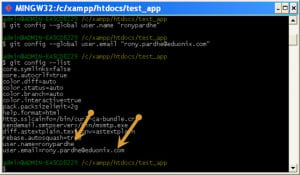
- After you get this , insert further commands in the same command prompt window as given below :
- After inserting this command your gitbash command prompt window will have the following look , check whether your username and email you entered has been generated in the list :
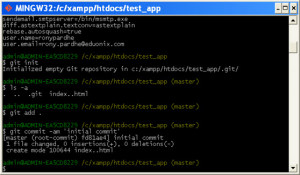
- After this insert the following commands :
- You will have the following window :
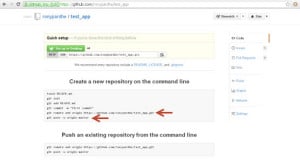
- Now go to your github account where you had created the audio repository and copy the add origin command and push command and paste it in the gitbash command prompt respectively.
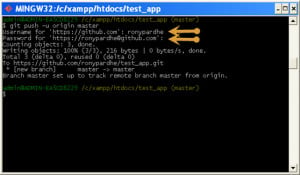
- So after adding the commands you will be asked for your github username and password ,so you will have the following window :
- Thus now the push operation is complete, so now we are ready to build our application .
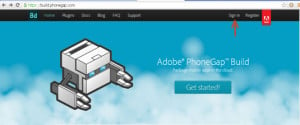
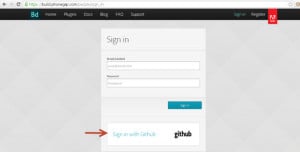
- Now go to www.build.phonegap.com and click on Sign in tab present at the right.
- After clicking on the Sign in button you will get the next page where you have to click on the Sign in with GitHub button as shown by the arrow head ..
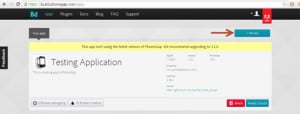
- After that you will be navigated to the next page where you have to click on the new app button as shown by the red arrow head.
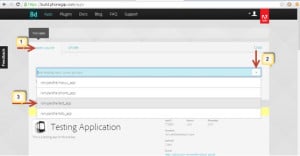
- After clicking on the new app button ,you will get the following window where you have to select the open-source tab and click on the dropdown pointer and select your app as shown in the image :
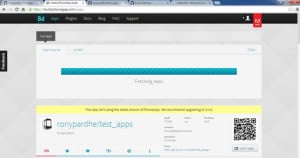
- When you select your app the fetching process will start as shown in the figure :
- After the fetching is complete you will get the following window :
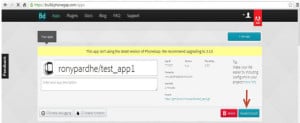
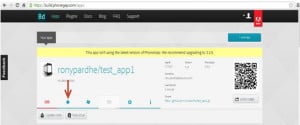
- Now click on the Ready to Build button as shown by the red arrow in the image and you will get the following screen :
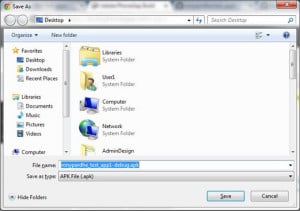
- Click on the android icon and you will have the following window popping up to save the apk file.
- Now save your apk file and insert it in your android mobile phone and install it ,you will have the application running on your mobile phone
<!--DOCTYPE HTML-->
<html>
<head>             <title>PhoneGap Camera</title>
			<style>
body{background:#000000;color:#ffffff;}
				#recordBtn{     display:block;
						border-radius:50%;
						width:200px;
						height:100px;
						background:red;
						color:#000000;
						margin: 30px auto;
				}
			</style>

<script type="text/javascript" charset="utf-8" src="js/jquery.js"></script>
	<script type="text/javascript" charset="utf-8" src="phonegap.js"></script>
	<script type="text/javascript">
		var audioCapture = '';
		<!--Wait for the phoneGap to load-->
		document.addEventListener("deviceready",onDeviceReady,false);
		<!--PhoneGap is Ready-->
		function onDeviceReady()
{
			audioCapture = navigator.device.capture;
			$('#recordBtn').bind('touchstart',function(){
			getAudio();
			});
		}

		function getAudio()
{
			audioCapture.captureAudio(onCaptureSuccess,onCaptureError,{limit: 1});
		}

function onCaptureSuccess(audioObject)
{
var i, output ='';
	for(i=0;i<audioObject.length; i++)
	{
		output += 'Name: '+ audioObject[i].name + '<br />' +
			   'Full Path:  '+ audioObject[i].fullpath + '<br />' +
			   'Type:  '+ audioObject[i].type + '<br />' +
			   'Create On:  '+ new Date(audioObject[i].lastModifiedDate) + '<br />' +
			   'Size:  '+ audioObject[i].size + '<br />';						}
	$('#recordBtn').before(output);
}
function onCaptureError(error)
{
	var  errMsg;
	switch(error.code)
	{
		case 0:      errMsg = 'Mic failed to record';
			    break;
case 1:      errMsg = 'Recording app is currently busy'
			    break;

case 2:	   errMsg = 'Invalid parameter';
			   break;

case 3:   errMsg = 'App was exited before the recording was complete';
			  break;

	  	case 4:  errMsg = 'Device does not support the audio capture request';
			  break;
	}
	alert('Error: '+errMsg);
    }
</script>
</head>
		<body>
			<button id="recordBtn">Record</button>
		</body>
</html>
ls
cd audio(that is your folder name in htdocs folder)
ls
git config --global user.name “username of your github account”

git config --global user.email “email of your github account”

git config --list
git init

ls –a

git add .

git commit –am ‘initial commit’
NOTE : Here you will have your own application name that is the name given by you while creating the repository.


