Introduction
In this article, we will discuss and learn about building an Amazon skill by using AWS Lambda method. An Amazon skill is a technique that enables users to interact with the skill and get the desired result from it. There are four types of build models offered by Amazon for building Amazon Skill. These build models are as follows.
- Flash Briefing Skill API (Application Programming Interface).
- Smart Home Skill API (Application Programming Interface).
- Video Skill API (Application Programming Interface).
- Custom Skill option which enables us to build our own interaction model. We are going to discuss in detail about building a Custom Skill in this article.
Building a Custom Amazon skill
A Custom skill can be built with the help of the following two approaches.
- Firstly, we can write a web service and host it at a cloud service of our own choice.
- Secondly, we can write a function and make it run on AWS’s Lambda server-less computing service. It requires the code to be written in Java, Python, Node JS, or C#. One good advantage of AWS’s Lambda server-less computing environment is that we just need to pay for the service only when the code is executed otherwise the service is totally free.
We are going to divide the building of a Custom skill into four parts as explained below.
PART I: Building an Interaction Model
An interaction model can be built with the help of the following steps.
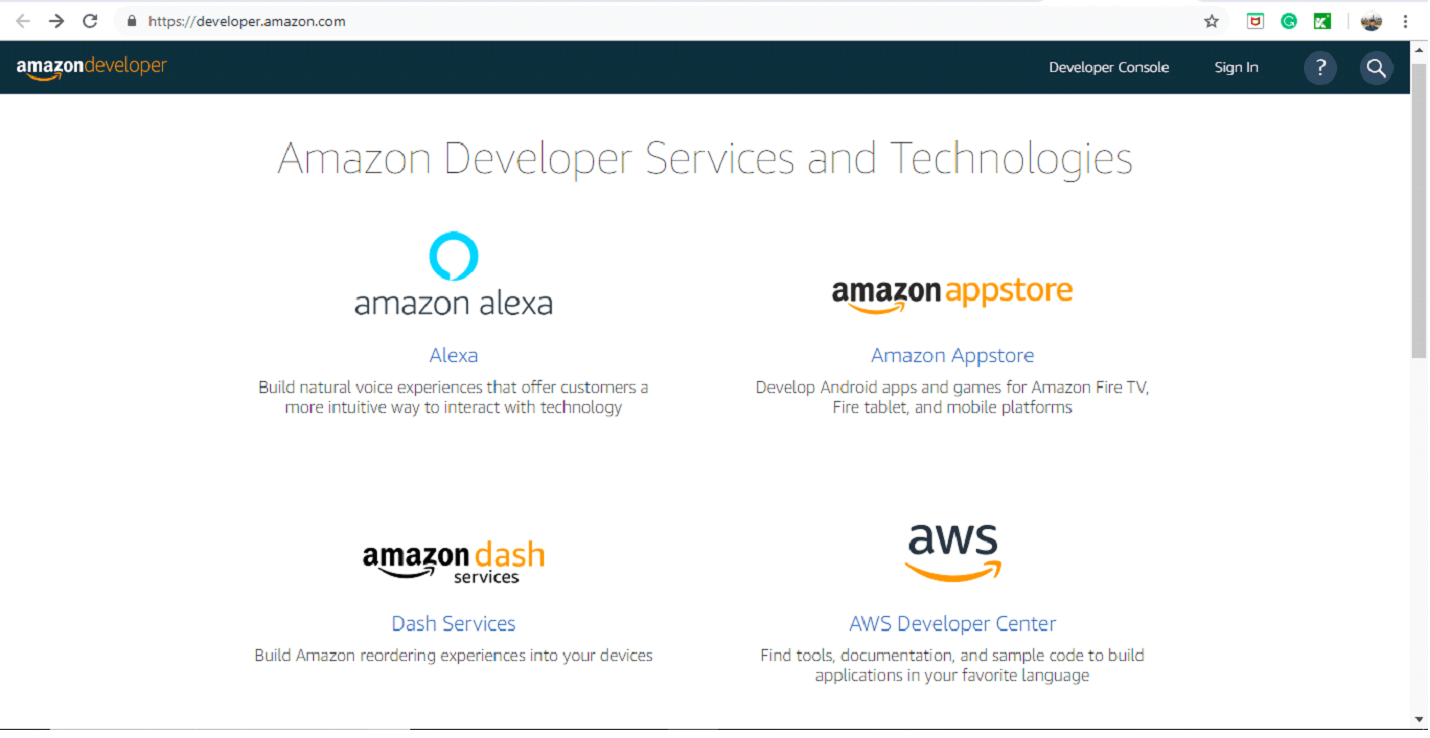
Step 1: Create an account into Amazon Developer Services or sign in if your account already exists at the given URL [https://developer.amazon.com/].

Step 2: You need to sign in into the Amazon Developer Services with the same email address which is linked to your Alexa device.
Step 3: You need to select Create Skill after navigating to the Alexa Skills Kit developer console.
Step 4: You will be directed to the build page immediately after filling up the skill information. The Alexa interaction model requires the following steps.
- Invocation Name: You need to provide the invocation name which will be used by the Alexa in order to identify the user’s request. E.g., if the user’s phrase contains “Alexa, open Eduonix” then the invocation name will be “Eduonix”.
- Indicate your intents: You need to mention your intent which is nothing but the action requested from a user. E.g., if somebody is building a translation skill from English to the Hindi language then the intent will be Translate. Amazon has four inbuilt intents such as cancel, Fallback, help, and Stop. The collaboration of these inbuilt intents and the required intents serve the best results. Therefore, while writing your code, you should include the handler for each intent smartly in order to deliver the best result.
- Sample Utterances: Next, we need to set up the sample utterances for the intents already indicated. It is the set of possible phrases which a user might speak to invoke an intent or action. E.g., “what’s goodnight in Hindi”. The extraction of word and language from the phrase takes place with the help of slots as explained below.
- Slots: Slots are referred to the information available in your sample utterances. The values are extracted from the utterances and passes as arguments to the indicated intents. E.g., in the utterance such as “what’s goodnight in Hindi”, we need to extract the variables from the phrase i.e. ‘goodnight’ and the language we would like to translate into i.e. ‘Hindi’. Therefore, in this, the slots will be ‘TranslationPhrase’ and ‘Language’. Slots are denoted by wrapping them in curly braces. E.g. {TranslationPhrase} in {Language}. Next, we need to select the slot type as PHRASE, LANGUAGES_LIST, etc. You can also create your custom Slot types.
Step 5: Now its time to build your model. You need to save the model first and then navigate back to the Skill Builder Checklist. Next, select Build Model which will start building your interaction model. You can anytime view and edit your interaction model with the help of JSON Editor.
PART II: Creation of AWS Lambda Function
AWS Lambda function can be created with the help of the following steps.
Step 1: You need to sign up to AWS Lambda Service if your account does not exist. Otherwise, you just need to sign in to AWS Lambda Service with your existing credentials.

Step 2: Currently US West (Oregon), US East (North Virginia), EU (Ireland), and Asia Pacific (Tokyo) are the regions where Lambda functions can be hosted for Alexa Skills. You need to choose the region.
Step 3: Next, you need to create AWS Lambda Function. Here, you have an option to author from scratch, choose a pre-configured template as blueprints, or use serverless application repositories. Alternatively, you can use pre-built repos from GitHub as well.
Step 4: Next, you need to configure your function by setting up the triggering point which will execute your function. In this case, the triggering point will be Alexa Skills Kit and the connection of your function to the Alexa Skill kit requires the following steps.
- You need to copy the ARN into your Lambda function window from the upper right corner.
- In your Developer console, you need to click Endpoint.
- Next, you need to select your Endpoint Type as AWS Lambda ARN where you need to paste your ARN into the field for the regions you have chosen.
- Lastly, you need to paste your Skill Id into the Lambda Configure Triggers window.
Step 5: Save all of these changes and at this point, you are all set to upload your code.
PART III: Uploading your code to AWS Lambda Function
You can upload your code as a .zip file or a file from Amazon S3 to the Lambda function. You can use inline code editor to write and edit the code.
PART IV: Test your Custom Skill
After addition of your code to the AWS Lambda Function, your custom skill is ready to test. You can test your Custom skill either in your Developer Console or in the Lambda environment.
Conclusion
In this article, we discussed in detail about building an interact model, creation of AWS Lambda function, uploading code to AWS Lambda Function, and test the Custom skill.


