

In this session today we will learn how to create a drop down div in jquery with the help of toggle functionality.
- To learn how to create drop down div in jquery follow the steps given below :
- First of all create a folder and name it for example as DropDown .
- Now in this DropDown folder create an html file called as index.html .
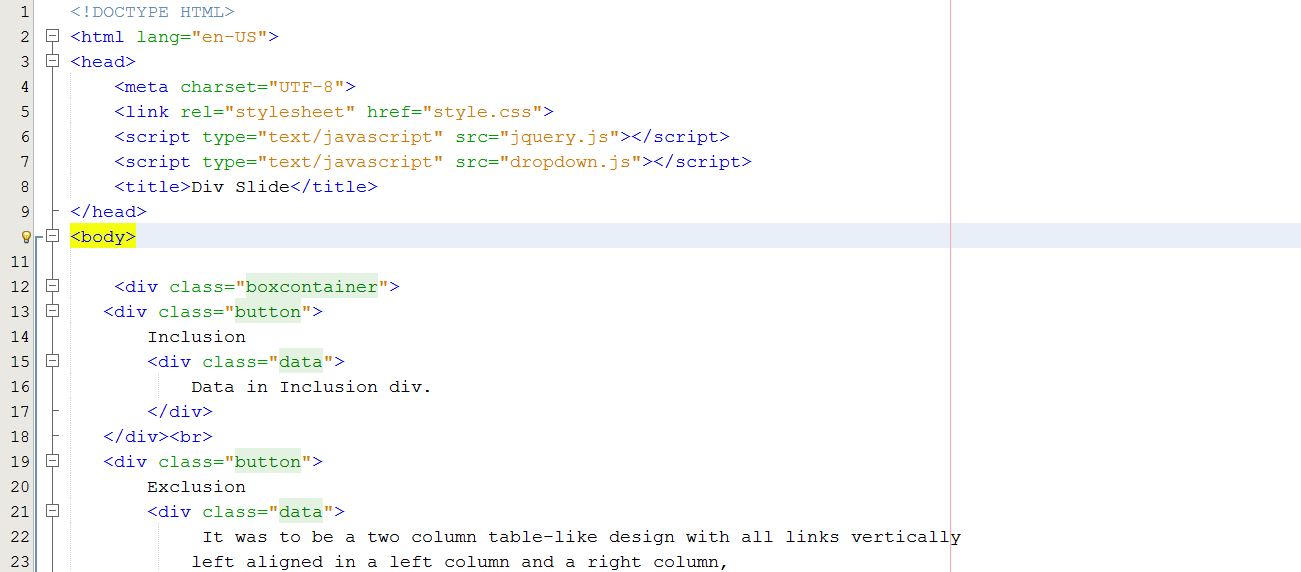
- Open this index.html file with any one of the text editor for example NotePad++ and write the following code in it :
- Here are the screen shots for the code :
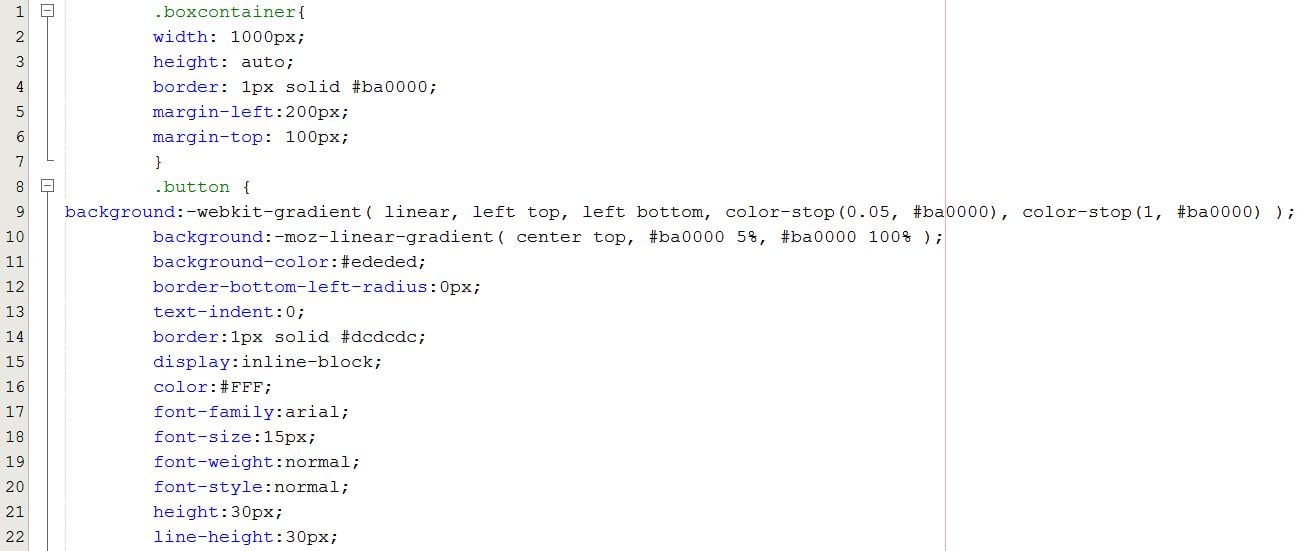
- Now in our DropDown folder create another file called as style.css and add the following code into it .
- Here are the screen shots for the code :
- Now to implement drop down menu effect let’s add some jquery code.
- For this we will require jquery header file to run our jquery programme.
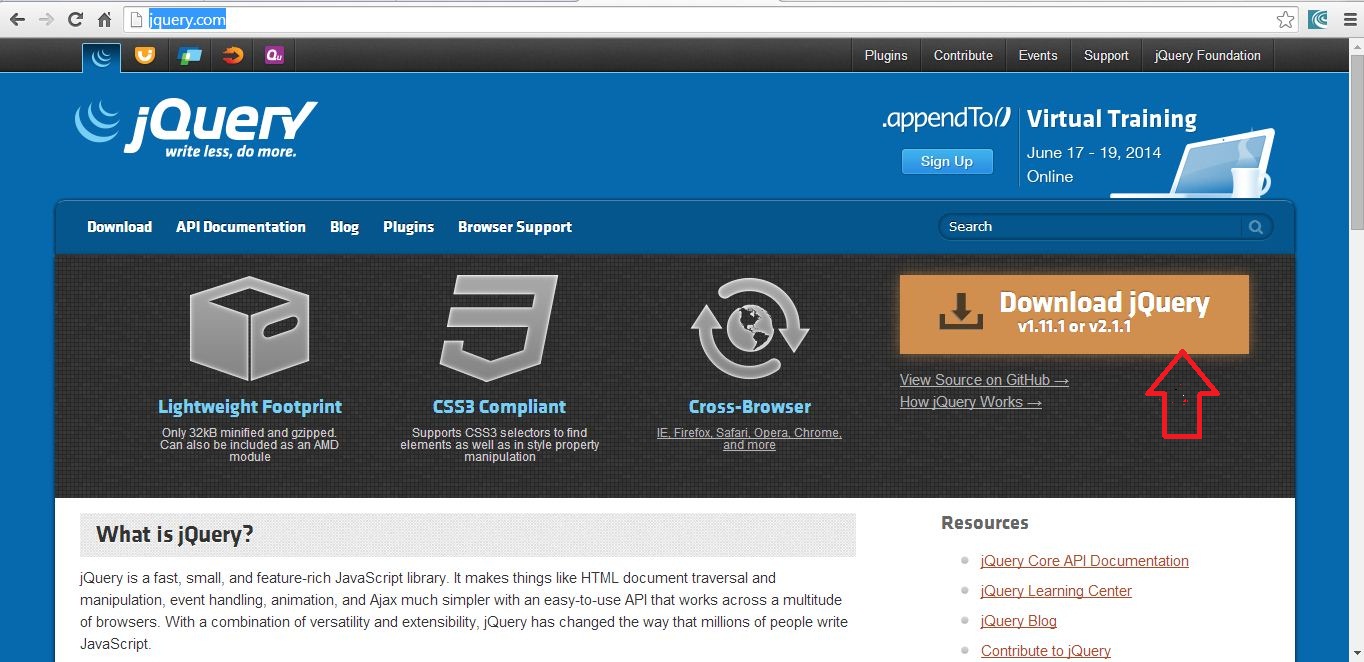
- So just visit jquery.com and you will have the following window :
- Now click on the Download jquery button as shown in the above image:
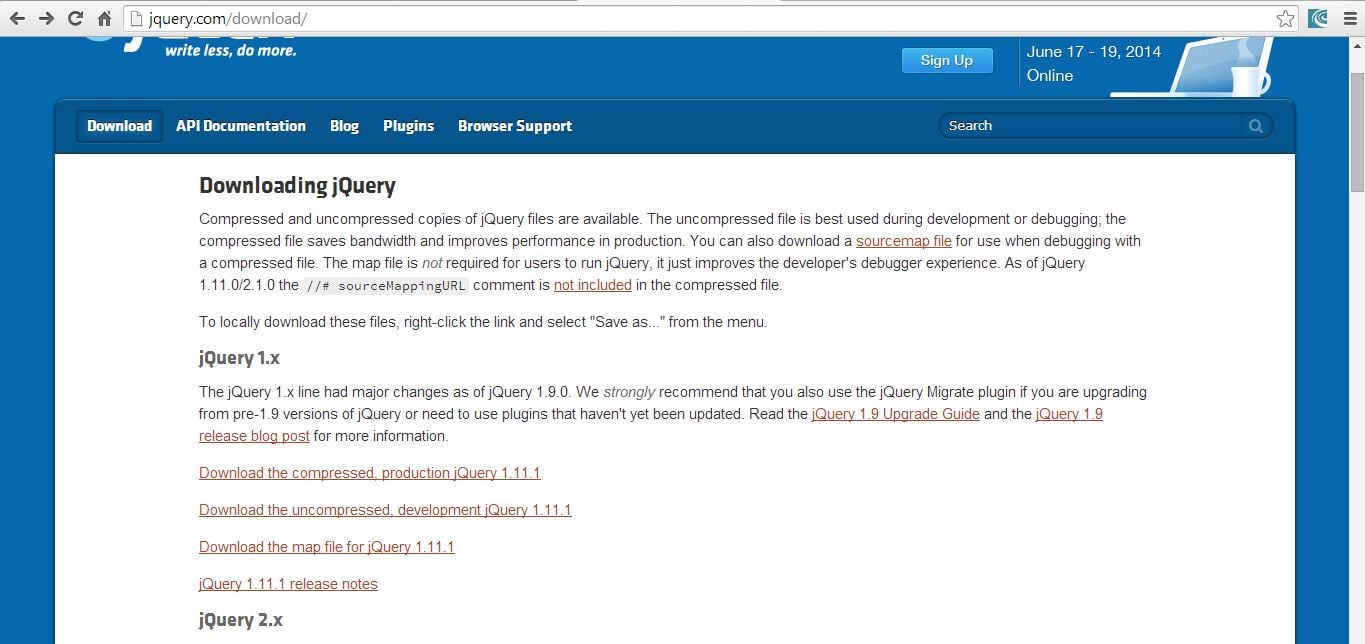
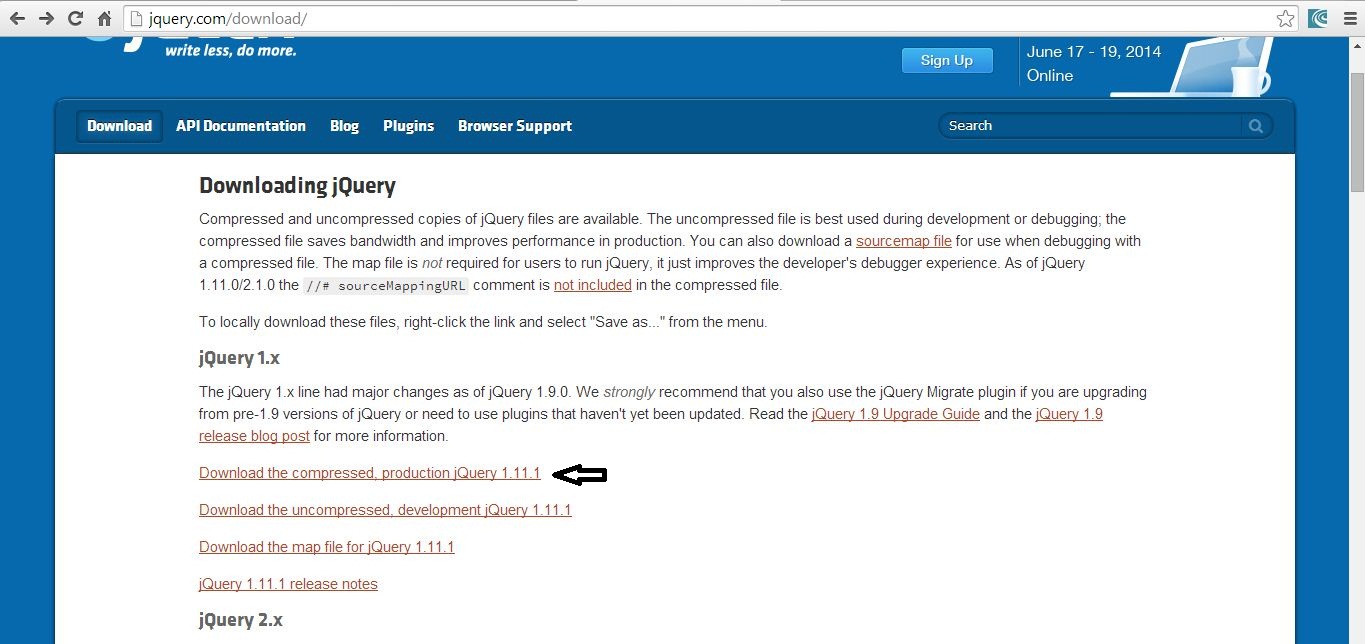
- After clicking the download button you will be navigated to the following page :
- Now you can download any version from the jquery, here we will be downloading the compressed jQuery 1.11.1 as shown below:
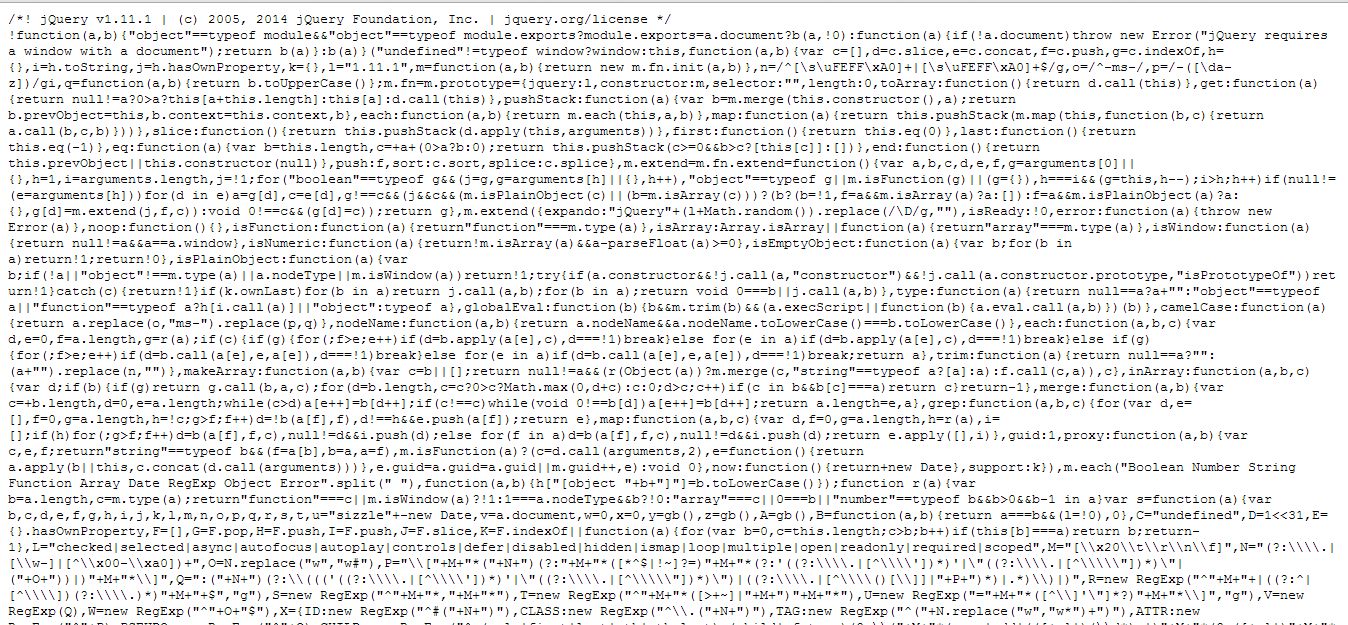
- Now click on the above link as shown you will be navigated to the following page:
- Create a new jquery.js file in our DropDown folder and copy paste the above code into it.
- Now let’s create a file which will create some dropdown effect on the div .
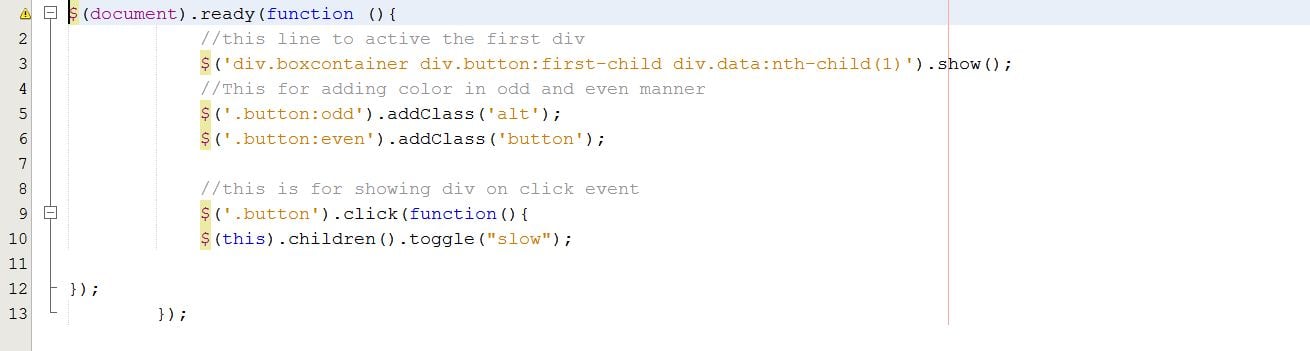
- So in the DropDown folder create a new file called as Dropdown.js and write the following code in it:
- Here is the screen shot for the code :
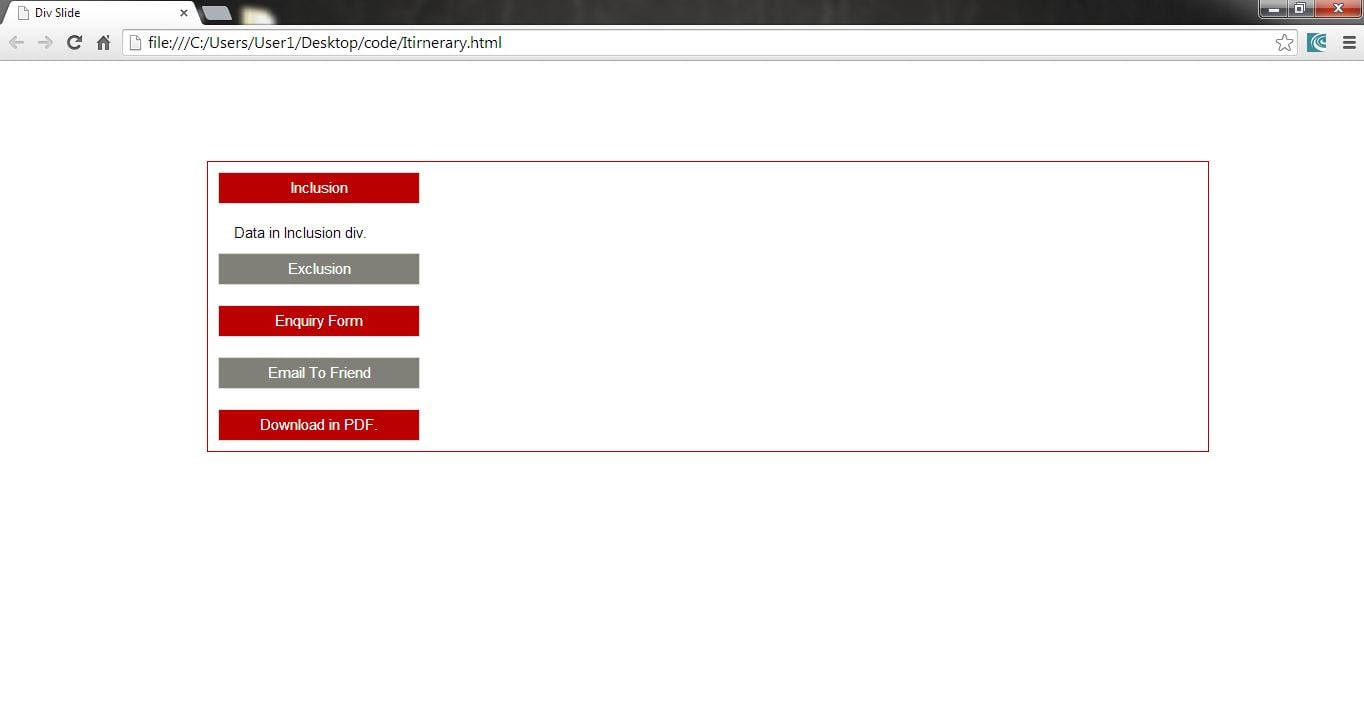
- Now if you run the index.html file you will have the following output :
- Thus, we have successfully learnt how to create drop down div in JQuery .
<!DOCTYPE HTML>
<html lang="en-US">
<head>
    <meta charset="UTF-8">
    <link rel="stylesheet" href="style.css">
    <script type="text/javascript" src="jquery.js"></script>
    <script type="text/javascript" src="dropdown.js"></script>
    <title>Div Slide</title>
</head>
<body>

    <div class="boxcontainer">
   <div class="button">
       Inclusion
       <div class="data">
           Data in Inclusion div.
       </div>
   </div><br>
   <div class="button">
       Exclusion
       <div class="data">
            It was to be a two column table-like design with all links vertically
           left aligned in a left column and a right column,
           also left aligned, containing a brief description of each link.
              </div>
   </div><br>
   <div class="button">
       Enquiry Form
       <div class="data">
            Here the data will be shown in the drop down div.
       </div>
   </div><br>
   <div class="button">
       Email To Friend
       <div class="data">

               <label>Email of friend</label>
               <input placeholder="Friends Email" type="text">
               <button>Send</button>
       </div>
   </div><br>
   <div class="button">
      Download in PDF.
       <div class="data">
           Download link for PDF file goes here.
       </div>
   </div>
 </div>
</body>
</html>


.boxcontainer{
        width: 1000px;
        height: auto;
        border: 1px solid #ba0000;
        margin-left:200px;
        margin-top: 100px;
        }
        .button {
	background:-webkit-gradient( linear, left top, left bottom, color-stop(0.05, #ba0000), color-stop(1, #ba0000) );
	background:-moz-linear-gradient( center top, #ba0000 5%, #ba0000 100% );
	background-color:#ededed;
	border-bottom-left-radius:0px;
	text-indent:0;
	border:1px solid #dcdcdc;
	display:inline-block;
	color:#FFF;
	font-family:arial;
	font-size:15px;
	font-weight:normal;
	font-style:normal;
	height:30px;
	line-height:30px;
	width:200px;
	text-decoration:none;
	text-align:center;
        margin-left: 100px;
        margin: 10px;
        }
        .data{
        width: 800px;
        display: none;
        text-align: justify;
        padding: 15px;
        color:#000;
        }
        .alt{
        background: #808079;
        }

$(document).ready(function (){
            //this line to active the first div
            $('div.boxcontainer div.button:first-child div.data:nth-child(1)').show();
            //This for adding color in odd and even manner
            $('.button:odd').addClass('alt');
            $('.button:even').addClass('button');
            //this is for showing div on click event
            $('.button').click(function(){
            $(this).children().toggle("slow");

});
        });

