

In this article, we are going to discuss about REPL Terminal in Node JS. REPL is the abbreviation for ‘Read Eval Print Loop’ terminal that behaves like a computer environment similar to UNIX or LINUX shell, windows command prompt, etc. where we can execute various commands in order to get various system responses as output in an interactive manner. This REPL feature in NodeJS is useful during the experimentation of Node.js code and debugging of the JavaScript code.
REPL Terminal Tasks
By default, Node.js is bundled with an REPL environment which can be used as a terminal to perform the following tasks.
- Read It does the reading of the user’s input, parses that input into the JavaScript data-structure, and finally stores it into the memory.
- Eval It does the evaluation of the data structure.
- Print It prints the result on the terminal.
- Loop It does the looping for the above command until the user has pressed (ctrl + c) twice.
Online REPL Terminal
The following are the steps to launch and use Node.js REPL environment online to execute Node.js syntaxes.
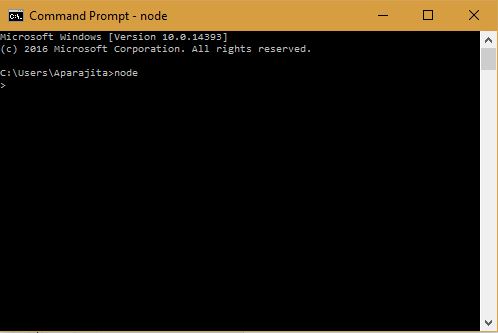
1. Starting REPL Environment: – We can start REPL by simply executing the node command on shell (if UNIX) or console (Command prompt) without any arguments as shown below.
Microsoft Windows [Version 10.0.14393]
(c) 2016 Microsoft Corporation. All rights reserved.
C:\Users\Aparajita>node
>
In the below screenshot, we can observe the REPL Command prompt > where we can type and execute any Node.js command.
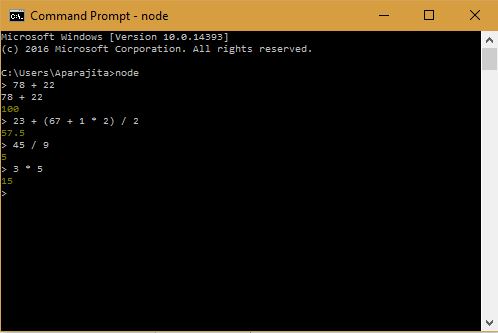
2. Execution of an expression: – We can execute simple mathematical expressions in order to compute the result on Node.js REPL command prompt as shown below.
Microsoft Windows [Version 10.0.14393]
(c) 2016 Microsoft Corporation. All rights reserved.
C:\Users\Aparajita>node
> 78 + 22
78 + 22
100
> 23 + (67 + 1 * 2) / 2
57.5
> 45 / 9
5
> 3 * 5
15
>
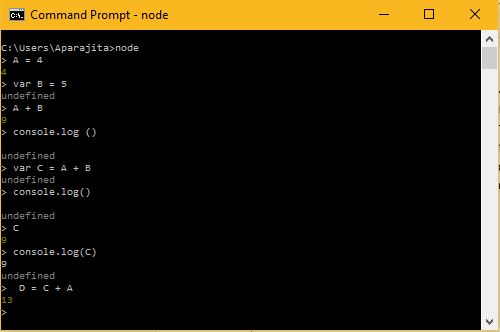
3. Using Variables on REPL Terminal: – If we want to store values on terminal then we can make use of the variables to store values. These values can be used as input for evaluating complex expressions, printing them as a conventional script. Syntactically, we can use the var keyword to store the value. Also, if the var keyword is not used, then the terminal will automatically store the value in the variable and print it on the terminal. Otherwise, if var keyword is used, then the value will be stored in the variable but it will not be printed on the terminal at all. In such case, we can use ‘console.log ()’ in order to print the value as shown below.
Microsoft Windows [Version 10.0.14393]
(c) 2016 Microsoft Corporation. All rights reserved.
C:\Users\Aparajita>node
> A = 4
4
> var B = 5
undefined
> A + B
9
> console.log ()
undefined
> var C = A + B
undefined
> console.log()
undefined
> C
9
> console.log(C)
9
undefined
>  D = C + A
13
>
4. REPL String Operations: – We can declare a string and assign it to a variable with in double codes (e.g. “Hello REPL Terminal”). Also, we can concatenate two strings with the help of “+” operator as shown below.
Microsoft Windows [Version 10.0.14393]
(c) 2016 Microsoft Corporation. All rights reserved.
C:\Users\Aparajita>node
> console.log ("Hello REPL Terminal")
Hello REPL Terminal
undefined
> A = "Hello"
'Hello'
> B = " REPL"
' REPL'
> A + B
'Hello REPL'
> var C = A + B
undefined
> var D = "Terminal"
undefined
> var E = C + D
undefined
> console.log (E)
Hello REPLTerminal
undefined
>
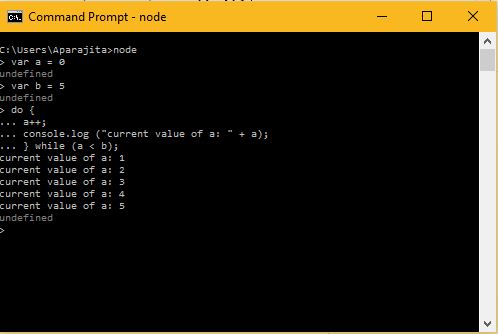
5. Multiline Expressions on REPL Terminal: – Node REPL Terminal is capable to support multiline expression similar to that of JavaScript. The following example demonstrates do-while loop and a multiline expression.
Microsoft Windows [Version 10.0.14393]
(c) 2016 Microsoft Corporation. All rights reserved.
C:\Users\Aparajita>node
> var a = 0
undefined
> var b = 5
undefined
> do {
... a++;
... console.log ("current value of a: " + a);
... } while (a < b);
current value of a: 1
current value of a: 2
current value of a: 3
current value of a: 4
current value of a: 5
undefined
>
Note: – When you write a multiple line expression then you will observe that … will appear automatically when you press Enter after the opening bracket. In this case, the Node automatically checks for the continuity of expressions and hence these three consecutive dots will appear automatically on the terminal.
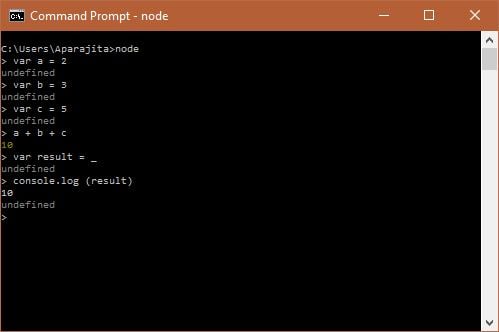
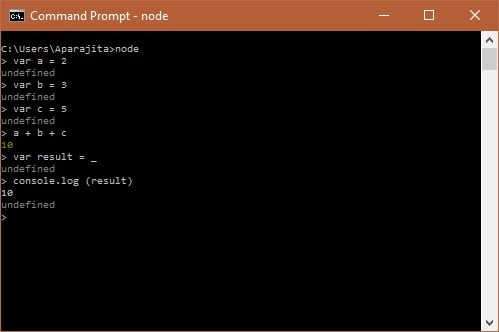
6. Use of Underscore Variable: – On REPL terminal, we can use underscore (_) in order to retrieve the last result as shown below.
Microsoft Windows [Version 10.0.14393]
(c) 2016 Microsoft Corporation. All rights reserved.
C:\Users\Aparajita>node
> var a = 2
undefined
> var b = 3
undefined
> var c = 5
undefined
> a + b + c
10
> var result = _
undefined
> console.log (result)
10
undefined
>
7. Frequently used REPL Commands: – The following is the list of REPL commands which are frequently used while working on the REPL terminal.
8. Stopping REPL Terminal: – We can stop REPL terminal either by pressing ctrl + c keys twice or ctrl + d keys once.
Microsoft Windows [Version 10.0.14393]
(c) 2016 Microsoft Corporation. All rights reserved.
C:\Users\Aparajita>node
>
Press Ctrl + c twice
C:\ Users\Aparajita>node
Conclusion:
In this article, we have covered all the basic aspects of REPL Terminal that are required for a beginner developer to work on it.

