
")
Till now, we wrote PHP programs in a text editor like notepad/notepad++. But to complete our work fast, we have been provided with a framework which will make our task easier and faster. This framework is CodeIgniter. CodeIgniter is provided with many code libraries, reusable classes and functions that make our development process faster. So let us now learn how to install CodeIgniter in this Installing CodeIgniter in PHP tutorial.
- Let us see the installation process step by step:
- Step 1: Go to the website www.codeigniter.com and browse to the Download tab as shown below:
- Now download the CodeIgniter. A ZIP file will be downloaded.
- Step 2: Next step is to unzip the file. You can unzip the file directly in the htdocs folder of your xampp folder or unzip it in another folder of your local machine and then copy and paste it in htdocs folder.
- I have extracted the zip file to a folder on local machine, it is shown below:
- Now I will copy this folder named CodeIgniter-2-2-stable shown in above figure and paste it in the htdocs folder of xampp folder which is in C drive.
- Step 3: Now rename the CodeIgniter-2-2-stable folder in htdocs to CodeIgniter for simplicity as shown below:
- CodeIgniter is now setup successfully.
- Step 4: Now open the CodeIgniter-2.2-stable/application/config/config.php file with notepad/notepad++ which is inside the CodeIgniter folder in htdocs folder and set the base URL to http://localhost/CodeIgniter i.e. to the path of the CodeIgniter folder.
- The base URL statement in the config.php file will look as shown below:
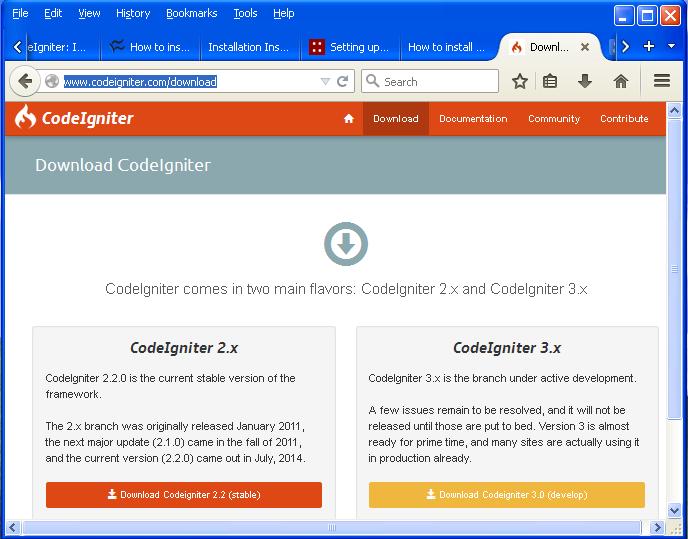
fig 1
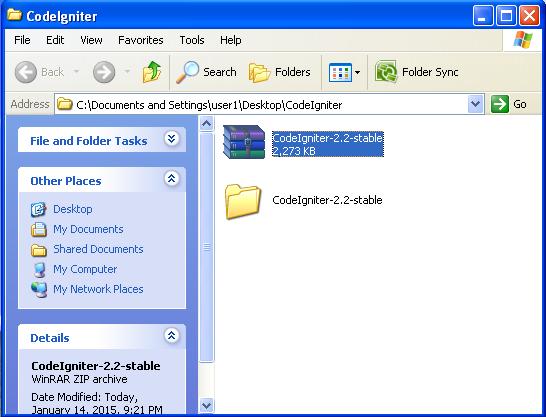
fig 2
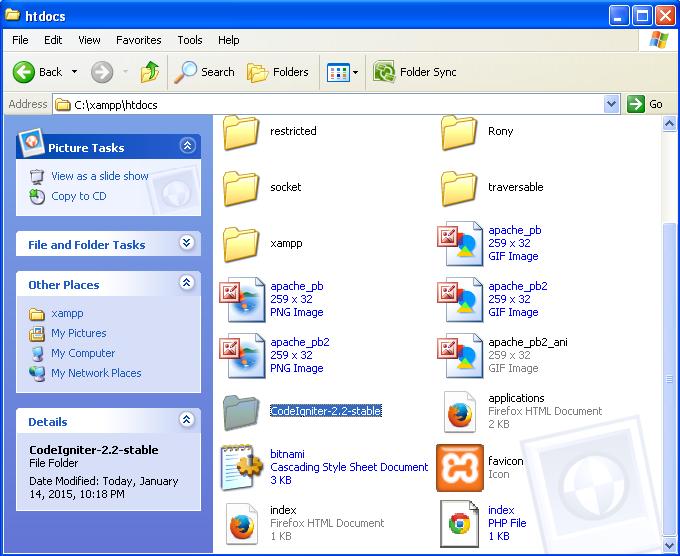
fig 3
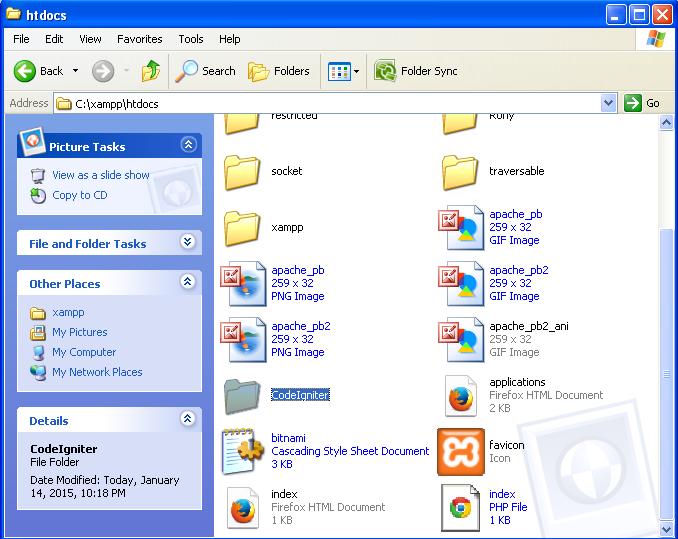
fig 4
$config['base_url'] = 'http://localhost/CodeIgniter';
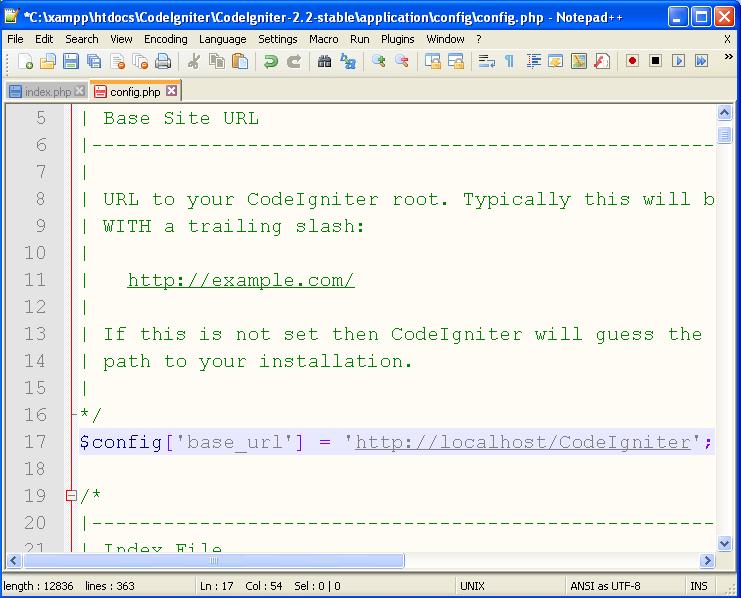
fig 5
http://localhost/CodeIgniter

fig 6
Thus we studied the step by step installation of CodeIgniter in our Installing CodeIgniter in PHP tutorial.

