

In this article, we will complete what we started in the previous one. Have a nice reading.
Configuring Network
Connecting your host to the network is not luxury; it is a necessity. Your computer is either a server that provides one or more services, or a client that uses one or more of these services. This is the ABC of the Client/Server Model. (Of course, nothing prevents a computer from being for example an NTP client that asks another server for clock settings, and being – at the same time – a file/print server, a mail server, a DNS server, etc.)
In either cases, you need to be connected to the network.
Basic Network Configurations
For your host to be connected to network, you need:
- A network interface card NIC: either wired or wireless.
- Network Configuration.
The minimal network configurations required for a host to be able to communicate over network are:
- A unique IP Address.
- Subnet Mask.
- Default Gateway.
To set the IP address, there are also two methods:
- Using the GUI tool.
- By editing the configuration files.
Using the Network Connections Setup Tool
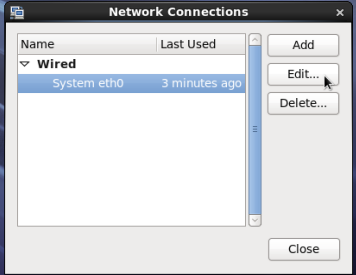
To open the Network Connection tool, click the System menu à Preferences à Network Connections.

In the Network Connections window, under Wired, select the System eth0, then click Edit.
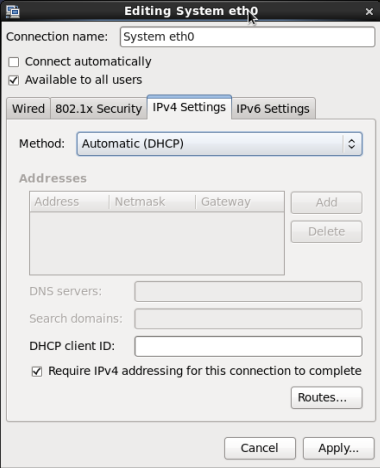
In the Editing System eth0 dialog box, click the IPv4 Settings Tab.
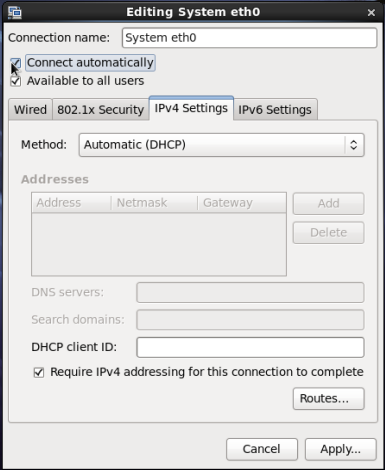
Check the Connect automatically check box to enable this network connection when the system starts up.
In the Method dropdown box, select Manual.
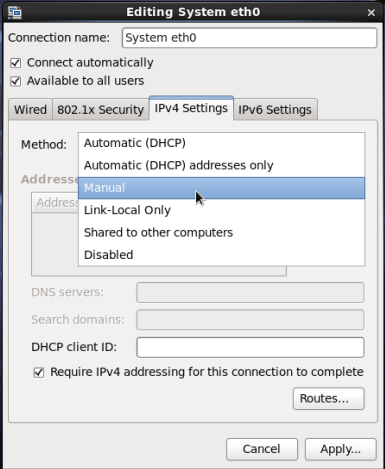
Click Add.
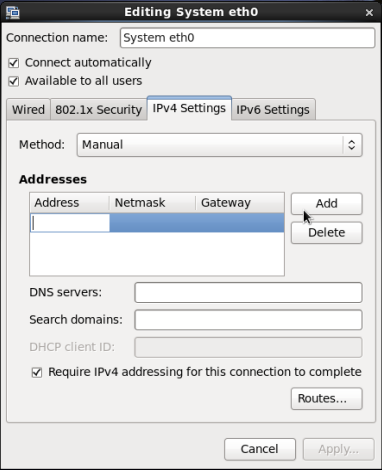
Type the IP address, subnet mask, and gateway.
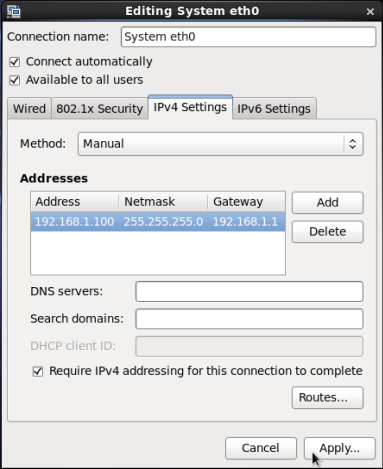
Click Apply to save changes. When prompted to do, type the root password to authenticate yourself before applying the changes.

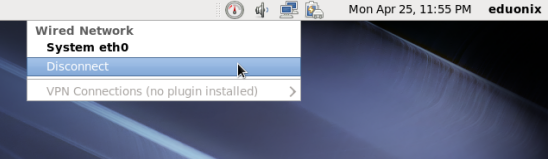
For the changes to take effect, we need to disconnect the Ethernet connection and connect it again:
Click the network icon in the upper panel, and then click Disconnect.
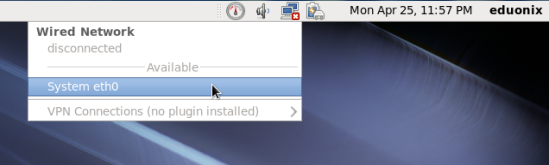
Now, click System eth0 to reconnect.
Now, from your terminal type the command ip a to display the IP configuration.

To confirm that the default gateway has been configured, enter the netstat –rn command:

Editing Network Configuration Files
The majority of network configuration files are located under /etc/sysconfig/network-scripts
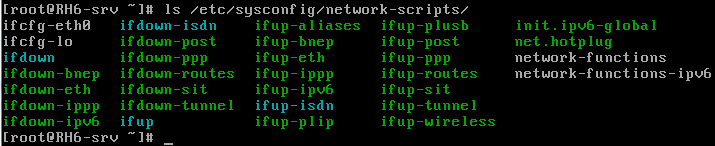
To set the IP address and subnet for eth0 and enable it at startup, edit the configuration file for that NIC.
![]()
The configuration file should look like this:
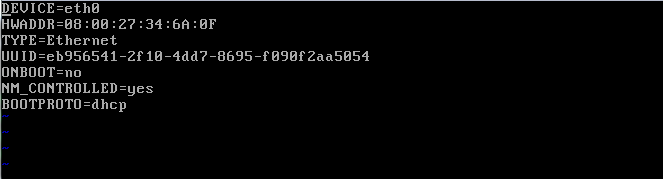
Where Device is the name of the NIC, HWADDR is the physical (MAC) address of the network card, TYPE is the Technology of the Network Card. UUID is the universal unique identifier.
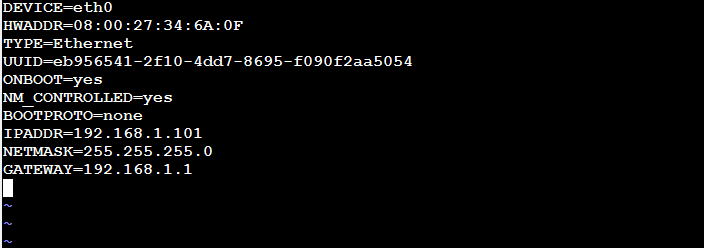
For the NIC to be automatically enabled at startup, change ONBOOT value to yes. If you are planning to specify the IP address manually (the default is to obtain IP address automatically from DHCP server), you need to change BOOTPROTO to none or static.
Now, add the following lines:
IPADDR=192.168.1.101
NETMASK=255.255.255.0
GATEWAY=192.168.1.1
Save and exit the file
To refresh the network configuration to reflect the new settings, bring the configured interface down, and then bring it up:

Now, check the configuration by entering the ip a command:
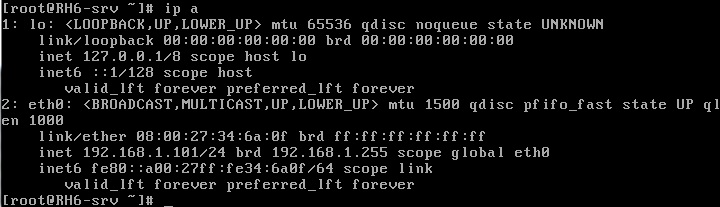
Adorable!!
Summary
In this article, we learned how to setup the basic network configuration for a Red Hat Linux machine. The minimal configurations needed for your machine to be able to communicate over network are IP address, subnet mask, and default gateway. These configurations can be set using either the GUI tool or by editing the configuration file.
I hope you find this article useful. See you in the next article.

