

In this article, we are going to build an application that is used to upload multiple files or images. We are also going to used Nodejs, Expressjs and basic syntax of html to design our front page as well as if you uploaded multiple files it will be saved in your project folder. In this project, we are also going to use Multer.
Steps for Installation:
For developing this app, we need NodeJS, ExpressJS and Multer.
Firstly, we are going to install Nodejs. To download the setup file, you have to visit the following link:
https://nodejs.org/en/. Open this link, download the setup according to your Operating System, and install it.
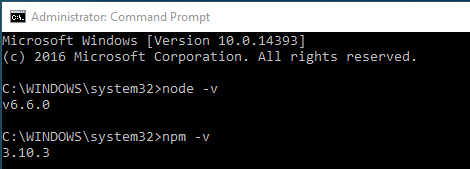
Once you are done with the installation, open command prompt as Run as administrator and type the following command to check your Node version.
Secondly, we are going to install Expressjs. To install it, click on the following link http://expressjs.com/. Once the page is open.click on Getting Started, and then on Installation. You will be able to see some steps listed on the page http://expressjs.com/en/starter/installing.html. Follow the steps and complete the installation of ExpressJS.
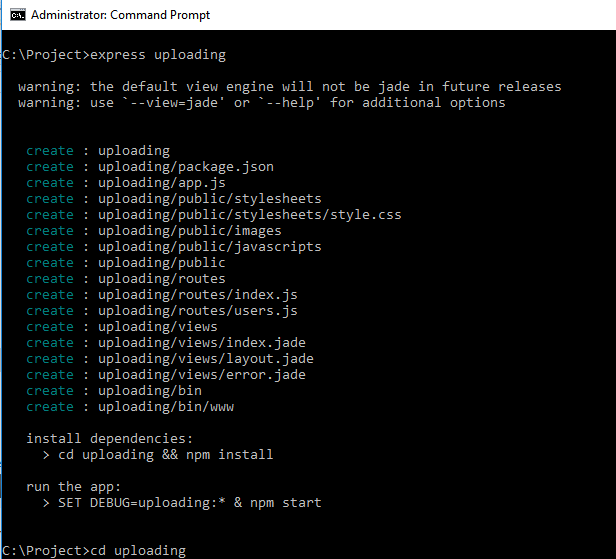
Now, it time to start with our actual project. We are going to create a project using expressjs. I named my folder as uploading.
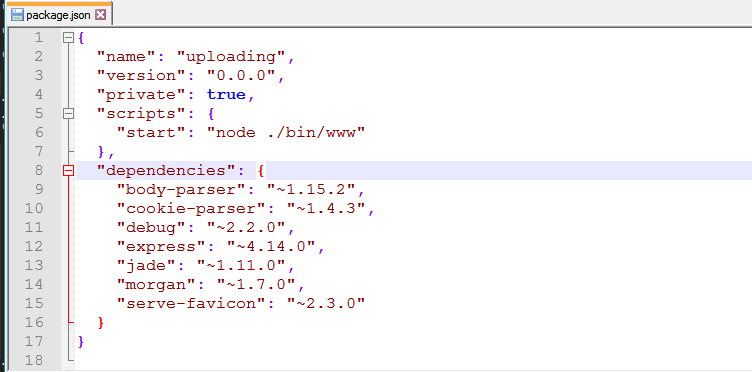
Open your created application folder and find the Package.json file. Open the file and make sure that it looks like this, if not then add this code in your package.json file.
Once, you are done with the json, run the following command:
![]()
After the successful installation of NPM, we are going to run our project. There are two commands that we can run:
![]()
And
![]()
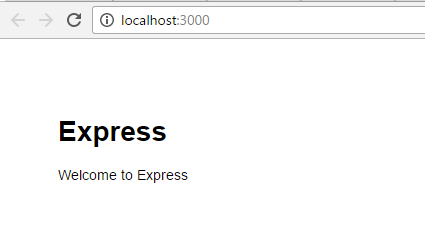
You can use one of these commands to run your project. Once you fire the command, go to your browser and type localhost:3000 you will get the following output:
Steps for Implementation:
Now, are going to design our front page using HTML, for this we will need to create the index.ejs file in our view folder and add the following code:
<html>
<head>
<style>
#box
	{
		width:350px;
		height:270px;
		margin:0px auto;
		border:2px solid black;
		background:#aaccdd
	}
	h2{
		text-align: center;
	}
	table{
		margin:0px auto;

	}
</style>
 </head>
<body>
	<form align="center" method="post" enctype="multipart/form-data">
	<div id="box">
     <h2><center>Upload Files/Images</center></h2>
     <table>
		<tr>
			<td>
		<input type="file" name="myimage1" /><br/><br/>
			</td>
		</tr>
		<tr>
			<td>
		<input type="file" name="myimage2" /><br/><br/>
		    </td>
		</tr>
		<tr>
			<td>
		<input type="file" name="myimage3" /><br/><br/>
			</td>
		</tr>
		<tr>
			<td>
			<center>
		<input type="submit" name="submit" value="submit"></center>
		</td>
		</tr>
		</table>
		</div>
	</form>
</body>
</html>
Now, we are going to add a function to our app.js file. It will prompt you with a message if your application doesn’t have any errors. After that, you have to change the jade file to ejs. I’ve made the changes bold, so your app.js file look like this:
var express = require('express');
var path = require('path');
var favicon = require('serve-favicon');
var logger = require('morgan');
var cookieParser = require('cookie-parser');
var bodyParser = require('body-parser');

var index = require('./routes/index');
var users = require('./routes/users');

var app = express();
app.listen(3000,function(){
	console.log("App is started on port number 3000 and enjoy!")
});
// view engine setup
app.set('views', path.join(__dirname, 'views'));
app.set('view engine', 'ejs');

// uncomment after placing your favicon in /public
//app.use(favicon(path.join(__dirname, 'public', 'favicon.ico')));
app.use(logger('dev'));
app.use(bodyParser.json());
app.use(bodyParser.urlencoded({ extended: false }));
app.use(cookieParser());
app.use(express.static(path.join(__dirname, 'public')));

app.use('/', index);
app.use('/users', users);

// catch 404 and forward to error handler
app.use(function(req, res, next) {
  var err = new Error('Not Found');
  err.status = 404;
  next(err);
});

// error handler
app.use(function(err, req, res, next) {
  // set locals, only providing error in development
  res.locals.message = err.message;
  res.locals.error = req.app.get('env') === 'development' ? err : {};

  // render the error page
  res.status(err.status || 500);
  res.render('error');
});

module.exports = app;
Now, we need to addl Multer. Refer the following link https://github.com/expressjs/multer. Open this link and run the following command in your command prompt.
You will also need to add the following code in your routes->index.js file.
var multer  = require('multer')
var upload = multer({ dest: 'uploads/' })
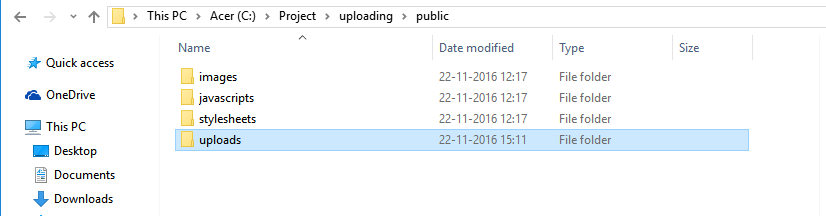
Once you added the code, you have to create uploads folder in public folder.
Now, we have to save the images/files in the uploads folder. For this add the following code in your index.js so it looks like:
var express = require('express');
var router = express.Router();
var multer = require('multer');
var storage = multer.diskStorage({
	destination:function(req,file,cb){
		cb(null,'public/uploads/')
	},
	filename: function(req,file,cb){
		cb(null,Date.now() + file.originalname);

	}
});
var upload = multer({ storage:storage });

/* GET home page. */
router.get('/', function(req, res, next) {
 res.render('index', { title: 'Express' });
});

router.post('/',upload.any(),function(req,res,next){
	console.log(req.files);
	res.send(req.files);
});

module.exports = router;
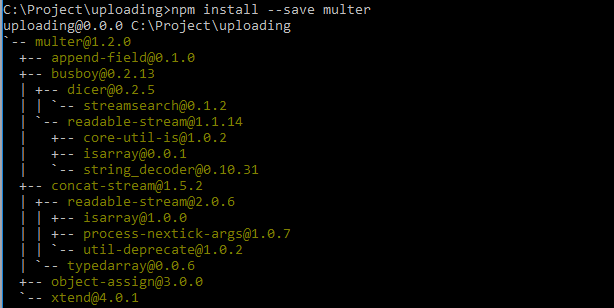
After adding the code, just restart your app using node app/npm start command. You will get the following output in command prompt:
![]()
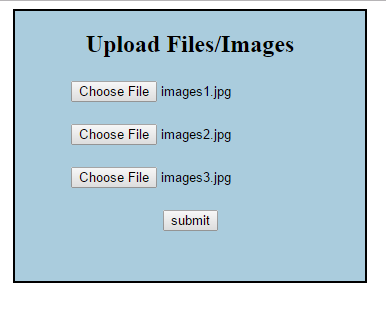
Now go to your browser, you will get the following output:

When you save your images or documents, it will save the names like:
Once you click on submit, you will get the detailed information about the uploaded file. I’ve attached the output:

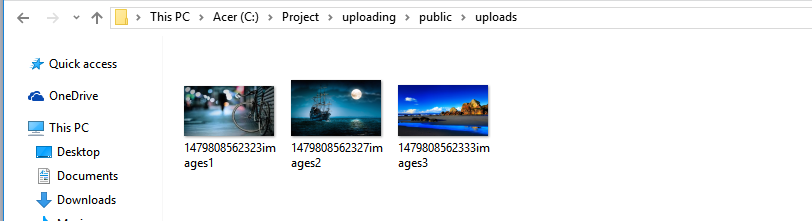
Now, you can see the uploaded file in uploads folder like:
I hope this has been helpful for you guys in understanding a how to upload multiple images/files using Node.JS.


hello i’m using input multiple files without form am using ajax http request to submit how to ?
This article is helpful by using with Multiple File Uploading on MVC Pattern in Express