

In this tutorial we will learn to create AVD in android studio i.e Android Virtual Device in android studio to run the application on the emulator.It is a step by step guide which will guide you in creating the emulator.
- To create the AVD in android studio follow the steps given below:
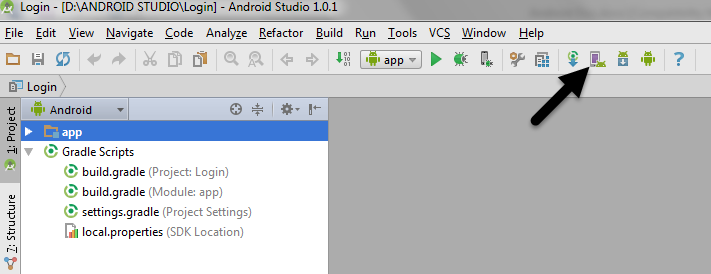
- After launching android studio, on the titlebar you will find the AVD Manager icon just click on it as shown in the image below:
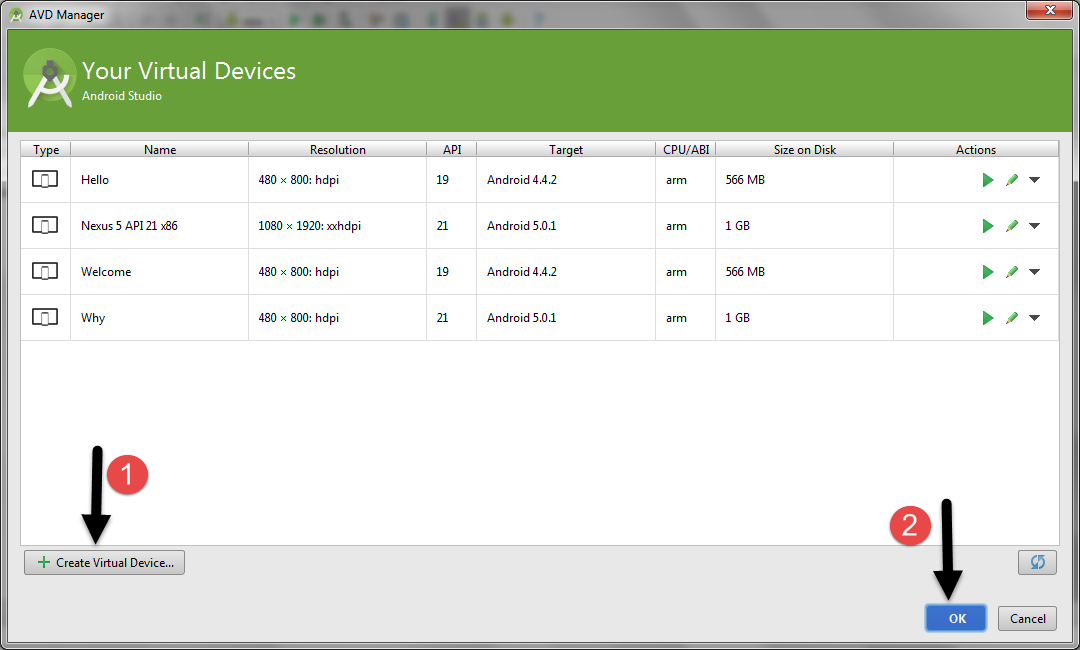
- After clicking the AVD icon, AVD Manager dialog box will get open. For creating new AVD click on Create Virtual Device and then confirm it by clicking OK button.
- Select the Category as Phone where you have to choose your Device and click on Next button available at the bottom right corner .
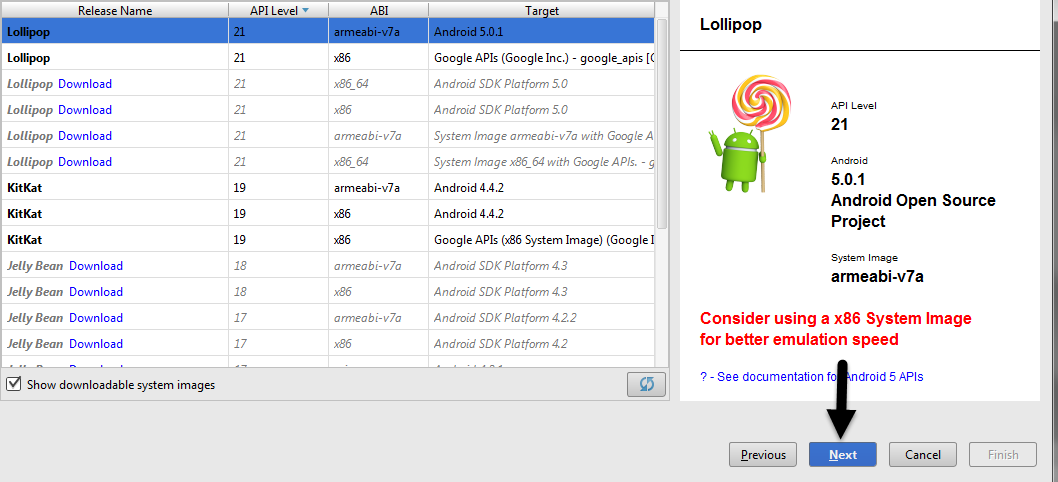
- After clicking on next button the AVD Manager will ask for selecting the System Image just select the required one and click on the Next Button.
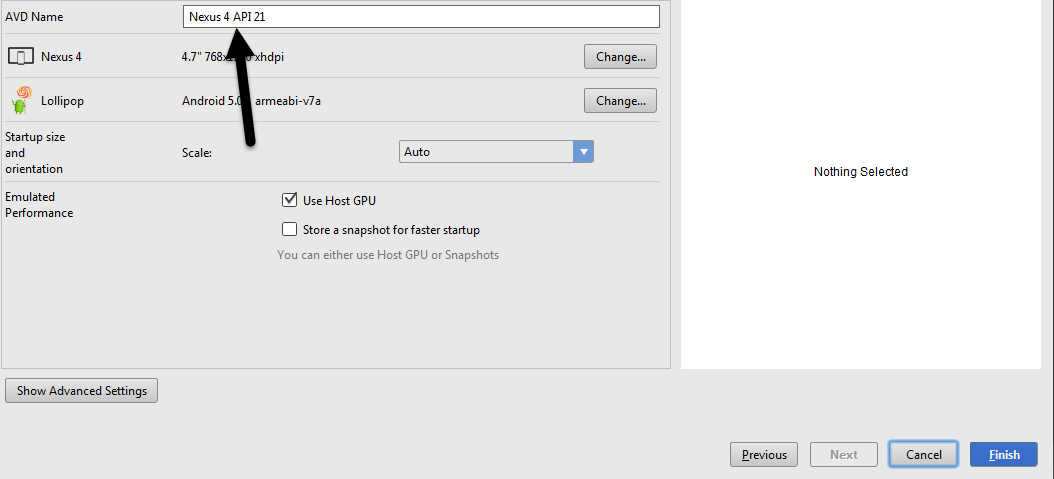
- After setting the System Image AVD will ask for the AVD Name. Just provide any suitable name for your AVD and click on Finish button your AVD will be created on the AVD dashboard.
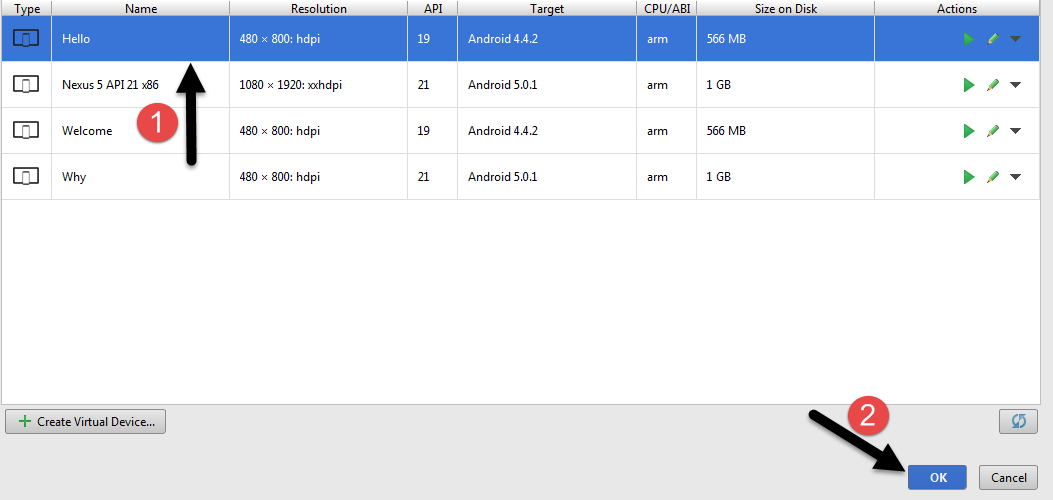
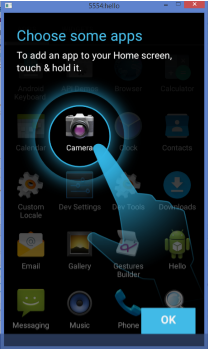
- Now select your created AVD and click on OK button.
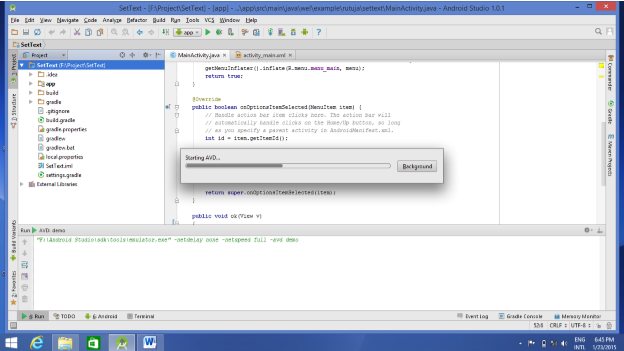
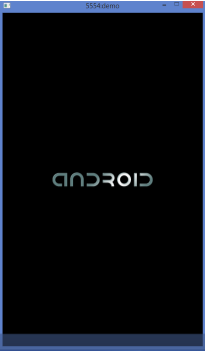
- Soon you will find your Android Virtual Device popping up on the screen
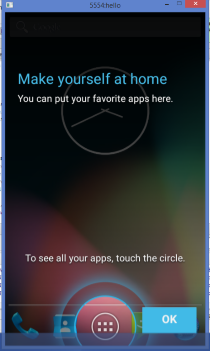
- After loading the resources you will find your AVD displaying the lock screen which you have to swipe.
- That’s it now you can choose your respective application from the AVD and it will start responding for your request.

Thus, we learnt to create AVD in Android Studio for executing various applications on the emulator.

