

In this article, we are going to illustrate the procedure of installing Red Hat 6. At the time of writing this article, the latest version released from Red Hat 6 is 6.7. So, to keep up with the latest, I decided to focus on the installation of Red Hat 6.7. Are you ready?! Let’s go!!
Preparing the Installation Media
Before installing the operating system, we need to get ready with the installation media. The ISO image file of Red Hat 6.7 can be downloaded from Red Hat official site, from the following URL:
https://access.redhat.com/downloads
The download may take about several hours (based on your Internet speed). The size of the installation image ISO file is about 3.1 GB. Once the download is complete, you need to burn the installation image on a DVD using a CD/DVD burning tool like Nero, Brasero (or any tool you prefer).
Hardware Requirements
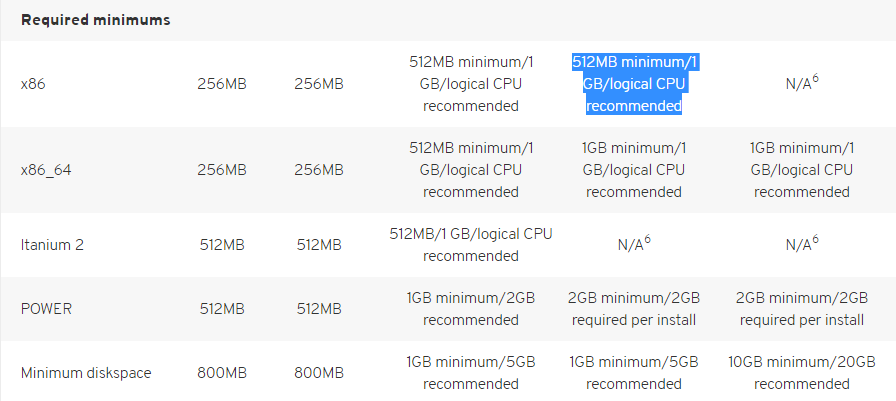
Check your hardware against the maximum and minimum supported hardware specifications for the specific Red Hat version you want to install. The following page contains the info:
https://access.redhat.com/articles/rhel-limits
For example, the minimum requirements for an x86 server that will host a Red Hat Enterprise Linux 6 operating system are highlighted below:
Installation Procedure
This is the installation procedure:
1. Insert the installation media into the DVD drive of your server.
2. Boot your server from the DVD
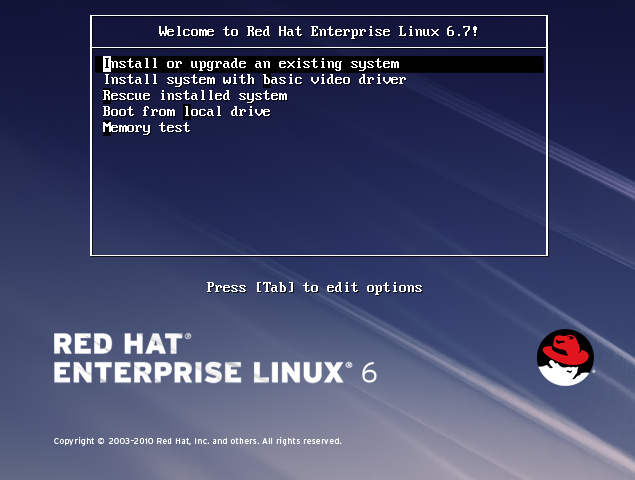
Select “Install or upgrade an existing system”, then press Enter.
3. You will be asked whether you want to test the installation media or to skip the test.
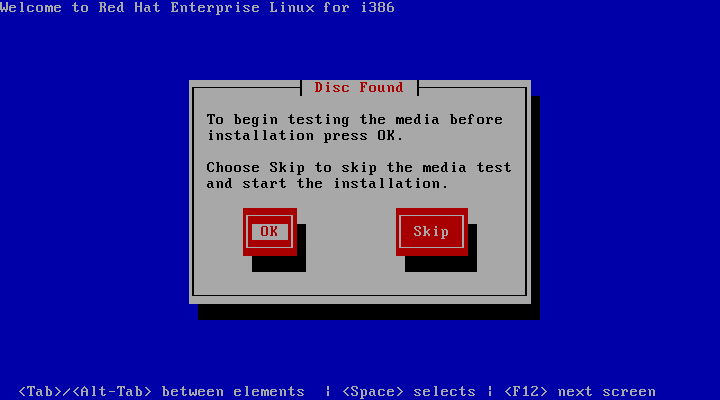
Press OK to test the media.
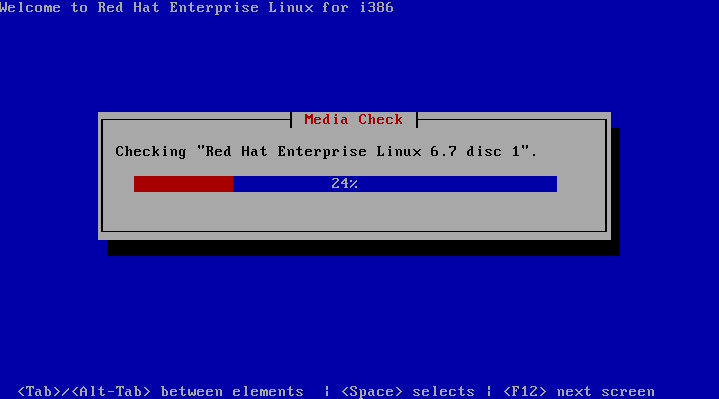
4. You will then be asked whether to start the media test, or to eject the installation DVD.
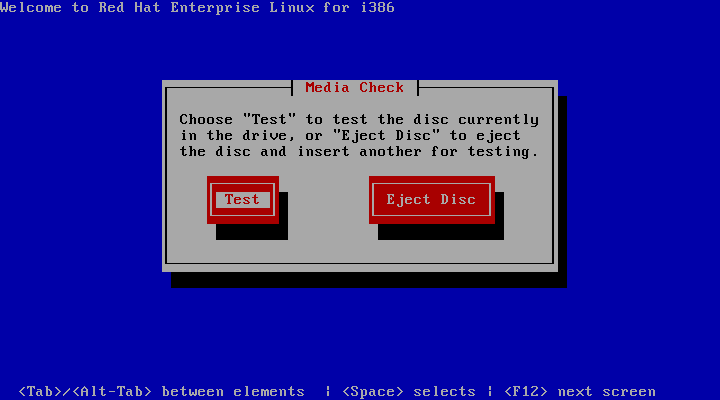
Press Test to start the media test.
5. When complete, a dialog box is displayed reporting the test result. In our case, the test was successful, and the media was verified to be valid one.
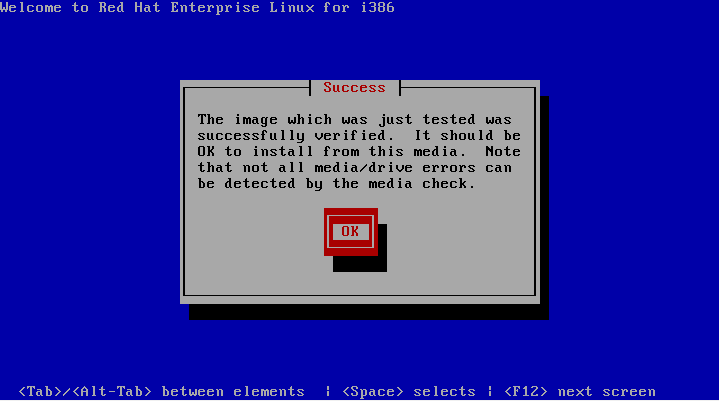
Press OK.
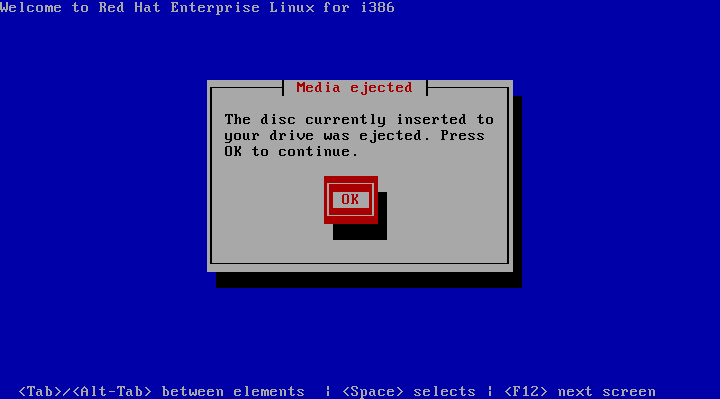
6. After verification, the installation media is ejected. Re-insert it and press OK.
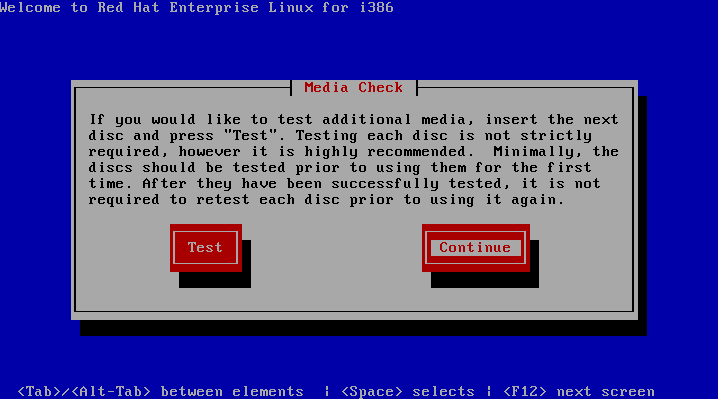
7. The installation wizard asks if you need to test any additional media. Move selection to Continue and press Enter.
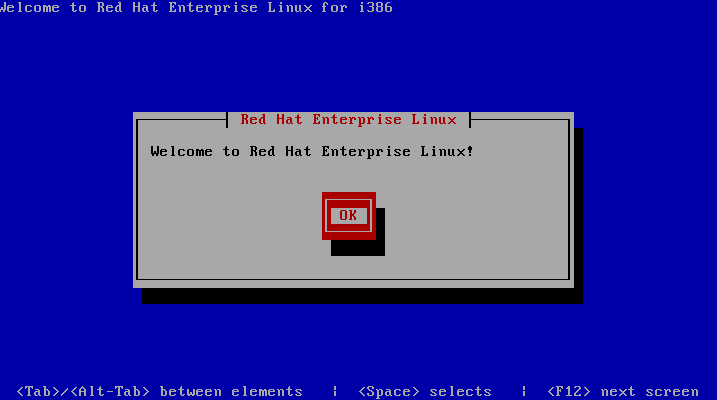
8. A welcome message is displayed. Press Enter to close it.
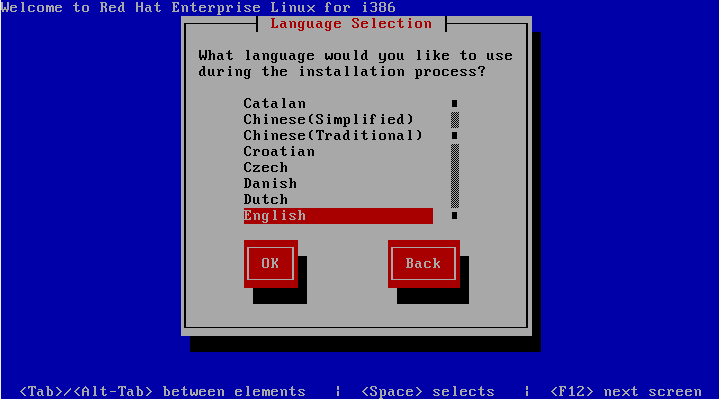
9. Select the language and press Enter.
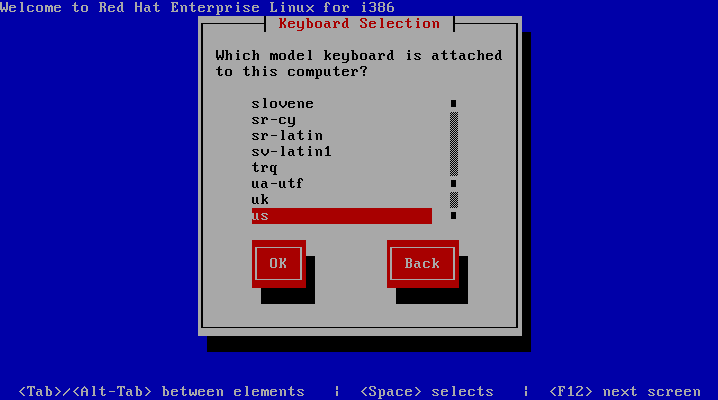
10. Select the keyboard and press Enter.
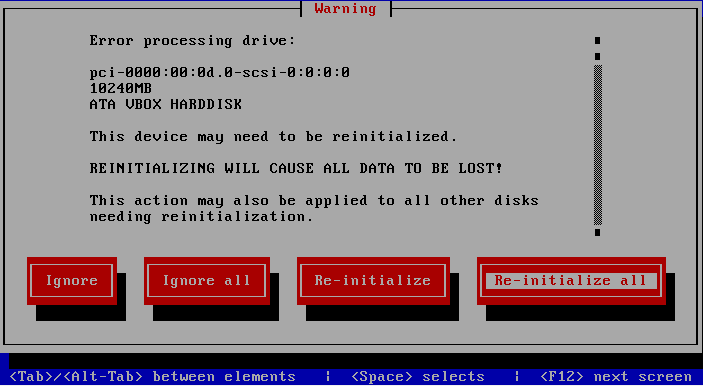
11. Select “Re-initialize all” to initialize disks from scratch.
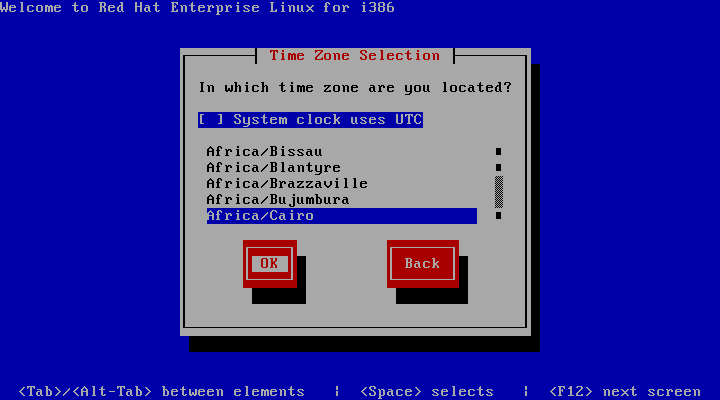
12. Select the time zone and press OK.
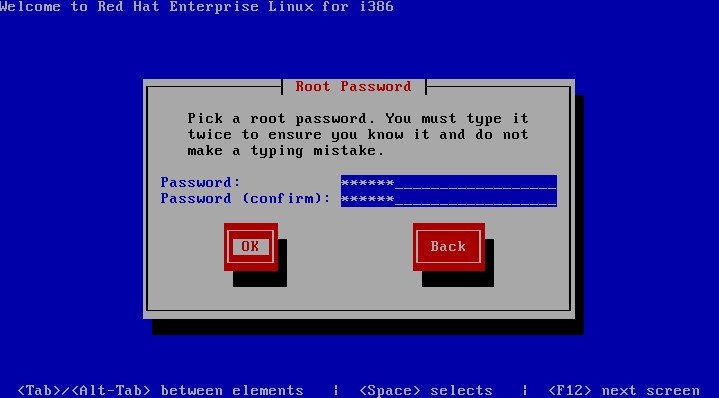
13. Now, the wizard asks you to type the password for the root user, and confirm it. For now, set it as “redhat”. When done, press OK.
14. As we have entered a weak password, the wizard will ask you if you want to cancel (and re-enter another one), or to use it anyway.

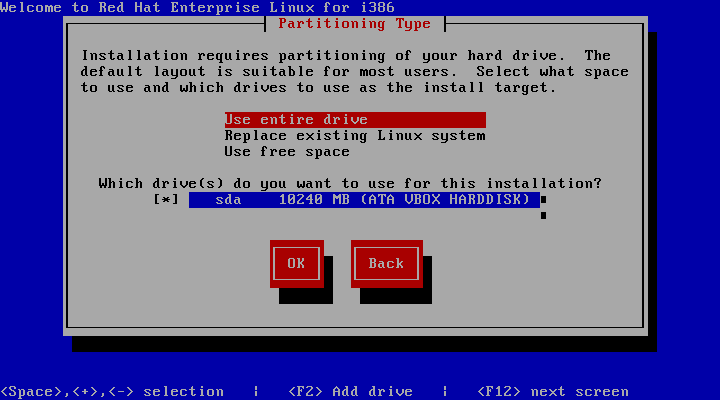
15. The wizard will ask whether to “Use entire drive”, “Replace existing Linux system”, or “Use free space”. As this is a fresh new installation, choose to use the entire drive, and press OK.
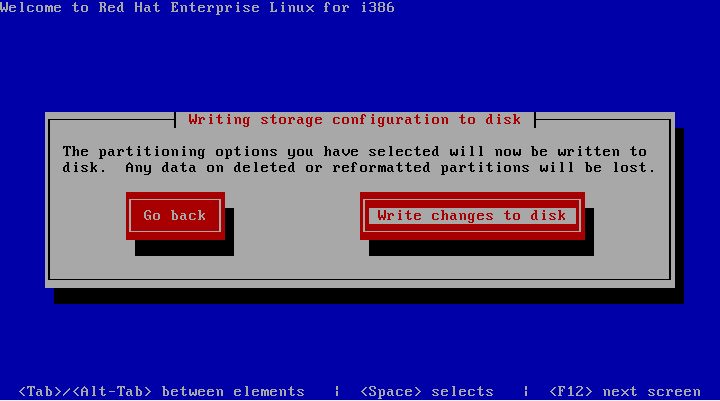
16. The wizard will ask you a last question before writing configuration to disk and starting the package installation process.
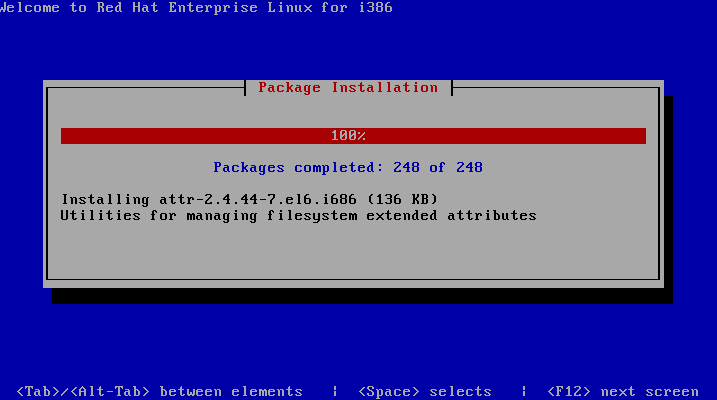
17. The wizard starts installing necessary packages.
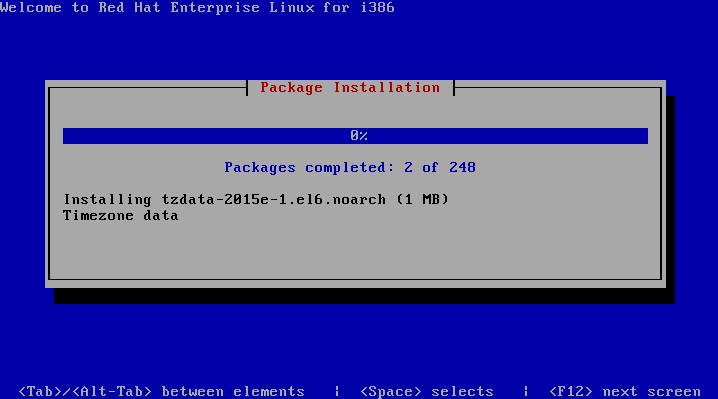
This process should take about 10 minutes.
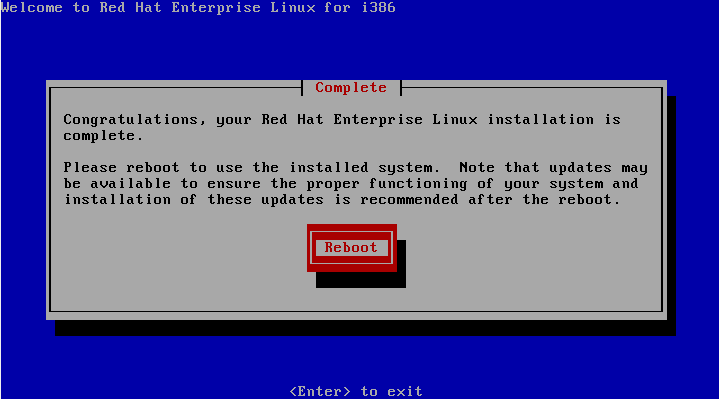
18. When installation is complete, press Enter to reboot the machine.
The operating system boots for the first time.
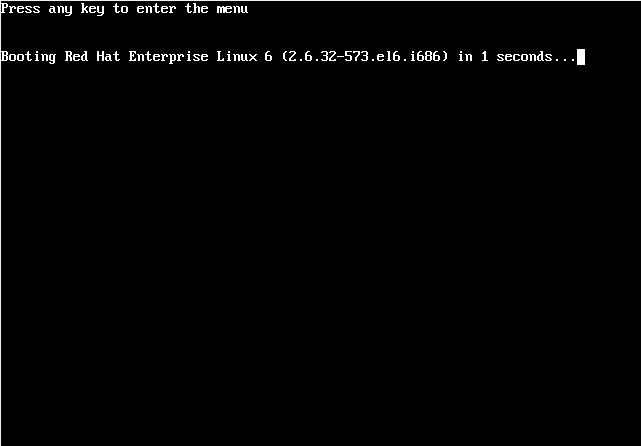
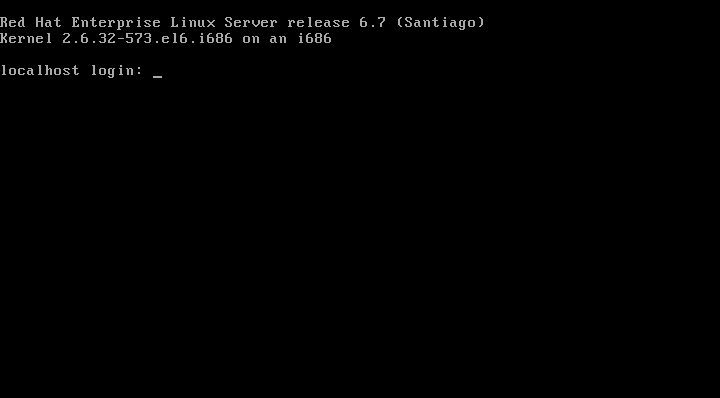
You have just installed Red Hat Enterprise Linux 6.7 on your machine. Congratulations!!!
Summary
In this article, we have learned how to install Red Hat 6.7 on an x86 machine. In the next article, we are going to see how to login to the system, and use the command line shell. See you there.


