
Node.js is an open-source and cross-platform runtime environment for executing JavaScript code. It provides an easy way to build a scalable and fast application by writing only a few lines of code. It is lightweight, event-driven, and handles thousands of concurrent connections with minimal overhead on a single process. You can use Node.js in I/O bound, data streaming, chat and messaging, and JSON APT based applications.
Node.js is built on Chrome’s V8 JavaScript engine and can be installed on many operating systems including Linux, macOS, and Windows. It supports modularity and each module can be bundled under a single package.
In this guide, we will show you how to deploy a Node.js Application on Linux Server. We will use Ubuntu 20.04 server operating system for the purpose of this tutorial.
Prerequisites
- An Ubuntu 20.04 server or Desktop operating system installed in your machine.
- A root password is set up in your system.
Updating the System Packages
Before starting, I would recommend updating your system’s package cache to the updated version.
Run the following command to update the package cache:
apt-get update -y
Once the package cache has been updated, install some required packages by running the following command:
apt-get install curl apt-transport-https gnupg2 wget build-essential unzip nano -y
Once all the packages are installed, you can proceed to install Node.js.
Installing Node.js
By default, the latest release of Node.js is not available in the Ubuntu 20.04 default APT repository. So you will need to install the NodeSource PPA to get the latest Node.js release.
You can run the following command to install the NodeSource PPA to your system:
curl -sL https://deb.nodesource.com/setup_14.x | bash -
The above command will download and install the Node.js version 14 PPA to the APT repository.
You can now install the Node.js version 14 by running the following command:
apt-get install nodejs -y
After the Node.js installation, check the Node.js installed version by running the command below:
node -v
You should get the Node.js installed version in the following output:
v14.15.3
The Node.js package also installs the Node Package Manager (NPM) to your system. You can verify the installed version of NPM with the following command:
npm -v
You should get the NPM version in the following output:
6.14.9
At this point, Node.js and NPM have been installed in your system. You can now proceed to create a Node.js application.
Creating a Node.js Application.
In this section, we will create a simple Hello World application that listens on localhost and port 8000. This application will return Hello World with a 200 HTTP success code.
Let’s create a helloworld.js file using the nano editor:
nano helloworld.js
Add the following contents:
var http = require('http');

var hostname = 'localhost';
var port = 8000;

var server = http.createServer((req, res) => {
  res.statusCode = 200;
  res.setHeader('Content-Type', 'text/plain');
  res.end('Hello World\n');
});

server.listen(port, hostname, () => {
  console.log(`Server running at http://${hostname}:${port}/`);
});
Save and close the file when you are finished.
Now, run your application by running the following command:
node helloworld.js
You should get the following output:
Server running at http://localhost:8000/
Now, open another terminal and connect to your server using the curl command as shown below:
curl http://localhost:8000
If everything is fine, you should get the following output:
Hello World
Now, press CTRL + C to stop the application.
Note: Node.js application is configured to listen on localhost so it can be accessed only from the localhost. It can not be accessed from the remote host.
Create a Systemd File to Manage the Node.js Application
Next, you will need to create a systemd unit file for managing your Node.js application. This way Node.js application run in the background and you don’t need to start your application at system reboot.
Let’s create a systemd unit file for Node.js using the following command;
nano /lib/systemd/system/helloworld.service
Add the following lines:
[Unit]
Description=Node.js Application
After=syslog.target network.target

[Service]
Type=simple
User=root
WorkingDirectory=/root
Environment=NODE_ENV=production
ExecStart=/usr/bin/node helloworld.js

Restart=always

[Install]
WantedBy=multi-user.target
Save the file when you are finished then reload the systemd daemon to apply the configuration changes:
systemctl daemon-reload
Next, start the helloworld service and enable it so that it can start automatically at system reboot:
systemctl start helloworld
systemctl enable helloworld
You can now verify the status of the helloworld service by running the following command:
systemctl status helloworld
You should get the following output:
● helloworld.service - Node.js Application
     Loaded: loaded (/lib/systemd/system/helloworld.service; disabled; vendor preset: enabled)
     Active: active (running) since Thu 2020-12-31 12:25:11 UTC; 6s ago
   Main PID: 2678 (node)
      Tasks: 7 (limit: 4691)
     Memory: 7.4M
     CGroup: /system.slice/helloworld.service
             └─2678 /usr/bin/node helloworld.js

Dec 31 12:25:11 ubuntu2004 systemd[1]: Started Node.js Application.
Dec 31 12:25:11 ubuntu2004 node[2678]: Server running at http://127.0.0.1:8000/
At this point, your application is started and listening on port 8000. You can check it with the following command:
ss -antpl | grep 8000
You should get the listening port in the following output:
LISTEN    0         511              127.0.0.1:8000             0.0.0.0:*
users:(("node",pid=3700,fd=18))
Configure Nginx as a Reverse Proxy
At this point, your helloworld application is accessible only from the localhost. You can not access it from the remote machine.
So you will need to configure Nginx as a reverse proxy for the helloworld application. So you can access the application from the remote machine through port 80.
First, install the Nginx package by running the following command:
apt-get install nginx -y
Once the Nginx has been installed, create an Nginx virtual host configuration file to host helloworld application.
nano /etc/nginx/conf.d/helloworld.conf
Add the following code:
upstream backend {
   server localhost:8000;
   keepalive 32;
}

server {
   listen 80;
   server_name helloworld.example.com;

   location / {
       client_max_body_size 50M;
       proxy_set_header X-Real-IP $remote_addr;
       proxy_http_version 1.1;
       proxy_pass http://backend;
   }
}
Save and close the file when you are finished then verify the Nginx for any syntax error using the following command:
nginx -t
If everything is fine, you should get the following output:
nginx: the configuration file /etc/nginx/nginx.conf syntax is ok

nginx: configuration file /etc/nginx/nginx.conf test is successful
Finally, restart the Nginx service to apply the configuration changes:
systemctl restart nginx
You can verify the status of the Nginx service using the following command:
systemctl status nginx
You should see the following output:
● nginx.service - A high performance web server and a reverse proxy server
     Loaded: loaded (/lib/systemd/system/nginx.service; enabled; vendor preset: enabled)
     Active: active (running) since Thu 2020-12-31 12:29:23 UTC; 20min ago
       Docs: man:nginx(8)
    Process: 3490 ExecStartPre=/usr/sbin/nginx -t -q -g daemon on; master_process on; (code=exited, status=0/SUCCESS)
    Process: 3491 ExecStart=/usr/sbin/nginx -g daemon on; master_process on; (code=exited, status=0/SUCCESS)
   Main PID: 3492 (nginx)
      Tasks: 3 (limit: 4691)
     Memory: 3.6M
     CGroup: /system.slice/nginx.service
             ├─3492 nginx: master process /usr/sbin/nginx -g daemon on; master_process on;
             ├─3493 nginx: worker process
             └─3494 nginx: worker process

Dec 31 12:29:23 ubuntu2004 systemd[1]: Starting A high performance web server and a reverse proxy server...
Dec 31 12:29:23 ubuntu2004 systemd[1]: Started A high performance web server and a reverse proxy server.
Verify the Application
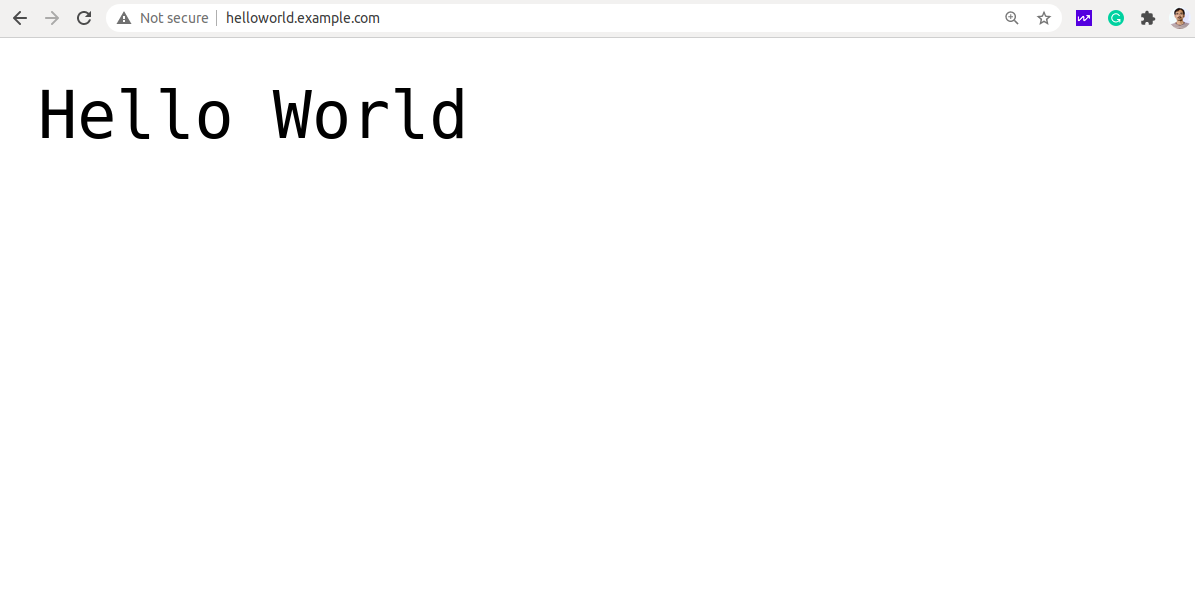
Now, Nginx is configured to serve your helloworld application. You can now access it using the URL http://helloworld.example.com in your web browser. You should see the following screen:
That’s it for now. You have successfully set up a Node.js application on the Linux server.
Also Read: How To Deploy Flask Application With Docker On Ubuntu?