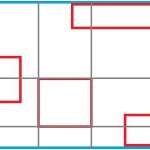
 Relative layout is a view group where the elements can be specified with respect to each other position. The position can be relative to siblings or with that of the parent. We can specify positions like left of or right of another view. It is one of the efficient layout systems. In this example we will learn it using a very simple example.
Steps to create an android program with relative layout
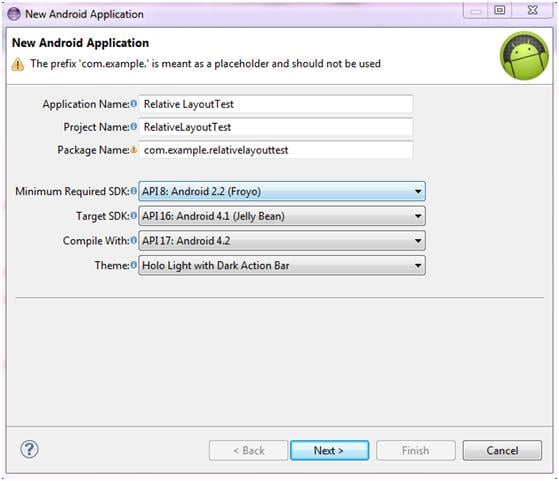
1. Create a new Android application in your eclipse and name it. I have named it RelativeLayoutTest
2. Click nest and select defaults till create activity pop up select Blank Activity
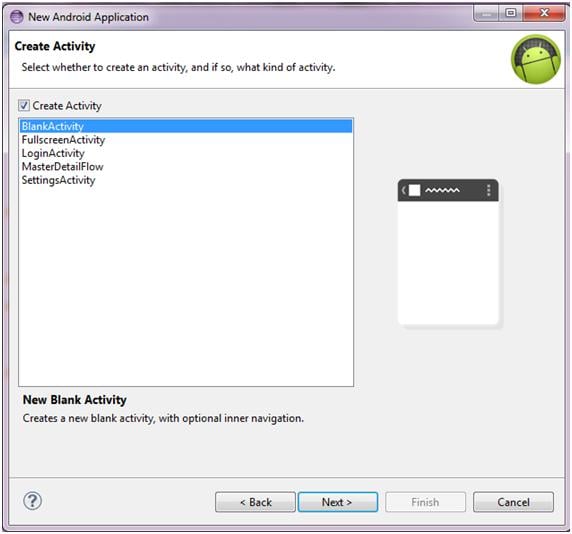
3. Click Finish and the eclipse will create your project with standard code. Our activity is called Main activity.
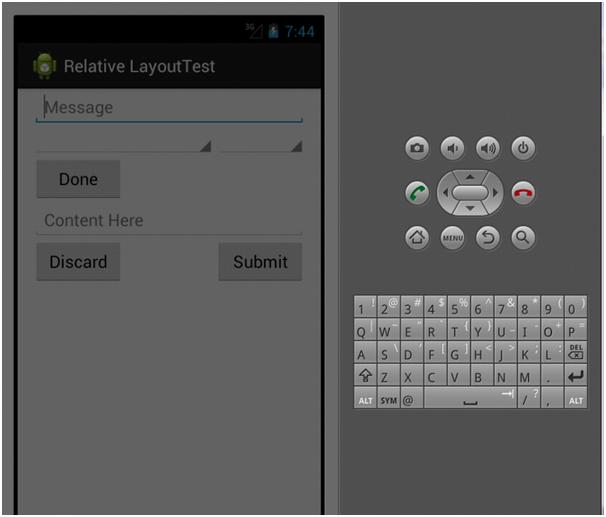
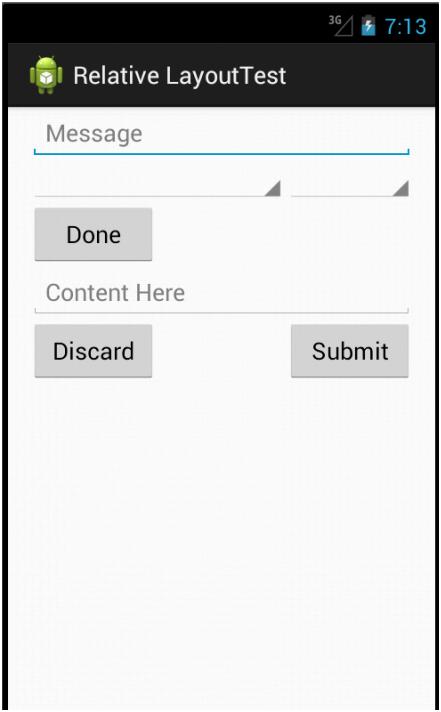
4. We aim to create a simple xml file which uses relative layout. Our final output will look like
We will be using methods like
[sourcecode language=”java”]
android:layout_below
android:layout_alignParentRight
[/sourcecode]
5. Open the activity_main.xml and type in the following
[sourcecode language=”java”]
<?xml version="1.0" encoding="utf-8"?>
<RelativeLayout xmlns:android="http://schemas.android.com/apk/res/android"
android:layout_width="fill_parent"
android:layout_height="fill_parent"
android:paddingLeft="16dp"
android:paddingRight="16dp" >
<EditText
android:id="@+id/name"
android:layout_width="fill_parent"
android:layout_height="wrap_content"
android:hint="@string/reminder" />
<Spinner
android:id="@+id/dates"
android:layout_width="0dp"
android:layout_height="wrap_content"
android:layout_below="@id/name"
android:layout_alignParentLeft="true"
android:layout_toLeftOf="@+id/times" />
<Spinner
android:id="@id/times"
android:layout_width="96dp"
android:layout_height="wrap_content"
android:layout_below="@id/name"
android:layout_alignParentRight="true" />
<Button
android:id="@+id/done"
android:layout_width="96dp"
android:layout_height="wrap_content"
android:layout_below="@id/times"
android:layout_alignParentLeft="true"
android:text="@string/done" />
<EditText
android:id="@+id/body"
android:layout_width="fill_parent"
android:layout_height="wrap_content"
android:hint="@string/content"
android:layout_below="@id/done"
/>
<Button
android:id="@+id/submit"
android:layout_width="96dp"
android:layout_height="wrap_content"
android:layout_below="@id/body"
android:layout_alignParentRight="true"
android:text="@string/submit" />
<Button
android:id="@+id/discard"
android:layout_width="96dp"
android:layout_height="wrap_content"
android:layout_below="@id/body"
android:layout_alignParentLeft="true"
android:text="@string/discard" />
</RelativeLayout>
[/sourcecode]
Let us have a look at the code above. We start by defining Relative layout and the padding we are expecting. Then we start by defining the EditText component as first element. The other two spinners are set below the edit text with one being the left and the other being right. Do check the xml statements for the same. We follow it with a button which is below the second spinner. We use the statement
[sourcecode language=”java”]
android:layout_below="@id/times"
android:layout_alignParentLeft="true"
[/sourcecode]
We then follow it up Edittext and two buttons which follow a similar scheme. Try and create other UIs based on the above layout in your example.
6. Also change the strings.xml under values in res folder
[sourcecode language=”java”]
<?xml version="1.0" encoding="utf-8"?>
<resources>
<string name="app_name">Relative LayoutTest</string>
<string name="hello_world">Hello world!</string>
<string name="menu_settings">Settings</string>
<string name="reminder">Message</string>
<string name="done">Done</string>
<string name="content">Content Here</string>
<string name="submit">Submit</string>
<string name="discard">Discard</string>
</resources>
[/sourcecode]
Here we define the strings used in our program.
7. Compile and run the program to view the result