In our blog today you will learn to develop a simple layout in android. We will show you the simple steps to follow it.
Steps to develop simple layout in android:
- What are layouts?
Layouts are the container controls that contains another controls and also organize their display.
-
Linear Layout : In this layout controls are aligned either vertically or horizontally within the layout.
- Relative Layout : In this layout controls are aligned with respect to the center and edges of the layout ,and with each other.
In relative layout we get the freedom to place the control where ever we want.
- Relative Layout : In this layout controls are aligned with respect to the center and edges of the layout ,and with each other.
-
Two types of layouts:
- Implementing layouts :
- Create an android application project with their respective .java and .xml files.
- Create one more android xml file.
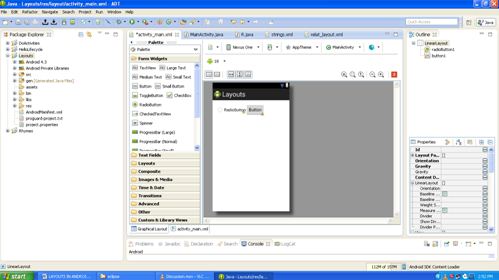
- Now in your activity_main.xml file take a radio button and a simple button.
- This will be by default a LinearLayout hence the buttons will be aligned horizontally or can be aligned vertically with the help of orientation but not centrally.
- So now your activity_ main view will be..
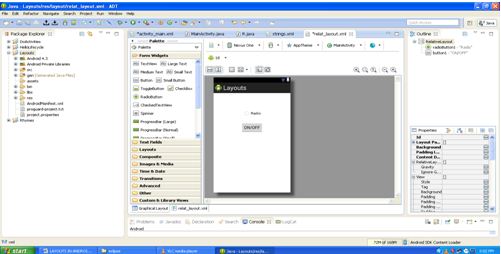
- Now take the second .Xml file and set the LinearLayout to RelativeLayout.
- Now in your graphical Layout you can take a radio button and a simple button where ever you want but only in the second file where you have set the layout to RelativeLayout.
- Graphical Layout will be seen as…
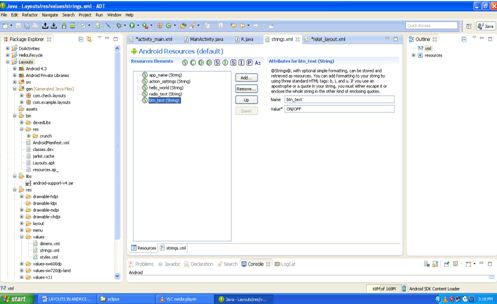
- In the strings.xml file add the resources for the respective radiobutton and simple button that we have used.
- Now for the onClick i.e the button property in the second xml file we have to write the method in the MainActivity.java file.
- The code for the following is as follows :
- The btnTouch is the value given to the onClick property.
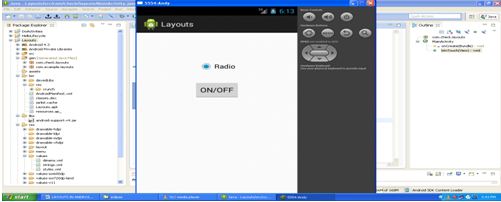
- So now when you click on the button in the application your radio button wlii be set on or off depending on its status .
- Remember to set the content view in the onCreate ()
- Method in the MainActivity from activity_main.xml to your second xml file .
- Now run the MainActivity.java file.
- Now when the radio button is off its status can be set ON/OFF by clicking on the ON/OFF button.
- Thus we have implemented the Layouts.
[code language=”java”]
public void btnTouch(View v)
{
RadioButton radio = (RadioButton) findViewById(R.id.radioButton1);
if(radio.isChecked())radio.setChecked(false);
else radio.setChecked(true);
}
[/code]