The days of text are long gone, with images speaking for every action. “Photo or it didn’t happen!” has become a popular phrase among the newer generation. But photographs are not limited to simply selfies, but has also proven fruitful for business and individuals alike.
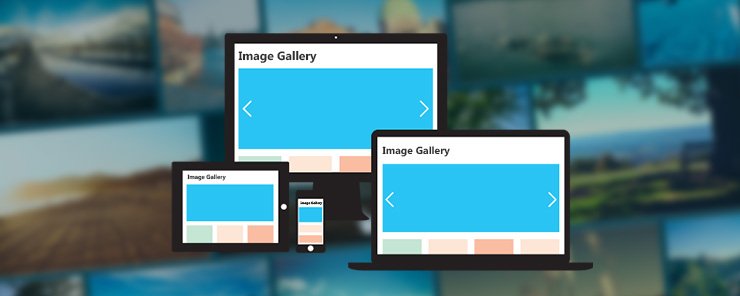
From small business to photographers to even developers and designers, have used images and photos to display their production and portfolios. And these portfolios must be quick and fast, or you might be testing the patience of your employer, user or next client. This is where a responsive image gallery comes in handy.
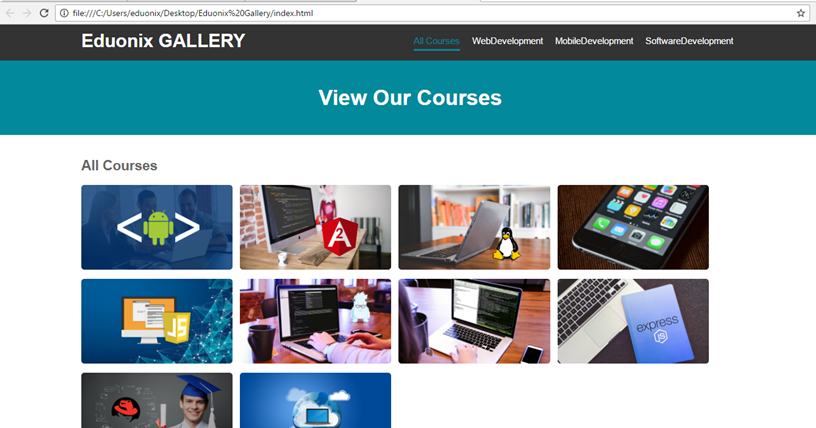
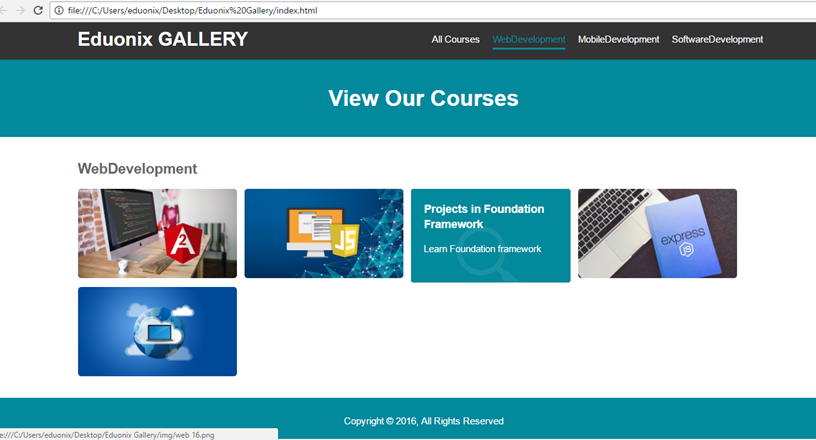
In this article, we are going to build a portfolio image gallery for Eduonix, that will be a fully functional responsive image gallery using jQuery. The projects added will be categorized and linked to the menu button.
So, we will have a main menu and all the projects will be linked under that menu, each link will show all the images that are tagged under that category or link. For instance, if we have a design or a programming link, it will show only the images that are tagged within those categories.
We will also learn how to add an overlay effect to the images that will change the background and show the project info. So, when we hover over an image, we will see the project title and description. And when you click on them, the the images will open in a lightbox, but the user will also have the ability to scroll through the images in that lightbox.
So, we will learn about the HTML5 ‘data’ attributes, okay, which are really important if you want to attach data to elements, as well as also look at the data( ) method very briefly. We will understand categorization using jQuery methods and create an overlay effect and also, we are gonna implement the Lightbox 2 script to open images in their full size.
Steps for creating an Image gallery:
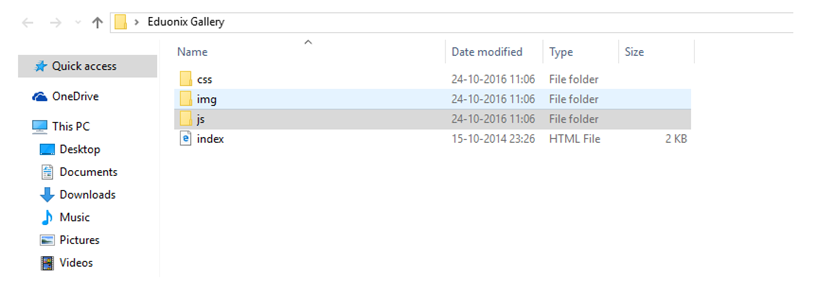
1) I’m going to create a new folder and call it Eduonix gallery. This is going to have just our basic structure. We’ll have our index page, our CSS folder, our JavaScript folder and our images folder. For the images, I’m going to grab them from the completed project.
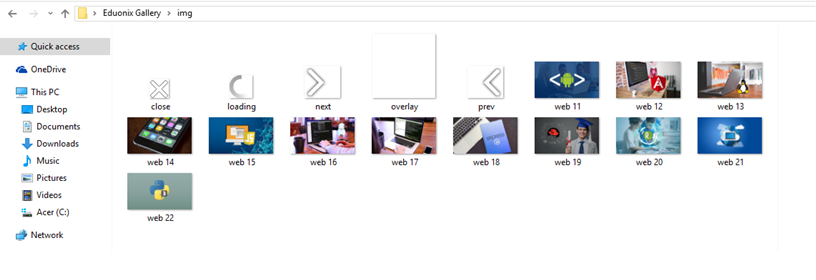
2) We have around 12 sample images and also the the images for the fancybox, arrows, close button. So, we are going to take all those and put them into our images folder.
3) Now inside your CSS folder, create a file named as “style.css” And in JS folder we will create a “script.js” file.
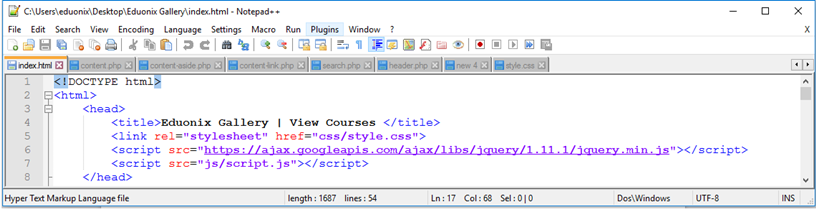
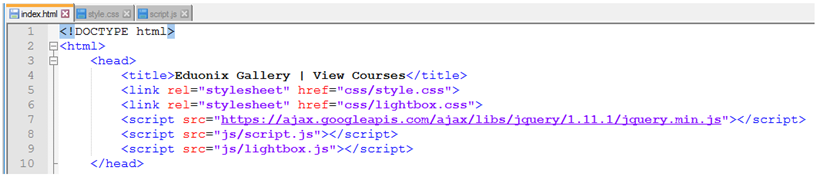
4) Let’s start with our DOCTYPE html tags. We want to link the stylesheet and href is going to be css/style.css and JavaScript, is going to be script src js/script.js. And we need the Google jQuery CDN, which looks like this:
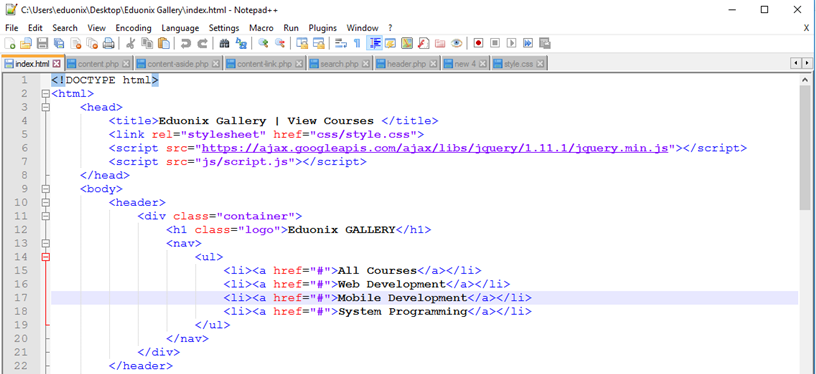
5) The first thing we want is the header and inside the header we are going to have an h1. it’s just going to say Eduonix GALLERY, after which we will add a nav tag for our menu. We are also going to put a ul in here. Alright, so, let’s put our links, which we will properly link in the JavaScript, so for now they will go nowhere. Now, we are going to add three different categories – Web Development, Mobile Development and Software Development.
6) Now, when we create our JavaScript file, we are going to look at the text in here and that’s basically going to filter out the categories. So, all the images that have a class of Web development will be in that category. If they have multiple classes, they will show up in both categories.
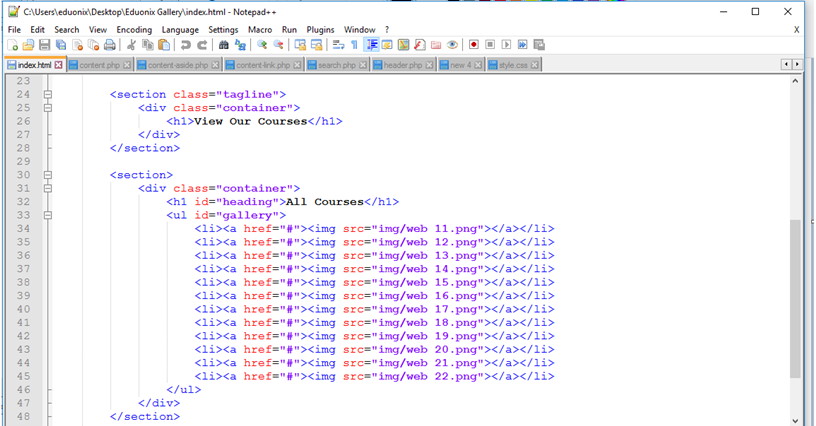
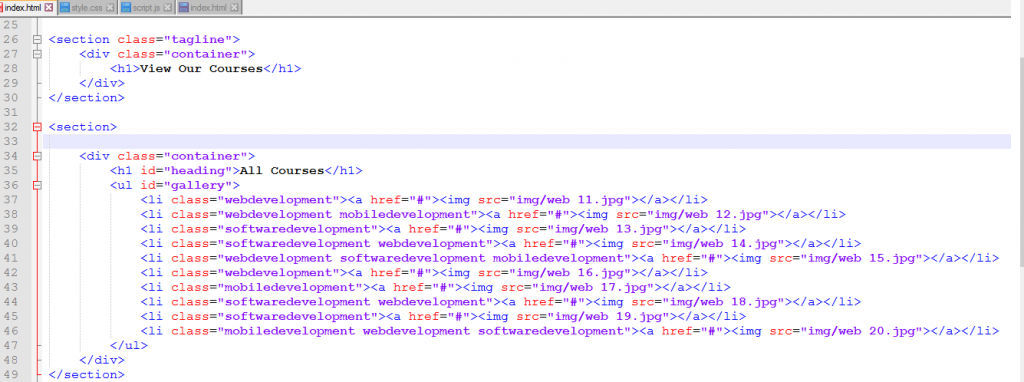
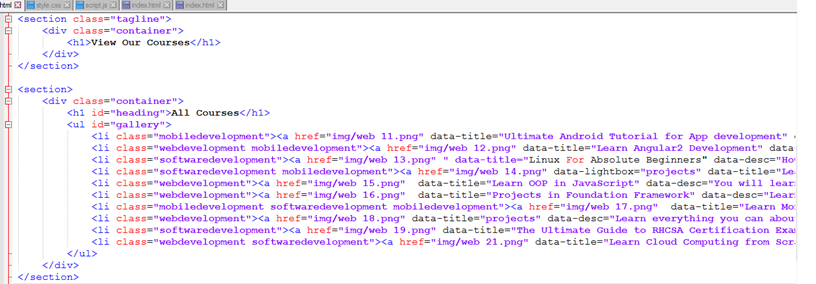
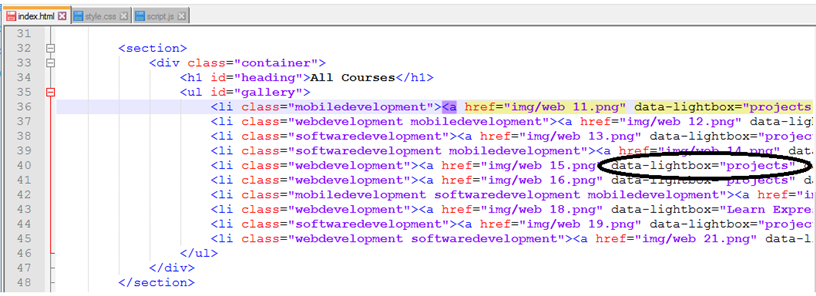
We need a container and then we’ll have a h1 tag with the class or the id of heading because we are going to actually grab this h1 tag and change it depending on the category. But, for default, we just wanted to say All Courses. Then, we need a ul and we’ll give this an id of gallery and then we’ll have our lis.
Now, we just need the images. So, img src will be the images folder, and the imagename. . So your code look like this:
7) The final step is we are going to add the Footer here. We create a paragraph, we will say ‘Copyright 2016, All Rights Reserved’. With this, we have finished our HTML part.

Steps for Adding CSS code:
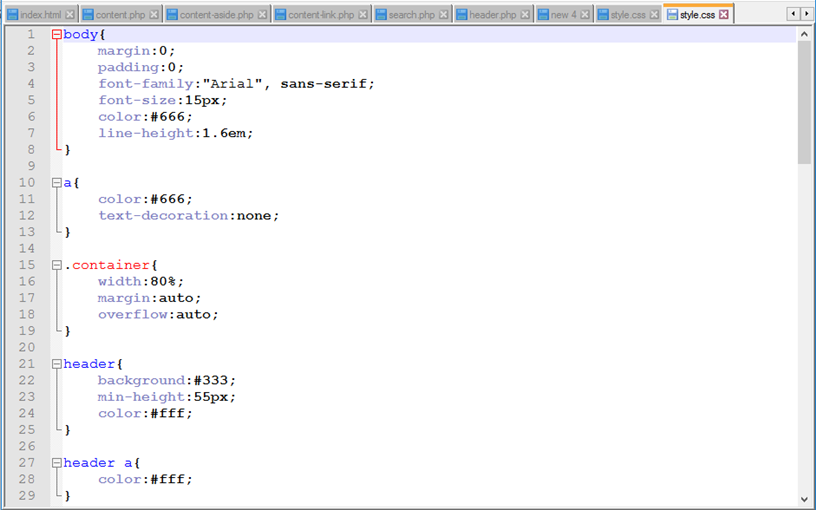
1) Let’s go ahead and do the CSS., Let’s start with the body, where We will set attributes like margins, padding, background color, font size and font family. Now, you’ll usually see me use an id for the container, but that’s when I’m wrapping the entire thing in the container and there is only one. Then we added container class with width height and overflow effect. We add the header with the black and the green color here to display across the entire thing. This will make your page responsive.
2) Now, the logo is in the header and I want that to float to the left so we set some parameters. For the rest of the list items, we also will set some parameters. I’ve attached the image below:
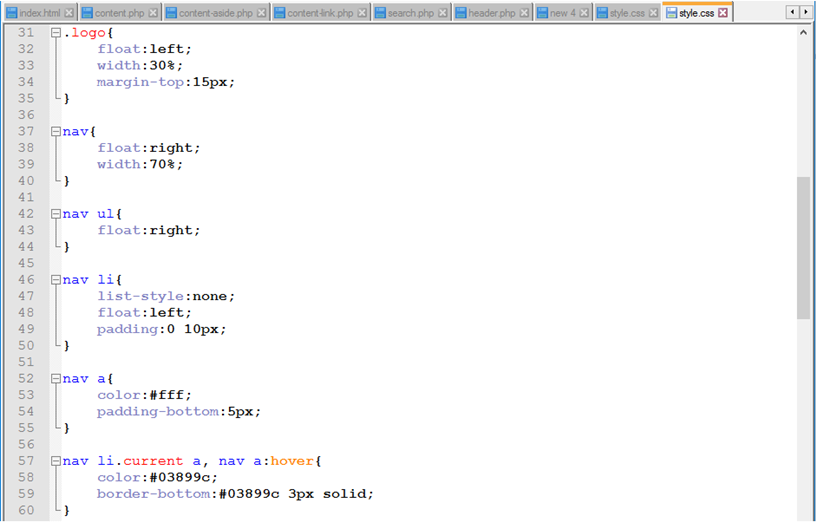
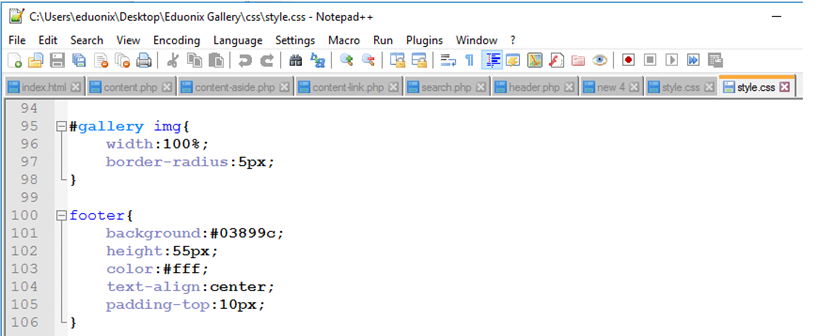
3) Next, let’s do the tagline section. We set parameters like background and color for the tagline and for the tagline header we set parameters such as text align and font size. Similarly we added a code for gallery and footer and it looks like this.

Steps for Image Categorization:
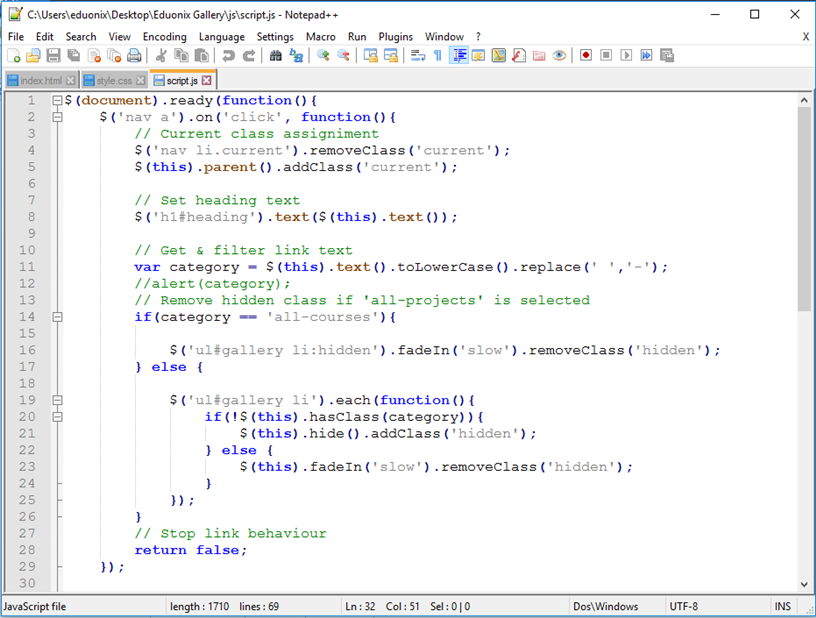
1) Now, we have our HTML and CSS, I want to start the jQuery with the categorization of the images. So, we have this navigation here with the categories. We are going to add the coding in our “Script.js” file, which will look like this:
2) After we are done with js file, we have to add class to the list in our html file, which will look like this:
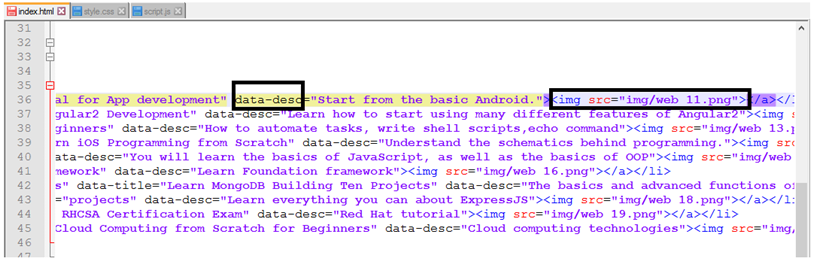
3) We are going to implement the overlay effect for when we hover over an image, , that image info fades into place. We have the title and then just a description, and background color. We are gonna attach to each list items after that we add data-title, and data description. So, it will look like this:
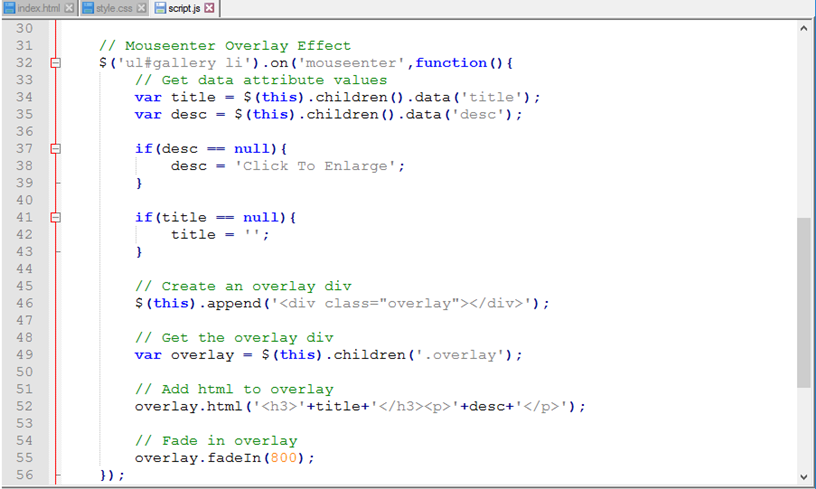
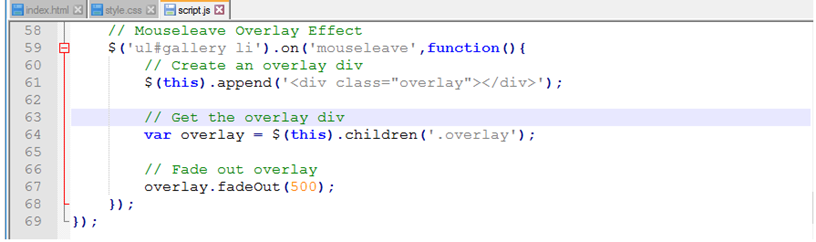
4) After that we are going to add Mouseenter Overlay Effect and Mouseleave Overlay Effect in our script.js file and it will look like this:

5) After that we are going to add overlay code in our css file. It will be like this:
Steps for Lightbox & Responsive Layouts:
1) Now, we are going to implement the Lightbox feature to our gallery and we are going to use a script called Lightbox2. You have to click on the following link to download the lightbox2 script.
http://lokeshdhakar.com/projects/lightbox2/
Once you’ve downloaded the script, then we are going to add 2 files like lightbox.js and lightbox.css in their respective folders. After that, we will add the code below to our html file. It will look like this:
2) We already have data-title and data-description for our overlay, now we wanna add data-lightbox. I am just gonna call it projects. It will be added like this:
After adding data-lightbox, we have to add the same image for lightbox after data-desc. So your code will be like this:
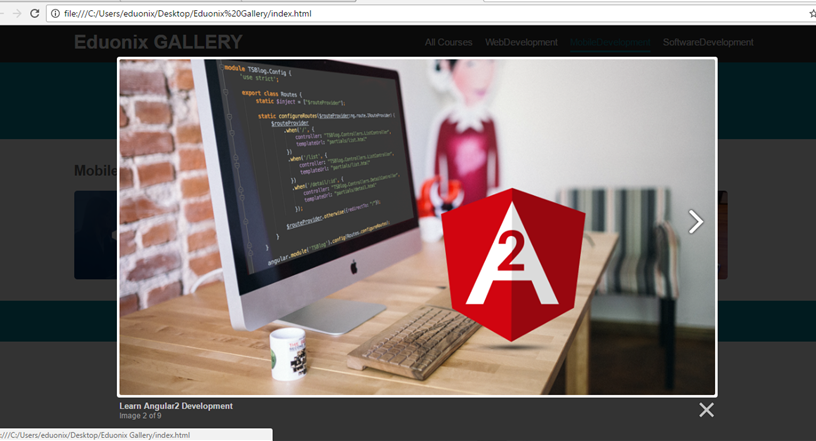
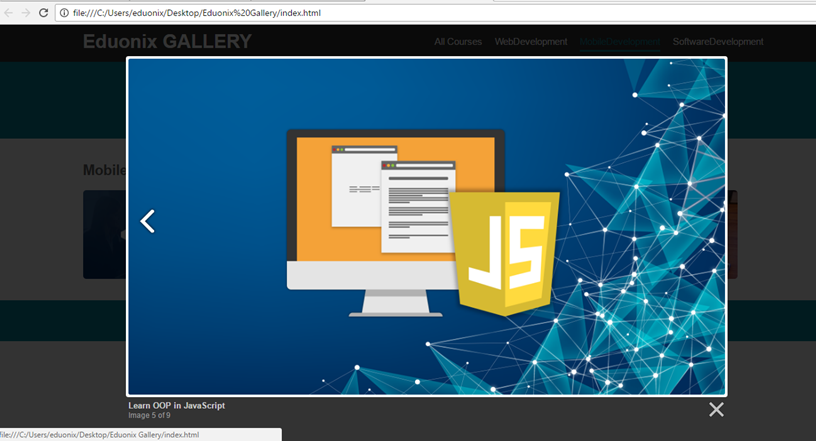
Once you are done with the HTML, you have to add Responsive layout code in your CSS file. It allows desktop webpages to be viewed in response to the size of the device one is viewing with. You can see the following output.


I hope this has been helpful for you guys in understanding a how to create portfolio image gallery using lightbox. Goodluck!