
In this article, we are going to create a Distance Meter Application using HTML5. This responsive application is helpful for tracking distance from one point to another, using HTML5 and the JavaScript Geo-location API. If you hit on the start tracking button, it will show you the coordinates in terms of longitude and latitude.
Steps for creating the structure: –
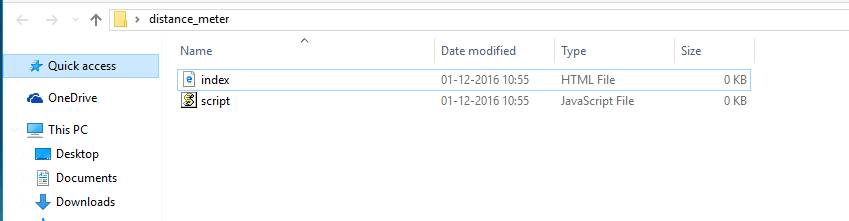
1. Now, we are going to create a folder called distance_meter. Inside this folder, we will create two files named – index.html and script.js
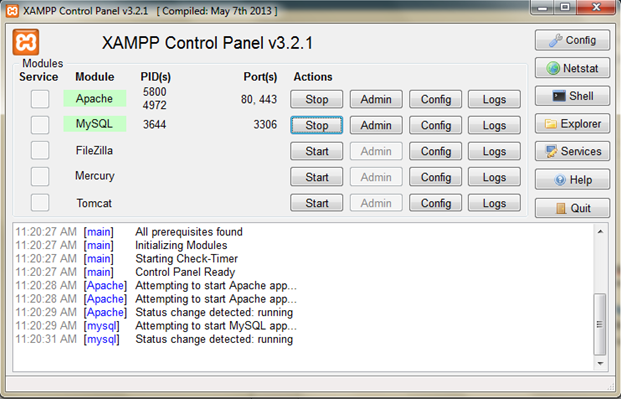
2. We need XAMPP (if you already have WAMPP, then you don’t need to download XAMPP). Ignore the next steps if you already have WAMPP or XAMPP installed.
FOR XAMPP: –
Download XAMPP from the link “https://www.apachefriends.org/index.html”according to your operating system.
Once you complete downloading, open it and you will get the “XAMPP Control Panel”. Click on the start button for Apache and MySQL, it should look something like this.
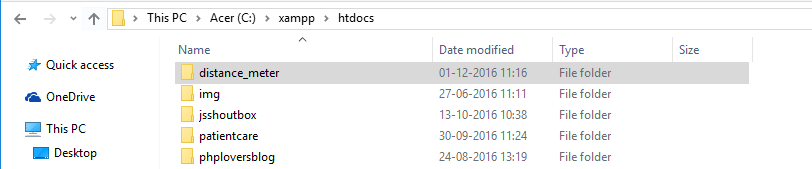
3. Once you start XAMPP, go to your installation drive and click on the “xampp” folder. Inside the folder, you will be able to see “htdocs” folder; open it and copy your “distance_meter” folder into it. I’ve attached the screen-shot below for reference:
Steps for Implementation: –
1. Now its time to start designing our project. We are going to design our UI using HTML, so we are going to add the following code in our index.html.
<!DOCTYPE html> <html> <head> <meta charset="utf-8" /> <title>Distance Meter</title> </head> <body> <div id="container"> <header> <h1>Distance Meter</h1> </header> <p> <strong>Starting Position</strong> <br /> <span id="startLat">Acquiring Latitude...</span>, <span id="startLon">Acquiring Longitude...</span> </p> <p> <strong>Current Position</strong> <br /> <span id="currentLat">Acquiring Latitude...</span>, <span id="currentLon">Acquiring Longitude...</span> </p> <p> <strong>Distance Gone</strong> <br /> <span id="distance">0</span> Kilometers </p> <p> <button id="startBtn" onclick="startTracking()">Start Tracking</button> <button id="stopBtn" onclick="stopTracking()">Stop Tracking</button> </p> <footer> <span>Copyright © 2016, Distance Meter</span> </footer> </div> <script src="script.js"></script> </body> </html>
2. Once you are done with html we are going to add css part but we are not including any css file.We are adding css part in header tag using style element.I added the following code in my index.html after closing the title.
<style>
	body{background:#f4f4f4;font-family:arial;font-size:18px;}
	button{font-size:20px;padding: 3px 13px}
	button#stopBtn{display:none;}
	#container{width:100%;margin:0 auto;text-align:center}
	header{background:#333;padding:5px;}
	header h1{color:#fff;font-size:30px;margin:0;padding:0;}
	footer{background:#333;color:#fff;padding:8px;font-size:16px;}
</style>
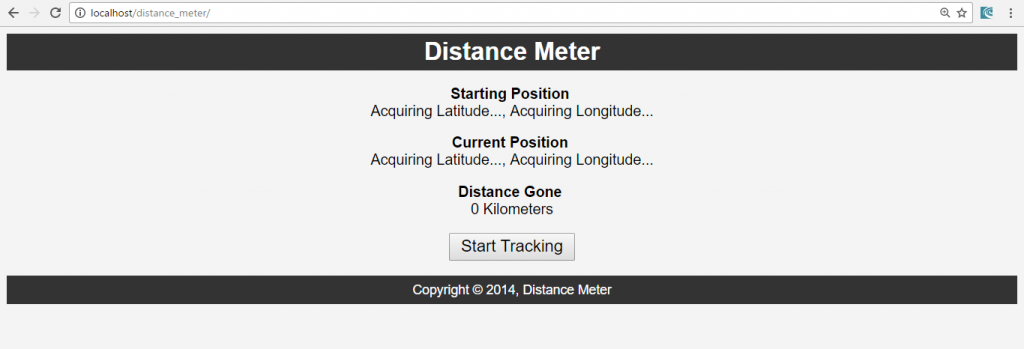
So, after adding HTML and CSS our UI will look like this:
3. Now, we want to know about the user location. So, we are going to use The getCurrentPosition() method, which is used to return the user’s position. We are going to add the following code into our script.js file.
var startPos;
var watchId;

function startTracking(){
	if(navigator.geolocation){
		document.getElementById('startBtn').style.display = 'none';
		document.getElementById('stopBtn').style.display = 'inline';
		//Get Position
		navigator.geolocation.getCurrentPosition(showPosition, showError);
		//Watch Position
		//watchId = navigator.geolocation.watchPosition(showPositionUpdate,showError);
	} else {
		alert('Geolocation is not supported by your browser');
	}
}

function showPosition(position){
	startPos = position;
	document.getElementById('startLat').innerHTML = startPos.coords.latitude;
	document.getElementById('startLon').innerHTML = startPos.coords.longitude;
}

function showError(error){

}
4. Now, we are going to add a few additional codes in our script.js file for error handling. It should look something like this:
//Error handler
function showError(error){
	switch(error.code){
		case error.PERMISSION_DENIED:
			alert('User denied the request for Geolocation');
			break;
		case error.POSITION_UNAVAILABLE:
			alert('Location not available');
			break;
		case error.TIMEOUT:
			alert('The request has timed out');
			break;
		case error.UNKNOWN_ERROR:
			alert('There was an unknown error');
			break;
	}
}
5. Now, it time to add a logic for calculating the distance between start and updated as well as we are going to add the codes for stop tracking. You have to add the following code in your script.js file. The code is attached below:
//Calculate the distance between start and updated
function calculateDistance(lat1, lon1, lat2, lon2) {
 	var R = 6371; // km
  	var dLat = (lat2-lat1).toRad();
  	var dLon = (lon2-lon1).toRad();
  	var a = Math.sin(dLat/2) * Math.sin(dLat/2) +
          Math.cos(lat1.toRad()) * Math.cos(lat2.toRad()) *
          Math.sin(dLon/2) * Math.sin(dLon/2);
  	var c = 2 * Math.atan2(Math.sqrt(a), Math.sqrt(1-a));
  	var d = R * c;
  	return d;
}
Number.prototype.toRad = function(){
	return this * Math.PI / 180;
}

//Stop tracking
function stopTracking(){
	navigator.geolocation.clearWatch(watchId);
	alert('Tracking Has Stopped');
	document.getElementById('stopBtn').style.display = 'none';
	document.getElementById('startBtn').style.display = 'inline';
}
No we have completed coding in both the files – index.html and script.js. The files should look like this:
Index.html:
<!DOCTYPE html>
<html>
<head>
<meta charset="utf-8" />
<title>Distance Meter</title>
<style>
body{background:#f4f4f4;font-family:arial;font-size:18px;}
button{font-size:20px;padding: 3px 13px}
button#stopBtn{display:none;}
#container{width:100%;margin:0 auto;text-align:center}
header{background:#333;padding:5px;}
header h1{color:#fff;font-size:30px;margin:0;padding:0;}
footer{background:#333;color:#fff;padding:8px;font-size:16px;}
</style>
</head>
<body>
<div id="container">
<header>
<h1>Distance Meter</h1>
</header>
<p>
<strong>Starting Position</strong>
<br />
<span id="startLat">Acquiring Latitude...</span>,
<span id="startLon">Acquiring Longitude...</span>
</p>
<p>
<strong>Current Position</strong>
<br />
<span id="currentLat">Acquiring Latitude...</span>,
<span id="currentLon">Acquiring Longitude...</span>
</p>
<p>
<strong>Distance Gone</strong>
<br />
<span id="distance">0</span> Kilometers
</p>
<p>
<button id="startBtn" onclick="startTracking()">Start Tracking</button>
<button id="stopBtn" onclick="stopTracking()">Stop Tracking</button>
</p>
<footer>
<span>Copyright © 2016, Distance Meter</span>
</footer>
</div>
<script src="script.js"></script>
</body>
</html>
Script.js
var startPos;
var watchId;

//Start tracking position
function startTracking(){
	if(navigator.geolocation){
		document.getElementById('startBtn').style.display = 'none';
		document.getElementById('stopBtn').style.display = 'inline';
		//Get Position
		navigator.geolocation.getCurrentPosition(showPosition, showError);
		//Watch Position
		watchId = navigator.geolocation.watchPosition(showPositionUpdate,showError);
	} else {
		alert('Geolocation is not supported by your browser');
	}
}

//Show start position
function showPosition(position){
	startPos = position;
	document.getElementById('startLat').innerHTML = startPos.coords.latitude;
	document.getElementById('startLon').innerHTML = startPos.coords.longitude;
}

//Updated position
function showPositionUpdate(position){
	document.getElementById('currentLat').innerHTML = position.coords.latitude;
	document.getElementById('currentLon').innerHTML = position.coords.longitude;
	document.getElementById('distance').innerHTML =
	calculateDistance(startPos.coords.latitude,startPos.coords.longitude,position.coords.latitude,position.coords.longitude);
}

//Error handler
function showError(error){
	switch(error.code){
		case error.PERMISSION_DENIED:
			alert('User denied the request for Geolocation');
			break;
		case error.POSITION_UNAVAILABLE:
			alert('Location not available');
			break;
		case error.TIMEOUT:
			alert('The request has timed out');
			break;
		case error.UNKNOWN_ERROR:
			alert('There was an unknown error');
			break;
	}
}

//Calculate the distance between start and updated
function calculateDistance(lat1, lon1, lat2, lon2) {
 	var R = 6371; // km
  	var dLat = (lat2-lat1).toRad();
  	var dLon = (lon2-lon1).toRad();
  	var a = Math.sin(dLat/2) * Math.sin(dLat/2) +
          Math.cos(lat1.toRad()) * Math.cos(lat2.toRad()) *
          Math.sin(dLon/2) * Math.sin(dLon/2);
  	var c = 2 * Math.atan2(Math.sqrt(a), Math.sqrt(1-a));
  	var d = R * c;
  	return d;
}
Number.prototype.toRad = function(){
	return this * Math.PI / 180;
}

//Stop tracking
function stopTracking(){
	navigator.geolocation.clearWatch(watchId);
	alert('Tracking Has Stopped');
	document.getElementById('stopBtn').style.display = 'none';
	document.getElementById('startBtn').style.display = 'inline';
}
You will get the following output:
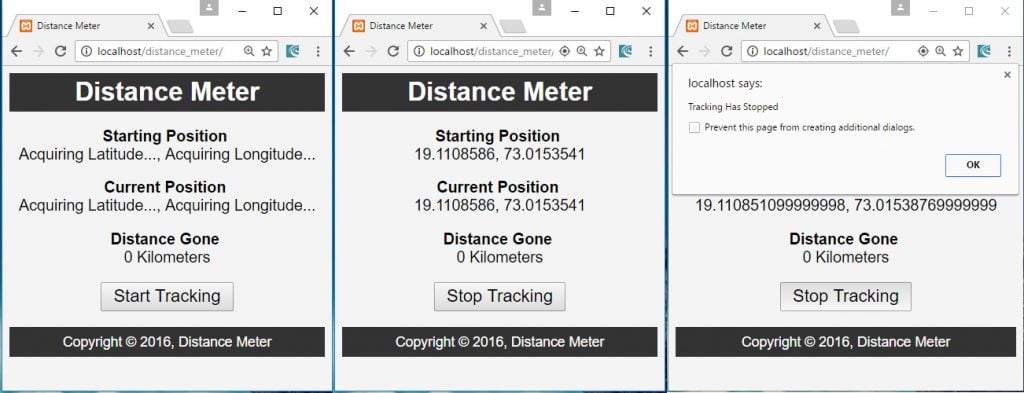
I hope this tutorial blog has been helpful for you guys in understanding how to create a Distance Meter Application using HTML5. Goodluck and Happy Coding!

