
ModSecurity is a free and open-source Apache module used as a web application firewall (WAF). It can monitor the webserver traffic in real-time, detect attacks and perform immediate action on them. ModSecurity uses OWASP ModSecurity Core Rule Set to protect the web application from a wide range of attacks. You can configure ModSecurity to defend against common attacks such as SQL injections, cross site scripting, Trojans, bad user agents, and remote code execution.
Here, we will show you how to set up the ModSecurity firewall with Apache on Ubuntu.
Requirements
- A server running Ubuntu 20.04.
- A root password is configured in your server.
Install Apache Webserver
Before starting, the Apache webserver must be installed in your system. If not installed you can install it with the following command:
apt-get install apache2 libapache2-mod-php git -y
Once the Apache web server is installed, start the Apache service and enable it to start at system reboot:
systemctl start apache2

systemctl enable apache2
You can also verify the Apache service status with the following command:
systemctl status apache2
You should see the following output:
apache2.service - The Apache HTTP Server

     Loaded: loaded (/lib/systemd/system/apache2.service; enabled; vendor preset: enabled)

     Active: active (running) since Wed 2021-02-24 11:01:06 UTC; 10min ago

       Docs: https://httpd.apache.org/docs/2.4/

    Process: 10669 ExecStart=/usr/sbin/apachectl start (code=exited, status=0/SUCCESS)

   Main PID: 10687 (apache2)

      Tasks: 6 (limit: 2353)

     Memory: 32.1M

     CGroup: /system.slice/apache2.service

             ├─10687 /usr/sbin/apache2 -k start

             ├─10688 /usr/sbin/apache2 -k start

             ├─10689 /usr/sbin/apache2 -k start

             ├─10690 /usr/sbin/apache2 -k start

             ├─10691 /usr/sbin/apache2 -k start

             └─10692 /usr/sbin/apache2 -k start


Feb 24 11:01:05 ubuntu systemd[1]: Starting The Apache HTTP Server...
Now, open your web browser and verify the Apache web server using the URL http://your-server-ip. You should see the following page: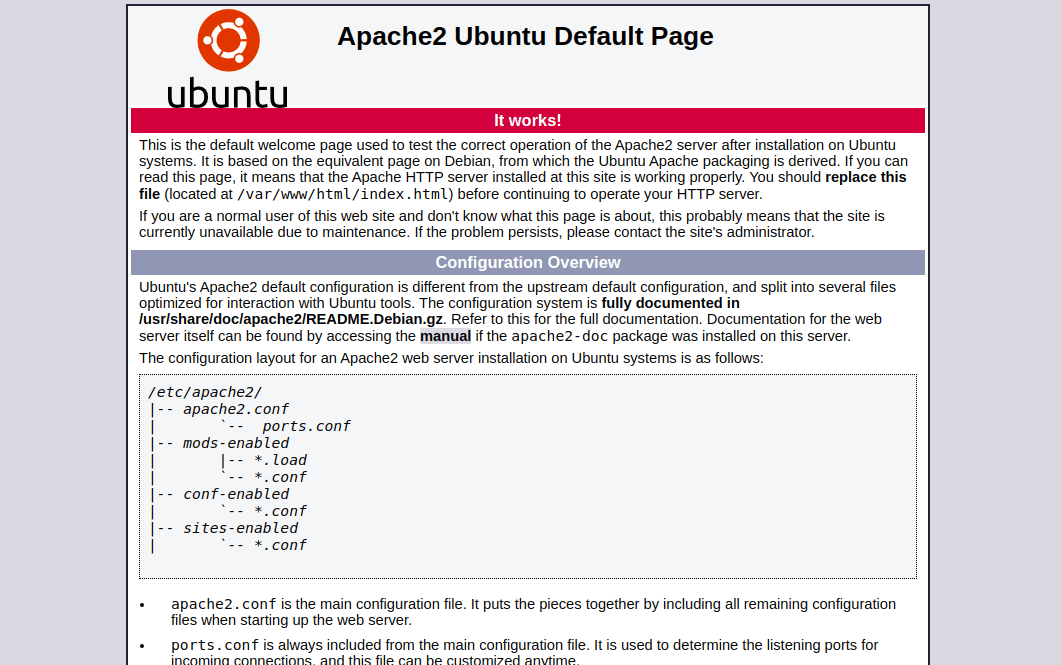 Install ModSecurity
Next, you will need to install the Apache ModSecurity module in your system. By default, the ModSecurity package is included in the Ubuntu default repository. You can install it using the following command:
apt-get install libapache2-mod-security2 -y
After installing ModSecurity, restart the Apache service to apply the changes:
systemctl restart apache2
Next, verify the ModSecurity module with the following command:
apachectl -M | grep security
If everything is fine you should see the following output:
security2_module (shared)
Configure ModSecurity
At this point, ModSecurity is installed. However, there is not any security rules configured. So you will need to enable the ModSecurity using the file /etc/modsecurity/modsecurity.conf.
First, copy the sample configuration file with the following command:
cp /etc/modsecurity/modsecurity.conf-recommended /etc/modsecurity/modsecurity.conf
Next, edit the file /etc/modsecurity/modsecurity.conf and enable the ModSecurity:
nano /etc/modsecurity/modsecurity.conf
Change the following line:
SecRuleEngine On
Save the file then restart the Apache service to apply the changes:
systemctl restart apache2
Once you are done, you can proceed to the next step.
Configure ModSecurity Core Rule Set
Next, you will need to download the latest version of the ModSecurity core rule set from the Git repository. First, remove the default core rule set with the following command:
rm -rf /usr/share/modsecurity-crs
Now, download the latest core rule set using the following command:
git clone https://github.com/SpiderLabs/owasp-modsecurity-crs.git /usr/share/modsecurity-crs
Next, change the directory to downloaded directory:
cd /usr/share/modsecurity-crs
Next, rename the example setup file with the following command:
mv crs-setup.conf.example crs-setup.conf
Next, you will need to edit the Apache configuration file and define the path of the rules.
You can edit the file with the following command:
nano /etc/apache2/mods-enabled/security2.conf
Add the following lines exact above the line “</IfModule>”:
IncludeOptional "/usr/share/modsecurity-crs/*.conf

  IncludeOptional "/usr/share/modsecurity-crs/rules/*.conf
Save and close the file then enable the Apache headers module and restart the Apache service to apply the changes:
a2enmod headers

systemctl restart apache2
Verify ModSecurity
At this point, ModSecurity is installed and configured. Now, it’s time to test it by performing some malicious requests against Apache webserver.
To test the Apache web server against XSS attack, run the following command on the remote machine:
curl 'http://your-server-ip/?q="><script>alert(1)</script>'
If everything is fine, you should see “403 Forbidden” in the following output:
<!DOCTYPE HTML PUBLIC "-//IETF//DTD HTML 2.0//EN">

<html><head>

<title>403 Forbidden</title>

</head><body>

<h1>Forbidden</h1>

<p>You don't have permission to access this resource.</p>

<hr>

<address>Apache/2.4.41 (Ubuntu) Server at your-server-ip Port 80</address>

</body></html>
To test the Apache webserver against Shell execution attack, run the following command on the remote machine:
curl "http://your-server-ip/index.html?exec=/bin/bash"
You should get the following output:
<!DOCTYPE HTML PUBLIC "-//IETF//DTD HTML 2.0//EN">

<html><head>

<title>403 Forbidden</title>

</head><body>

<h1>Forbidden</h1>

<p>You don't have permission to access this resource.</p>

<hr>

<address>Apache/2.4.41 (Ubuntu) Server at your-server-ip Port 80</address>

</body></html>
You can also verify the ModSecurity log for more detail:
tail -f /var/log/apache2/error.log
You should get the following output:
[Wed Feb 24 11:01:18.476346 2021] [:error] [pid 10688] [client 216.98.11.75:45648] [client 216.98.11.75] ModSecurity: Warning. Operator GE matched 5 at TX:inbound_anomaly_score. [file "/usr/share/modsecurity-crs/rules/RESPONSE-980-CORRELATION.conf"] [line "91"] [id "980130"] [msg "Inbound Anomaly Score Exceeded (Total Inbound Score: 18 - SQLI=0,XSS=15,RFI=0,LFI=0,RCE=0,PHPI=0,HTTP=0,SESS=0): individual paranoia level scores: 18, 0, 0, 0"] [ver "OWASP_CRS/3.2.0"] [tag "event-correlation"] [hostname "216.98.11.75"] [uri "/"] [unique_id "YDYx-oZHzfUcRfWaSoMivQAAAAA"]

[Wed Feb 24 11:02:41.454721 2021] [:error] [pid 10690] [client 216.98.11.75:45652] [client 216.98.11.75] ModSecurity: Warning. Pattern match "^[\\\\d.:]+$" at REQUEST_HEADERS:Host. [file "/usr/share/modsecurity-crs/rules/REQUEST-920-PROTOCOL-ENFORCEMENT.conf"] [line "741"] [id "920350"] [msg "Host header is a numeric IP address"] [data "216.98.11.75"] [severity "WARNING"] [ver "OWASP_CRS/3.2.0"] [tag "application-multi"] [tag "language-multi"] [tag "platform-multi"] [tag "attack-protocol"] [tag "paranoia-level/1"] [tag "OWASP_CRS"] [tag "OWASP_CRS/PROTOCOL_VIOLATION/IP_HOST"] [tag "WASCTC/WASC-21"] [tag "OWASP_TOP_10/A7"] [tag "PCI/6.5.10"] [hostname "216.98.11.75"] [uri "/index.html"] [unique_id "YDYyUQ6IcIuZtV0kIGMS6QAAAAI"]

[Wed Feb 24 11:02:41.456126 2021] [:error] [pid 10690] [client 216.98.11.75:45652] [client 216.98.11.75] ModSecurity: Warning. Matched phrase "bin/bash" at ARGS:exec. [file "/usr/share/modsecurity-crs/rules/REQUEST-932-APPLICATION-ATTACK-RCE.conf"] [line "518"] [id "932160"] [msg "Remote Command Execution: Unix Shell Code Found"] [data "Matched Data: bin/bash found within ARGS:exec: /bin/bash"] [severity "CRITICAL"] [ver "OWASP_CRS/3.2.0"] [tag "application-multi"] [tag "language-shell"] [tag "platform-unix"] [tag "attack-rce"] [tag "paranoia-level/1"] [tag "OWASP_CRS"] [tag "OWASP_CRS/WEB_ATTACK/COMMAND_INJECTION"] [tag "WASCTC/WASC-31"] [tag "OWASP_TOP_10/A1"] [tag "PCI/6.5.2"] [hostname "216.98.11.75"] [uri "/index.html"] [unique_id "YDYyUQ6IcIuZtV0kIGMS6QAAAAI"]

[Wed Feb 24 11:02:41.457562 2021] [:error] [pid 10690] [client 216.98.11.75:45652] [client 216.98.11.75] ModSecurity: Access denied with code 403 (phase 2). Operator GE matched 5 at TX:anomaly_score. [file "/usr/share/modsecurity-crs/rules/REQUEST-949-BLOCKING-EVALUATION.conf"] [line "93"] [id "949110"] [msg "Inbound Anomaly Score Exceeded (Total Score: 8)"] [severity "CRITICAL"] [ver "OWASP_CRS/3.2.0"] [tag "application-multi"] [tag "language-multi"] [tag "platform-multi"] [tag "attack-generic"] [hostname "216.98.11.75"] [uri "/index.html"] [unique_id "YDYyUQ6IcIuZtV0kIGMS6QAAAAI"]

[Wed Feb 24 11:02:41.458253 2021] [:error] [pid 10690] [client 216.98.11.75:45652] [client 216.98.11.75] ModSecurity: Warning. Operator GE matched 5 at TX:inbound_anomaly_score. [file "/usr/share/modsecurity-crs/rules/RESPONSE-980-CORRELATION.conf"] [line "91"] [id "980130"] [msg "Inbound Anomaly Score Exceeded (Total Inbound Score: 8 - SQLI=0,XSS=0,RFI=0,LFI=0,RCE=5,PHPI=0,HTTP=0,SESS=0): individual paranoia level scores: 8, 0, 0, 0"] [ver "OWASP_CRS/3.2.0"] [tag "event-correlation"] [hostname "216.98.11.75"] [uri "/index.html"] [unique_id "YDYyUQ6IcIuZtV0kIGMS6QAAAAI"]
Conclusion
In the above post, you learned how to install ModSecurity and implement it with the Apache webserver on Ubuntu. Your server is now protected from different kinds of attacks.
Also Read: Nginx Web Server Security Best Practices