Video is arguably the most engaging media format to share online, whether you’re working on personal projects or content for a business.
Of course if you’ve never done anything more than shoot home video footage or snap clips on your smartphone, the prospect of putting together anything more involved can be intimidating.
To minimize this feeling and make you excited to get started, here are a few tips on what it takes to create compelling videos destined to be uploaded to the web.
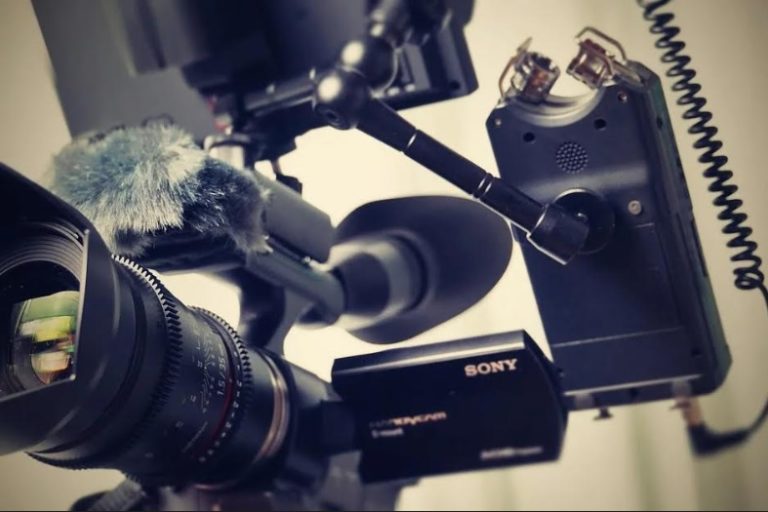
Get the Right Gear
The first and most important step is acquiring all of the necessary equipment to make videos that look and sound good.
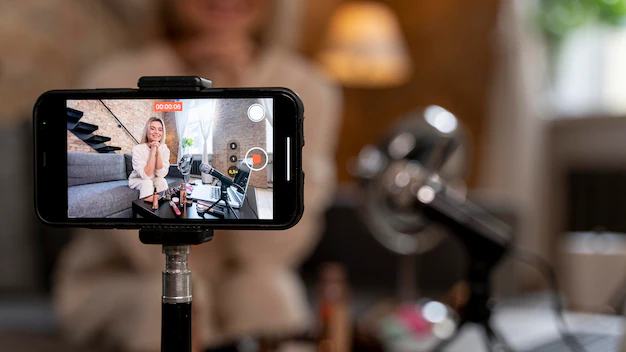
Depending on what type of video you’re making, this could mean anything from investing in a high-quality digital camera and tripod, to splashing out on an entire studio setup with lights, audio equipment, and more. Of course even a mid-range modern smartphone is technically proficient enough to capture decent video footage, in the right conditions.
For micro-budget projects, combining this with a discrete microphone and lighting rig can work wonders without breaking the bank. If in doubt, follow professional guides to cost-conscious gear, and you won’t go far wrong.
Use Royalty-Free Stock Music
Music can be a powerful addition to any video, but finding the right track can be tricky. Fortunately, there are plenty of online audio libraries that offer perfect free stock music that you won’t have to pay royalties to use.
Most services will allow you to preview tracks without registering for an account, which lets you get a sense of what’s available without making a commitment. Additionally, stock music library sites even provide copyright information, in case your video is used commercially. That way, viewers know they’re listening to legally acquired music, not purloined tunes.
Make a Storyboard Before You Start Recording
Storyboarding is the process of creating an outline for your video. It’s like a blueprint that you can use to plan out all aspects of your production, choosing the shots and angles you’ll use and getting a sense of how they’ll be cut together when editing eventually begins.
This will help ensure you have everything ready before recording starts, so that there are no surprises. A storyboard also makes it easier for multiple people involved in the project, from actors to technicians, to understand what needs to be done in advance, saving valuable time on set.
Edit to Achieve Professional Results
The editing process is where you can really take your videos up a notch. With the right software, an online course in editing, and a bit of practice, you can bring out the best in your footage and create something that looks as good, or better, than what’s on TV or streaming services.
Whether it’s cutting between shots, adding transitions, or using effects like slow motion, there are endless possibilities for creating engaging content with professional results. Don’t be intimidated, and instead just have fun experimenting and finding what works for you.
You can learn a lot about editing techniques from watching your favorite shows and movies, seeing how shots are combined and juxtaposed, and getting a sense for the language of editing. And of course if this all sounds like hard work, or doesn’t gel with where your talents lay, you can always outsource editing to a professional.
Include Captions and Subtitles for Accessibility Purposes
Including captions and subtitles in your videos is a great way to make them more accessible. Not only does it help viewers with hearing impairments, but it also allows people who are watching without sound, such as on their phone or in a public space, to still understand what’s going on.
Fortunately, there are plenty of free tools available online that can automatically generate closed captioning from an audio file, which is welcome if you’re short on time. Certain online streaming services, including YouTube, have the ability to automatically generate captions and subtitles, which is another handy thing to know about, although these are far from flawless, so don’t rely on them for important projects.
Share Your Work Across Multiple Platforms
Once you’ve finished your video, it’s time to get it out there! Nowadays, there are lots of platforms where you can share and promote your work, from social media sites like the aforementioned YouTube, to platforms like Instagram, to more professional-focused streaming services such Vimeo.
It’s a good idea to upload the same video across multiple channels, so that more people have access. Also, each platform offers its own set of analytics tools that can help track engagement rates and other important metrics for evaluating success. The more data you can gather, the more you can make improvements for your next release.
Final Thoughts
The best way to learn to create your own videos is by biting the bullet and beginning a project. Even if you’re a complete amateur, you’ll learn the basics quickly, and build on these skills with each step you take.