

WordPress is a CMS (content management system) which allows you to store the content helping you to create and publish Web Pages & Blogs. It’s mainly associated with blogging but also provides support for web content like a mailing list, forums, media galleries and online stores.
WordPress provides many features like integrated link management; a search engine–friendly, clean permalink structure; the ability to assign multiple categories to posts; and support for tagging of posts but the highlight of WordPress is Themes and Plugins.
Themes are used by the user for changing the look and functionality of your website without altering the core code or content of the site.
Plugins allow the users to extend the features and functionality of a website or a blog. In this blog, we have created our website using one of the plugins named Woo-commerce.
Here are 10 best WordPress Plugins for your E-commerce Websites.
Woo-commerce is an E-commerce plugin for WordPress designed for small-scale to large-sized online merchants using WordPress.
So let’s start with creating our E-Commerce website using this plugin.
A general E-Commerce website should comprise of below parameters:
1- Home Page
2- Shop
3- Cart
4- Privacy Policy
5- Contact Us/About Us
Before moving forward on to our website we need to add a few Themes and Plugins to our WordPress dashboard.
First, we will install a Woocommerce plugin. Go to Plugins>>Add New and search for Woocommerce plugin and activate it after installation. Once installed, 2 new features will be added to your dashboard which is Woocommerce & Products as shown below:
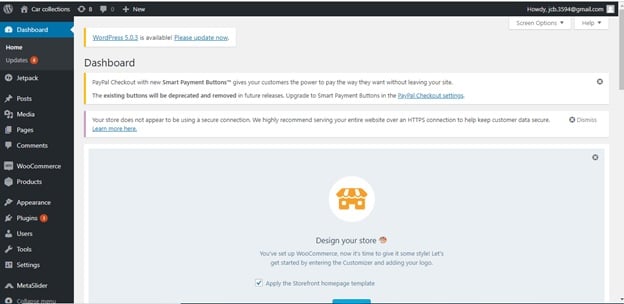
Now we will install a theme name “StoreFront”. Go to Appearance>>Themes>>Add New. Once the theme is installed your website frontend will be generated as shown below.
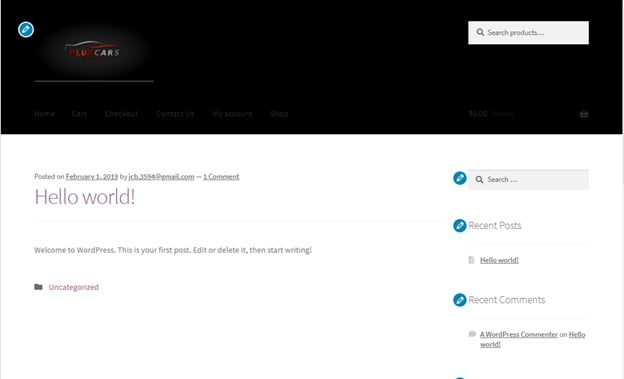
Website getting some structure yeah???
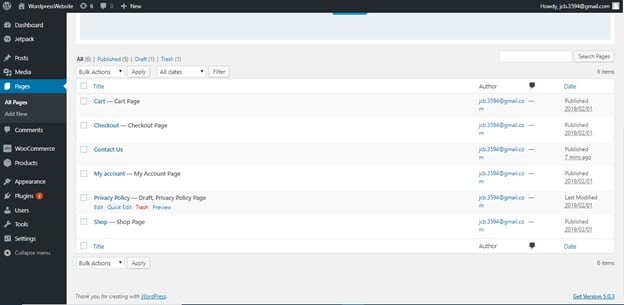
We will now add pages such as Home, Contact US, Privacy Policy etc. To add pages click on Pages>>Add New. Then you can give a title to the page, add some content to it as per your requirement, images etc. Don’t forget to SAVE & PUBLISH the changes. This is how after adding your page will look like.
Well, the website is nothing without products in it. How to add them?
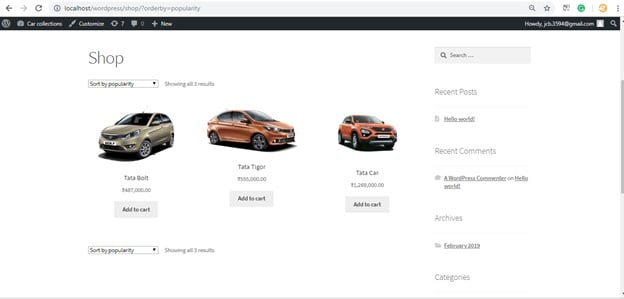
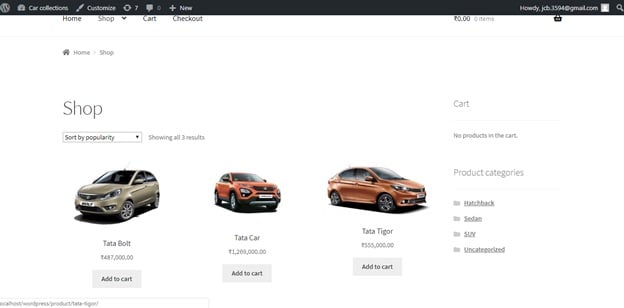
Go to Products>>Add New. Add the product name, description, category. Add relevant image for the product too to make it look more attractive. Add some products into your website and your Shop will look something like:
You might be thinking what about those ugly widgets inside the sidebar at the right hand side. So let’s start cleaning up the website. Go to Appearance>>widgets>>Sidebar. Remove the widgets under the sidebar that you don’t want to be present in your website. Once removing the widgets the website looks a bit clear now:
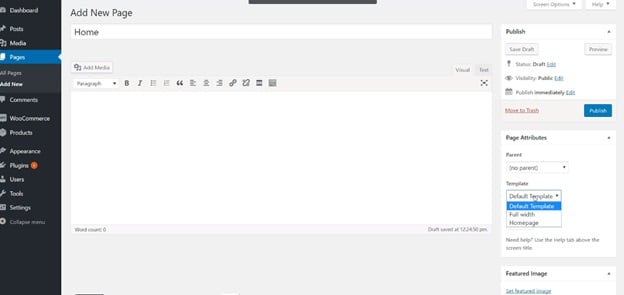
Looks good now. The last step is to add a homepage to our website.Click Page>>Add New>>Page Title. Also, take care change your template to Homepage as shown in the figure below:
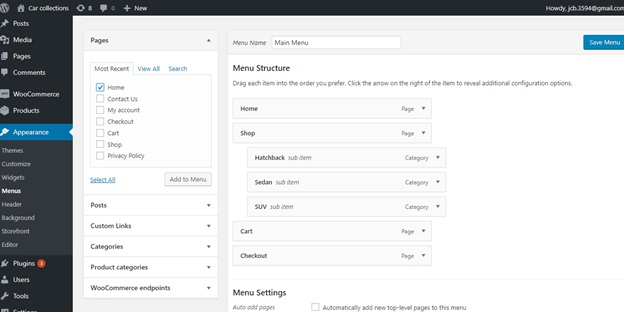
We need to add this homepage to the menu. Go to Appearance>>Menus>>Click the home checkbox and drag it to your preferred position as shown below.
Then click on Appearance>>customize>>Homepage settings>>A static page. Change Homepage dropdown to Home and save changes. You will see your static home page arising.
But, something is missing don’t you think? Ahhhhh….the slider image. Let’s add a homepage slider image. For that, we need to add another plugin called Meta Slider. I assume you now know it very well how to add a plugin. After installing click on to the meta slider and add some slides into it by selecting multiple images from the media library. Change the Width to 1080px and Height to 380px. Scroll down a bit you will find a meta slider id on the right-hand side. Remember the id because now we have to add some code to our editor so that we have the desired slider and we will use that meta slider id into that code.
Go to Appearance>>Editor>>Theme Function(On Right side) and add the code in the last as shown in the figure.
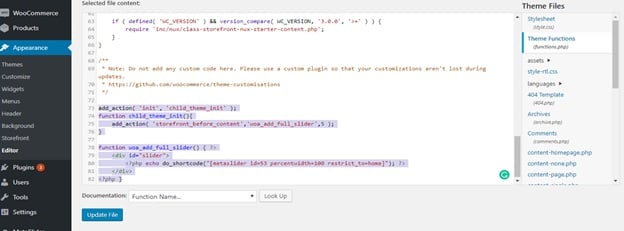
The Php code to be pasted is:-
add_action( 'init', 'child_theme_init' );
function child_theme_init(){
	add_action( 'storefront_before_content','woa_add_full_slider',5 );
}

function woa_add_full_slider() { ?>
	<div id="slider">
		<?php echo do_shortcode("[metaslider id=XXX percentwidth=100 restrict_to=home]"); ?>
	</div>
<?php }
Note: Replace “XXX” by your meta slider id.
Click On Update and Wooof!! your slider is ready. Go to your website and reload and you will see the image sliding as shown in the below image.

And you are all set with a very attractive e-commerce website. You have created a website with menus, products and Homepage image slider in it. If you are thinking it to use it in the real world you might also want to add payment process in it. For that, you can refer to the course “How To Build An E-commerce Store With WordPress and Woocommerce”.


